

If you have ever admired a rose in a friend’s garden and wished you could have exactly that plant in your own, learning how to grow roses from cuttings is the skill you need. A cutting is simply a short piece of stem, snipped from a healthy plant and coaxed into making its own roots. Because it is a clone of the parent, the new plant will flower the same colour, carry the same scent, and grow with the same habit — something you can never guarantee from seed, where the results are always a lucky dip.
There are other good reasons to try it. Cuttings are free, apart from a pot and a little compost. They let you save a rose that is moving house with you, preserve an old variety from a family garden before the plant is lost, and build up several plants from one good shrub to fill a hedge or share with neighbours. Nurseries propagate most roses in much more complicated ways, often by grafting, but for the home gardener a simple stem cutting in a pot is by far the most approachable route.
Be honest with yourself about one thing before you start: not every cutting will take. Even experienced gardeners lose some, and a success rate of about half is perfectly normal, a little better with easy shrub roses and a little worse with some hybrid teas. That is why the golden rule of this whole process is to take more cuttings than you need. If you want two new plants, start six cuttings. It costs nothing extra, takes ten minutes longer, and turns a disappointment into a surplus you can give away.
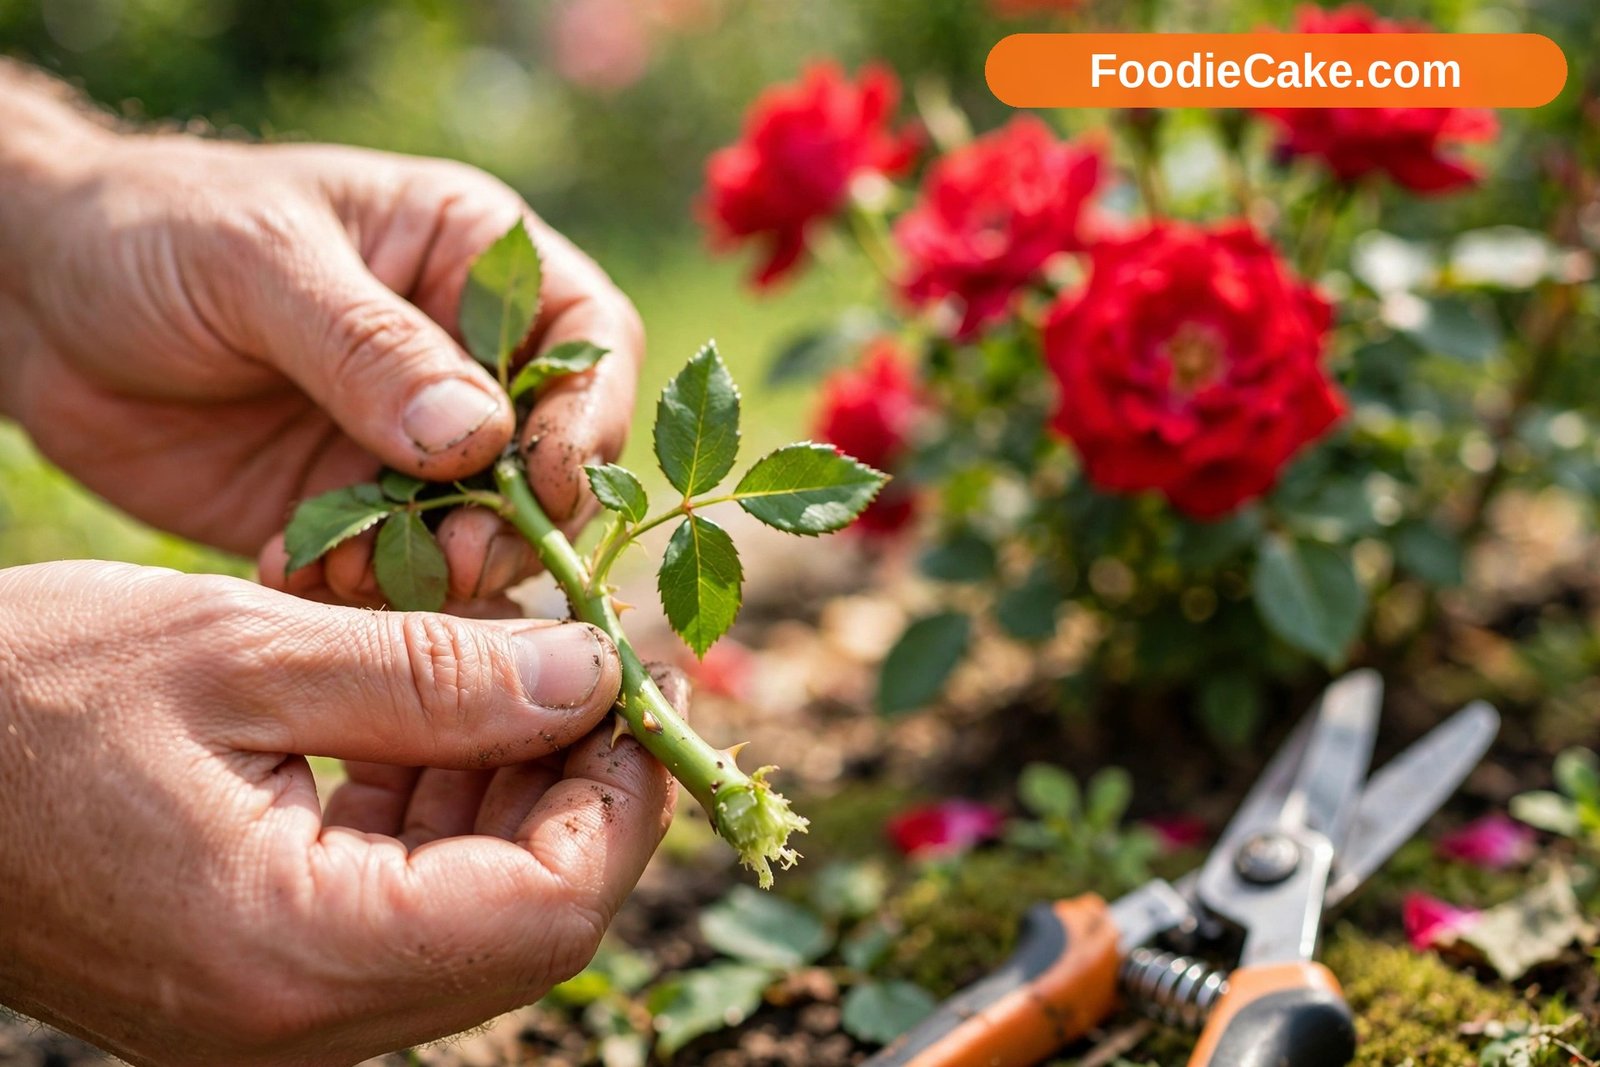
The Best Time to Take Rose Cuttings
Timing matters more than any product you can buy. A cutting is a stem with no roots, trying to stay alive long enough to grow some, and it does that best when the wood is in the right condition and the weather is working with you rather than against you. There are three main windows, and each suits a slightly different method.
Softwood cuttings in late spring and early summer
Softwood is the fresh, green, flexible growth of the current season. In zones 5–8, this usually means late spring into early summer, once the first flush of growth has firmed up a little but the stems still bend rather than snap. Softwood cuttings root the fastest, often within four to six weeks in warm weather, because the plant is in full growth mode. The trade-off is that soft, leafy growth loses water quickly, so these cuttings need the most careful humidity cover and the closest watching.
Semi-ripe cuttings in late summer
By late summer the base of this year’s stems has started to turn woody while the tip is still green. This semi-ripe material is, for many gardeners, the sweet spot: it roots reliably, it is far less prone to wilting than softwood, and it is less likely to rot. If you only try one batch a year, make it this one. Take them after a stem has flowered and the bloom has faded, which also happens to be the growth you would be shaping anyway during a light summer prune.
Hardwood cuttings in autumn and winter
Hardwood cuttings are taken from fully ripe, leafless wood during dormancy, from leaf fall through to late winter in most climates. They are slower — they sit quietly for months and root as the soil warms in spring — but they are the toughest and most forgiving method of all, needing almost no attention over winter. In colder zones, roughly zones 5 and 6, hardwood cuttings are often pushed straight into a sheltered nursery bed or a deep pot outdoors and simply left. In very mild zones, 9 and warmer, where winters barely count as winters, semi-ripe cuttings taken in autumn often work better than true hardwood ones.
Choosing a Healthy Parent Plant and the Right Stem
A cutting can only ever be as good as the plant and the stem it came from. Choose a parent plant that is vigorous, healthy, and true to type — one that flowers well and shows no sign of disease. A stem taken from a weak, struggling plant usually produces a weak, struggling cutting, and a stem carrying black spot or mildew can carry those problems straight into your pot.
Look for stems that are about the thickness of a pencil. Much thinner than that and the cutting has too little stored energy to support itself while it roots; much thicker and older, and it tends to root slowly and reluctantly. The ideal stem grew this season, has recently finished flowering or is just about to, and feels firm when you give it a gentle squeeze.
Taking the Cutting, Step by Step
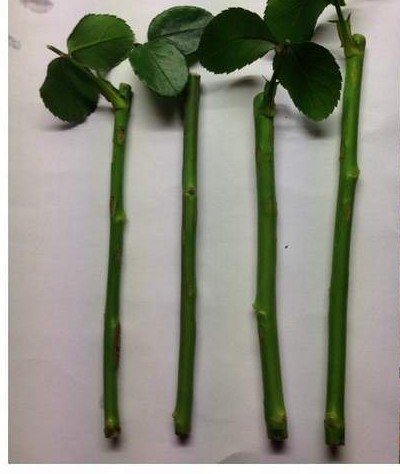
First, make your top cut. Cut the stem just above a leaf node — the small bump where a leaf joins the stem — removing the soft tip and any spent flower. You are aiming for a finished cutting about 15–20 cm (6–8 inches) long, with three or four nodes along it.
Second, make the bottom cut, and this is the one that matters most. Cut immediately below a leaf node, within a few millimetres of it. Roots form most readily from the tissue around a node, so a cutting that ends just below one has a real head start over one cut randomly in the middle of a bare stretch of stem. Some gardeners make this cut at a slight angle so they can always tell which end is the bottom — helpful, because a cutting planted upside down will never root.
Third, strip the lower leaves. Remove all the leaves from the bottom half to two-thirds of the cutting, snapping or cutting them off cleanly at the stem. Any leaf buried in compost or sitting in water will rot, and rot spreads. Leave two or three healthy leaves at the top: the cutting still needs to photosynthesise a little to power root growth.
Fourth, reduce large leaves if necessary. If the remaining leaves are big, cut each leaflet roughly in half with scissors. It looks brutal, but it reduces water loss through the leaf surface while the cutting has no roots to replace that water with, and it stops the cutting rocking in the wind. Small-leaved roses rarely need this step.
Rooting Hormone: Helpful, Not Magic
Rooting hormone is a powder, gel, or liquid containing plant auxins that encourage stem tissue to produce roots. For roses, it genuinely can improve results, especially with semi-ripe and hardwood material and with varieties that are known to be shy rooters. If you have some, use it: dip the moistened base of the cutting into the powder, tap off the excess — a thick caked layer is no better than a thin one — and plant it promptly. Dibble the hole first with a pencil so you do not rub all the hormone off as you push the cutting in.
You will also read about honey, cinnamon, aspirin, and willow water as home-made alternatives. Here is the honest version. Honey and cinnamon do have mild antibacterial and antifungal properties, which is why some gardeners swear by them — a cutting dipped in honey may be slightly less likely to rot. But neither contains rooting hormones, and neither will make a cutting root that was not going to root anyway. Willow water, made by soaking chopped young willow twigs in water, does contain small amounts of natural rooting compounds and salicylic acid, and it is a harmless, enjoyable experiment. Use these things if you enjoy them, by all means, but understand what they can and cannot do, and never let them substitute for the basics of timing, hygiene, and moisture.
Rooting in Soil or Water: Which Works Better?
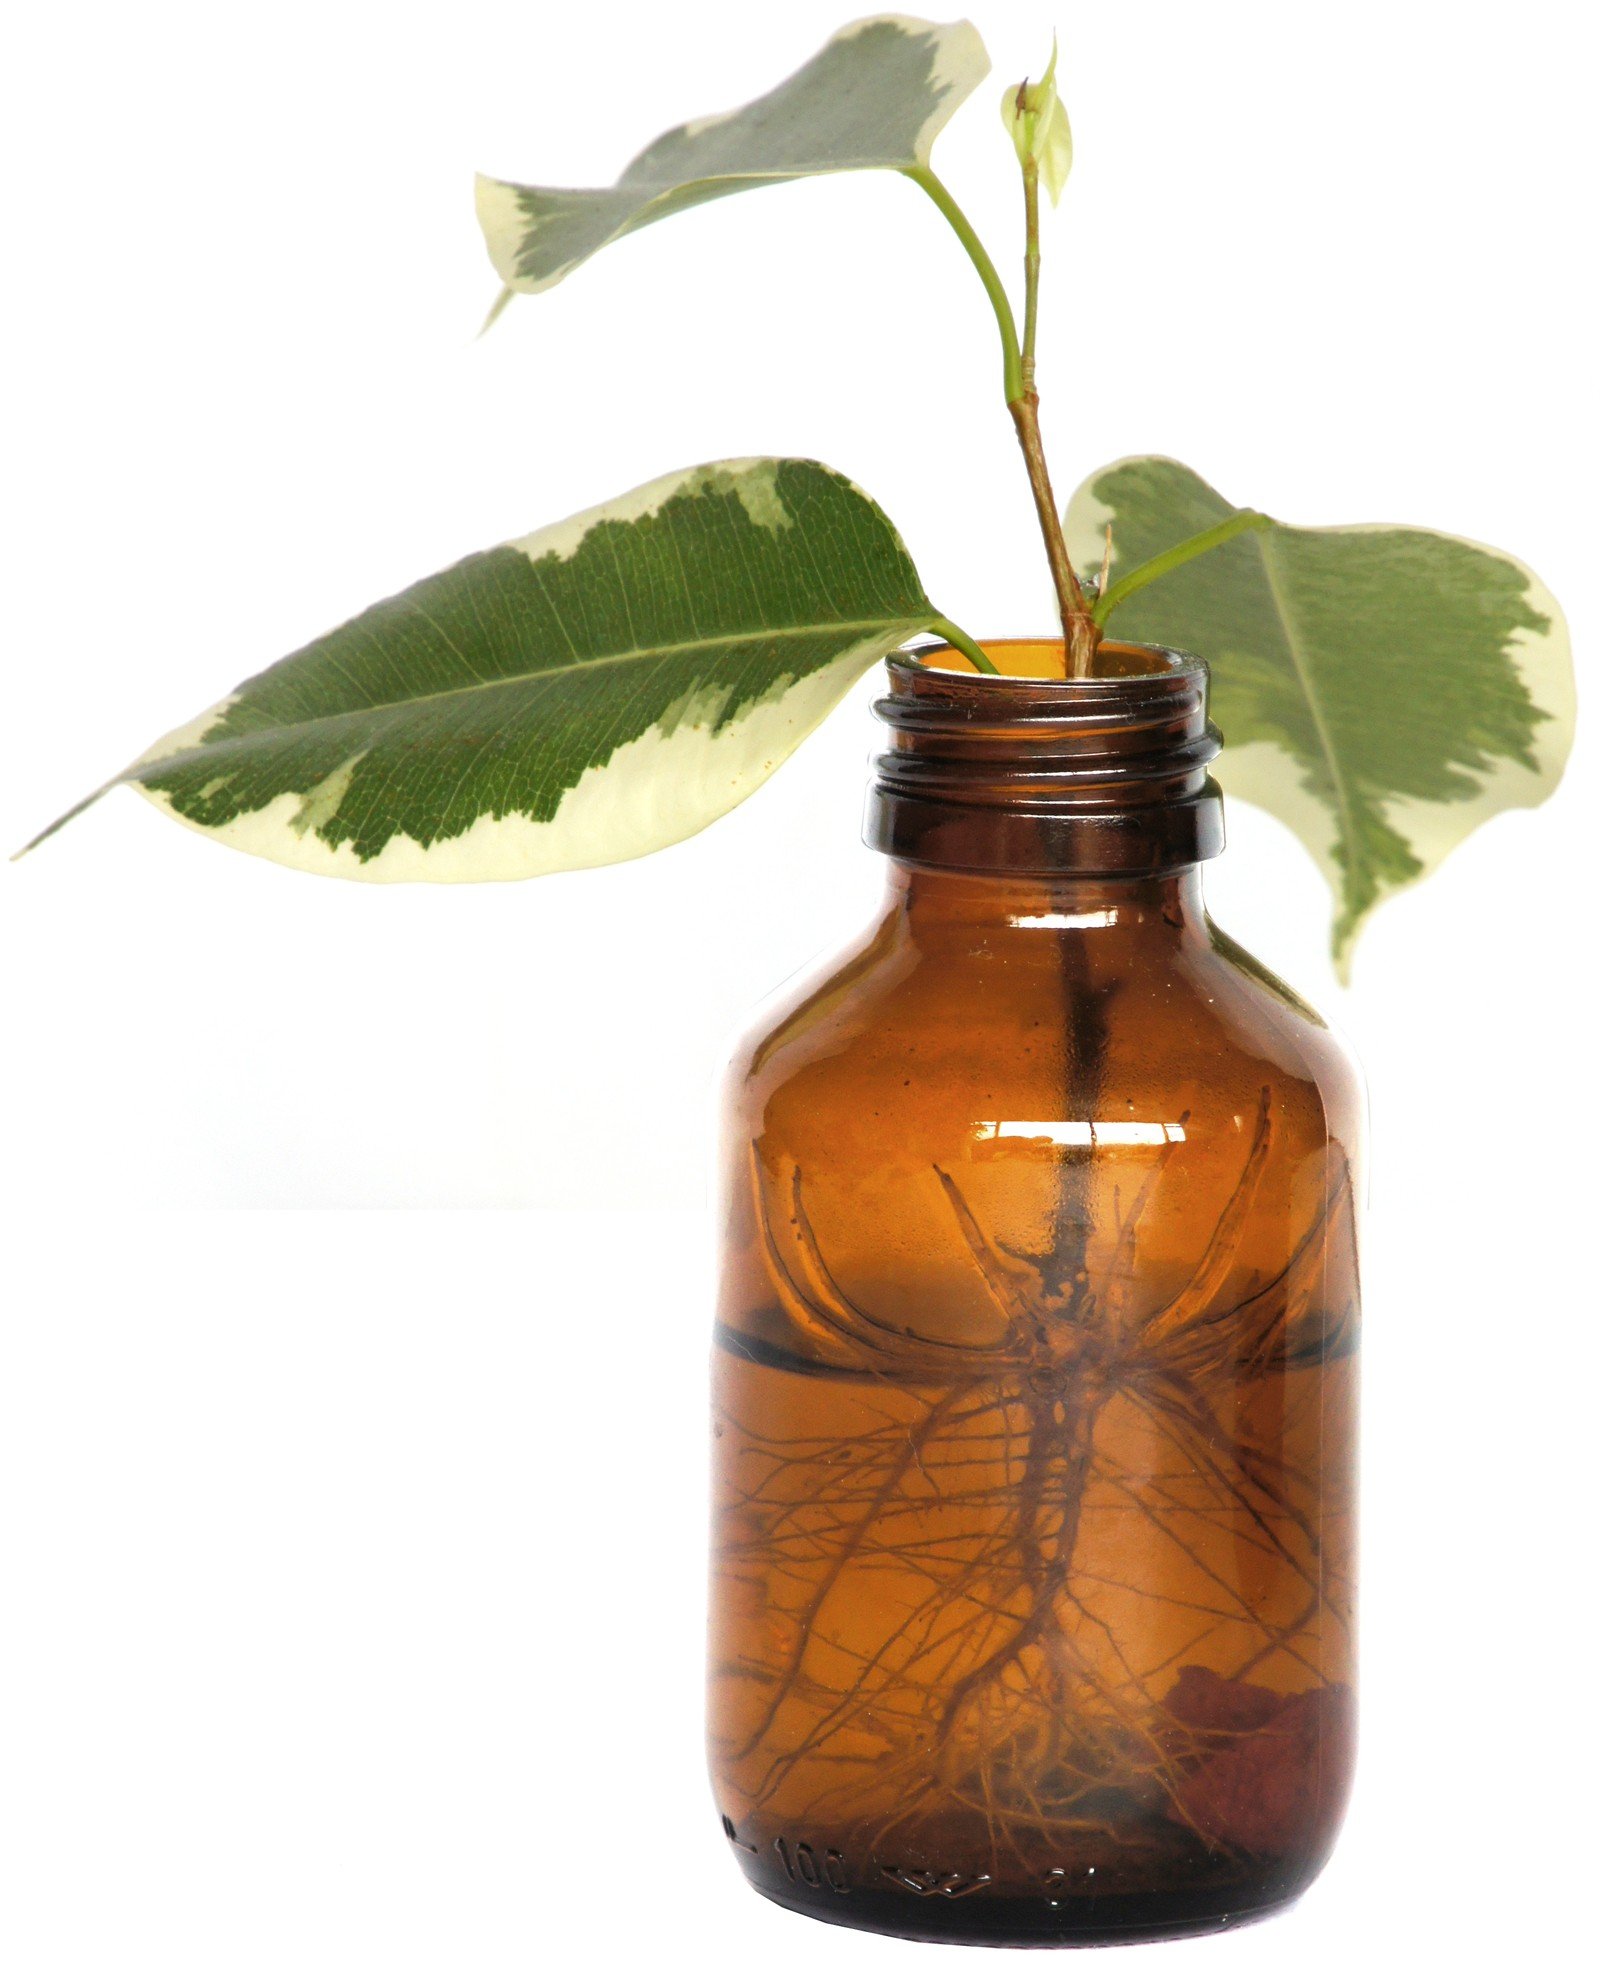
You will see rose cuttings rooting in jars of water all over the internet, and it does work — sometimes. Water rooting is satisfying because you can watch the roots appear, and for a single cutting on a kitchen windowsill it is a perfectly reasonable experiment. Change the water every few days to keep it fresh and oxygenated, keep the jar out of direct sun so the water does not turn green and hot, and pot the cutting up as soon as the roots are a few centimetres long.
Soil rooting, though, is more reliable for most gardeners, and it produces a stronger plant. Roots grown in water are brittle and adapted to water; when you move that cutting into compost, many of those roots break or struggle to adjust, and the cutting can stall or die just when you thought you had succeeded. Roots grown in compost are already adapted to compost. The cutting never faces that awkward transplant shock.
For soil rooting, the mix matters more than the pot. Use a free-draining, low-nutrient mix: a 50:50 blend of multi-purpose compost and perlite or coarse horticultural grit works well, as does ordinary seed and cutting compost with a handful of perlite stirred through. Rich, heavily fertilised compost is a disadvantage at this stage — it can scorch tender new roots and it stays too wet. Fill a pot at least 10–13 cm deep, because you want to bury a good length of stem. Push the cutting in so that at least two nodes are below the surface — roots can form at each buried node — firm the mix gently around it, and water it in well.
Feeding comes later, once the plant is growing away on its own roots. When it does need feeding, gentle organic options work well, and it is worth understanding the best natural fertilizers for plants before you reach for anything strong, because a young own-root rose rewards a light hand far more than a heavy one.
Humidity, Light, and Watering While They Root
A cutting without roots is in a race: it is losing water through its leaves all day and can replace almost none of it. Your whole job during the rooting period is to slow that water loss down until roots arrive. Humidity is the main tool.
Cover the pot with a clear plastic bag propped up on sticks or a cut-down plastic bottle so the plastic does not rest on the leaves, or place the pot inside a propagator with a vented lid. This humidity dome keeps the air around the leaves moist and can double a cutting’s chances in dry indoor air or windy weather. Open the cover for a few minutes every couple of days, or open the vents once condensation is constant, to let fresh air in and discourage mould. If you see grey, fuzzy mould starting, remove the affected leaf at once and increase ventilation — the dome should be humid, not airless and dripping.
Light needs are a balancing act. Cuttings need bright light to photosynthesise, but direct midday sun will cook them inside their plastic cover and dry them out in an hour. Bright, indirect light is ideal: a spot in light shade outdoors, a north- or east-facing windowsill indoors, or under a tree or bench in summer. In the dull days of late autumn and winter, give hardwood cuttings outdoors as much light as you can — without the plastic cover, overheating is rarely the problem in that season.
How to Tell When a Cutting Has Rooted
The classic test is the gentle tug. Give the stem the lightest possible pull. A loose, unrooted cutting slides easily; a rooted one offers a distinct, quiet resistance, as if something is holding it back. That something is roots. Test once, gently, and then leave it alone.
Potting On, Hardening Off, and Planting Out
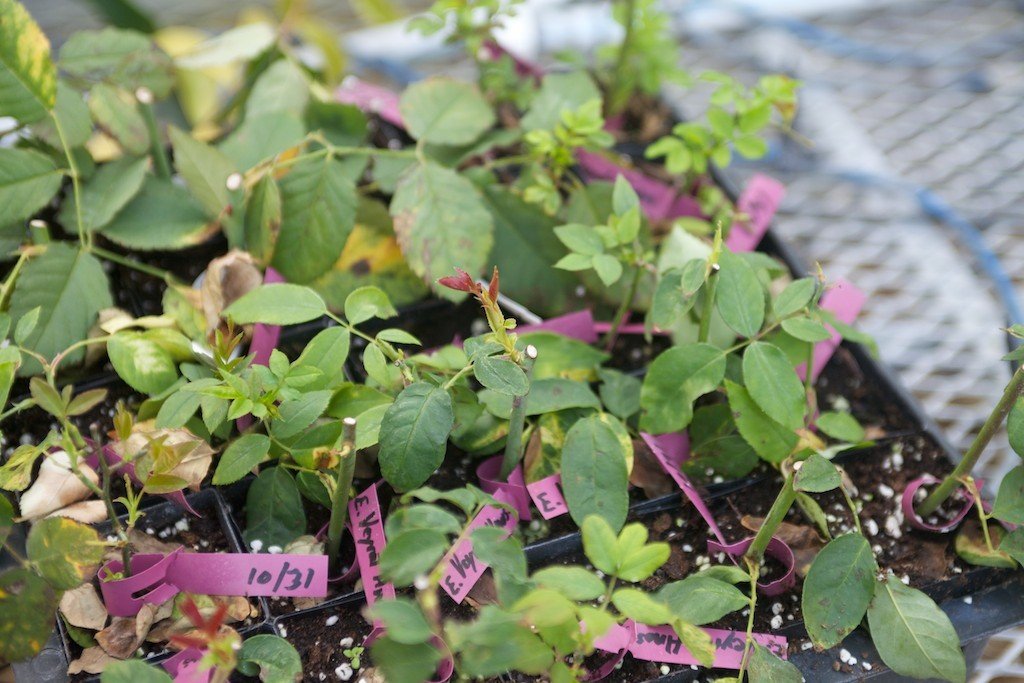
Once a cutting is rooted and growing, treat it like any young plant — with a little extra kindness for a while. If several cuttings shared a pot, tease them apart carefully once they have a decent root system, trying to keep as much compost around each set of roots as you can, and pot each one up individually into a 13–15 cm pot of ordinary multi-purpose compost. If a cutting rooted in its own pot, simply move it up a pot size when roots start appearing through the drainage holes.
Hardening off is the step people skip, and plants pay for it. A cutting that has spent weeks in a humid, sheltered propagator or greenhouse has soft growth that scorches and wilts in full outdoor conditions. Over seven to ten days, move it outside for a few hours in shade at first, then for longer periods with some morning sun, then leave it out overnight, bringing it in only if a hard frost threatens. By the end of the week it will be ready for life outdoors.
Planting out is best done once the young rose has a sturdy little rootball and the weather is settled — spring or early autumn are the kindest times in most zones, giving roots time to establish before summer heat or winter cold. In zones 5–6, spring planting is usually safer for a first-year plant; in zones 8–9, autumn planting works beautifully because the soil stays warm while the air cools. Dig a hole wider than the pot, fork over the base, set the plant at the same depth it grew in its pot, backfill, firm gently, and water deeply. A mulch of compost or bark, kept a few centimetres away from the stem, will hold moisture and suppress weeds while it settles in.
First-Year Care for Your New Rose
The first year is about roots, not flowers. Keep the young plant watered during dry spells through its first full summer, watering deeply at the base once or twice a week in hot weather rather than sprinkling a little every day. Deep watering encourages roots to grow down where the soil stays cool and moist, and that deep root system is what will carry the plant through future droughts unaided.
Feed lightly. A handful of general-purpose organic fertiliser or a layer of compost as a mulch in spring is plenty for a first-year plant; overfeeding produces soft, sappy growth that aphids adore and frost damages. Keep the area around the base free of competing weeds, which steal water from a small root system surprisingly effectively.
Practical Tips for Better Success
Take more cuttings than you need, always. This single habit removes almost all the stress from propagating. Six cuttings take barely longer than two, and if four root you have gifts for friends; if only two root, you still have exactly what you wanted.
Label everything the moment you take it. Variety name and date, written in pencil on a plastic label or a strip of masking tape on the pot. In three months you will not remember which pot holds the scented pink one and which holds the white climber — nobody does.
Think ahead about where these plants will live. A rooted cutting is a lovely problem only if you have a border ready for it; a plan that includes your new roses among the best flowering plants for spring will give them flowering companions at the right height and keep a young rose border from looking lonely in its first year.
Common Mistakes and How to Avoid Them
Letting cuttings dry out is the number one killer. A single hot, windy afternoon can finish a softwood cutting that has no roots. Prevent it with the humidity cover, a sheltered shady spot, and regular fingertip checks of the compost. If a cutting has wilted badly and the stem has gone soft and dark at the base, it is usually beyond saving — learn from it and take fresh material.
Taking flowering stems is a frequent beginner error. A stem carrying an open flower or a fat bud is spending its energy on blooming and seed-making, not on roots, and the flower will wilt and invite mould inside a humidity cover. Use stems that have just finished flowering, with the spent bloom removed, or healthy non-flowering shoots — never one in full bloom.
Working in the wrong season wastes good material. Soft, sappy spring growth taken too early collapses; hardwood cuttings taken in a warm, growth-filled autumn may try to leaf out and exhaust themselves. Match the material to the calendar: soft in late spring, semi-ripe in late summer, hard in dormancy.
Overwatering and rot run a close second to drying out, and the two often happen to the same batch in sequence — soaked after a panic watering, then forgotten. Soggy, airless compost rots the base of the stem, which turns black and mushy from the bottom up. Prevent it with a gritty, free-draining mix, pots with proper drainage holes, and the discipline to water only when the top of the compost is starting to dry.
Moving cuttings too soon is the quiet heartbreak. A gardener lifts a cutting to check for roots, snaps the three fragile roots that were forming, and replants a cutting that now has to start again. Use the tug test, watch for sustained new growth, and wait until you are fairly confident before disturbing anything. When in doubt, wait another fortnight.
Starting with diseased or weak material dooms a batch from the outset. A cutting taken from a stem covered in black spot starts life fighting infection with no roots. Five minutes spent selecting the cleanest, stoutest stems on the bush pays for itself many times over.
Frequently Asked Questions
How long do rose cuttings take to root?
It depends on the type and the season. Softwood cuttings in warm late-spring weather may root in four to six weeks. Semi-ripe cuttings usually need six to ten weeks. Hardwood cuttings taken in autumn or winter are the slowest: they commonly sit dormant and root as the soil warms the following spring, which can mean three to five months of waiting. The cutting often looks unchanged for much of that time, which is normal.
Do rose cuttings need rooting hormone?
No, but it helps in some cases. Vigorous shrub roses, old garden roses, and ramblers often root readily without it, while some hybrid teas and hardwood cuttings benefit from the extra encouragement. Good timing, a healthy stem, steady moisture, and a humidity cover make a bigger difference than hormone alone, and honey or cinnamon are not substitutes — at best they may slightly reduce rotting; neither contains rooting compounds.
Why has my cutting gone black at the base?
That is rot, almost always caused by compost that stayed too wet and airless, or by a leaf or piece of stem rotting below the surface. The blackened section will not recover. If the upper part of the stem is still firm and green, you can sometimes rescue it by cutting back to clean, healthy tissue above the rot and starting again in fresh, grittier compost — otherwise, discard it and adjust your watering and mix for the next batch.
When will a rose grown from a cutting flower?
Often sooner than people expect. A strong softwood or semi-ripe cutting may produce a flower or two in its first season, though it is better for the plant to remove most buds in year one so energy goes into roots. From the second year, an own-root rose should flower normally and build up steadily, typically reaching a good size by its third year, depending on the variety and your climate.
Final Thoughts
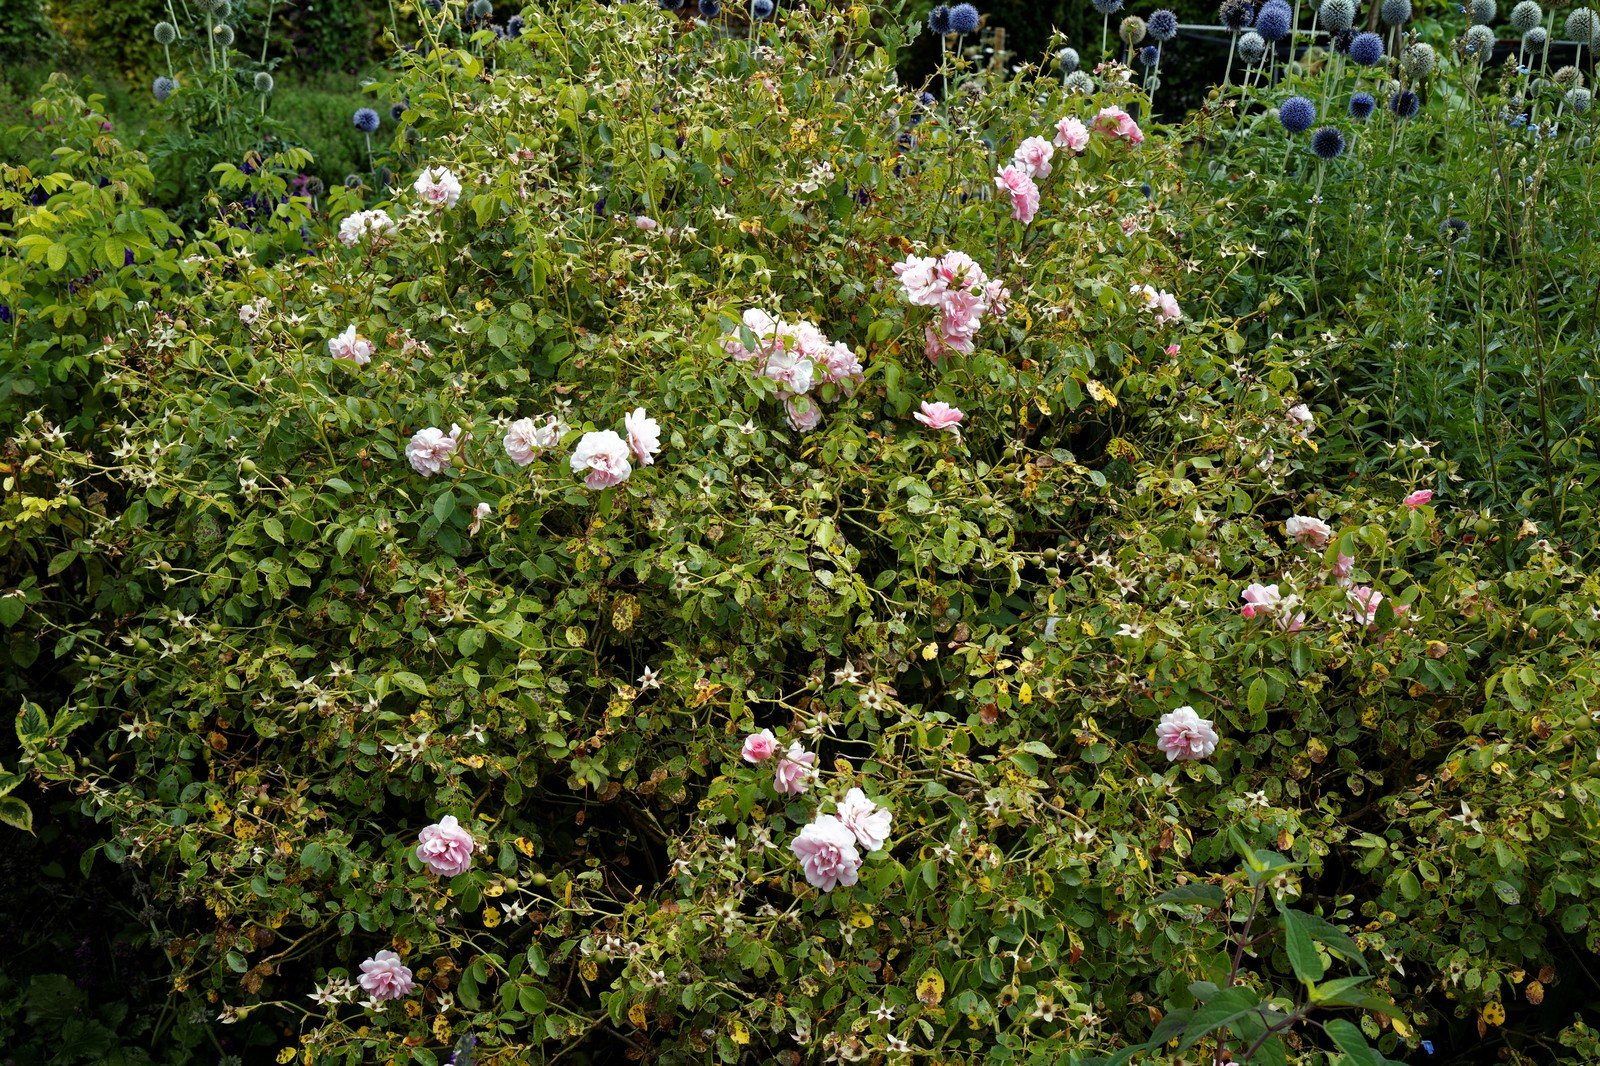
Growing roses from cuttings is one of gardening’s genuinely satisfying skills, because it asks for patience and observation rather than money or equipment. Pick a healthy parent plant, choose pencil-thick stems, match your timing to the season — semi-ripe cuttings in late summer are the most forgiving place to start — bury at least two nodes in a gritty mix, keep the air humid and the compost just moist, and then, hardest of all, leave them alone while roots quietly form.
Expect some losses, take more cuttings than you need, and do not be discouraged by a failed batch: every gardener who propagates has a compost heap that has received their early attempts. Within a season or two, the young plant flowering in your border will be genetically the same rose you admired, multiplied for free — and you will find yourself looking at every pruned stem, in your garden and everyone else’s, and wondering whether it might root.