

Few herbs reward a beginner as quickly as mint. Plant it, water it, and within weeks you have fragrant leaves for tea, salads, sauces, and summer drinks — and the plant simply keeps coming. If you have ever wondered how to grow mint at home, the honest answer is that growing it is the easy part. Mint is tough, fast, and forgiving of mistakes that would finish off fussier herbs like basil or coriander. The real skill lies not in keeping mint alive, but in keeping it where you put it.
That enthusiasm needs explaining up front, because it shapes every decision in this guide. Mint spreads by underground runners that travel surprising distances and pop up wherever they please. In open soil, one small plant can quietly take over a whole herb bed in a couple of seasons, muscling out parsley, chives, and anything else in its path. Gardeners who have inherited a mint patch often describe removal as a project, not a job. Grown in a pot, though, mint is the perfect home herb: generous, hardy, and entirely under your control.
So this is a two-part promise. You will learn how to give mint exactly what it likes — moisture, decent light, and regular picking — and you will learn how to contain it, in pots outdoors, sunk containers, or on a bright windowsill indoors. Follow both halves and you will have armfuls of fresh mint for years, in exactly the spot you chose, and nowhere else.
Why Mint Belongs in a Pot First
It is worth understanding what mint does underground, because once you see it, every containment tip makes sense. Mint sends out horizontal stems called runners, both above and below the soil surface. Below ground, those runners travel outward from the parent plant, rooting as they go and sending up new shoots. A plant that looks modest above ground in June may have runners a foot or more long beneath the surface by autumn, especially in moist, fertile soil — which is, unfortunately, exactly the soil mint loves most.
In a mixed herb bed, that means mint wins. Its roots are vigorous, its growth is fast, and it leafs out early in spring before slower herbs get going. Thyme creeps, parsley hesitates, and mint simply occupies the ground. Pulling it out rarely works on the first attempt, because any fragment of runner left in the soil can regrow, and a bed dug over once usually needs revisiting several times.
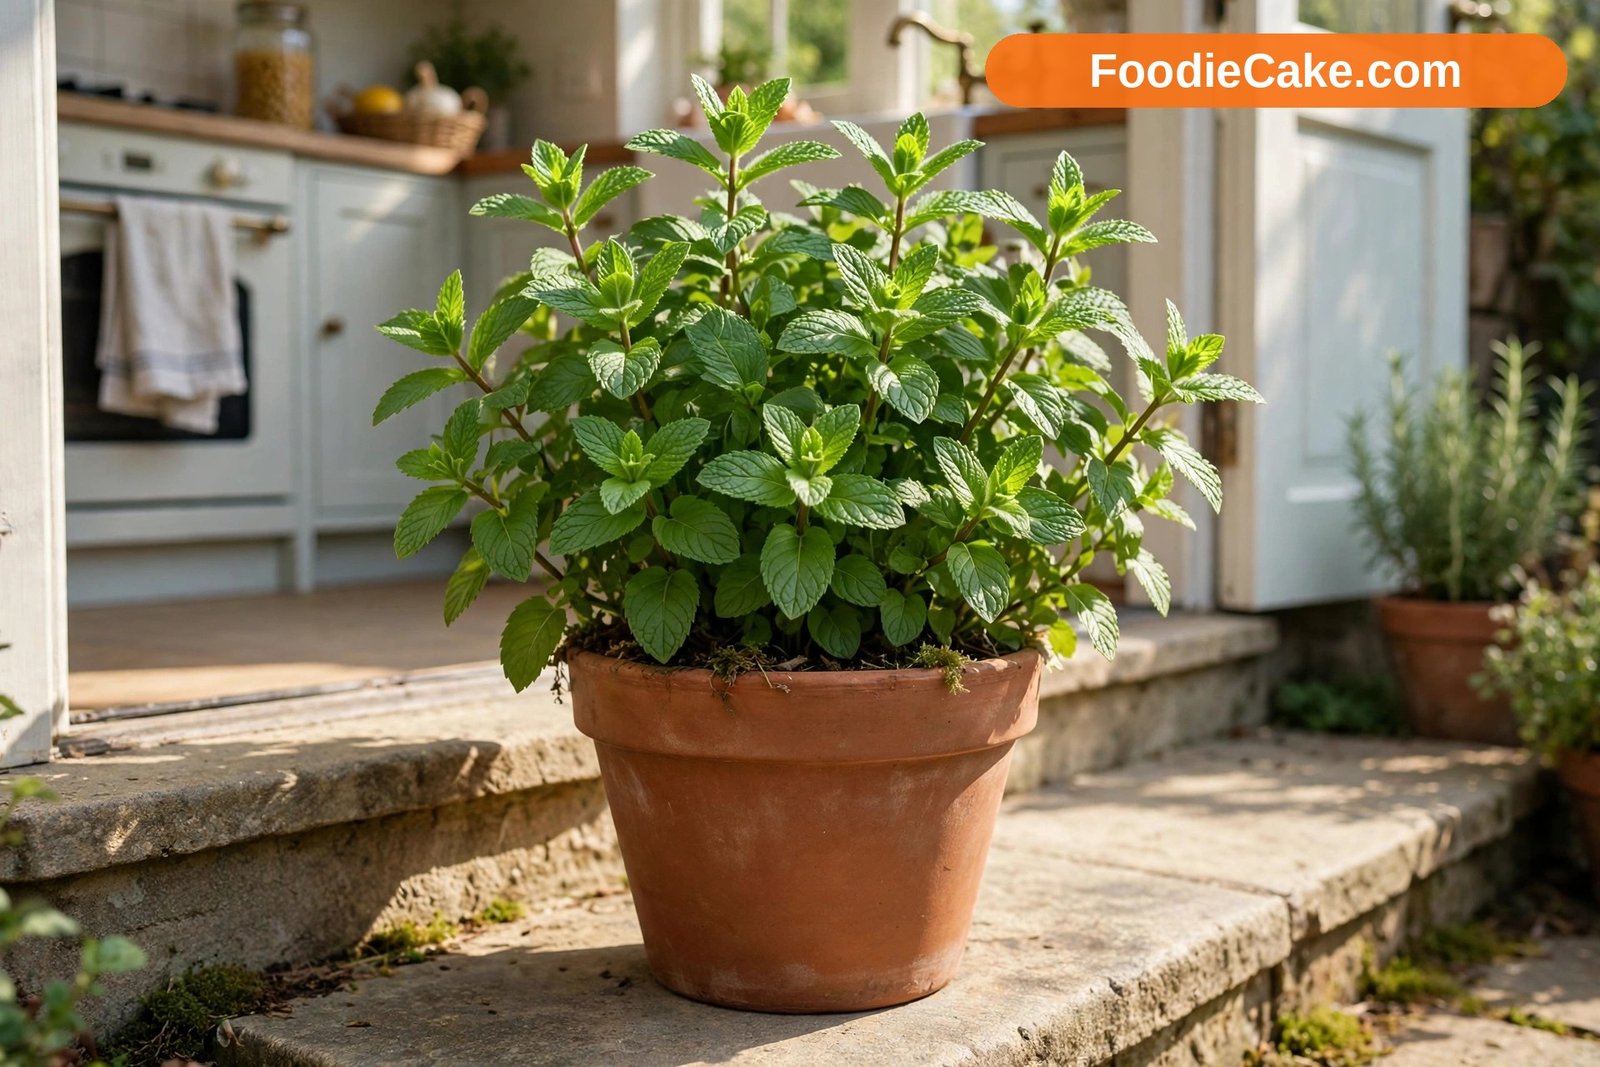
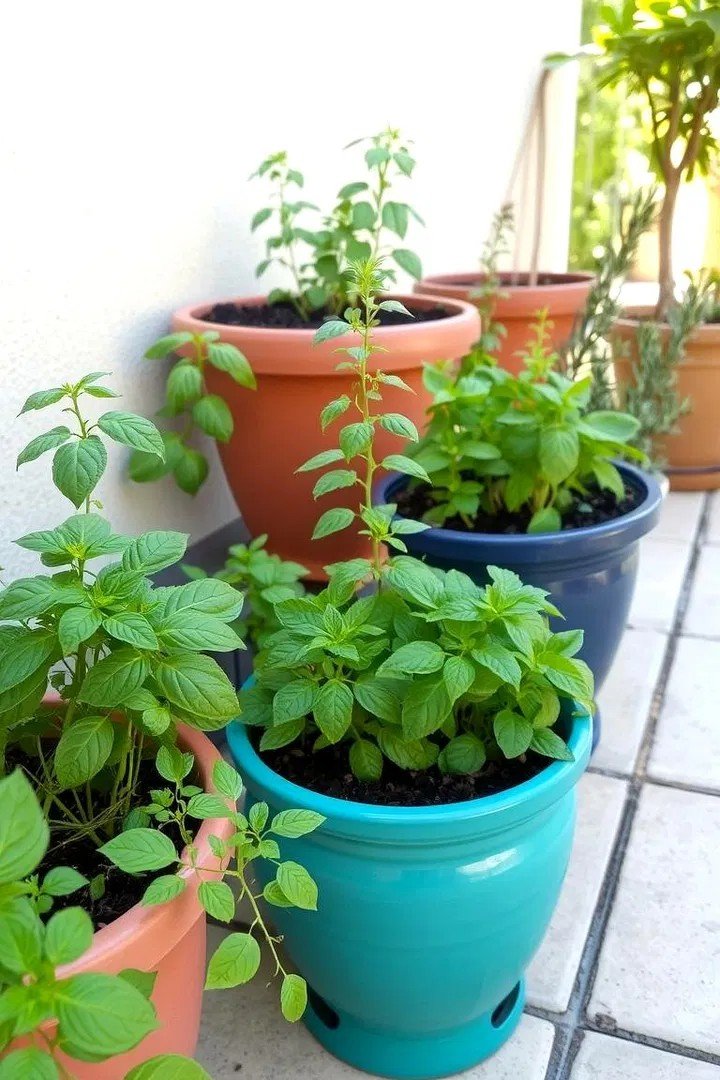
A pot changes the relationship completely. The roots circle inside the container, the runners hit the pot wall and stop, and the plant puts its energy into the leafy growth you actually want. You can move the pot to follow the sun, bring it closer to the kitchen door in summer, and refresh its compost every couple of years without disturbing a single neighbour. Almost everything else in this guide assumes a pot, because for most home growers a pot is not a compromise — it is the correct way to grow this particular herb.
Choosing a Mint Variety to Grow
“Mentha” is a generous family, and the varieties taste more different than most people expect. Supermarket seedlings labelled simply “mint” are usually spearmint types, which is a fine place to start, but choosing deliberately makes cooking with your plant far more satisfying.
Spearmint is the classic all-rounder: bright, sweet, and mild, without the cooling punch of peppermint. It is the one for salads, tabbouleh, minted peas, new potatoes, and most everyday cooking, and it is usually the hardiest and most vigorous of the group. If you grow only one mint in zones 4–9, make it spearmint.
Peppermint is stronger, sharper, and distinctly cooling, because it contains much more menthol. It is the mint for tea, desserts, and anything chocolate, and it tends to be a little less rampant than spearmint, though “less rampant” is a relative term — it still goes in a pot. Peppermint is a sterile hybrid, so it does not come true from seed; always buy it as a plant or take it from a division.
Beyond those two, the flavoured mints are worth exploring once you have the basics. Chocolate mint has a subtle cocoa-mint scent that works beautifully in desserts and drinks. Apple mint is soft, fruity, and gentle, with downy leaves that make it the nicest mint for a simple fresh tea. Moroccan spearmint is the traditional choice for proper mint tea, with a clean, strong flavour. Mojito mint, a spearmint type from Cuba, is prized for drinks because it is flavourful without bitterness. Ginger mint and pineapple mint are grown as much for their variegated leaves as their taste, and they brighten a pot on a shaded step.
One caution with variety collecting: mint cross-pollinates enthusiastically and muddles its flavours over time if varieties grow cheek by jowl and flower together. If you keep several mints for their distinct flavours, give each its own pot, keep them a little apart, and cut off flower heads as they appear. Flavour purists also replace plants every few years from fresh cuttings of the original, which is easy — mint roots in water almost willingly, as you will see below.
What Mint Needs: Light, Soil, and a Container
Mint is easygoing, but “easygoing” is not the same as “indifferent.” Give it the conditions it prefers and it repays you with dense, flavour-packed growth instead of leggy, pale stems.
Light is the first consideration. Outdoors, mint grows best with morning sun and some afternoon shade, especially in hot climates and in zones 8–9, where fierce midday sun can scorch leaves in a pot. In cooler areas and zones 4–6, it handles full sun happily as long as the soil stays moist. Indoors, mint wants the brightest spot you have — a south- or east-facing windowsill is ideal — because low light is the main cause of weak, spindly windowsill herbs. A plant that stretches pale stems towards the glass is not hungry; it is short of light.
Soil comes next. Mint likes rich, moisture-retentive compost that never quite dries to dust or sits in stagnant water. A good multi-purpose compost suits it well, and mixing in a little garden compost or leaf mould gives it extra body. In open ground mint tolerates most soils, which is part of its reputation, but in a pot the compost is the whole world, so start with something decent.
The container itself matters more than its looks. Choose a pot at least twelve inches across, and wider rather than deep — mint’s roots spread sideways, and a broad pot gives a bushier plant. Terracotta looks lovely and suits many herbs, but it dries out fast, and a thirsty plant in a drying pot needs watering almost daily in summer. Plastic or glazed ceramic pots hold moisture longer and are kinder to busy growers. Whatever the material, drainage holes are non-negotiable: mint loves water passing through its roots, not pooling beneath them. Raise the pot on feet or a saucer so it never stands in water for hours.
Step-by-Step: Planting Mint at Home
You can start mint from seed, from a bought plant, or from a piece given by another gardener, and it is worth knowing what each route involves.
Starting from seed suits spearmint types. Sow thinly on the surface of moist compost in spring, because mint seed needs light to germinate well — press it gently into the surface rather than burying it. Keep the pot warm and moist, and expect slow, uneven germination over a couple of weeks. Seedlings are tiny and unremarkable at first, so patience is the main requirement. Named varieties and peppermint, as mentioned, must come from plants, not packets.
A bought plant is the fastest route, and spring is the best time to buy. Choose a plant with several stems, bright leaves, and no signs of rust-coloured spots underneath. At home, water it in its nursery pot, then tip it out and tease the roots gently if they are circling tightly. Fill your chosen pot with compost to a couple of inches below the rim, set the plant at the same depth it grew before, firm the compost around it, and water thoroughly until it runs from the drainage holes. That settling-in watering matters more than any feed you could give it.
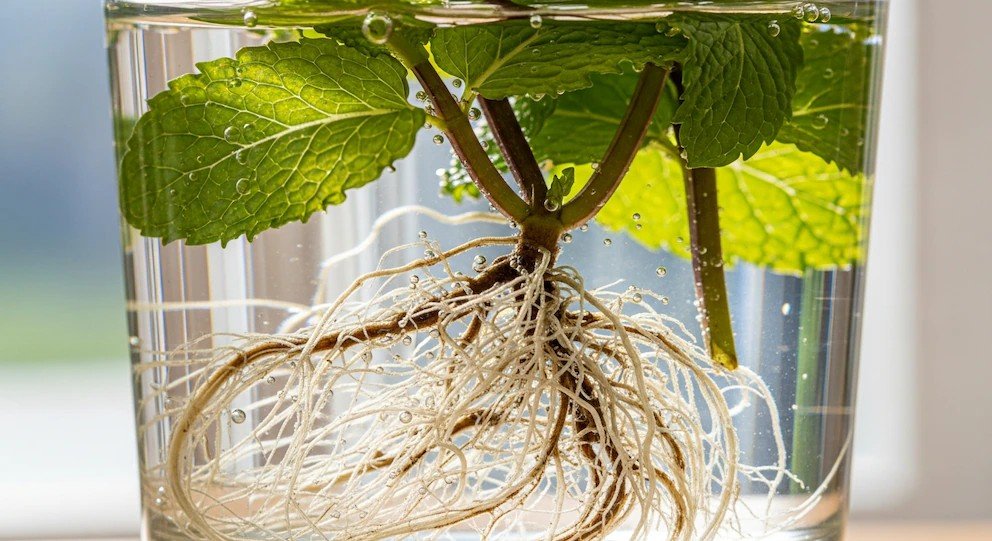
Divisions and cuttings are how most gardeners actually multiply mint. In spring or early autumn, lift or tip out an established plant and pull or cut it into sections, each with roots and shoots, then pot them up individually. Stem cuttings are even simpler: snip a healthy four-inch stem, strip the lower leaves, and stand it in a glass of water on a bright sill. Roots usually appear within a week or two — mint is famously obliging about this — and once they are an inch long, pot the cutting into compost, keep it moist, and treat it gently for the first fortnight while soil roots take over.
However you start, keep new plants consistently moist for their first few weeks and out of harsh midday sun until they are growing away. Mint establishes quickly, and by midsummer a spring-planted pot should be ready for regular picking.
Growing Mint Indoors on a Windowsill
Mint is one of the most successful indoor herbs because it tolerates the move inside better than sun-worshippers like basil. That said, indoor mint lives on your light, so placement is nine-tenths of the battle. The brightest windowsill you can offer — ideally south- or east-facing, with several hours of direct sun — gives compact, tasty growth. A west-facing sill often works too. A north-facing window in winter is where windowsill mint goes to stretch and sulk, and in that case a small LED grow light for twelve or so hours a day makes a remarkable difference.
Turn the pot a quarter turn every few days so all sides get their share of the light; otherwise the plant leans hard towards the glass and grows lopsided. Keep the pot away from radiators and heat vents, which dry the air and the compost and invite spider mites, and away from cold draughts in winter. Kitchen humidity actually suits mint, which is one reason it thrives above a sink.
It is often mentioned alongside the other easy windowsill herbs, and if indoor growing appeals to you, browsing the best herbs to grow indoors will help you build a little collection that shares mint’s conditions — chives, parsley, and thyme all make cooperative neighbours in separate pots. Water indoor mint when the top inch of compost feels dry, empty the saucer afterwards, and pick little and often rather than letting the plant grow long and woody by the window.
You can also move a pot in and out with the seasons: outdoors from spring to autumn, where growth will be strongest, then onto the sill for winter picking. Bring it in before the first hard frost, check the leaves carefully for aphids and other passengers, and expect growth to slow through the darkest weeks before picking up again in spring.
Watering, Feeding, and Everyday Care
If mint has a single demand, it is water. This is a plant whose wild ancestors grew along stream banks and in damp meadows, and it has never forgotten it. In a pot outdoors in summer, mint may need watering every day in hot, windy weather, and every two or three days in milder spells. The test is simple: push a finger an inch into the compost. Dry at that depth means water now, generously, until it drains from the bottom. Wilting mint usually recovers within an hour of a thorough drink — it is a dramatic plant, not a dying one — but repeated wilting weakens it and toughens the leaves, so try to water before the performance rather than after it.
Feeding should be modest. Mint grown too soft on rich feeding produces lush leaves with diluted flavour, which is the opposite of what you want from a herb. A spring application of a balanced liquid feed, or a top-dressing of fresh compost when you tidy the pot, is enough for most plants. In a pot for a second season, feed lightly every few weeks through the growing season, always to moist compost. Yellow leaves on an otherwise vigorous plant in an old pot usually mean the compost is exhausted or the plant is pot-bound, and repotting cures it faster than feeding does.
Every year or two, refresh the whole plant. Tip it out in spring, shake off most of the old compost, trim the thick, woody runners, and replant a healthy outer section — the youngest, freshest growth is usually at the edge of the clump — in fresh compost. This ten-minute job keeps a pot of mint vigorous for years and is also your chance to pot up the spare pieces for friends, which is how most mint travels from garden to garden anyway.
Mint is a perennial and hardy through zones 4–9, depending on variety, so an outdoor pot survives most winters without ceremony. Growth dies back to the roots in cold weather, and in very cold areas it is worth moving the pot against a sheltered wall or wrapping it, because roots in a frozen pot are colder than roots in the ground. Expect fresh shoots in spring — sometimes surprisingly late, so do not empty the pot in a fit of tidiness in March.
Pruning and Harvesting Without Letting It Get Leggy
Mint wants to grow up, flower, and be done, and your job as its harvester is to keep interrupting that plan. Left alone, a plant produces tall stems that grow woody at the base, flower at the tip, and lose flavour as they do. Picked regularly, the same plant stays bushy, leafy, and productive from spring to autumn.
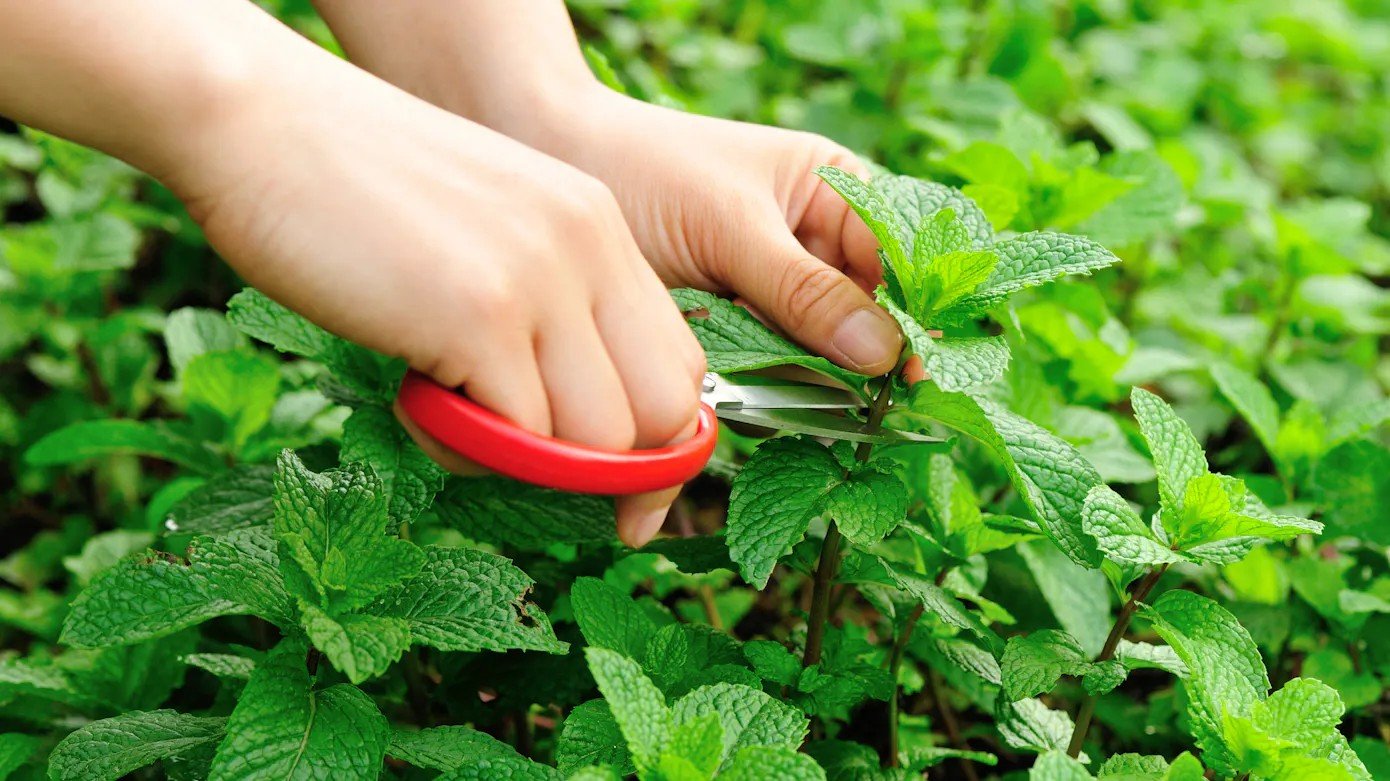
The technique is pinching. When a stem has grown several sets of leaves, pinch or snip it back to just above a pair of leaves. Two new stems will grow from that point, doubling your harvest and keeping the plant compact. Do this little and often, taking a few stems every time you pass with scissors in hand. Never strip more than about a third of the plant at once; it needs its leaves to feed the roots that drive the next flush of growth.
For a big harvest — for drying, for a batch of sauce, or for freezing — cut whole stems back by half in late spring and again in midsummer. Mint responds to a hard cut with a surge of fresh growth, and many growers give the whole pot a decisive trim two or three times a season. Morning is the best time to pick, after the dew has dried but before the sun gets strong, when the aromatic oils that carry the flavour are at their most concentrated. Leaves picked in the heat of the afternoon still work; they are simply a touch less vivid.
Remove flower heads as they form if you are growing for leaves. Once mint flowers, stem growth slows and the leaves can turn slightly bitter and coarse. The flowers are, to be fair, lovely and much loved by bees, so if you have a spare plant, letting one bloom for the pollinators is a kind gesture — just keep it away from your other named varieties if you care about their flavours staying true.
Preserving a glut is easy. Mint freezes well: chop the leaves and freeze them in ice-cube trays topped up with water, then pop the cubes straight into cooking. Drying works, though dried mint loses some brightness and suits teas and slow-cooked dishes better than salads. A simple mint sauce or a jar of mint sugar uses up a bowlful in minutes and keeps the harvest close at hand.
How to Contain Mint and Stop It Spreading
Everything in this section exists because of the runners described earlier. If you take one idea from this article, let it be this: decide where the mint stops before you plant it, not after it has decided for itself.
The simplest containment is the pot itself, standing on paving, decking, gravel, or a saucer — anywhere the runners cannot reach soil. A pot placed on bare earth can and will root through its drainage holes and escape underneath, a trick many gardeners have discovered a season too late. A pot on a patio slab, by contrast, can hold the same plant happily for a decade.
If you want mint in a border — and it does look wonderful there, spilling around other plants — sink its container into the ground. Use a large, sturdy pot or a bottomless bucket sunk so its rim stands an inch or two above the soil surface. That raised rim is the crucial detail: runners travelling underground hit the container wall, and runners creeping over the surface have to climb the rim, where you will spot them on your regular rounds and snip them off. Check the rim every few weeks in summer, because a runner that flops over the edge and touches soil will root and start a new, uncontained colony.
Physical barriers sold for bamboo can work around a dedicated mint patch, but for most home growers they are more expense and effort than a sunken pot. What does not work is confidence: planting mint in a corner and planning to “keep an eye on it.” Everyone plans that. The plant counts on it.
If mint has already escaped in your garden, be methodical rather than heroic. Dig out the patch thoroughly, following runners with a fork rather than pulling stems, and sift the soil for white runner fragments. Then revisit the spot every couple of weeks through the season and remove regrowth while it is small. It may take a season of persistence, but small regrowth exhausts the buried fragments far faster than one dramatic annual dig. Smothering with thick cardboard and mulch helps on areas you can leave fallow. It is entirely winnable — it just rewards patience over force.
Practical Tips for Better Mint at Home
Place the main pot where you will actually use it. Mint by the kitchen door gets picked daily; mint at the bottom of the garden becomes a monthly expedition. Convenience is a genuine growing condition for herbs, because regular picking is what keeps the plant at its best.
Grow two pots if you cook with mint often. While one recovers from a hard cut, the other is in full leaf, and you never face the choice between tonight’s recipe and the plant’s health. The second pot costs you one division in spring and a bag of compost.
Refresh your flavoured varieties from cuttings. Because mints cross and muddle, a chocolate mint that has flowered beside a spearmint for years may lose its character. Taking cuttings from true growth and replacing plants every few years keeps the flavours you originally chose.
Use the runners you remove. When you refresh a pot, the trimmed sections with roots are free plants. Pot them up, water them in, and you have gifts that gardeners genuinely appreciate — with the containment talk included, as a friendly duty.
Think of mint as part of a small herb system rather than a solo act. Planning it alongside other kitchen staples is easier when you follow the same simple layout used to start a kitchen herb garden that you will actually use, with the thirsty herbs grouped near the tap and the sun-lovers in the driest, brightest corner — and mint, always, in its own pot among them.
Keep a pair of kitchen scissors near the back door. It sounds trivial, but the growers with the bushiest mint are the ones for whom pinching a stem takes ten seconds, not a trip to the shed.
Common Mistakes and Problems, and How to Fix Them
Planting mint in open ground in a mixed bed is the mistake this whole article warns against, and it is made by hopeful gardeners every spring. If you have done it this year, do not despair — lift the plant while it is still small, runners and all, and move it to a pot. Caught in its first season, the move is a twenty-minute job. Caught in its third, it is the digging campaign described above.
Letting a pot dry out repeatedly is the second common error. Mint wilts theatrically and recovers, which trains its owner to treat wilting as normal. It is a warning, not a personality trait: chronically dry mint grows tough, sparse, and prone to pests. Move the plant to a slightly larger pot, water deeply, and mulch the surface with compost or gravel to slow evaporation.
Leggy, pale growth means the plant needs light and pinching, in that order. Move it to the brightest spot available, cut the stems back by half to force bushy regrowth, and pinch the new tips as they grow. Feeding a light-starved plant just gives you longer, weaker stems.
Rust is mint’s characteristic disease — orange-brown pustules under the leaves, which yellow and drop. It spreads in warm, crowded, humid conditions. Cut affected plants hard back, bin the growth rather than composting it, water at the base, and improve air flow around the pot. Badly infected plants are best replaced with fresh stock grown from a clean cutting taken well away from the problem.
Aphids cluster on soft tips in spring and are usually dealt with by a firm jet of water or by pinching off the worst tips — which you were going to do anyway. Spider mites appear indoors in dry, heated rooms, showing as fine webbing and speckled leaves; raising humidity and showering the plant in the sink usually settles a mild case. White, powdery leaves suggest powdery mildew, again a sign of still, humid air: thin the growth, move the pot, and remove the worst leaves.
Finally, flavour fading in an old plant is normal and fixable. A clump that has sat in the same compost for years, flowered freely, and never been divided loses its brightness. The spring refresh — divide, replant the freshest section in new compost, pinch from the start — restores it in a single season.
Frequently Asked Questions
Can I grow mint indoors all year round?
Yes, mint is one of the best herbs for year-round indoor growing, provided it gets enough light. A bright south- or east-facing windowsill suits it in most seasons; in the darkest winter weeks, growth slows and a small grow light helps. Keep the compost evenly moist, turn the pot regularly, and pinch often, and a windowsill plant will give you pickings in every month.
Why should mint not be planted directly in the ground?
Because of its runners. Mint spreads underground and will colonise a bed, out-competing slower herbs and regrowing from fragments left behind when you try to remove it. A pot — or a pot sunk into the border with its rim above the soil — gives you the same plant with none of the takeover.
How often should I water mint in a pot?
Whenever the top inch of compost feels dry. In hot summer weather that can mean daily watering outdoors, while an indoor plant in winter may need water only once or twice a week. Always water thoroughly until it drains from the base, and never let the pot stand in water for hours.
Does mint come back every year?
In most gardens, yes. Mint is a hardy perennial in zones 4–9, depending on the variety. The top growth dies back in winter and fresh shoots appear in spring, sometimes later than you expect. Pots in very cold areas benefit from a sheltered spot, since roots in a container get colder than roots in open ground.
How do I keep mint from tasting weak?
Harvest before it flowers, pick in the morning, and grow it in good light with steady moisture. Remove flower heads as they form, avoid heavy feeding, which produces lush but dilute leaves, and refresh old plants by dividing and repotting in fresh compost every year or two. Young, freshly pinched growth always carries the best flavour.
Can different mint varieties be planted together?
They can share a large container physically, but the strongest grower — usually spearmint — will gradually crowd out the others, and varieties grown together and allowed to flower can cross and lose their distinct flavours. One variety per pot, with pots kept a little apart, keeps each plant true and makes the whole collection far easier to manage.
Final Thoughts
Mint asks for almost nothing and gives generously in return — but it does ask for one decision, made at planting time and never renegotiated: it lives in a pot. Get that single thing right, give the plant moisture, decent light, and regular pinching, and it will supply you with fresh leaves from spring to autumn outdoors and through the winter on a bright sill.
Start with one pot of spearmint by the kitchen door this spring. Take cuttings, try a flavoured variety next year, and enjoy the quiet satisfaction of an herb patch that is entirely, peacefully under your control — fresh tea, bright salads, and not a single runner where it should not be.