

If you want to learn how to grow tomatoes at home, the good news is that you do not need a huge garden, perfect soil, or years of experience to get a worthwhile harvest. You need a sunny spot, decent soil, steady watering, and a variety that suits the space you actually have. Get those four things roughly right, and tomatoes are forgiving, generous plants.
That said, tomatoes do reward a little planning. A sprawling indeterminate variety squeezed into a small pot will struggle no matter how much you feed it. Seeds started too early become leggy and stressed before they ever reach the garden. Water that swings from drought to flood can split fruit and cause blossom end rot. Most tomato problems that frustrate beginners are not bad luck. They are small, fixable mismatches between the plant and how it is being grown.
This guide walks through the whole process in order: choosing varieties, starting seeds indoors, preparing the bed or pot, transplanting deep, supporting the plant, watering and feeding, pruning honestly, and dealing with the handful of problems most home gardeners eventually meet. Timings are given relative to your last frost date, because that is what actually matters. A date that works in zones 5–8 will be weeks out in a warmer or cooler climate, so always anchor your plans to local frost dates rather than a calendar page from somewhere else.
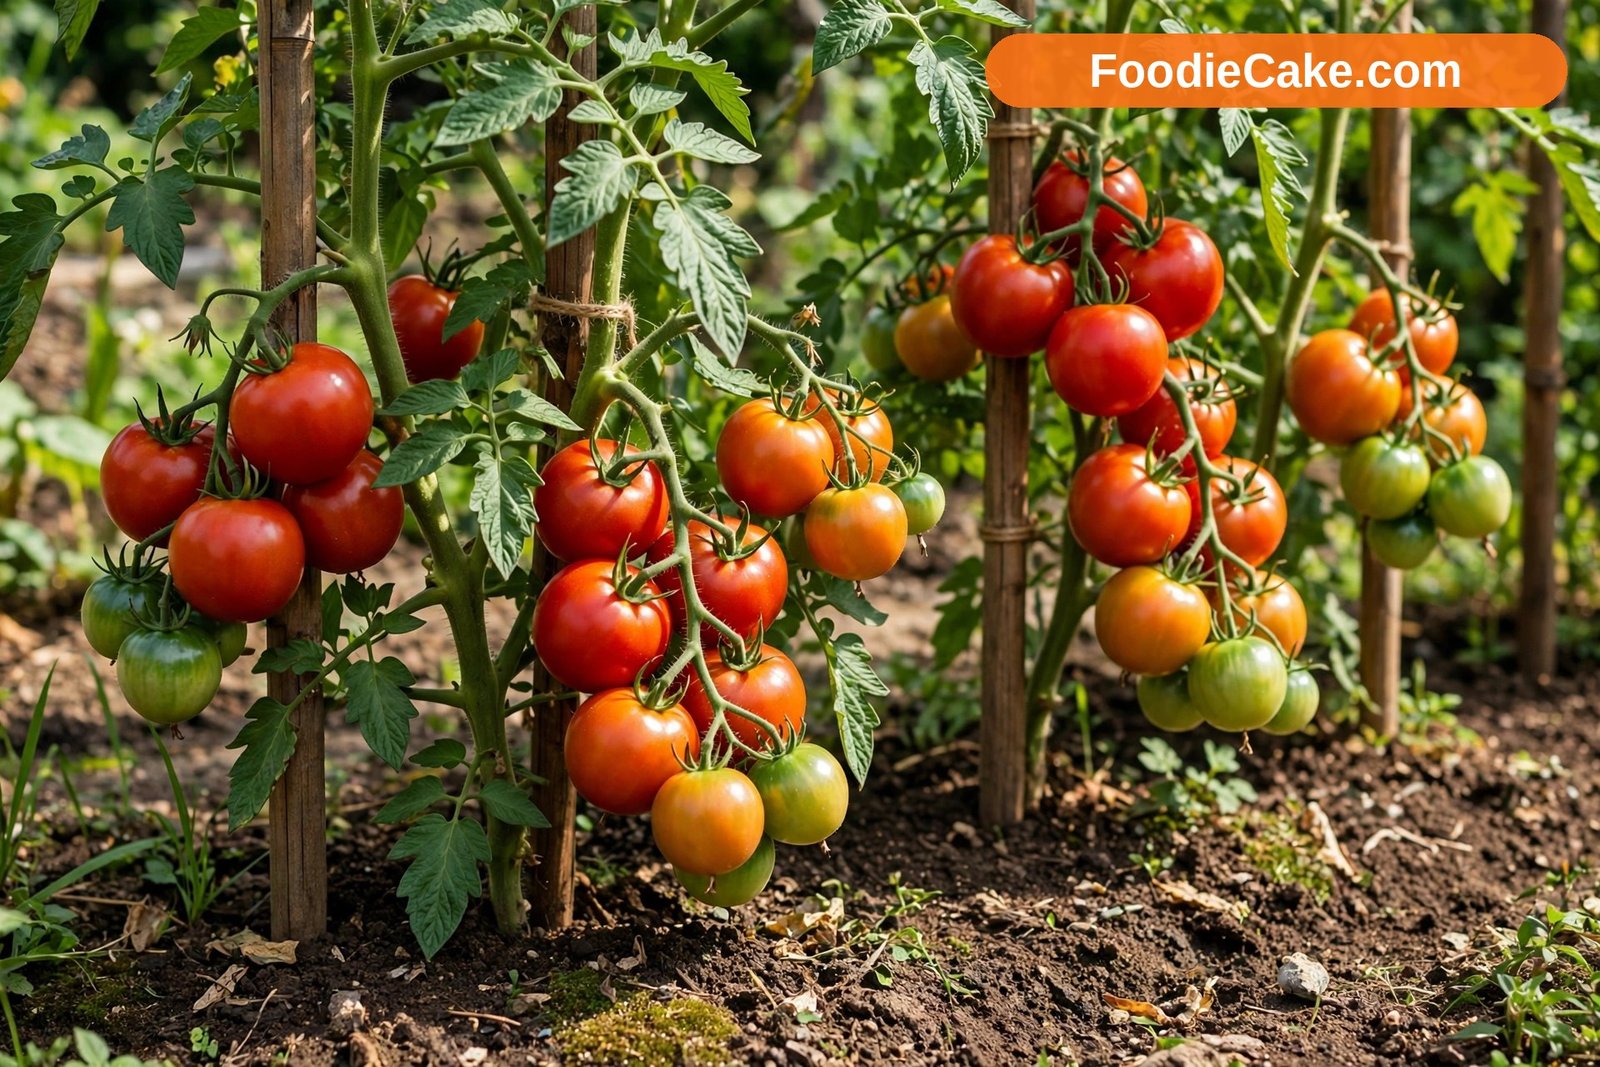
Choosing the Right Tomato Variety for Your Space
The first decision is growth habit, and it shapes everything else. Determinate tomatoes grow to a fairly set height, usually around 3 to 4 feet, flower over a shorter period, and ripen most of their fruit within a few weeks. They suit pots, small beds, and gardeners who want a concentrated harvest for sauces and preserving. Indeterminate tomatoes keep growing, flowering, and fruiting until frost knocks them back. They can reach 6 feet or more, need sturdy support, and give a steady trickle of fruit for salads and sandwiches all season. Neither type is better. They simply do different jobs.
For sauce and paste, Roma is the classic home garden choice: meaty, low in seeds, and determinate, so a row ripens together. San Marzano, an indeterminate heirloom type, is another favourite for cooking, with rich flavour and elongated fruit, though it needs a longer season to shine. If you mainly want to eat tomatoes standing in the garden, cherry types are hard to beat for reliability. Sungold produces very sweet orange cherry tomatoes in generous trusses and is famously vigorous. Sweet Million gives heavy crops of small red cherries and tolerates a range of conditions. Gardener’s Delight is another dependable red cherry for beds and large pots.
For slicing, beefsteak types need warmth, space, and patience. Brandywine is an heirloom prized for flavour, with large pink fruit, but it is slow to ripen and a poor pick for short seasons. Cherokee Purple offers dusky, richly flavoured fruit and often does well in hot, humid areas. Early Girl is worth considering where summers are short or cool, in zones 5–6 for example, because it fruits much earlier than most beefsteaks, even if the tomatoes are medium rather than huge.
Container growers should look for varieties bred for pots, such as Patio Choice Yellow, Tumbling Tom for baskets, or any compact determinate type. A compact plant in a 5-gallon pot will usually outperform a giant variety starved in the same pot. Always check the seed packet or plant label for days to maturity, and be honest about your season length. A 85-day variety is a gamble where the time between last spring frost and first autumn frost is barely four months.
Starting Seeds Indoors at the Right Time
Most gardeners in zones 5–8 start tomato seeds indoors about six to eight weeks before the last expected frost date. In zone 9 and warmer areas with a long season, you may start earlier or even sow for a second, late-summer crop. In cooler parts of zone 4 and below, starting at the eight-week mark with an early variety is often safer than pushing a long-season beefsteak. Starting too early is the common mistake. A seedling held indoors for ten or twelve weeks becomes tall, pale, and root-bound, and it often sulks after transplanting while a younger, stockier plant races ahead.
Sow seeds about a quarter of an inch deep in a fine, sterile seed-starting mix, not garden soil. Keep the mix moist and warm. Tomato seeds germinate best at around 70–80°F, and a heat mat can shave several days off the wait, though a warm spot on top of the refrigerator works for many people. Expect sprouts in five to ten days. As soon as they appear, light matters more than warmth. Give seedlings 14 to 16 hours of bright light a day, with a grow light or fluorescent tube just a few inches above the leaves. A sunny windowsill alone is rarely enough and is the main reason home seedlings go leggy.
When the first true leaves appear — the second set, which look like proper tomato leaves — transplant seedlings into individual 3- to 4-inch pots, burying a little of the stem if they have stretched. Keep a small fan running nearby or brush the tops gently with your hand once a day. That movement encourages sturdier stems. Water from the bottom where you can, and let the surface dry slightly between waterings to discourage damping off, the fungal problem that topples tiny seedlings overnight.
Preparing the Bed and Choosing a Sunny Spot
Tomatoes are sun lovers in the truest sense. Choose the sunniest spot you have, ideally eight or more hours of direct sun a day. Six hours will grow a plant, but fruit will be slower, smaller, and more prone to disease in damp shade. In very hot inland or desert climates, a touch of late-afternoon shade can reduce stress, but for most gardeners in zones 5–8, more sun is simply better.
Soil should be loose, well drained, and rich in organic matter, with a pH around 6.2 to 6.8. Work in 2 to 3 inches of compost before planting. If your soil is heavy clay, raised beds or large containers will give you a far easier season than fighting drainage all summer. Sandy soil benefits from even more compost to hold moisture. Avoid planting where tomatoes, peppers, potatoes, or eggplants grew in the last two or three years, because those relatives share diseases that linger in the soil. Rotating to a fresh spot is one of the simplest disease controls there is, and it costs nothing.
Company matters too. Basil, marigolds, carrots, and onions are commonly grown alongside tomatoes without competing heavily, and thinking through best companion plants for tomatoes before you plant can help you use the gaps in the bed productively instead of leaving bare soil to bake and splash onto the leaves.
For containers, use at least a 5-gallon pot for determinate types and 10 gallons or more for indeterminate varieties, always with drainage holes. Fill with a good quality potting mix rather than dug garden soil, which compacts in pots. Mix in a handful of slow-release fertiliser or compost at planting, and remember that pots dry out far faster than beds in hot weather.
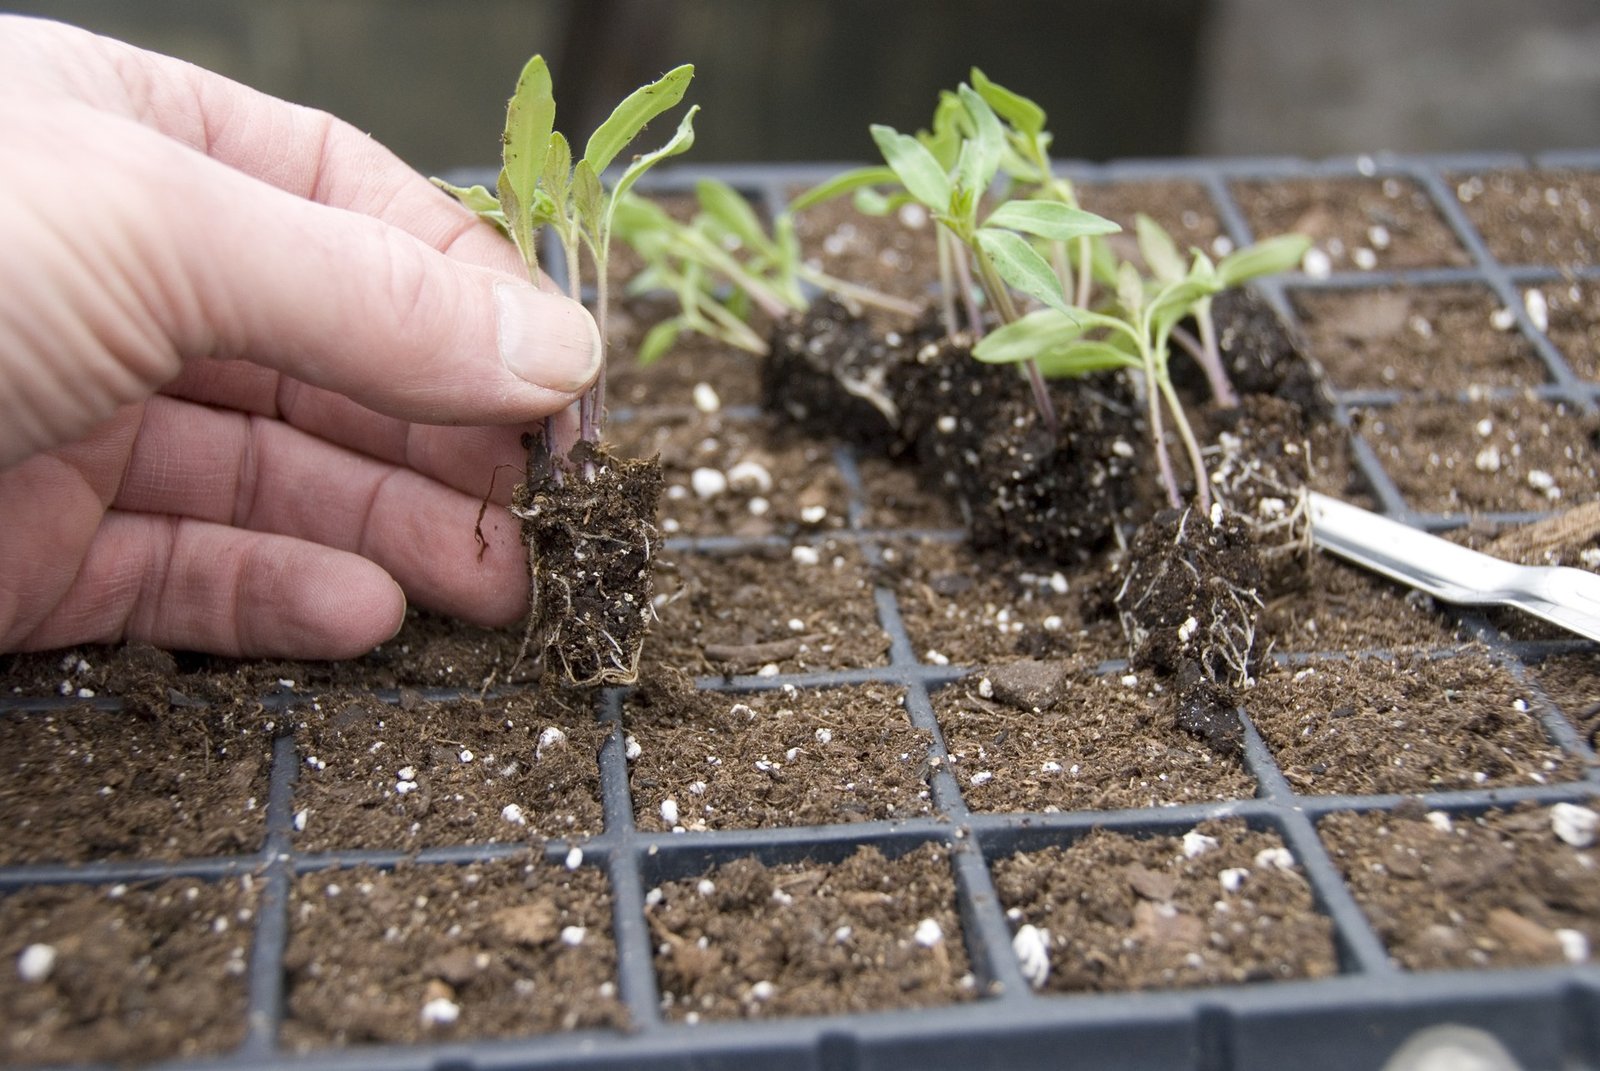
Transplanting Deep and Spacing Plants Properly
Wait until all danger of frost has passed and night temperatures stay reliably above 50°F. Cold nights below that will not always kill a tomato, but they chill it and stall growth for days. About a week before transplanting, harden off your seedlings by putting them outside for a few hours a day in shade, gradually increasing sun and time. Skipping this step is why healthy indoor plants sometimes scorch or wilt on their first full day outside.
Tomatoes have a useful trick: they grow roots along a buried stem. Use it. Dig a hole deep enough to bury the plant up to its first true leaves, or lay the plant sideways in a shallow trench with just the top few inches curving up out of the soil. Pinch off any leaves that would be underground. That buried stem becomes extra root system, which means better drought tolerance and sturdier plants later.
Space determinate varieties about 24 inches apart and indeterminate varieties 24 to 36 inches apart, with roughly 3 feet between rows. Crowding is tempting when seedlings look small in May, but by July those same plants need air moving through them. Good airflow dries leaves faster after rain and noticeably reduces fungal disease. Water the hole well at planting, mulch around — but not touching — the stem once the soil has warmed, and add your stake or cage now rather than later, when pushing one in would tear through established roots.
If you are short on bed space, tomatoes pair happily with container growing on a patio. The same deep-planting and support rules apply in pots, and many of the techniques used for how to grow peppers in containers — generous pot size, steady moisture, and feeding little and often — work just as well for a compact tomato beside them.
Staking, Caging, and Supporting the Plants
Every tomato except the smallest basket types needs support. Left to sprawl, fruit sits on damp soil, rots, gets eaten by slugs, and the plant becomes a tangled mat where disease spreads quickly and picking turns into a treasure hunt. Support keeps fruit clean, improves airflow, and makes problems visible early.
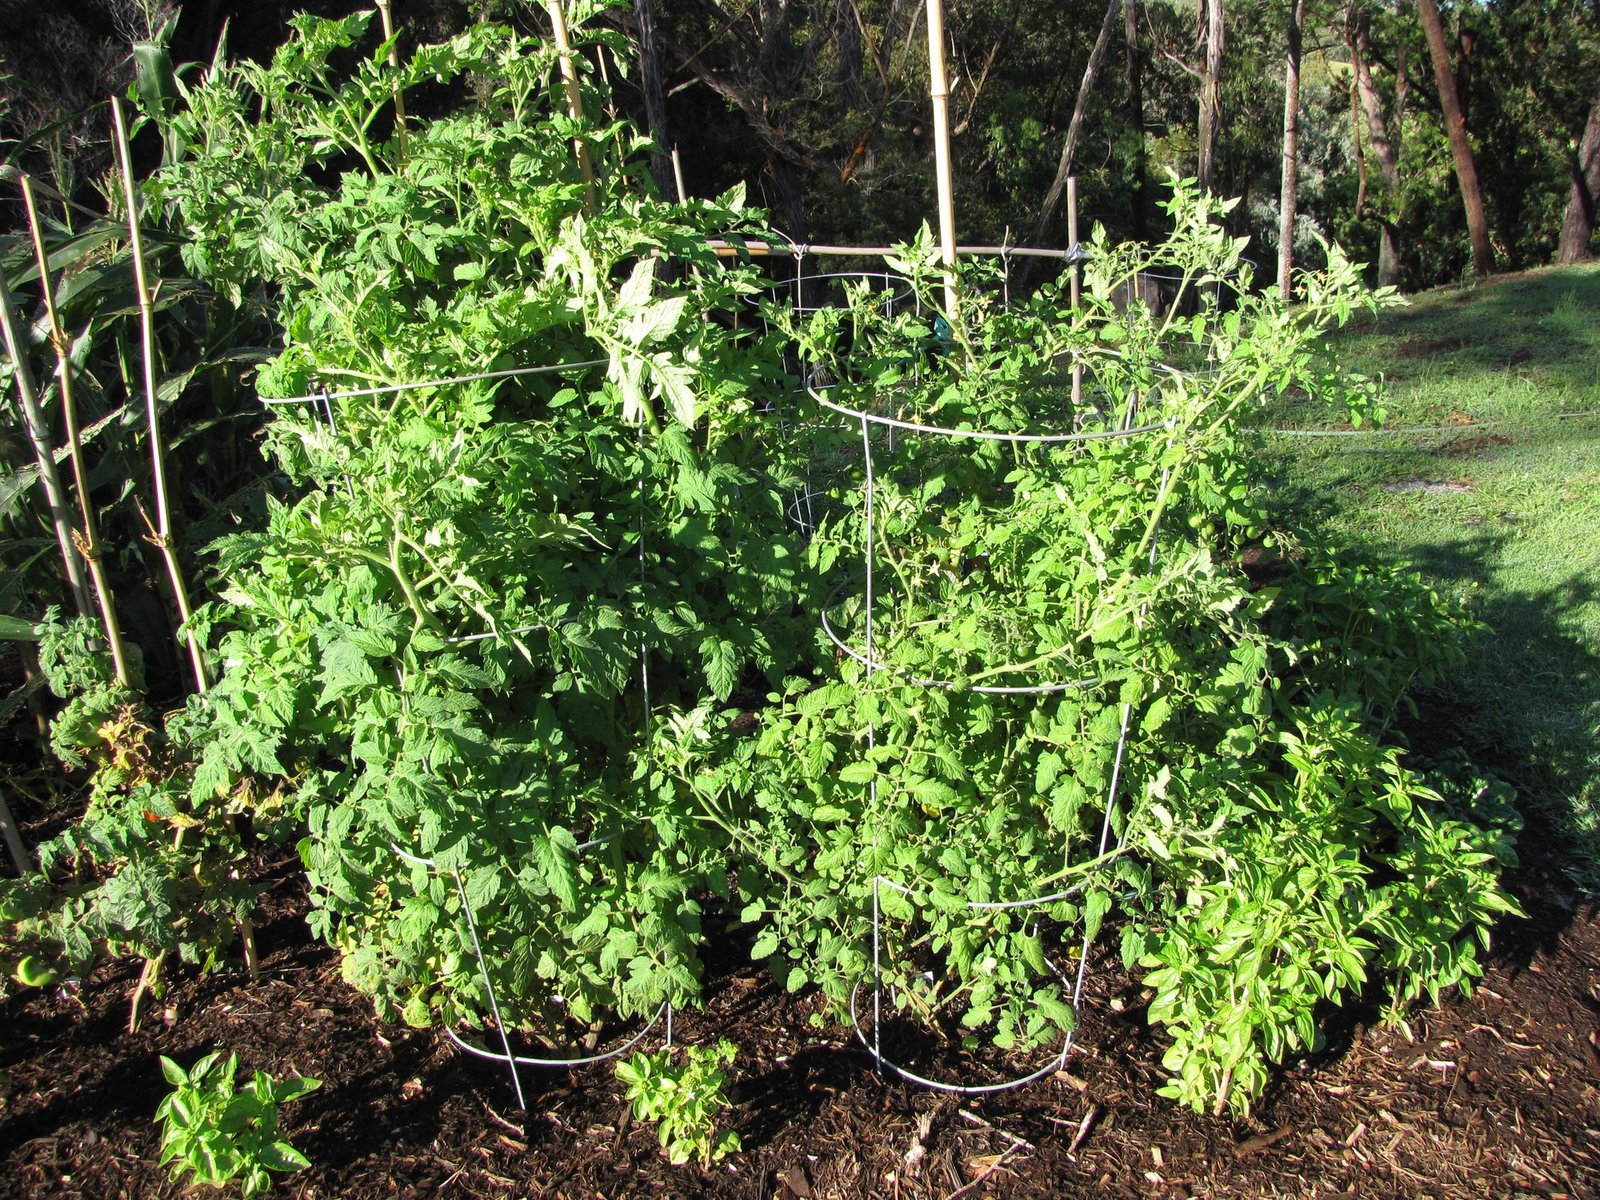
Cages suit determinate plants and low-effort gardening. Choose a sturdy cage, not the flimsy cone type that topples in August under a loaded plant, and push it firmly into the ground at planting time. Stakes suit indeterminate varieties that you plan to prune to one or two main stems. Use a stake at least 6 feet tall, drive it in well, and tie the stem loosely with soft fabric strips or twine in a figure-eight so the tie does not cut in as the stem thickens. The Florida weave — running twine between posts along a row — works well for several plants in a bed and saves tying each stem individually.
Whatever system you choose, keep up with it weekly. A stem that flops sideways and then gets yanked upright can snap. Guide growth gently, while it is still flexible, and add ties as the plant climbs. In windy gardens, extra depth on stakes and cages matters more than the label suggests. A top-heavy plant in fruit is a sail, and one storm can undo a season if the support was shallow.
Watering Consistently to Prevent Problems
Inconsistent watering causes more tomato trouble than almost anything else. Long dry spells followed by a soaking stress the plant, split ripening fruit, and interrupt the flow of calcium to the ends of the tomatoes, which shows up as blossom end rot — a sunken, leathery brown or black patch on the bottom of the fruit. The soil often has enough calcium. The plant simply cannot move it steadily without steady moisture.
Aim for deep, regular watering at the base of the plant, roughly 1 to 2 inches of water a week in beds, adjusted for rainfall and heat. In a heatwave, or in pots, that can mean watering daily. Water in the morning where possible, and water the soil, not the leaves. Wet foliage that stays wet overnight is an open invitation to fungal diseases such as early blight. A soaker hose or drip line makes this easy, but a watering can aimed at the base works fine on a small scale.
Mulch is your partner here. Once the soil has warmed, a 2- to 3-inch layer of straw, shredded leaves, or clean grass clippings holds moisture, evens out soil temperature, and stops rain splashing soil — and soil-borne disease spores — onto the lower leaves. Check moisture with a finger pushed a couple of inches into the soil rather than by the calendar. If it is damp there, wait. If it is dry, water deeply rather than sprinkling a little every day, which encourages shallow roots.
Container tomatoes need closer attention. A big plant in full sun can drink a pot dry in a single hot day, and repeated wilting will cost you fruit. Self-watering pots or a drip line on a timer help, but at minimum, check pots morning and evening during hot spells in zones 7–9 and similar warm climates.
Feeding Tomatoes Without Overdoing It
Tomatoes are hungry, but the type of feed matters as much as the amount. At planting, a balanced fertiliser or a tomato-specific feed worked into the hole gives seedlings a steady start. Once plants begin flowering and setting fruit, switch emphasis: too much nitrogen from this point produces a magnificent, leafy green plant with very few tomatoes. If you have ever grown a tomato that looked like a jungle and fruited like a houseplant, excess nitrogen was probably the reason.
A practical routine for beds is a balanced feed at planting, then a tomato fertiliser every two to three weeks once the first fruit sets, following the packet rate rather than doubling it for luck. In pots, nutrients wash out with watering, so a diluted liquid feed every week or two usually works better than rare heavy doses. Compost tea and worm castings are gentle supplements, but they are not a complete substitute for feeding a heavily fruiting plant in a container.
Watch the plant for clues. Pale, slow growth across the whole plant suggests it needs feeding. Dark green, lush leaves with few flowers suggest it has had too much nitrogen and needs time, not more food. Yellowing lower leaves late in the season are often just age. Feed the soil across the season with compost and mulch, and year by year the bed will need less correcting.
Pruning Suckers: When It Helps and When It Does Not
Suckers are the side shoots that grow in the joint between the main stem and a leaf branch. On indeterminate tomatoes, removing some of them keeps the plant to one or two main stems, improves airflow, makes staking manageable, and can give slightly larger fruit. Pinch suckers out while they are small, under about 2 inches, by bending them sideways until they snap cleanly. Pruning in dry, sunny weather lowers the chance of spreading disease through the wounds, and clean hands or tools matter if you are moving between plants.
Here is the honest part that many guides skip: pruning is optional, and over-pruning causes real harm. An unpruned indeterminate plant will usually produce more tomatoes in total, just somewhat smaller ones, and in hot, sunny climates the extra leaf cover shades fruit and helps prevent sunscald. If you garden in a very hot area, or you are growing cherries for quantity, light pruning or none at all can be the smarter choice. What you should avoid is the half-hearted middle: letting a plant grow into a dense thicket on a small cage in a humid climate, where no air moves and disease thrives.
Never prune determinate varieties this way. Their fruit forms on those side shoots, and removing suckers from a determinate plant directly cuts your harvest. For determinates, limit yourself to removing any leaves touching the soil and any clearly diseased foliage. For indeterminates, decide on a system — one stem, two stems, or caged with light thinning — and stick with it weekly rather than doing one drastic clear-out in midsummer, which shocks the plant and exposes fruit to sudden sun.
Practical Tips for a Better Tomato Harvest
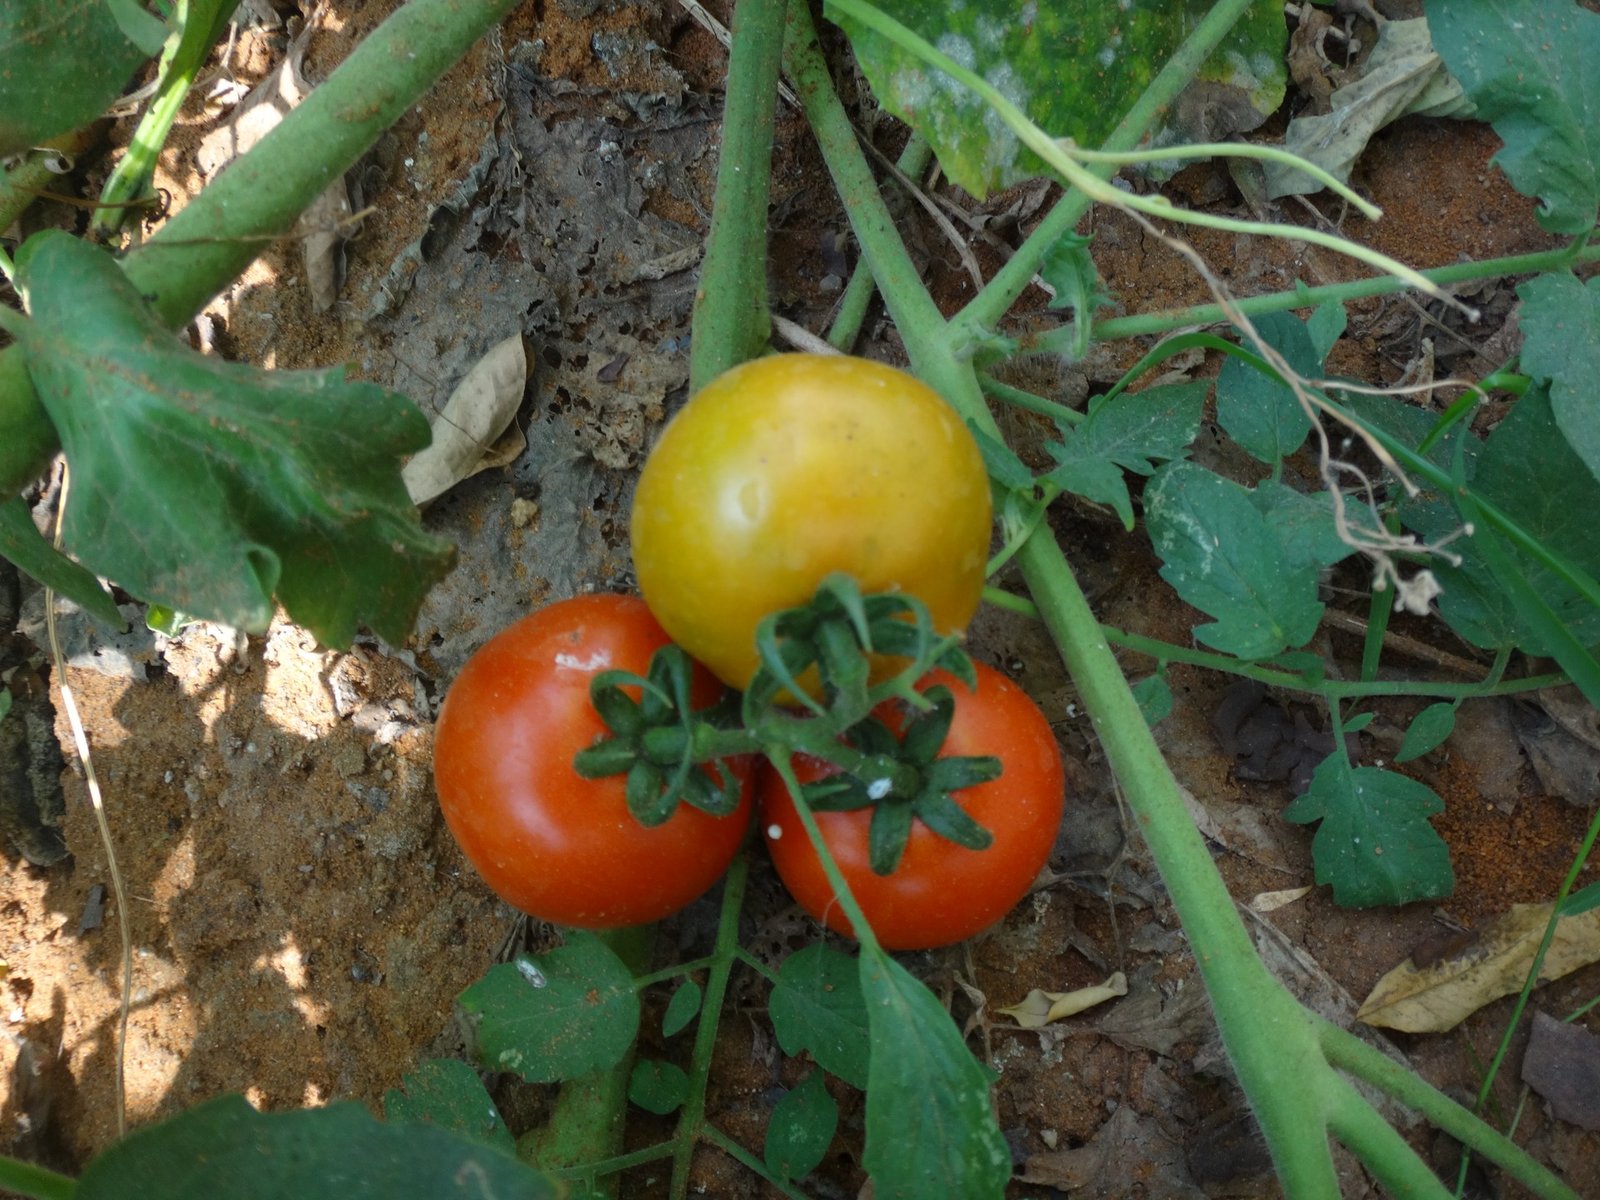
A few small habits separate a decent tomato season from a great one. Pick fruit regularly. A plant carrying ripe tomatoes slows down, while steady picking encourages more flowers and keeps overripe fruit from splitting on the vine or feeding wasps. For the best flavour, let tomatoes colour fully on the plant where birds and weather allow, but do not be afraid to pick at the breaker stage — when the fruit has started to blush — and finish ripening indoors. Picked at that point, tomatoes ripen with nearly the same flavour and you avoid many splits and pest losses.
Keep a simple garden note. The variety name, planting date, and what went wrong or right takes two minutes to record and saves you repeating a poor variety choice next year. Seed packets blur together by August. Notes do not.
Support your soil between seasons. A autumn sowing of a cover crop such as crimson clover or winter rye, where your winters allow it, protects beds and adds organic matter. At minimum, cover bare beds with mulch or compost over winter rather than leaving them to erode.
Finally, taste before you judge. Some varieties that look rough, cracked shoulders and all, taste better than a flawless supermarket-style fruit. Grow at least one variety purely for flavour each year, even if its yield is modest. That is, after all, the point of growing your own.
Common Mistakes and Tomato Problems to Watch For
The most common beginner mistake is planting too early, seduced by one warm weekend. A tomato planted a fortnight later into warm soil will usually catch up and pass one that sat shivering in cold ground. Patience at planting time pays for itself. Close behind comes crowding plants, watering overhead in the evening, and feeding high-nitrogen fertiliser all season. All three are easy to fix once you know to look for them.
Blossom end rot, described above, is a disorder, not a disease, and it does not spread from fruit to fruit. Remove affected tomatoes so the plant puts energy elsewhere, then fix the real cause: even moisture. It often strikes the first fruit of the season and improves as roots grow and your watering settles.
Cracking happens when fruit swells quickly after heavy rain or a big watering following a dry spell. Harvest fruit that is nearly ripe before forecast rain, keep moisture steady, and choose crack-resistant varieties if your summers bring downpours. A cracked tomato is still edible if used promptly — just cut away the damage.
Tomato hornworms are large green caterpillars that can strip leaves astonishingly fast, but they are also easy to manage honestly. Hand-pick them — they are harmless to you — and drop them in soapy water, or leave any hornworm carrying white, rice-like cocoons on its back, because those are parasitic wasp larvae that will reduce future hornworms for you. Early blight shows as dark spots with concentric rings on lower leaves, usually after wet weather. Remove badly infected leaves, mulch to stop soil splash, water at the base, rotate your planting spot next year, and accept that in a wet season some defoliation near the base is normal rather than a catastrophe. Healthy, well-spaced plants often outgrow it and keep producing from the top.
Frequently Asked Questions
How many hours of sun do tomatoes really need?
Aim for at least eight hours of direct sun for the best fruiting and flavour. Plants will survive and produce something with six hours, but growth is slower, ripening is later, and disease pressure rises because leaves stay damp longer. In extremely hot desert climates, light afternoon shade can help, but for most home gardens more sun is better.
Can I grow tomatoes in pots on a balcony?
Yes, provided the pot is big enough and gets plenty of sun. Use at least 5 gallons for a compact determinate variety and 10 gallons or more for an indeterminate type, with drainage holes and proper potting mix. Expect to water daily in hot weather and feed a little every week or two, because nutrients wash out of pots quickly.
Why are my tomato leaves turning yellow?
It depends where the yellowing starts. A few yellow lower leaves late in the season are usually just age. Yellowing across the whole plant with slow growth often means the plant is hungry or waterlogged. Dark spots with rings on lower leaves after wet weather point to early blight. Check watering and drainage first, then feeding, then look closely for disease patterns.
Should I remove all the suckers from my tomato plants?
No, and on determinate varieties you should remove almost none, because they fruit on those shoots. On indeterminate plants, moderate pruning to one or two main stems helps with airflow and support, but it is a choice, not a rule. In hot, sunny climates, extra foliage protects fruit from sunscald, so prune lightly.
When should I pick my tomatoes?
For full flavour, pick when the fruit is fully coloured but still firm. You can also pick at the breaker stage, when colour is just starting to show, and ripen them on a counter out of direct sun. They will taste very nearly as good and you will lose fewer to cracking, birds, and slugs.
Why did my tomatoes split after rain?
Rapid uptake of water after a dry spell swells the fruit faster than the skin can stretch. Steady watering and mulch reduce the swing, and picking nearly ripe fruit before heavy rain saves the ones most at risk. Split tomatoes are safe to eat if you use them quickly and trim the damaged part.
Final Thoughts
Growing tomatoes at home is mostly a matter of matching the plant to your space, keeping moisture steady, and paying a little attention each week. Choose a variety with a realistic maturity date, plant it deep into warm soil in full sun, support it before it needs it, and water the soil rather than the leaves. Do those things and the plant does most of the rest.
No season goes perfectly. You will lose a few fruit to cracking, a few leaves to blight, and perhaps a whole plant to something you never identify. That is normal gardening, not failure. Take notes, save seed money for one new variety next year, and enjoy the fact that a tomato picked warm from your own plant, eaten within the hour, is something no shop can sell you.
[…] not instead of it. If you are still getting the basics in place, start with a solid grounding in how to grow tomatoes at home and treat everything in this article as the helpful extra layer it is meant to […]