

If you want to learn how to improve garden soil naturally, start with a hopeful thought: almost any soil can get better, and it does not need bags of chemicals or a complete replacement to do it. Thin sandy soil, heavy sticky clay, tired beds that have grown vegetables for years, even the pale subsoil left behind after building work — all of them respond to the same basic kindnesses. Add organic matter, protect the surface, feed the life below ground, and disturb it less.
Gardeners sometimes talk about soil as if it were just dirt that holds plants up. It is far more than that. Healthy soil is a living system of minerals, air, water, roots, fungi, bacteria, worms, and countless tiny creatures, all working together to turn fallen leaves and old roots into food for new growth. When that system is working, plants root deeply, cope better with dry spells and downpours, and need less help from you.
Natural soil improvement is not a quick fix, and anyone who promises transformed soil in a weekend is selling something. It is a steady, season-by-season building process — and that is its strength. Each layer of compost, each cover crop, each winter mulch adds up. A bed improved patiently for two or three years will quietly outperform a bed that was dosed once and forgotten, and it will keep improving as long as you keep up the simple habits in this guide.
First, Get to Know Your Soil
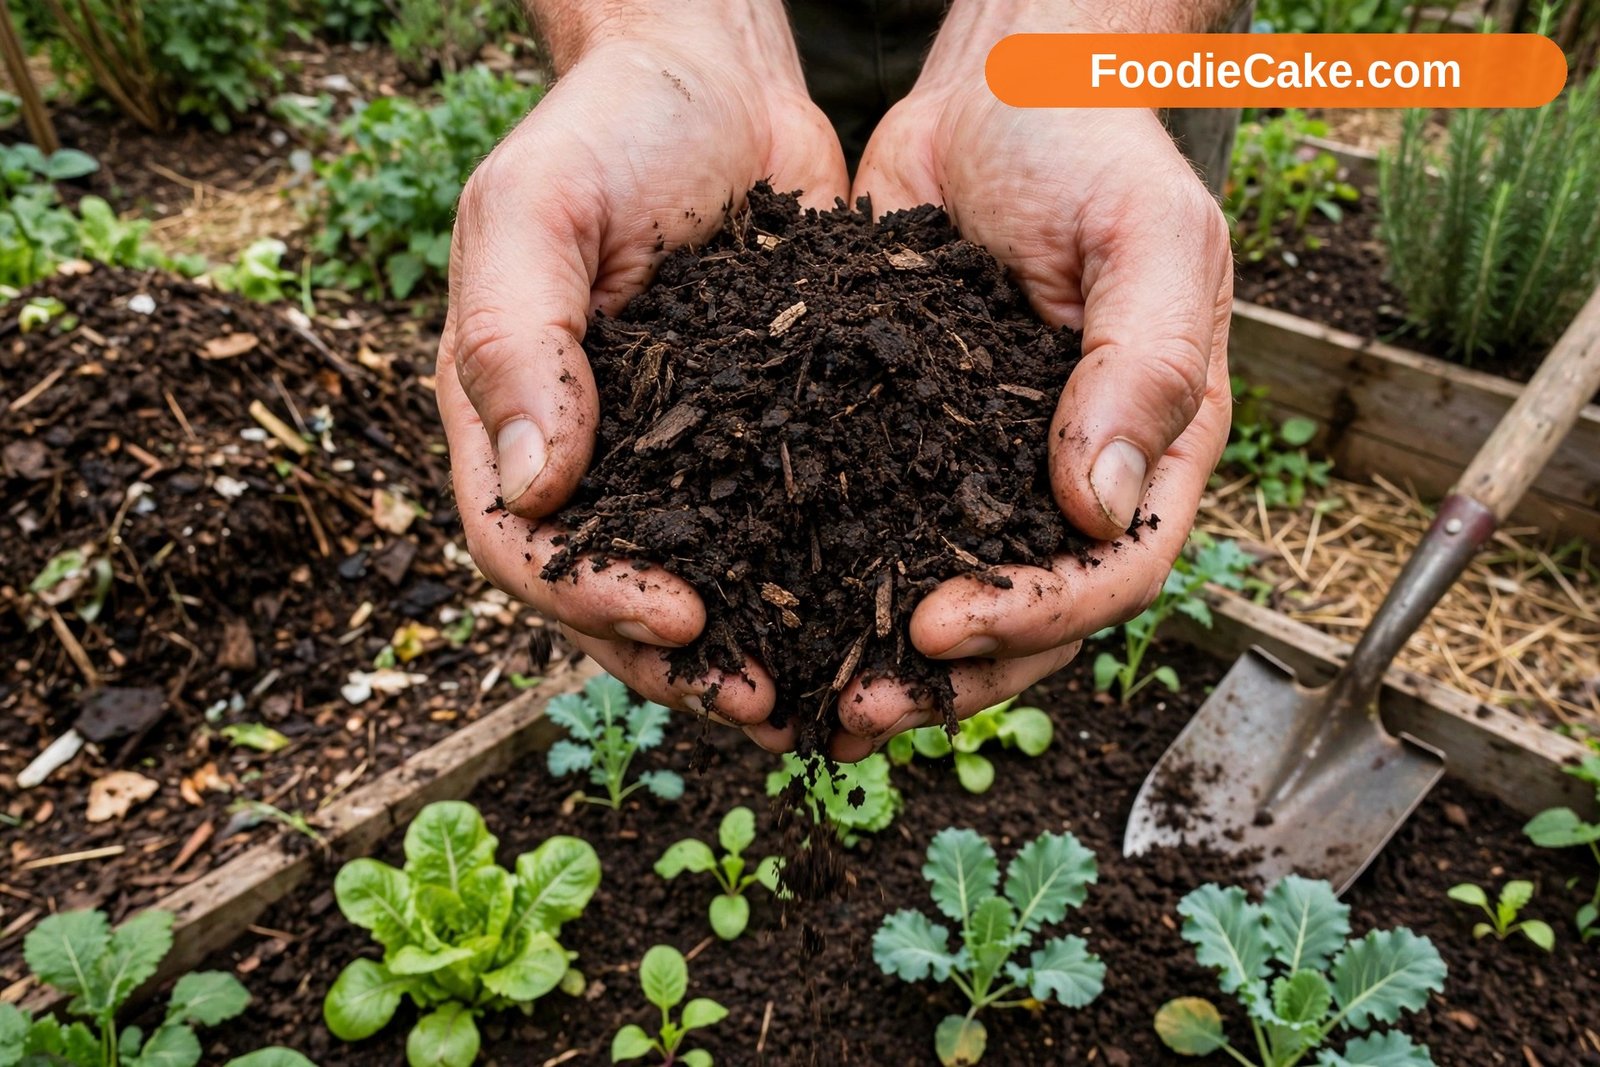
You cannot improve what you have not looked at, so spend half an hour getting to know your soil before you buy or dig anything. Start with the squeeze test. Take a handful of moist soil and squeeze it. Sandy soil feels gritty and falls apart as soon as you open your hand. Clay soil feels smooth and sticky and holds a firm sausage shape you can bend. Loam — the goal most of us are heading towards — holds together loosely, feels slightly gritty and slightly silky at once, and crumbles easily when poked.
Dig a hole about a spade’s depth and look at what is actually there. Is there a dark topsoil layer, and how deep is it? Does the soil smell earthy and pleasant, or sour and stagnant? Can you see roots reaching down, worm channels, or a hard, compacted layer partway down that roots turn sideways to avoid? After rain, does water drain away within an hour or so, or does it sit in the hole? These observations tell you more about your next steps than any gadget.
A simple soil test is worth doing once, especially before growing food. Many local extension services and garden centres offer testing for pH and major nutrients, or sell home kits that give a rough guide. Most vegetables and many garden plants are happiest in soil that is slightly acidic to neutral, roughly pH 6.0 to 7.0, though there are exceptions — blueberries and other ericaceous plants want it more acidic. Knowing your starting point stops you adding lime to soil that does not need it, or sulfur to soil that is already acidic.
Keep notes, bed by bed if your garden varies. The shady bed by the fence may be quite different from the sunny one by the path. Natural improvement works best when it responds to the soil you actually have, not the soil a generic article assumes you have.
The Single Best Thing You Can Add: Organic Matter
If this guide had one sentence, it would be this: add organic matter, regularly, in whatever form you can get. Compost, well-rotted manure, leaf mould, composted bark, and spent mushroom compost all count. Organic matter is the closest thing gardening has to a universal remedy, because it helps opposite problems at the same time.
In heavy clay, organic matter works between the tiny particles, helping them clump into crumbs with air spaces between them. The soil drains better, warms a little faster in spring, and becomes far easier to dig and to plant. Roots and worms can move through it instead of fighting it. In sandy soil, the same material acts like a sponge, holding water and nutrients that would otherwise wash straight through, so plants get a steadier supply between waterings.
It also feeds soil life, and soil life does work no spade can do. Worms pull surface material down and leave channels for air and water. Fungi extend the reach of plant roots. Microbes release nutrients slowly, in step with plant growth, rather than in one rush that leaches away. That slow, steady feeding is the heart of the natural approach — you feed the soil, and the soil feeds the plants.
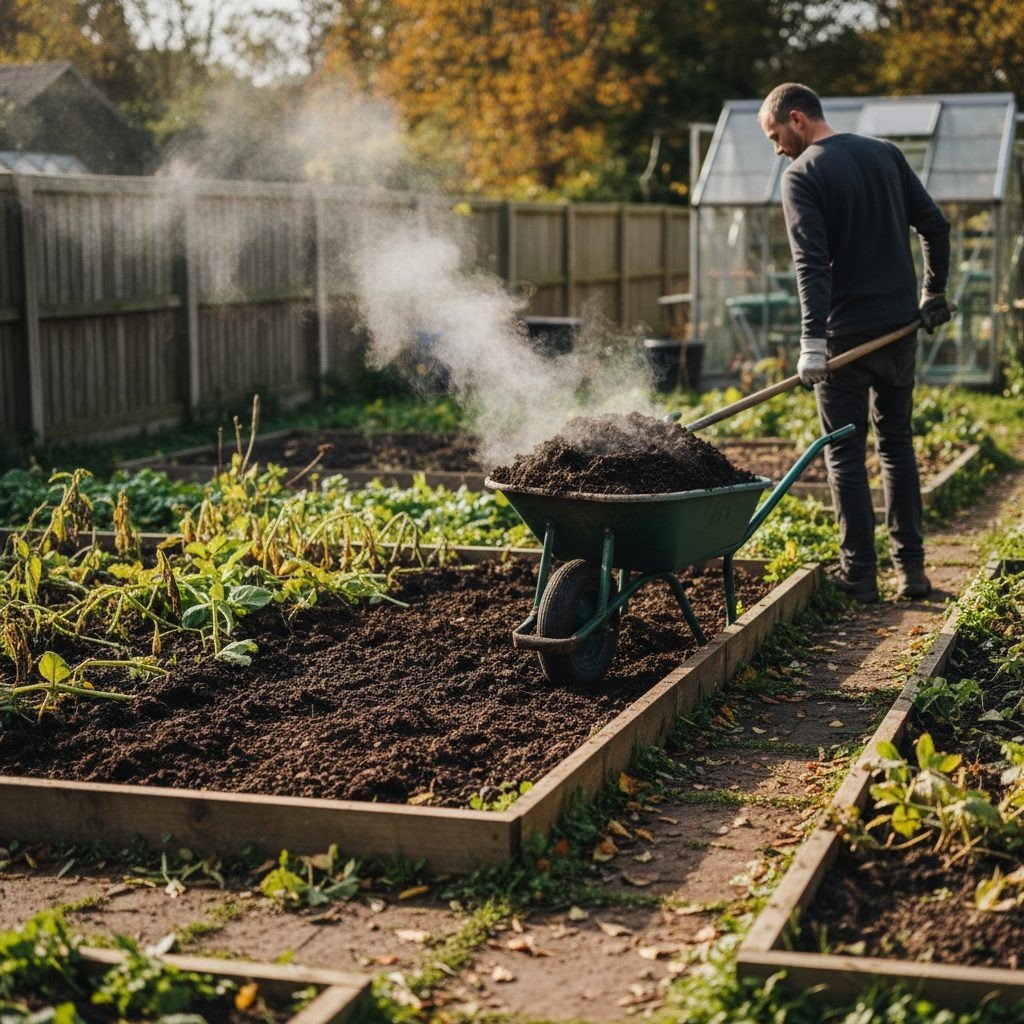
As a working rhythm, aim to spread a layer of compost or well-rotted manure about five centimetres thick over beds once a year, usually in autumn or early spring, and either leave it as a mulch or fork it lightly into the top layer. Thinner top-ups through the season are fine too. There is no need to bury it deeply; worms and weather will work it in.
The most sustainable source is the one you make yourself. If you have not tried yet, learning how to make compost at home gives you a free, steady supply from kitchen scraps and garden waste, and it closes the loop — what the garden produced goes back to the garden.
Compost, Manure, and Leaf Mould: Choosing What to Use
Different materials suit different jobs, and using two or three in rotation is better than relying on one.
Garden compost is the all-rounder: balanced, crumbly, and safe on any bed once it is fully broken down and no longer recognisable as its ingredients. Use it everywhere — forked in before planting, spread as mulch, or mixed into planting holes for hungry crops.
Well-rotted farmyard or horse manure is richer and excellent for heavy feeders such as courgettes, pumpkins, sweetcorn, and roses, and for building up tired soil. The key words are well-rotted: fresh manure can scorch roots, smells strong, and may contain viable weed seeds. If it looks and smells like dark soil rather than straw and dung, it is ready. Bagged products from a garden centre are reliably rotted; fresh loads from a stable need stacking for six months to a year first.
Leaf mould is the quiet treasure of autumn. Rotted leaves make a low-nutrient but superb soil conditioner — light, crumbly, and wonderful for improving structure, mulching around shrubs and perennials, and mixing into seed compost. Pile leaves in a simple wire cage or perforated bags, keep them damp, and wait a year, or two for tough leaves like oak and plane. It is slow, but it asks for almost no effort.
Composted bark and wood-based soil conditioners are useful on ornamental beds and paths around shrubs, especially where you want a clean, long-lasting mulch. Spent mushroom compost is widely available and good on many beds, but it tends to be alkaline, so keep it away from acid-loving plants such as blueberries, rhododendrons, and heathers, and do not use it year after year on the same vegetable bed without checking pH occasionally.
Green manures and cover crops, covered in their own section below, are the one form of organic matter you grow in place — no carrying, no bags, and living roots improving the soil while they grow.
Feed the Soil Life, Not Just the Plants
It helps to think of yourself as farming microbes and worms as much as growing cabbages. Soil organisms need food, moisture, air, and shelter, and most natural practices provide all four at once.
Food is organic matter, already covered, plus living roots. A bed with plants growing in it improves faster than bare soil, because roots leak sugars that feed microbes, and root channels become pathways for water and air when the plants are gone. This is one reason cover crops work so well, and why leaving roots in the ground after you cut a crop down — rather than pulling everything out — is often the better habit.
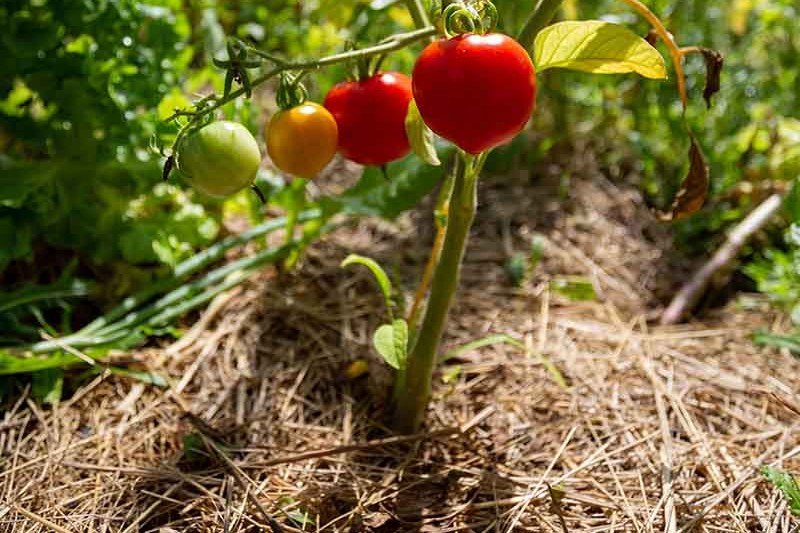
Moisture and shelter come from mulch. A covered soil surface stays evenly moist, does not bake into a crust in summer sun, and does not splash and erode in heavy rain. Earthworms come up to feed under mulch in a way they never do on bare, dry soil. In practice, keeping beds covered whenever they are not being planted or sown is the single habit that most visibly increases worm numbers within a season or two.
Air comes from structure and from not destroying it. Soil that is dug when it is soaking wet smears into clods that set like concrete; soil that is compacted by walking on it loses the air spaces roots and organisms need. Use paths or stepping boards on beds, work soil when it is moist but not sticky, and consider whether every bed needs digging at all — which leads to the next section.
Dig Less: The Case for No-Dig Beds
Traditional double digging has its place, especially when starting a new bed on compacted ground, but repeated deep digging is not necessary for most established beds, and it has real costs. Digging brings weed seeds to the surface where they germinate, breaks up fungal networks that help plants feed, mixes up soil layers, and can damage structure just as organisms have built it.
The no-dig approach is simple: spread compost and organic matter on the surface, plant into it, and let worms and roots do the mixing. Over a season or two, a dark, rich layer builds at the top where most feeding roots are, and the soil below gradually improves without being turned. Many gardeners find no-dig beds hold moisture better and need less weeding, because buried weed seeds stay buried.
No-dig does not mean never use a fork. A new bed on grass or compacted ground may need an initial loosening, and perennial weeds such as bindweed and couch grass need removing, roots and all, however you garden. Forking lightly to incorporate a surface dressing, or to lift root vegetables, is perfectly compatible with a mostly no-dig system. Treat it as a direction rather than a doctrine: disturb less, cover more, and let biology do the heavy lifting.
Starting no-dig on a weedy patch usually means cutting growth down, covering with overlapping cardboard to exclude light, wetting it, and spreading compost on top to plant into while the material below rots down. In zones 5–8 many gardeners start this in autumn so the bed is ready for spring planting; in colder zones the same timing works, it just rots down more slowly over winter.
Cover Crops and Green Manures
Whenever a bed would otherwise sit empty for more than a few weeks — over winter, between spring and autumn crops, or while you rest a tired patch — sowing a cover crop is one of the most natural improvements you can make. Living roots hold the soil together, stop nutrients washing out in winter rain, suppress weeds, and add organic matter when the crop is cut down.
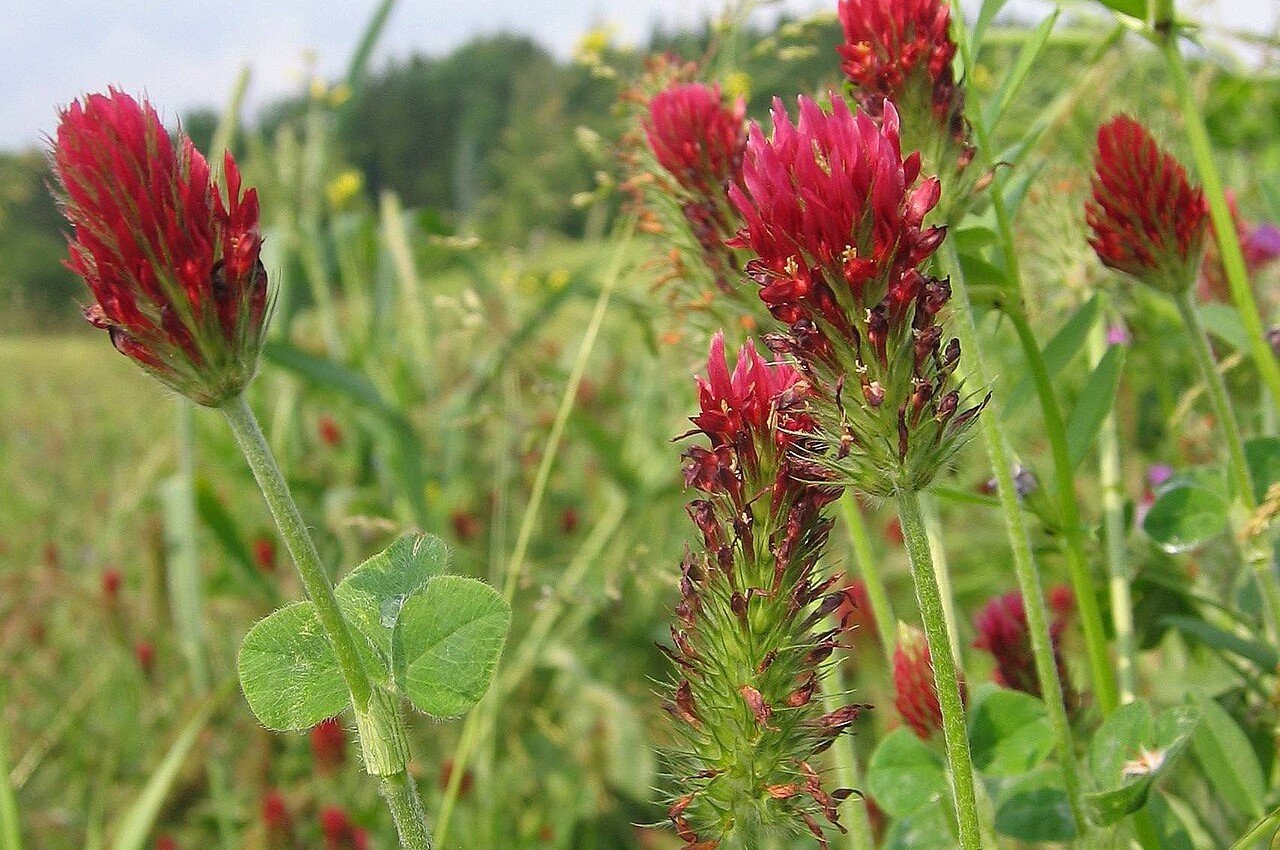
Winter rye is tough and reliable for autumn sowing in zones 3–8 and beyond, producing a mass of roots that open up heavy soil. It is cut down in spring and left as mulch or forked in a few weeks before planting. Crimson clover and other legumes — field beans and winter tares among them — have the extra gift of fixing nitrogen from the air in their root nodules, feeding the crop that follows. Crimson clover also flowers beautifully if left a little longer, to the benefit of bees, though it is less winter-hardy in cold zones than rye or field beans.
For a quick summer cover, buckwheat grows fast in warm weather, smothers weeds, attracts hoverflies, and its roots are good at making phosphorus in the soil more available to following crops. Phacelia is another summer favourite, with ferny growth and blue flowers pollinators adore. Mustard and other brassica green manures grow quickly but share diseases with cabbage-family crops, so avoid them in beds where you rotate brassicas and have had clubroot.
Timing is straightforward: sow winter types in late summer to early autumn while the soil is still warm, and summer types after the last frost once the soil has warmed. Cut cover crops down before they set seed, and leave a few weeks between incorporating a lush green crop and sowing small seeds, since fresh material can temporarily slow germination.
Mulch: The Habit That Ties Everything Together
Mulching deserves its own emphasis because it does so many jobs at once: it conserves moisture, suppresses weeds, protects soil structure from heavy rain and baking sun, moderates soil temperature, and — if the mulch is organic — feeds soil life as it rots.
Compost is the premium mulch for vegetable and flower beds, applied five centimetres or so thick. Straw is excellent around strawberries, potatoes, and larger vegetables, as long as it is seed-free. Grass clippings work in thin layers — thick, fresh layers mat and smell, so let them wilt and apply little and often, and never use clippings from a lawn recently treated with weedkiller on food beds. Shredded leaves and leaf mould make a natural mulch for shrubs and perennials that mimics a woodland floor. Wood chips suit paths and around trees and established shrubs, where their slow breakdown does not compete with hungry annual plants.
Apply mulch to soil that is already moist — after rain or a good watering — and keep it a few centimetres clear of stems and trunks so they do not stay damp and invite rot. Top it up as it thins. In spring, pull mulch aside temporarily if you need the soil to warm for early sowing, then replace it once plants are growing. On a vegetable plot, knowing the best soil for vegetable gardening alongside steady mulching helps you match each bed’s treatment to what you actually grow there.
Natural Ways to Address Specific Problems
Heavy clay that drains slowly improves with organic matter added year after year, cover crops with strong roots such as winter rye and field beans, and avoiding working it when wet. Gypsum is sometimes suggested for clay, but it mainly helps particular sodic soils; for most home garden clays, organic matter and patience do more. Raised beds are an honest shortcut on the worst clay, filled with a good loam and compost mix while the ground below slowly improves.
Sandy soil that dries out and leaches nutrients responds to the same organic matter for the opposite reason, plus mulching to cut evaporation, and legume cover crops to add nitrogen that sand cannot hold onto. Little and often beats one huge dose, because sandy soil works through organic matter quickly.
Acidic soil can be raised towards neutral with garden lime, applied in autumn at the rate a soil test suggests — never guess large amounts, and never lime where acid-loving plants grow. Alkaline soil is harder to shift and usually better worked with: choose plants that enjoy it, and use plenty of compost, which buffers pH effects even if it does not change the number much. Elemental sulfur can lower pH over time, but it works slowly through soil bacteria and is best used with test results in hand.
Compacted soil, common after building work or years of foot traffic, needs air first. Spike or fork it when moist, add organic matter on top, sow deep-rooted cover crops such as rye or daikon-type radish whose roots drill channels, and keep traffic off while it recovers. Severely compacted subsoil may need one thorough forking-over at the start; after that, protect what you have built.
Tired, overcropped soil — the bed that grows less each year despite feeding — usually needs rest, rotation, and organic matter together. Rotate crop families around the plot so the same nutrients are not drawn and the same pests do not build up, give the bed a cover-cropped season, and return compost generously. Decline is rarely about one missing nutrient; it is about a system run down, and systems recover when the whole system is fed.
Practical Tips for Steady Improvement
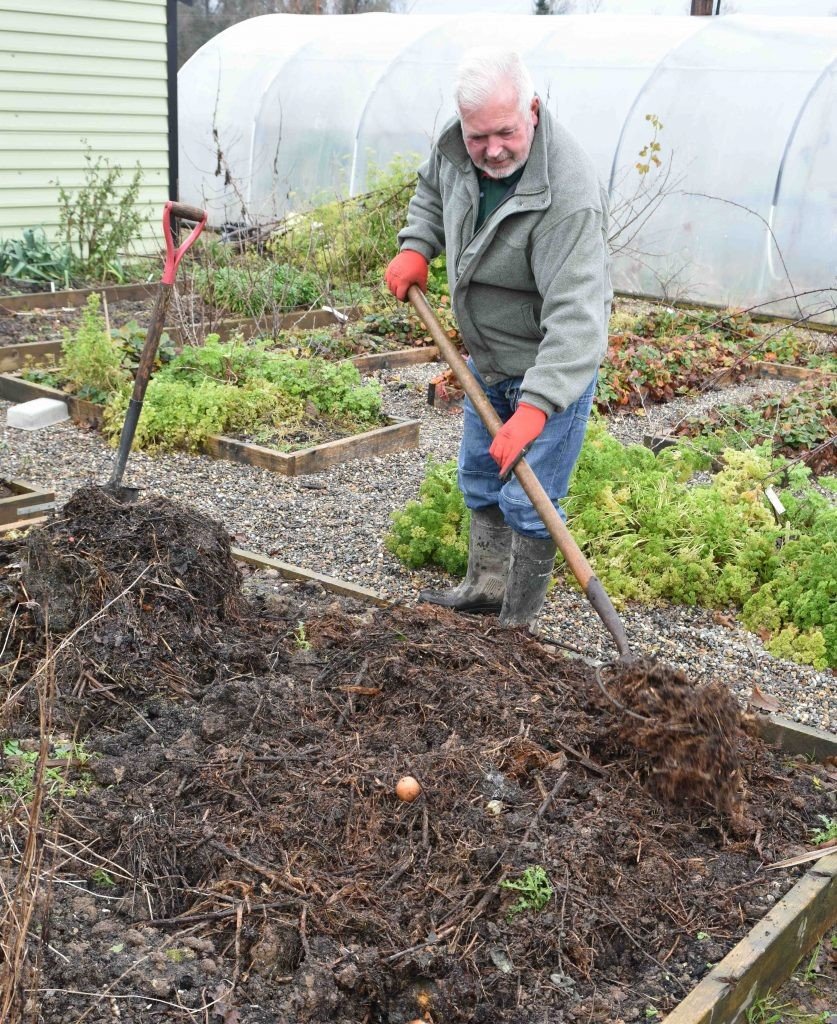
Little and often wins. A bucket of compost spread where a crop has just come out, a mulch topped up when you notice it thinning, a cover crop sown the same week a bed is cleared — these small acts, done routinely, build soil faster than one heroic weekend a year.
Keep every bed covered, by plants, cover crops, or mulch. Bare soil is soil losing moisture, structure, and nutrients to weather. If you remember nothing else from this guide, remember that one.
Save your own materials. Autumn leaves, grass clippings from untreated lawns, shredded prunings, and kitchen scraps are free organic matter passing through your garden. A compost heap, a leaf cage, and a simple shredding habit turn waste streams into soil food.
Rotate and diversify. Different roots explore different depths and leave different residues, and varied plantings support varied soil life. Even in a small garden, swapping where families of vegetables grow each year helps.
Record what you did and what happened. A note of which beds got manure, which grew a cover crop, and which crops thrived is dull to write and gold to read two years later, when you are trying to remember why one end of the plot always does better.
Be patient, and judge by seasons. Soil colour darkening, more worms when you dig, water soaking in instead of puddling, roots going deeper — these are the real measures, and they appear over months and years, not days.
Common Mistakes and Problems, and How to Avoid Them
Adding lots of fresh, uncomposted material straight into planting soil is a common early mistake. Fresh manure can scorch, fresh wood chips forked in can temporarily rob nitrogen as they break down, and fresh grass can heat and smell. Surface mulches of wood chip are fine on paths and shrubs; anything mixed into the soil should be well rotted first.
Working wet soil does damage that takes seasons to undo. If soil sticks to your boots in clumps, wait. A few days of patience in spring protects structure all year.
Expecting one application to fix everything leads to disappointment and to giving up just before results arrive. Soil improvement compounds like interest. The second year’s compost works on soil already improved by the first year’s, and by year three the change is unmistakable.
Over-liming, or adding wood ash year after year without checking, can push pH too high and lock up nutrients just as surely as acidity can. Ash is a useful source of potassium in small amounts on many soils, but treat it as an amendment to measure, not a waste to scatter automatically.
Ignoring drainage undermines everything else. Roots and soil organisms suffocate in waterlogged soil no matter how much compost you add. If a bed sits wet all winter, tackle drainage, raise the bed, or choose plants that tolerate wet ground — and improve the beds that can respond first.
Finally, importing problems is easier than people expect. Cheap bulk soil and manure occasionally arrive with persistent weed seeds or, in some regions, herbicide residues that damage sensitive crops. Buy from reputable sources, ask what stable manure may have been treated with, and test a small amount on a few bean or pea plants if you are unsure. Care at the gate saves grief in the beds.
Frequently Asked Questions
How long does it take to improve garden soil naturally?
You will usually see early signs — more worms, better moisture, easier digging — within one season of adding organic matter and mulching. A real transformation of poor soil typically takes two to three years of steady additions. The improvement keeps compounding as long as the habits continue.
What is the best natural soil improver?
Finished compost, if you must pick one, because it improves structure, moisture, and soil life on every soil type and is safe almost everywhere. In practice, a rotation of compost, well-rotted manure, leaf mould, and cover crops does more than any single material used alone.
Can I improve clay soil without digging it?
Yes. Spread compost on the surface, keep it mulched or under a cover crop, and let worms and roots work it in. Clay improved this way changes noticeably over a couple of seasons. An initial forking to relieve severe compaction can speed things up, but repeated deep digging is not required.
Is manure better than compost for soil?
They do different jobs. Manure is generally richer in nutrients and better for building up hungry beds and heavy feeders, as long as it is well rotted. Compost is gentler, more balanced, and better as an all-purpose conditioner and mulch. Most gardens do best with both, used where each suits.
How do I know if my soil is improving?
Look for darker colour, a crumbly texture that holds together without being sticky, water soaking in after rain instead of pooling, more earthworms when you lift a forkful, and plants rooting deeply and coping better in dry spells. A repeat soil test every few years can confirm rising organic matter and stable pH.
Final Thoughts
Improving garden soil naturally is not a project with a finish line; it is a way of gardening. Add organic matter every year, keep the surface covered, grow cover crops on empty ground, dig less and more gently, and give the process time. None of it is complicated, and none of it requires you to buy your way to good soil.
Pick one bed this season — the tiredest, most disappointing one — and start there. A layer of compost, a mulch, a cover crop when it empties. By next year that bed will be telling you, in worms and roots and stronger plants, that the approach works. Then it stops feeling like soil improvement and simply becomes how your garden runs.