

Learning how to build a raised garden bed is one of the most satisfying weekend jobs in the garden, because you finish it, fill it, and can be planting in it the same afternoon. A raised bed is simply a framed box of soil sitting on top of the ground, but that small change solves a surprising number of problems: poor or stony soil underneath stops mattering, drainage improves, the soil warms up earlier in spring, and you no longer have to bend quite so far to weed and harvest.
Raised beds suit almost any garden. They work on a tidy lawn, on tired, compacted ground, and even on a slope or a paved area if you build them deep enough. They are especially helpful if your native soil is heavy clay that stays cold and wet, or thin and sandy soil that dries out the moment the sun appears. Instead of fighting that soil for years, you fill the frame with a mix you control from day one.
You do not need advanced carpentry skills. If you can measure, saw a plank roughly to length, and drive a screw, you can build a bed that lasts for years. This guide walks through the whole job in order — choosing the spot and size, picking timber that will last, building the frame, and filling it properly — so you end up with a bed that is level, sturdy, and ready to grow in.
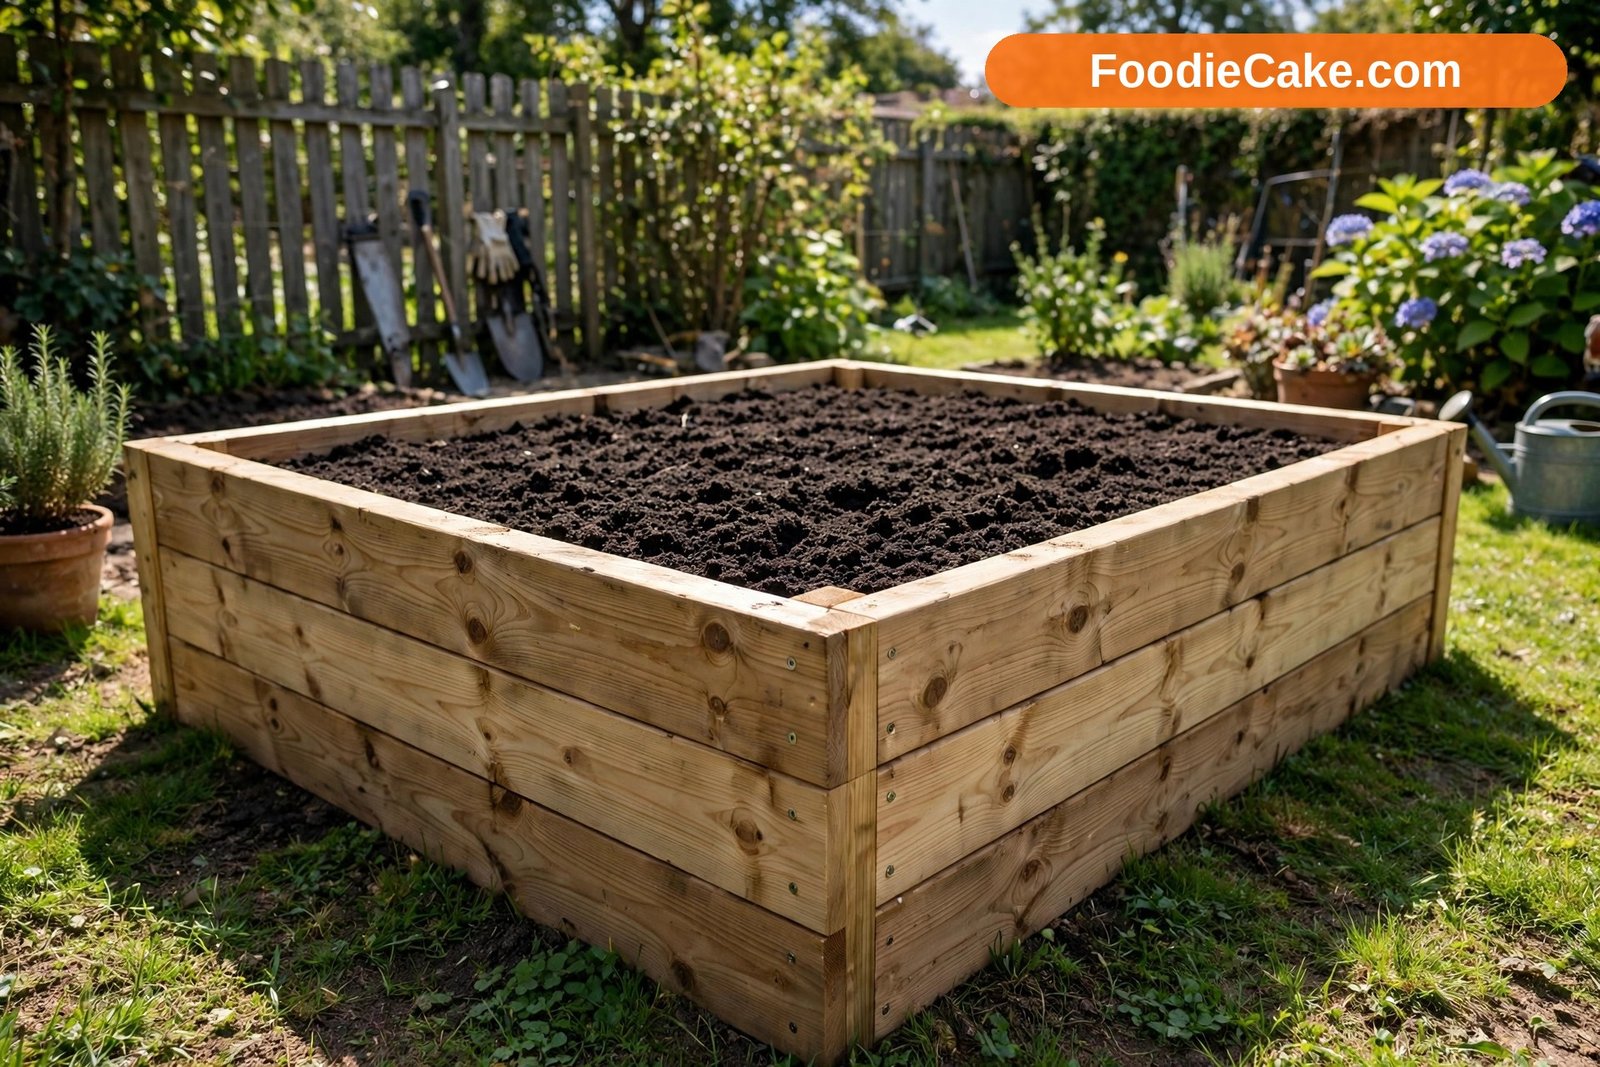
Step 1: Choose the Right Spot
Start by standing in your garden at different times of day and watching where the sun actually falls. Most vegetables want at least six hours of direct sun, and eight is better, so a bed tucked into permanent shade will always struggle, however good the soil inside it is. In zones 5–8, a south- or west-facing spot that catches morning sun and keeps it through the afternoon suits the widest range of crops.
Think about water next. A bed close to a tap or water butt gets watered; one at the far end of the garden often does not in a busy week. Avoid the lowest, boggiest corner, and keep clear of large trees — their roots will invade the rich soil in your bed, and overhanging branches steal light. A sheltered spot is a bonus, but never at the cost of sun.
Step 2: Decide on the Size and Height
The most useful rule is simple: you should be able to reach the middle of the bed comfortably from the sides without stepping on the soil. For most adults that means a bed no wider than 4 feet (about 1.2 metres). If the bed sits against a wall or fence and you can only reach from one side, keep it to 2–2.5 feet (60–75 cm) wide so the back row is never out of reach.
Length is more flexible. Beds of 8 feet (2.4 metres) are popular because timber is commonly sold in lengths that suit them, and they give a generous planting area without feeling endless to dig or weed. Longer beds are fine, but leave paths around them and consider breaking a very long run into two beds with a cross path. You will thank yourself when you are carrying a full watering can.
Height depends on your soil, your back, and your budget. One plank deep — around 6 inches (15 cm) — is enough to define a bed and add extra soil over decent ground. Two planks, roughly 11–12 inches (28–30 cm) high, is the most common choice: deep enough for most vegetables, comfortable to work, and not ruinously expensive to fill. Taller beds, 18–24 inches (45–60 cm) high, are kinder if bending is difficult and are the best option over concrete or very poor ground, but remember that every extra inch of height means a lot more soil to buy and barrow in.
Leave paths at least 18 inches (45 cm) wide — 24 inches (60 cm) if a wheelbarrow needs to pass.
Step 3: Choose Timber and Materials That Will Last
Timber is the classic choice because it is easy to cut, forgiving to work with, and blends into a garden. Look for rough-sawn boards about 1–2 inches (25–50 mm) thick. Thinner boards are cheaper but bow outward under the weight of wet soil; thicker boards cost more but stay straight and last noticeably longer. Boards 6 inches (15 cm) wide are handy because two stacked give you a standard-depth bed.
Wood rots eventually — the question is how fast. Naturally durable timbers such as larch, cedar, and oak resist rot for much longer than cheap softwood, though they cost more at the start. Pressure-treated softwood is the budget-friendly middle ground in many gardens, and modern treatments are widely used for raised beds in home gardens. If you prefer to avoid treated timber altogether, choose a naturally durable wood and accept that you may replace boards sooner. Scaffold boards are a popular recycled option: thick, strong, and often cheap, but check them for protruding nails, splits, and oil stains, and avoid any that look contaminated.
You will also need corner posts. Short lengths of 3×3 inch or 4×4 inch (75×75 mm or 100×100 mm) timber, cut to the height of the bed plus a few inches to drive into the ground, make the corners strong and give the screws something solid to bite into. Buy screws long enough to pass through the board and well into the post — 2.5–3 inch (65–75 mm) exterior screws are a good all-round choice. Ordinary indoor screws rust quickly outdoors.
Step 4: Gather Your Tools and Cut the Boards
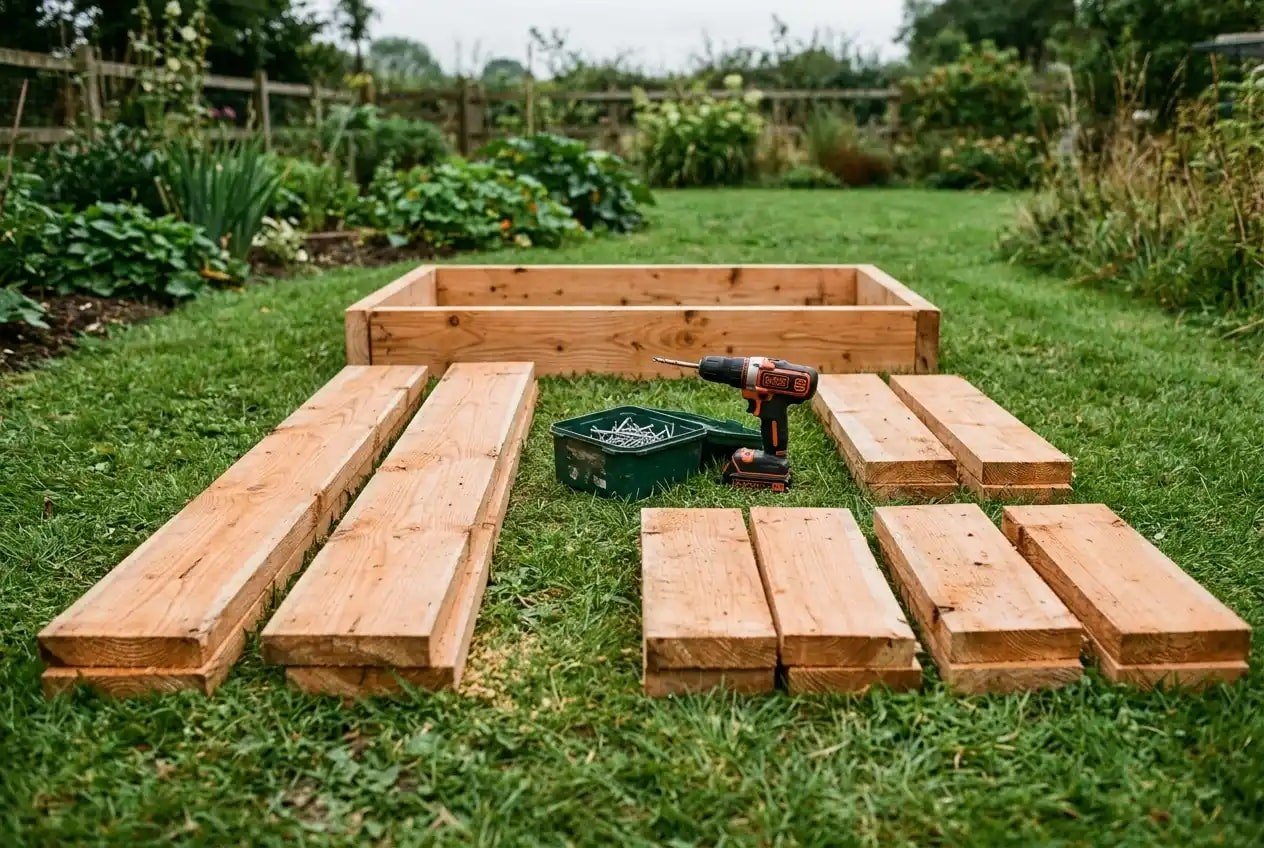
You do not need a workshop. The essential kit is a tape measure, pencil, saw, drill-driver with a bit slightly thinner than your screws for pilot holes, spirit level, spade, and mallet. String and pegs help you mark the bed’s position on the ground.
Measure twice before you cut anything. For a 4×8 foot bed made from two boards high, you will need four long boards at 8 feet for the sides, four short boards at 4 feet for the ends, and four corner posts. If the shop will cut boards to length, take advantage of it — their saw is faster and straighter than most hand sawing, and the pieces are easier to fit in a car.
Cut the corner posts slightly longer than the finished height — for a two-board bed, posts around 14–16 inches work well, leaving a few inches to sink into the ground for stability. Small inaccuracies are not a disaster: soil hides a lot. What matters is that opposite sides are the same length, so check pairs together before you build.
Step 5: Prepare the Ground
Mark out the rectangle with string and pegs, then measure the diagonals. When the two diagonals are equal, the corners are square, and the bed will sit properly. Take a few minutes over this: a bed that starts square is much easier to build than one you try to wrestle into shape later.
If the bed is going on grass, strip the turf inside the rectangle with a spade, cutting it into manageable squares. Stack the turves upside down in a corner of the garden and they will rot down into useful loam over a year, or use them straight away to patch bare spots elsewhere. If the bed is going on existing soil, fork the ground over to loosen it, remove large stones and the roots of perennial weeds such as docks and bindweed, and roughly level it.
Levelling matters: a sloping bed always has a dry end and a soggy end. Use a long board and a spirit level, scraping soil from high spots and filling low ones, and dig the frame slightly into the uphill side of a slope so the top edge ends up level.
Do not put solid plastic under the bed — roots, water, and worms need to pass through. If perennial weeds are a problem, plain cardboard over the forked ground works well: it smothers weeds, then rots away. Overlap the sheets and wet them before filling.
Step 6: Build the Frame
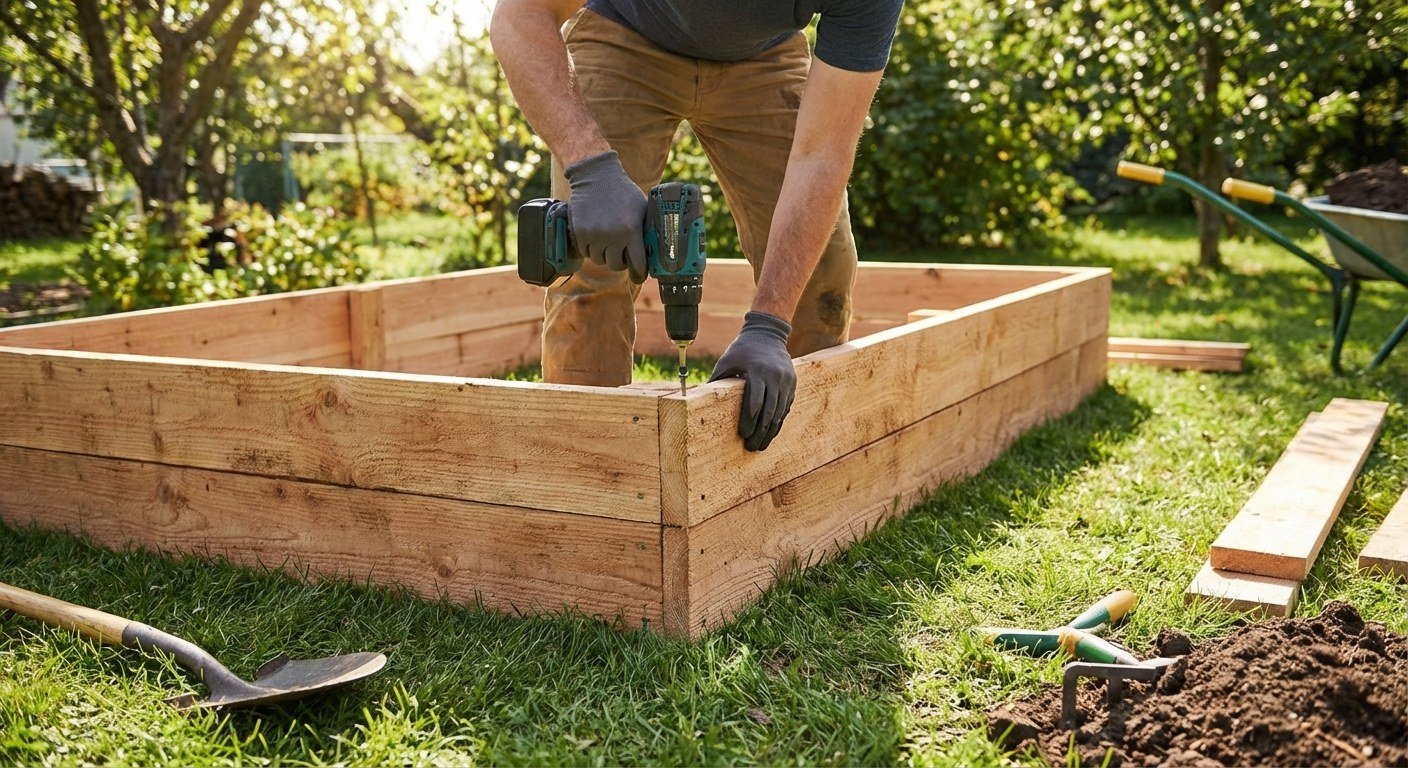
The easiest way to build is to assemble the two long sides first on a flat surface — a patio, driveway, or lawn. Lay two boards one above the other, place a corner post at each end set in slightly from the edge, and screw through the boards into the post. Drill pilot holes first, especially near the ends of boards and in hardwood, or the timber can split as the screw goes in. Two screws per board per post is usually plenty.
Carry the two sides to the site and stand them in position, then attach the short end boards between them in the same way. This is the moment to check levels and square again. Put the spirit level along the top edges and across the corners, and tap posts into the ground with a mallet or pack soil underneath to correct any tilt. Small adjustments are easy now and almost impossible once the bed is full.
If your bed is long, add an intermediate post halfway along each long side. Wet soil pushes outward with surprising force, and a long, unsupported board can develop a belly within a season or two. For beds longer than about 8 feet, a cross-brace or a post in the middle of each side is cheap insurance. Some builders also add a tie across the middle at soil level for the same reason.
Step 7: Fill the Bed With Good Soil
Filling is where many new beds succeed or disappoint, because plants live in what you put in the frame, not in the frame itself. A reliable mix is roughly 60% topsoil and 40% organic matter such as garden compost, well-rotted manure, or composted bark. Good topsoil gives body and minerals; the organic matter feeds soil life, holds moisture, and keeps the mix open and crumbly. Understanding the best soil for vegetable gardening will help you judge bought topsoil with a critical eye, because quality varies enormously between suppliers.
Buying in bulk bags or loose loads is far cheaper than individual small bags if you need a lot — and you will need more than you think. A 4×8 foot bed, 12 inches deep, holds roughly 32 cubic feet of soil, close to 900 litres. That surprises almost everyone the first time. Order a little extra: the level will drop as the mix settles and the organic matter breaks down, and you will top the bed up each year anyway.
For deep beds, you can reduce the cost by filling the bottom third with bulky material such as logs, branches, and straw before adding the soil mix on top. Keep it well below the surface, avoid anything diseased or treated, and expect extra sinking in the first year. For a standard 12-inch bed, fill entirely with soil mix.
Fill in stages, spreading each barrow-load evenly and watering lightly as you go so the mix settles. Do not tread it down hard. Fill to within an inch or two of the top, so soil and mulch do not wash over the edges when it rains.
Step 8: Plant Your First Crops
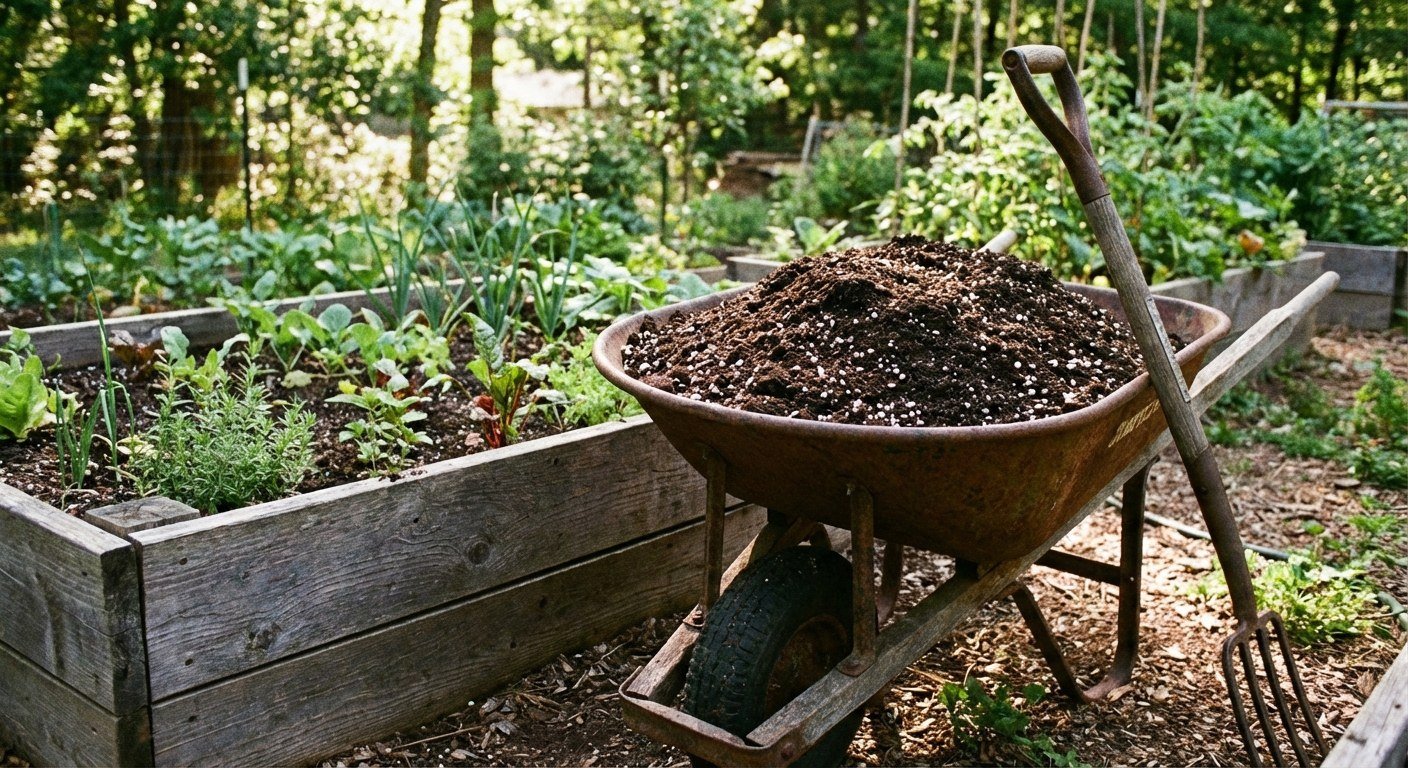
Let a freshly filled bed settle for a few days if you can, watering it once or twice so the level finds itself, then top up any dips. Rake the surface level, remove any lumps or stones that worked their way up, and you are ready to plant.
Start with easy, rewarding crops while you learn how your bed behaves. Lettuce, radishes, spring onions, dwarf beans, courgettes, and herbs such as parsley and chives are forgiving and quick. Thinking about the best vegetables to grow in raised beds helps you match crops to the depth and sun your bed actually gets, rather than planting everything you fancy in the first week. In zones 5–8, for example, tender crops such as beans and courgettes still need to wait until after the last frost, while peas, broad beans, and salad leaves can go in much earlier.
Use the depth well. Shallow-rooted salads suit the edges, while carrots and parsnips appreciate the deepest soil in the middle. Tall crops such as climbing beans and cordon tomatoes should go at the north end of the bed in the northern hemisphere, so they do not shade everything else. Water new plantings in well, then mulch with a couple of inches of compost or straw once seedlings are up.
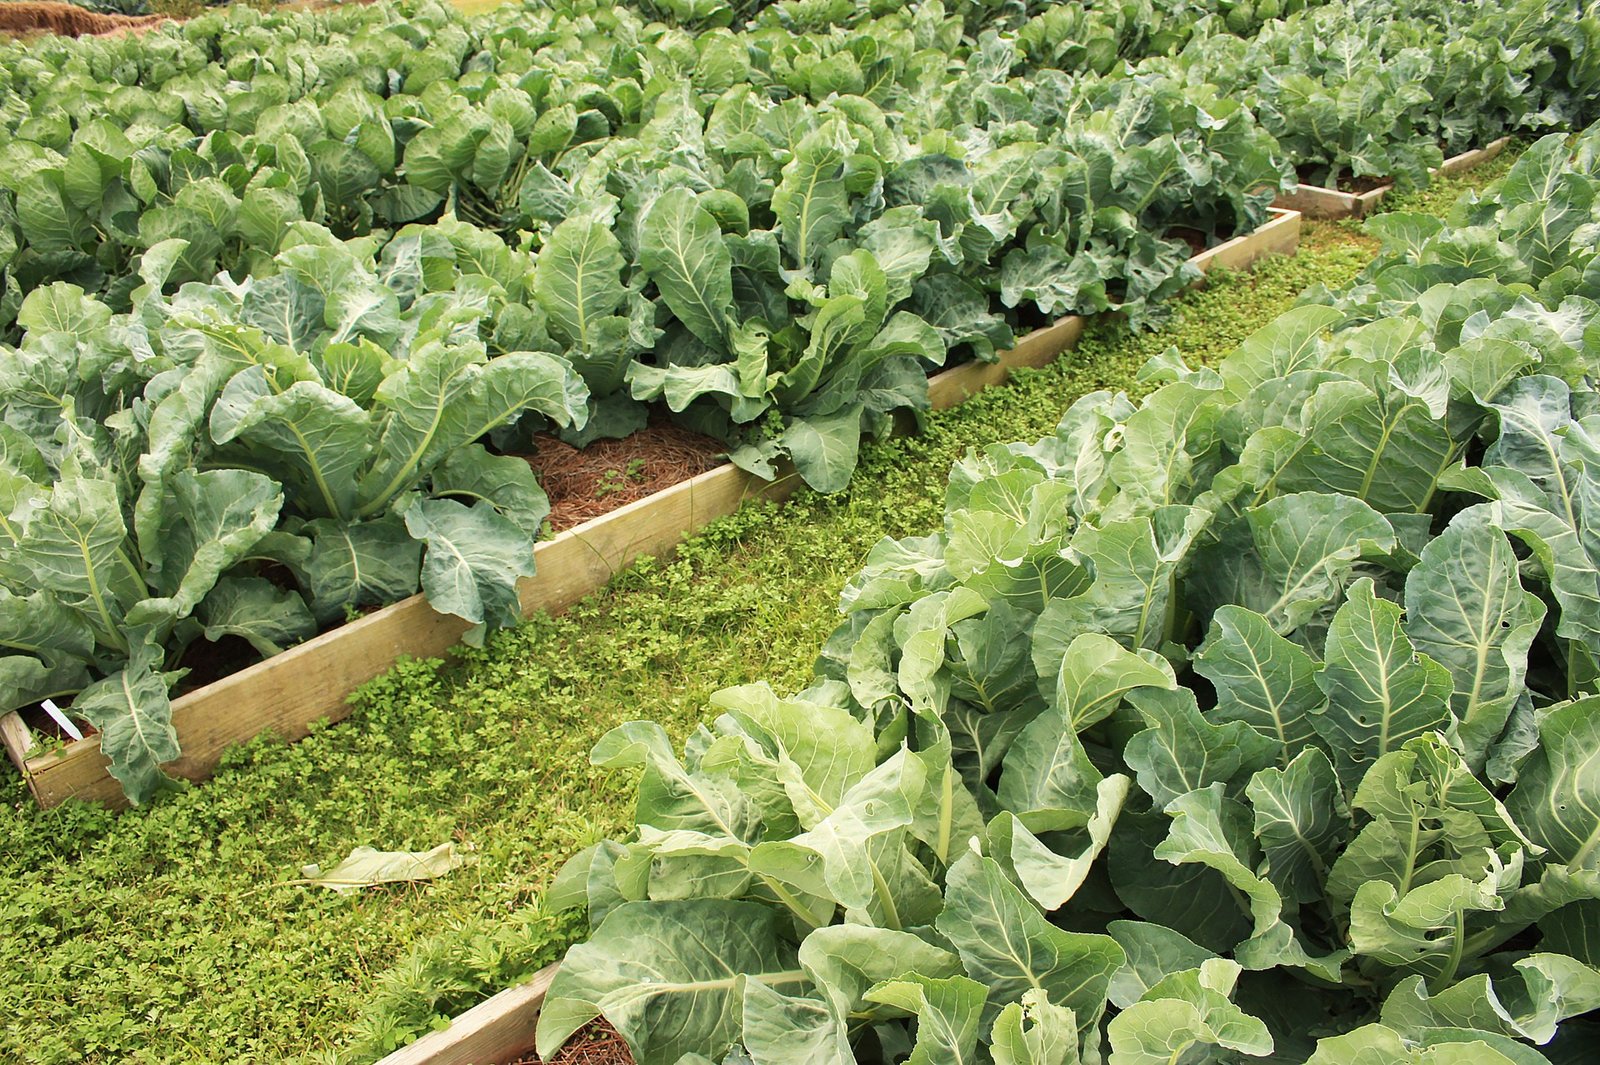
Practical Tips for a Raised Bed That Lasts
Line the inside faces of timber boards with a breathable membrane or old compost bags if you want to slow rot where soil touches wood, but never line the bottom — drainage must stay open. Leave a small air gap in your thinking, too: timber that can dry out between rains lasts longer than timber kept permanently wet against a wall.
Top the bed up every autumn or spring with an inch or two of compost as a mulch. Levels in raised beds always fall, because organic matter is constantly breaking down. That annual top-up replaces what is lost, feeds the soil, and means the bed rarely needs digging at all — you can simply plant through the mulch.
Rotate crops around your beds where you have more than one, moving plant families to a different bed each year. It helps prevent the build-up of soil-borne pests and diseases that favour one family.
Finally, build one bed well rather than four beds badly. You can always add another next season, and a second build is twice as fast once you have made your mistakes on the first.
Common Mistakes When Building a Raised Garden Bed
Making the bed too wide is the classic first error. It looks generous on paper, but a 5- or 6-foot bed forces you to step onto the soil to reach the middle, compacting the very ground you built the bed to protect. If you have already built one too wide, lay a plank across it to stand on when you must reach in, and make the next bed narrower.
Choosing a shady or awkward spot comes a close second. Beds are semi-permanent: once filled with close to a tonne of soil, nobody moves them. Spend the extra day watching the light and thinking about water before you commit, rather than a season wondering why nothing thrives.
Skimping on the fill disappoints just as reliably. Pure compost with no topsoil slumps dramatically and can be too rich and loose at first; poor subsoil dug from a hole in the garden stays poor inside a frame. A bed is only as good as its mix, so this is the wrong place to save money.
Forgetting about bowing and drainage causes slower problems. Long boards without middle posts bow outward, and a bed sealed underneath with plastic waterlogs in winter and can turn sour. Keep the bottom open, support long sides, and let worms do the underground work for free.
The last mistake is filling right to the brim. Soil and mulch piled level with the top spill over the edges with every heavy shower, paths get muddy, and the level drops anyway. Leave that inch or two of headroom from the start.
Frequently Asked Questions
How long will a wooden raised bed last?
It depends on the timber. Untreated softwood may last only a few seasons in contact with damp soil, pressure-treated softwood considerably longer, and naturally durable woods such as larch, cedar, and oak longer still. Lining the inside faces, keeping the top edge able to dry, and using thick boards all extend the life of any bed.
How deep does a raised bed need to be?
Around 11–12 inches (28–30 cm) suits most vegetables, including carrots if the soil is stone-free. Shallow-rooted salads manage in 6 inches, while beds built over concrete or hard, unusable ground do better at 18 inches or more, so roots never need to rely on what is underneath.
Can I build a raised bed on concrete or paving?
Yes, provided it is deep enough — aim for at least 12 inches, and 18 inches is safer — and water can escape at the base rather than pooling inside. Raise the frame very slightly or leave small drainage gaps at the bottom edge, and expect to water more often, because a bed on paving cannot draw moisture up from the soil below.
Should I remove grass and soil underneath the bed?
On grass, stripping the turf stops it growing up through the bed and gives a cleaner start, though a thick cardboard layer over mown grass also works. On good existing soil, keep the soil, fork it over to loosen it, and let roots and worms move freely between the bed and the ground.
What is the cheapest way to fill a raised bed?
Buy topsoil and compost in bulk rather than small bags, fill the bottom of deep beds with clean logs, branches, and straw before adding the soil mix, and use your own garden compost for part of the organic matter if you have it. The cost is almost all in the fill, so this is where savings actually add up.
Do raised beds need more watering than the ground?
Usually a little more, yes. They drain freely and the soil is raised into sun and wind, so they dry out faster, especially in hot weather and in their first season. Mulching the surface, adding plenty of organic matter to the mix, and watering deeply rather than little and often all help close the gap.
Final Thoughts
A raised garden bed is not a complicated piece of engineering. Choose a sunny, reachable spot, build a frame no wider than you can reach across, use timber thick enough to stay straight, and fill it with a decent mix of topsoil and compost. Those decisions matter far more than decorative finishes or perfect corners.
Build it this weekend if you can. By this time next month the first seedlings could be up, and every season afterwards the bed will quietly repay the effort — earlier crops, cleaner soil, fewer weeds, and a garden that feels organised around the way you actually work in it.