

How to grow carrots in containers is one of those skills that surprises people, because carrots have a reputation for needing deep, stone-free garden soil and plenty of ground. In truth, a deep pot on a sunny patio, balcony, or doorstep can produce straighter, cleaner carrots than many garden beds, simply because you control the soil completely. There are no hidden stones to fork the roots, no heavy clay to stunt them, and no digging through mud to harvest them.
If you have tried carrots in the ground and ended up with short, twisted roots, containers solve the main problem straight away. You fill the pot with loose, light mix from top to bottom, so the root can push down easily. You can also move the pot to follow the sun, bring it closer to the kitchen for watering, and keep it out of the worst wind. For small gardens, rented homes, and anyone gardening on paving, that flexibility matters as much as the harvest itself.
This guide walks through the whole process in order: choosing a deep enough container, picking varieties that suit pots, mixing the right soil, sowing thinly, thinning without tears, and watering in a way that keeps roots sweet rather than cracked. Get those few things right and carrots become one of the most satisfying container crops you can grow.
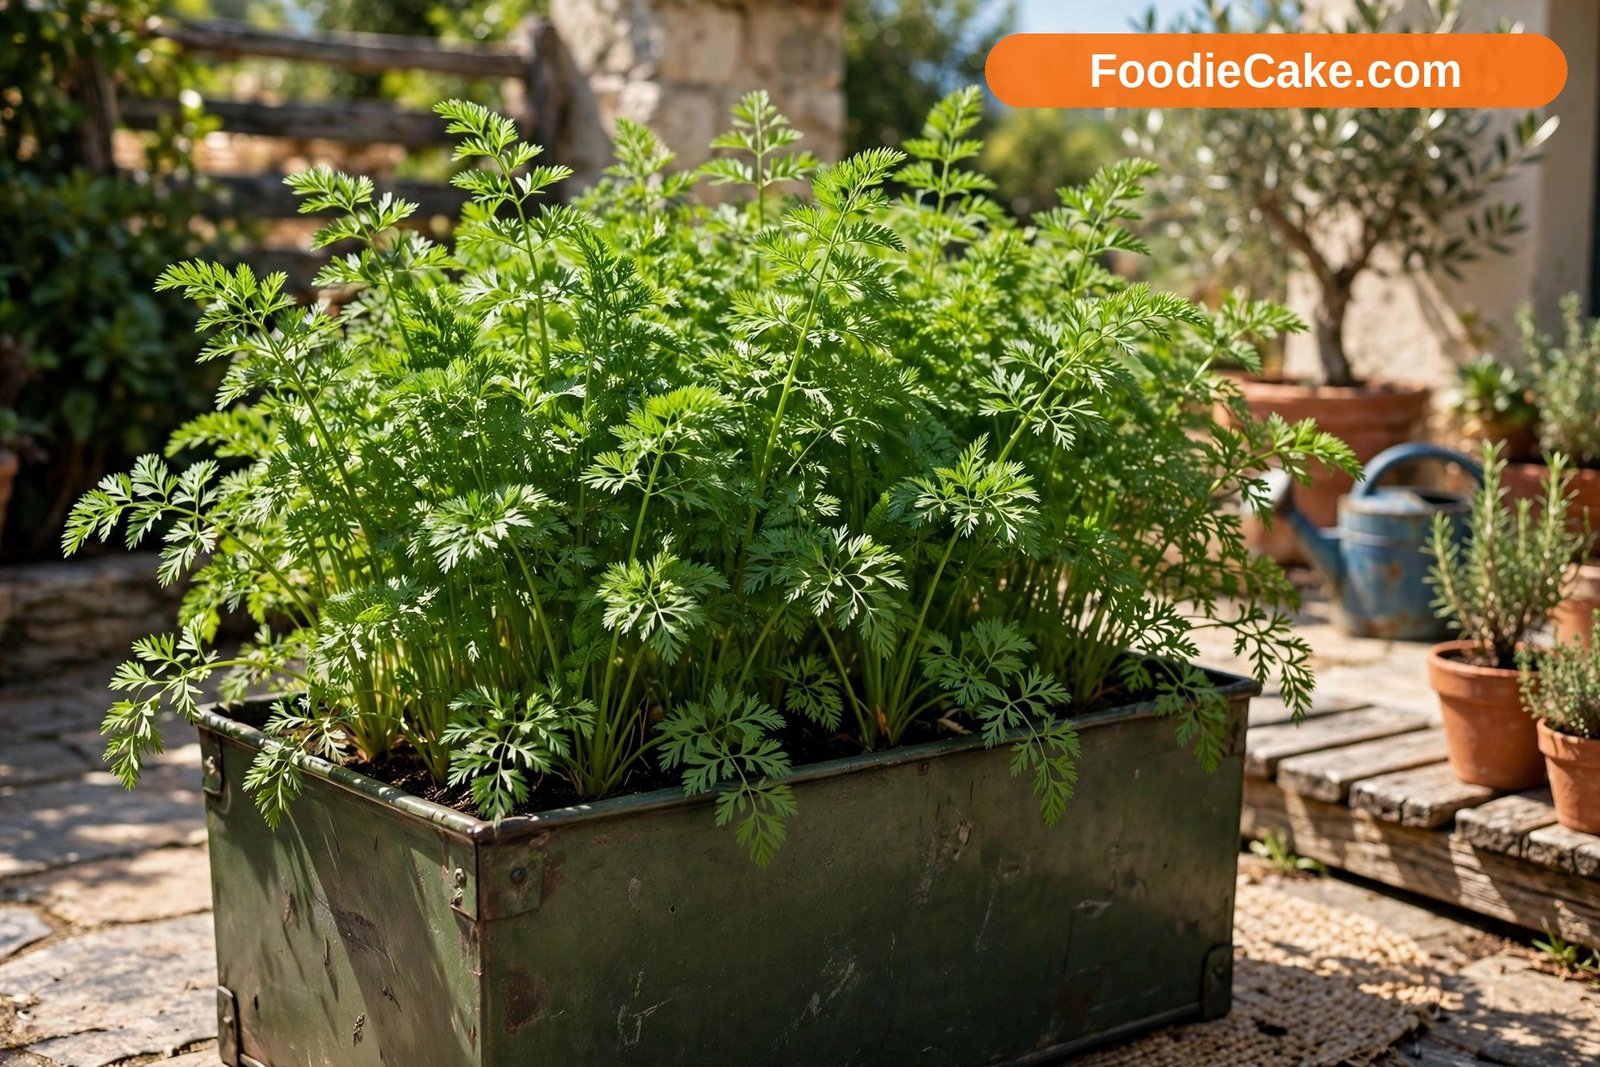
Step 1: Choose a Container Deep Enough for Roots
Depth matters more for carrots than almost anything else. A shallow window box that works beautifully for lettuce will disappoint you here, because the edible part grows downwards and needs room to lengthen. As a rule, choose a container at least 30 centimetres (12 inches) deep for short and round types, and 40 to 45 centimetres (16 to 18 inches) deep for longer varieties. Deeper is rarely wasted — extra depth gives you more choice of varieties and a bigger reserve of moisture in hot weather.
Width is more forgiving. A pot 30 to 40 centimetres across can hold a good little crop, while a long trough or a large fabric grow bag lets you sow several short rows. Fabric bags are popular for carrots because they are light, cheap, and drain freely, and their soft sides make harvesting easy — you can loosen the mix with your hands before pulling. Rigid plastic pots hold moisture a little longer and look tidier on a patio. Terracotta looks lovely but dries out fast in sun and wind, so it needs more frequent watering.
Whatever you choose, drainage holes are non-negotiable. Carrots rot in standing water and fork or stall in soggy mix. If a pot has only one small hole, add a few more if the material allows it, and raise the pot slightly on feet or bricks so water can escape. Skip the old advice about a thick layer of gravel at the bottom — it does not improve drainage and it steals depth your carrots need. A thin piece of mesh over the holes to keep mix from washing out is all you need.
Step 2: Pick Varieties That Suit Pots
Variety choice is where container carrots are won or lost. Long, slender exhibition types bred for deep sandy beds will struggle in all but the deepest pots. Short, stump-rooted, and round varieties were made for heavier soil and shallow ground, and they shine in containers.
For a standard deep pot, look for Nantes types, which are sweet, crisp, and blunt-ended rather than sharply pointed. ‘Nantes 2’ and ‘Scarlet Nantes’ are reliable classics, typically growing to around 15 to 18 centimetres, and they forgive slightly imperfect soil better than most. ‘Little Finger’ is a smaller gourmet type, harvested young at finger length, and is excellent if your pots are on the shallower side or you want a quicker crop for children to pull.
For shallower containers, choose true short types. ‘Parisian Market’ and ‘Paris Market Atlas’ form almost round roots, like orange radishes, and can thrive in 20 to 25 centimetres of soil. ‘Chantenay Red Cored’ gives short, broad, wedge-shaped roots with rich colour and strong flavour — an old variety that still earns its place. If you have a genuinely deep tub, ‘Danvers Half Long’ offers a good middle ground, and colourful types such as ‘Cosmic Purple’, with purple skin and orange flesh, are fun without being any harder to grow.
Step 3: Fill the Pot With Loose, Light Soil
Carrots need a mix that roots can push through easily and that drains without drying to dust. Heavy garden soil straight from a bed is usually a poor choice in a pot: it compacts, it may contain stones and weed seeds, and it often holds too much water in a confined space. A good multi-purpose compost as a base is a sensible start, lightened and opened up before sowing.
A simple, effective mix is roughly three parts peat-free multi-purpose compost to one part horticultural sharp sand or fine grit, with a little garden compost or well-rotted manure mixed through if you have it. The sand helps the mix stay open and encourages straight roots. Sieve out any big lumps, stones, and chunks of unrotted material as you fill — in a container, you have the rare luxury of removing every obstacle before the root meets it.
Fill the pot to about 2 to 3 centimetres below the rim, firm it very lightly with your hands, and water it well before sowing. Pre-watering settles the mix and means delicate seeds are not washed around by the first watering after they go in.
Step 4: Sow Seeds Thinly and Keep Them Moist
Carrots are usually sown from early spring through to midsummer, depending on your climate. In zones 5–8, for example, a first outdoor sowing in spring once the soil has warmed a little, followed by smaller sowings every three to four weeks until early summer, gives a steady supply rather than one overwhelming glut. In warmer zones 8–10, autumn and late-winter sowings often do better than trying to push carrots through peak summer heat. Carrot seed germinates best in soil that is cool to mildly warm, and it can be slow — ten to twenty days is normal, and sometimes longer in cold ground.
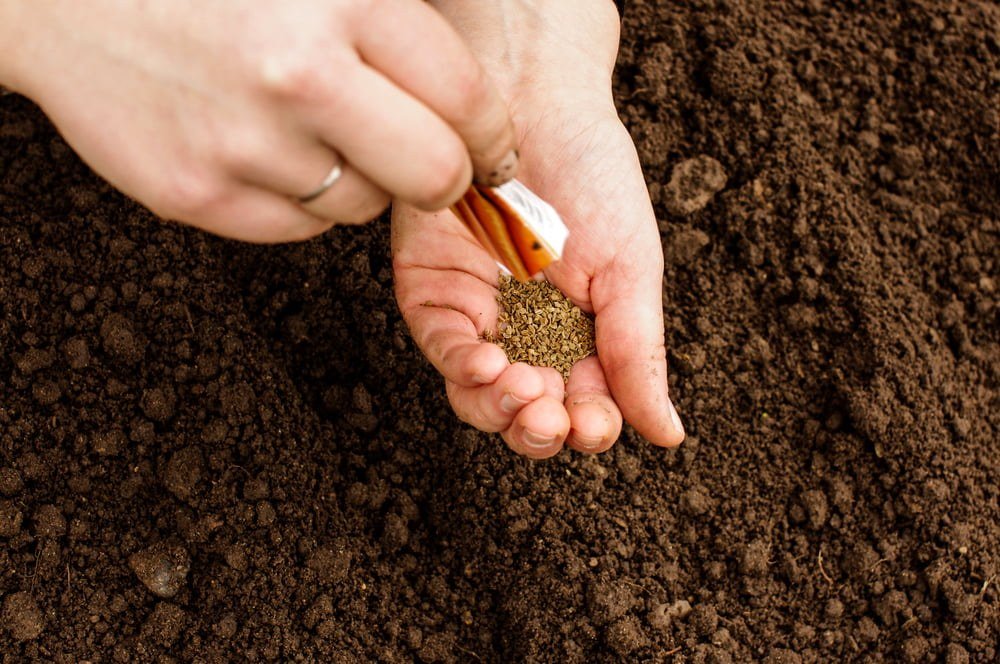
Make shallow drills about 1 centimetre deep, spaced 10 to 15 centimetres apart in a wide pot, or scatter seed very thinly and evenly over the surface of a large container and cover it lightly. Sow as thinly as you can manage. Carrot seed is small and fiddly, so mixing it with a little dry sand in your palm makes it easier to see and spread. Some gardeners mix in a few radish seeds in the same row: radishes germinate fast, mark the row, loosen the surface, and are harvested long before the carrots need the space.
Cover the seed with about 1 centimetre of fine, sieved compost, firm it gently, and water with a fine rose so you do not displace it. Then comes the most important part: keep the surface consistently moist until seedlings appear. If the top centimetre dries out after germination has started, seedlings can die before they ever emerge. In dry or windy weather, laying a piece of damp hessian, a board, or clear cover over the pot until the first green shoots show helps a great deal — just check daily and remove it as soon as seedlings appear, so they get light.
Step 5: Thin Seedlings Without Apology
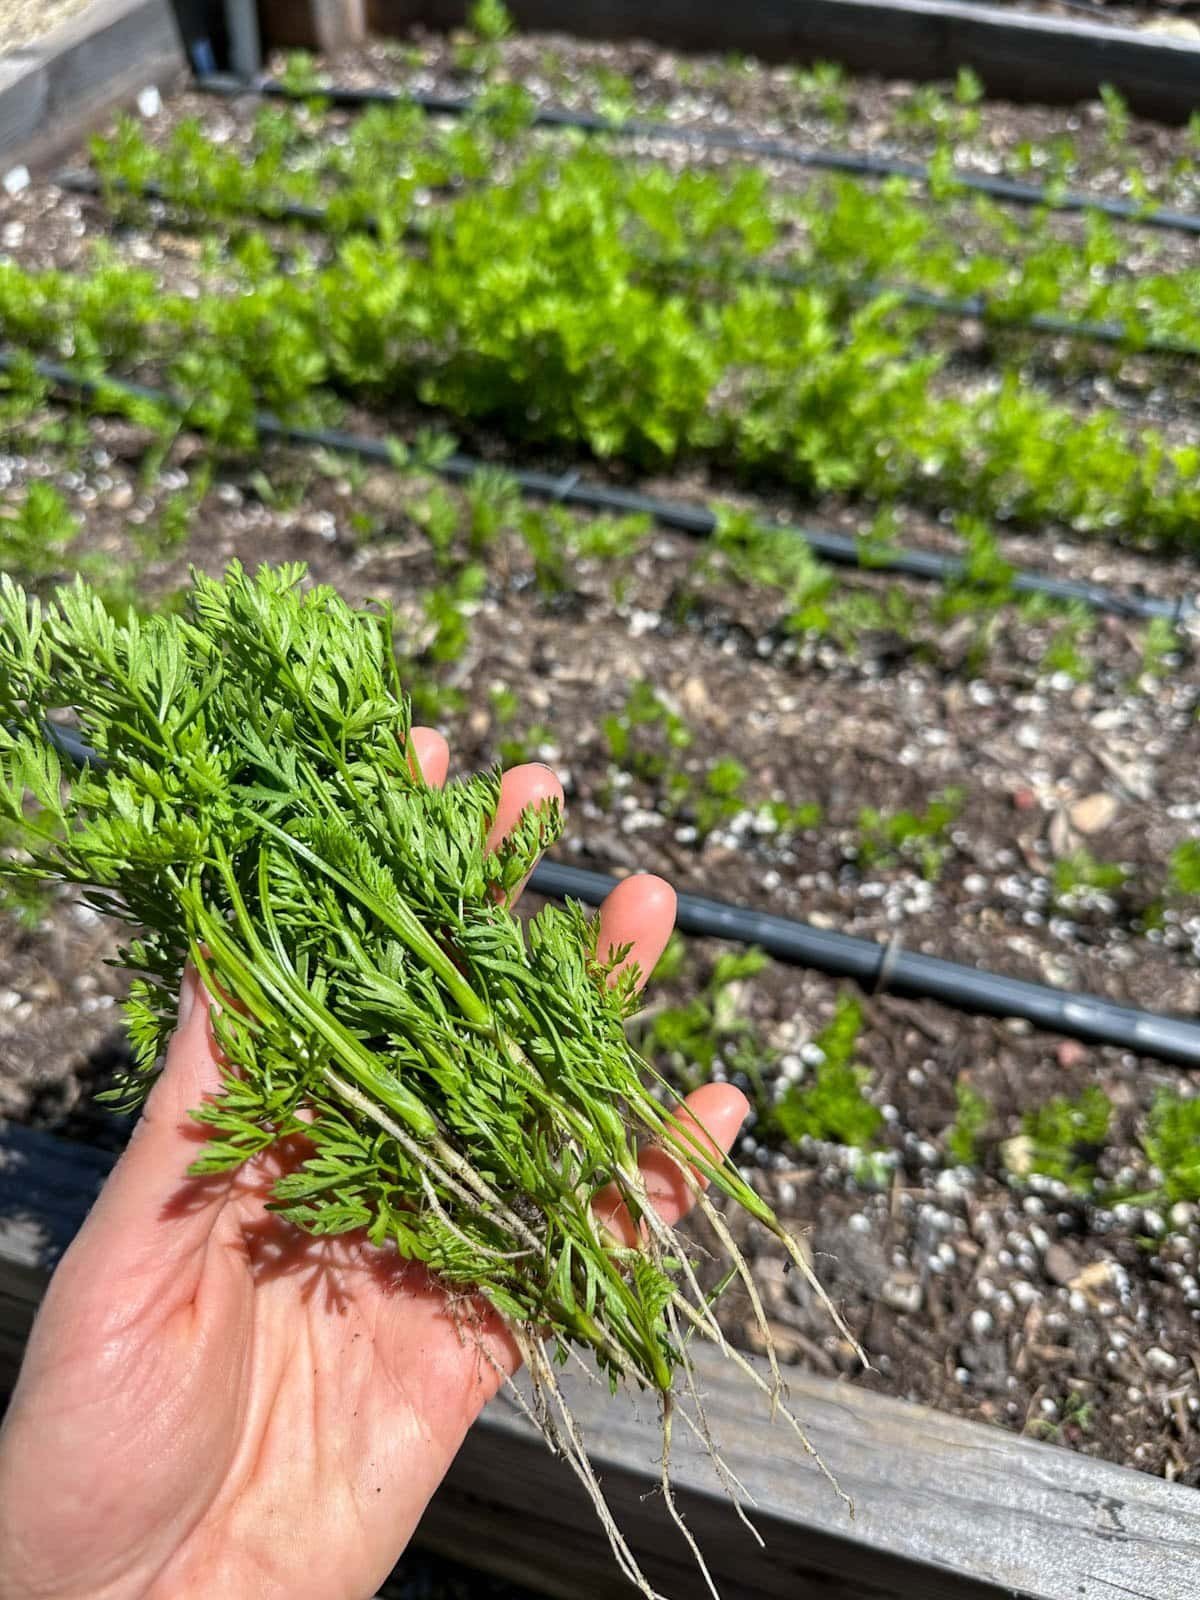
Thinning is the job new growers skip, and the one that makes the biggest difference. If ten seedlings are crowded into the space one carrot needs, you will not get ten small carrots — you will get a tangle of thin, twisted roots competing for water and light. Each carrot needs room to swell sideways as well as down.
Start thinning when seedlings are a few centimetres tall and have their first true, feathery leaves. Aim first for about 2 to 3 centimetres between plants, snipping out the weakest with small scissors rather than pulling, because pulling can disturb the shallow roots of the neighbours you want to keep. A week or two later, thin again to a final spacing of around 5 centimetres for smaller types and 7 to 8 centimetres for larger Nantes types. It feels wasteful, but the thinnings are not entirely wasted — larger ones can be washed and eaten as baby carrots, tops and all in pesto or salads, once they have a little root to enjoy.
Water the pot after thinning to settle the soil around the remaining roots, and top up with a little fine compost if any shoulders are exposed. Exposed shoulders turn green and bitter in the light, so keeping them just covered is a small habit worth forming. Try to thin on a still, dull evening if carrot fly is a problem in your area, since bruised foliage releases the scent that attracts the fly — another reason scissors are better than rough pulling.
Step 6: Water Deeply and Feed Lightly
Containers dry out faster than garden beds, and carrots dislike swinging between drought and flood. Dry spells followed by heavy watering can split roots as they suddenly take up water, and chronic dryness gives you woody, bitter carrots with a tough core. Steady moisture is the goal, especially once roots start to swell.
Water when the top couple of centimetres of mix feel dry, and then water properly, until some runs from the drainage holes. In warm summer weather a large pot in full sun may need water every day; in cool spring weather, twice a week might be plenty. Morning watering is ideal, because foliage dries during the day and the pot starts the warmest hours fully supplied. A mulch of fine compost, grass clippings in a thin layer, or straw over the surface once plants are established slows evaporation and keeps the surface from crusting.
Feeding should be modest. If growth looks pale or slow after the first month, a half-strength liquid seaweed or a balanced liquid feed every couple of weeks is plenty. Avoid high-nitrogen feeds that push lush tops at the expense of roots, and stop feeding a few weeks before you expect to harvest. If you are comparing container crops, you will find carrots far less demanding than the best vegetables to grow in pots such as tomatoes or sweet peppers, which need regular feeding to crop well — carrots reward restraint.
Step 7: Give Them Sun, Air, and a Little Protection
Carrots want sun. Six hours of direct sun a day is a workable minimum, and more is better for sweet, well-coloured roots, provided you keep up with watering. On a small patio, put the carrot pot in your sunniest spot and let less demanding herbs take the partial shade. Good air movement helps foliage dry after rain and reduces fungal problems, but a very exposed, windy balcony can dry pots quickly and rock tall foliage around, so a sheltered sunny corner is ideal.
Most pests leave container carrots alone more than ground-grown ones, simply because the pot is raised and the soil is fresh. Carrot fly, whose larvae tunnel into roots, is the main exception. The female flies low, so a pot raised on a table or stand, or a fine insect mesh draped over the crop, reduces damage considerably. Growing carrots alongside strong-smelling companions such as chives, spring onions, or garlic in neighbouring pots is a traditional extra deterrent — not a guarantee, but a pleasant one.
Step 8: Harvest at the Size You Actually Want
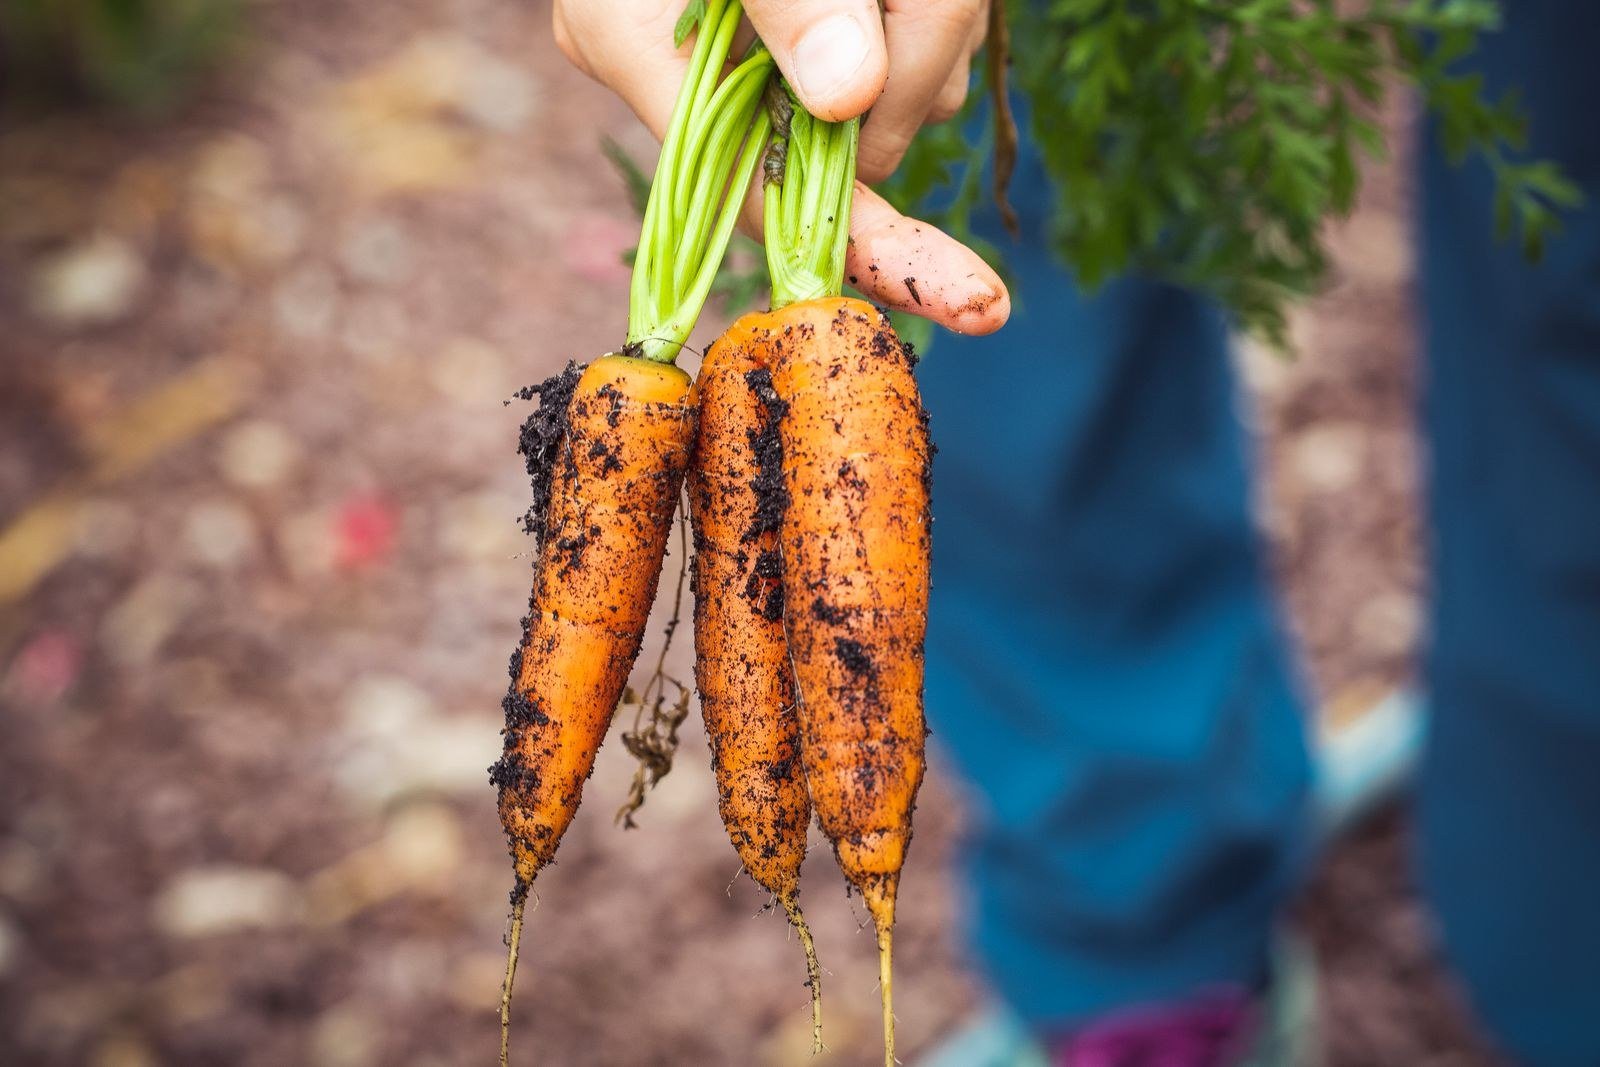
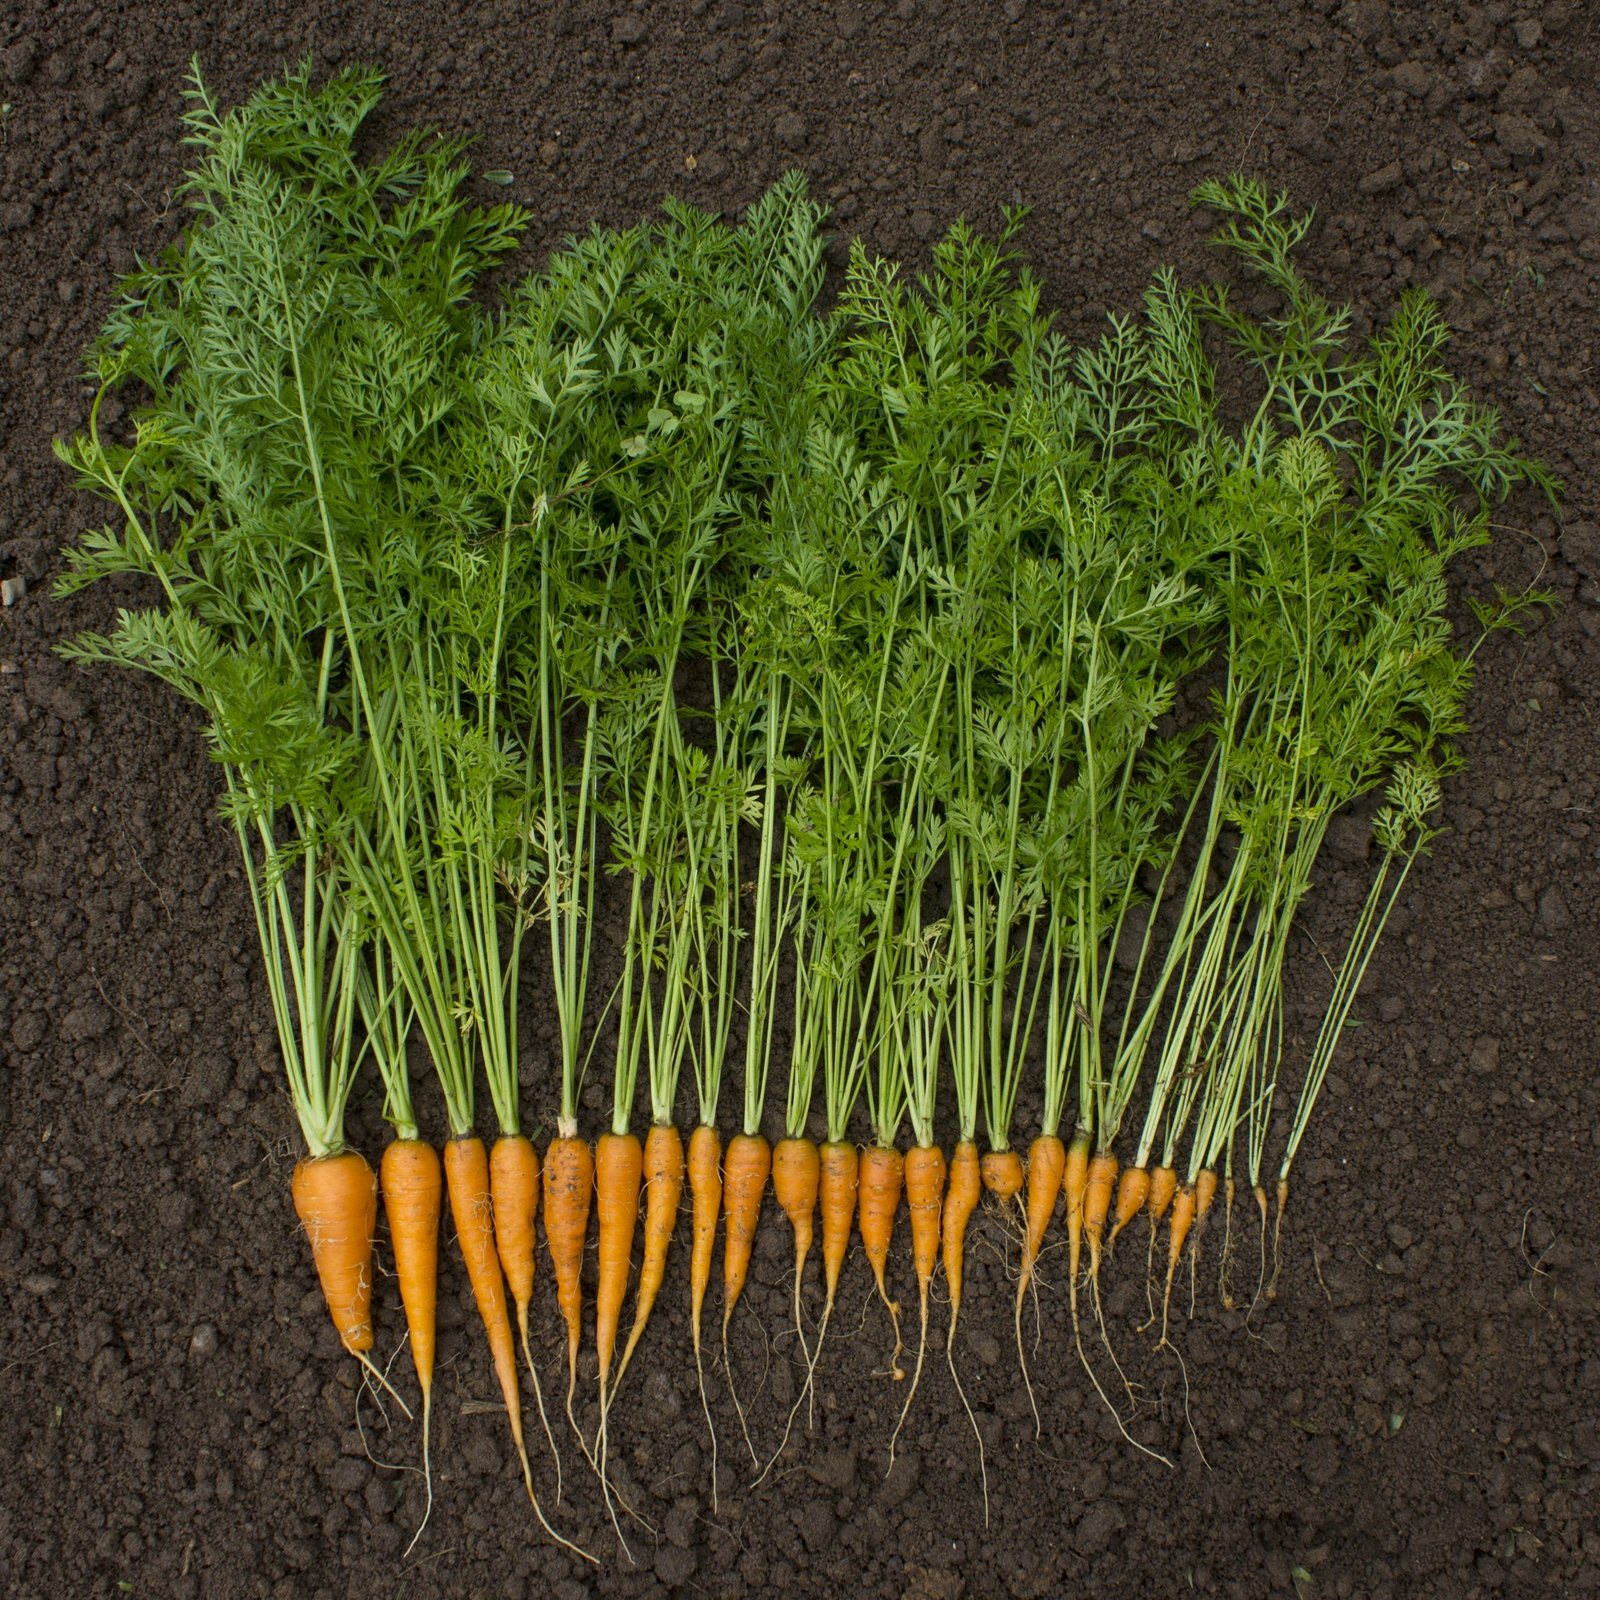
Carrots in containers are ready when the shoulders of the roots reach a size you are happy to eat — there is no single correct date. Fast, small types may be ready in around eight to ten weeks from sowing in warm weather, while larger maincrop types often need twelve to sixteen weeks. Cool weather slows everything down. The top of the root, visible at the soil surface once foliage is gently brushed aside, is your best guide: roughly 2 to 3 centimetres across suits many Nantes types for sweet, tender eating.
Water the pot an hour or so before harvesting to loosen the mix. Grasp the foliage close to the base and pull with a steady twist; in a loose container mix, most roots come up cleanly. Stubborn ones can be eased out with a hand fork pushed in well away from the root. This is where containers shine — tipping a fabric bag slightly and working through the mix by hand is far easier than digging a bed, and it is the same gentle approach that works when you learn how to grow potatoes in containers and harvest by rummaging rather than digging.
Harvest in batches, taking the largest roots first so the rest have room for a final swell. Twist off the green tops soon after picking if you are storing carrots, because leaves left on draw moisture from the root and make it limp. Freshly pulled carrots eaten the same day are at their sweetest. For short storage, keep unwashed roots in the fridge in a covered box; for a glut, they freeze well after blanching, and the tops can be turned into pesto rather than thrown away.
Practical Tips for Sweeter, Straighter Carrots
Sow little and often. A small sowing every few weeks beats one huge sowing, because young carrots are sweeter than old giants, and you avoid a glut that turns woody while you try to eat it.
Keep a watering can by the door during germination. The two weeks after sowing decide the crop, and a daily light sprinkle on the surface is better than one deep soak after the pot has dried out. Once seedlings are up, switch to deeper, less frequent watering.
Label each pot with the variety and sowing date. Carrot foliage all looks much the same, and six weeks later nobody remembers which pot was sown when. A simple label stops you harvesting a slow variety too early or leaving a fast one too long.
Common Mistakes When Growing Carrots in Containers
Using a pot that is too shallow is the most common mistake of all. The roots hit the bottom, stop, fork, or grow in a spiral, and the grower blames the variety. Measure depth before you sow, and match short varieties to shallow pots honestly rather than hoping for the best.
Sowing into rich, freshly manured mix causes forking. It is tempting to give a crop your richest compost, but carrots prefer a modest, even soil. Save the rich stuff for hungry crops like courgettes and give carrots the lighter mix.
Letting the surface dry out during germination ruins many sowings. Carrot seed is slow, and a pot that looks fine on Monday can be dry-crusted by Thursday in spring sunshine. Cover the pot, check it daily, and keep that top layer damp until green appears.
Refusing to thin is the other classic. Crowded carrots cannot swell. It feels harsh to remove healthy seedlings, but using scissors and eating the larger thinnings softens the blow — and the difference at harvest is dramatic.
Finally, watering irregularly leads to split and bitter roots. Little and often during dry spells, deep drinks rather than sprinkles once plants are established, and a simple mulch once foliage is up will prevent most problems. Carrots are not fussy, but they are unforgiving of long drought followed by a flood.
Frequently Asked Questions
How deep does a container for carrots really need to be?
For round and short varieties, about 25 to 30 centimetres is enough. For standard Nantes types, aim for at least 35 to 40 centimetres, and for longer varieties choose 45 centimetres or more. When in doubt, go deeper — you will never regret extra depth, but you will regret too little.
When is the best time to sow carrots in containers?
In most temperate gardens, sow from early spring to early summer for summer and autumn harvests, with succession sowings every three to four weeks. In zones 5–8 that often means starting in April and finishing by July; in warmer zones, late-summer and autumn sowings for winter harvests can work better than summer ones.
Why are my container carrots forked or hairy?
Forking usually means the root tip met an obstacle — a stone, a lump, or a pocket of rich manure — or the mix was too heavy and compacted. Hairy roots, covered in fine side roots, often point to overly rich or unevenly watered soil. Sieved, light mix with modest feeding prevents most of it.
Can I grow carrots on a balcony with only afternoon sun?
Yes, if the balcony gets at least five to six hours of direct sun in total and you keep up with watering. Growth may be a touch slower and roots a little smaller than in an all-day sun spot, but flavour is usually still excellent. Choose faster, smaller varieties such as ‘Little Finger’ to stack the odds in your favour.
How do I know when carrots are ready if I cannot see the root?
Brush a little soil away from the top of one root with a finger. If the shoulder is about 2 centimetres across or more, pull that one as a test. Carrots do not need to reach a set size — a small, sweet carrot picked young is a success, not a failure, and you can leave the rest to grow on.
Final Thoughts
Growing carrots in containers takes the hardest part of the crop — the soil — completely under your control. Choose a deep pot, fill it with loose, sieved mix, sow thinly, keep the surface moist until seedlings appear, thin bravely, and water steadily. None of those steps is difficult on its own; together, they turn a crop many gardeners find fickle into one of the most reliable on the patio.
Start with one pot of a forgiving variety like ‘Nantes 2’ or ‘Parisian Market’ this season. Pull your first homegrown carrot, rinse it under the tap, and eat it standing in the sunshine — that crunch and sweetness is the reason container carrots earn their place, year after year.