How to Grow Potatoes in Containers
There is a particular pleasure to growing potatoes in a container that you do not get from a vegetable bed. You tip a bag over at the end of the season, spread the compost out on a tarp, and pick up your dinner with your hands. Nothing hides. Nothing gets speared by a fork. If you have a patio, a balcony, or one sunny corner that will not fit a bed, this is one of the most satisfying crops you can grow.
Potatoes are forgiving in a way that surprises first-timers. They are productive, they cope with a beginner’s uneven attention better than most vegetables, and they are well suited to life in a pot or a grow bag. You control the soil, you avoid most of the digging, and you can move the whole crop to follow the sun. The trade-offs are honest and easy to manage: containers dry out faster than the ground, so watering matters, and a pot that is too small gives a small crop no matter how well you feed it. Give each plant enough room, keep the compost evenly moist, and keep topping it up as the stems grow, and potatoes will reward you generously.
If you already know how to start a container garden, you have most of the skills already. Potatoes simply add one extra trick, earthing up, and they are an excellent crop to practise it on.
The Short Answer: What a Potato Pot Needs
If you want the whole guide in one paragraph, here it is. Take one large container of thirty to forty litres, fill the bottom with fifteen centimetres of good multi-purpose compost, set two or three certified seed potatoes on it sprouts-up, and cover them with another ten to fifteen centimetres of compost. Water well and stand the pot in full sun. As the shoots grow to fifteen or twenty centimetres tall, keep adding compost around them until only the top few centimetres of leaves show. Water steadily all season, feed lightly once the plants are growing strongly, and harvest early varieties about ten to twelve weeks after planting, when the plants flower, or maincrops when the foliage yellows and dies back.
That is the whole method. Everything below is about doing each of those steps well, and about the small decisions — container size, variety, timing — that turn a decent crop into a generous one.
Choosing the Container: Size First, Material Second
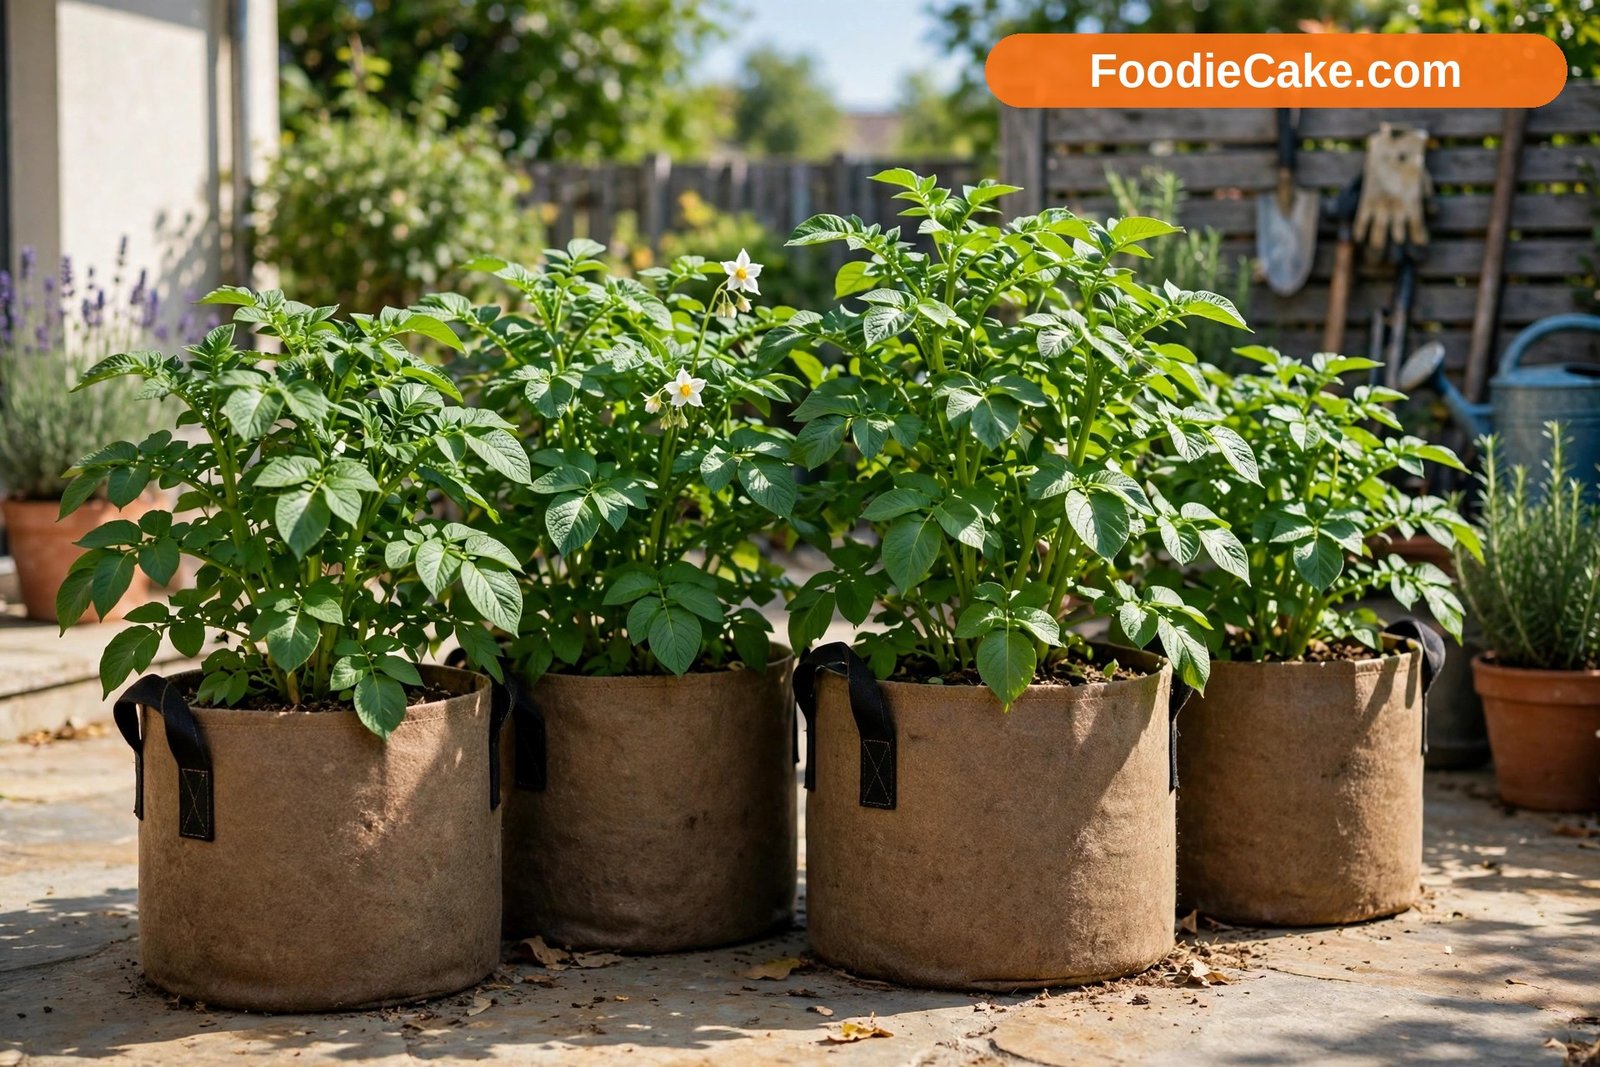
Size decides your harvest more than almost anything else. As a practical guide, look for a container holding roughly thirty to forty litres of compost for two or three seed potatoes, and never go much smaller than about twenty-five litres for even a single plant. A cramped plant makes a cramped crop. Depth helps too, because you will be adding compost as the stems grow, so a container around forty centimetres deep or more gives you room to earth up properly.
| Container type | What it does well | What to watch |
|---|---|---|
| Fabric grow bag | Cheap, light, stores flat over winter, drains freely, sides flex for easy emptying | Dries out faster in hot sun; some have a peek flap near the base, though most gardeners harvest by tipping |
| Large plastic pot or bucket | Sturdy, holds moisture well, easy to move when empty | Must have several generous drainage holes drilled in the base; dark plastic can overheat in strong sun |
| Wooden half-barrel or crate | Looks good, holds a large volume, stable in wind | Heavy once filled; line it and check it drains, or the bottom will stay wet |
| Old dustbin or tall tub | Deep, so plenty of room for earthing up | Drill holes, and remember a full bin of damp compost is very heavy to tip |
Whatever you choose, check three things before you plant: it holds at least twenty-five to thirty litres, it drains freely, and you can lift or tip it when it is full of damp compost. Potatoes in standing water will rot, and no container harvest survives soggy compost.
In hot, sunny positions, dark containers can overheat around the edges. Light-coloured pots, or standing a dark bag inside a larger light pot, keeps the root zone kinder. Containers also warm up a little faster than garden soil in spring, which gives you a small head start, and you can fill them with clean, loose compost that tubers expand into easily. Tubers in soft container compost come out smooth and clean-skinned, while potatoes swelling in compacted ground grow misshapen and are hard work to lift.
Seed Potatoes and Varieties Worth Your Space
Always start with certified seed potatoes rather than supermarket potatoes. Seed potatoes are grown and inspected to be free of the diseases that build up in saved tubers, and they are sold by harvest timing, which helps you plan. Supermarket potatoes may also have been treated to suppress sprouting, and they can carry blight or viruses straight into your clean compost. The University of New Hampshire Extension explains why container growing suits potatoes so well and why certified seed matters for a clean start — see What is the best way to grow potatoes in containers?
Varieties fall into three broad groups. First earlies are planted first and harvested young and small, roughly ten to twelve weeks after planting, and are the classic new potatoes for salads and butter. Second earlies follow a couple of weeks later and often store a little better. Maincrop varieties stay in the ground longest, produce the largest tubers and the heaviest crops, and are the ones to choose for baking, roasting, and storing into winter.
| Variety | Type | Why it suits a container |
|---|---|---|
| Charlotte | Second early | Famous salad potato with waxy, yellow flesh; excellent flavour |
| Nicola | Second early | Fine-flavoured salad type, reliable in pots |
| Maris Peer | Second early | Bred with containers in mind; heavy crops of smaller tubers |
| Jazzy | Second early | Container-bred, productive and tidy |
| Yukon Gold | Early maincrop | Popular North American choice with golden flesh |
| Red Pontiac | Maincrop | Suits warm regions and stores well |
In containers, salad and second early types usually give the most satisfying return for the space. Buy seed potatoes a few weeks before planting so you have time to chit them. In the United States, planting is usually timed for two to four weeks before the last expected frost, since foliage can be protected if a late frost threatens. In the United Kingdom and similar climates, first earlies typically go in from late March into April, with maincrops following in April. Potato plants are not frost-hardy above ground, so local last-frost dates matter more than any fixed calendar date.
Chitting on the Windowsill
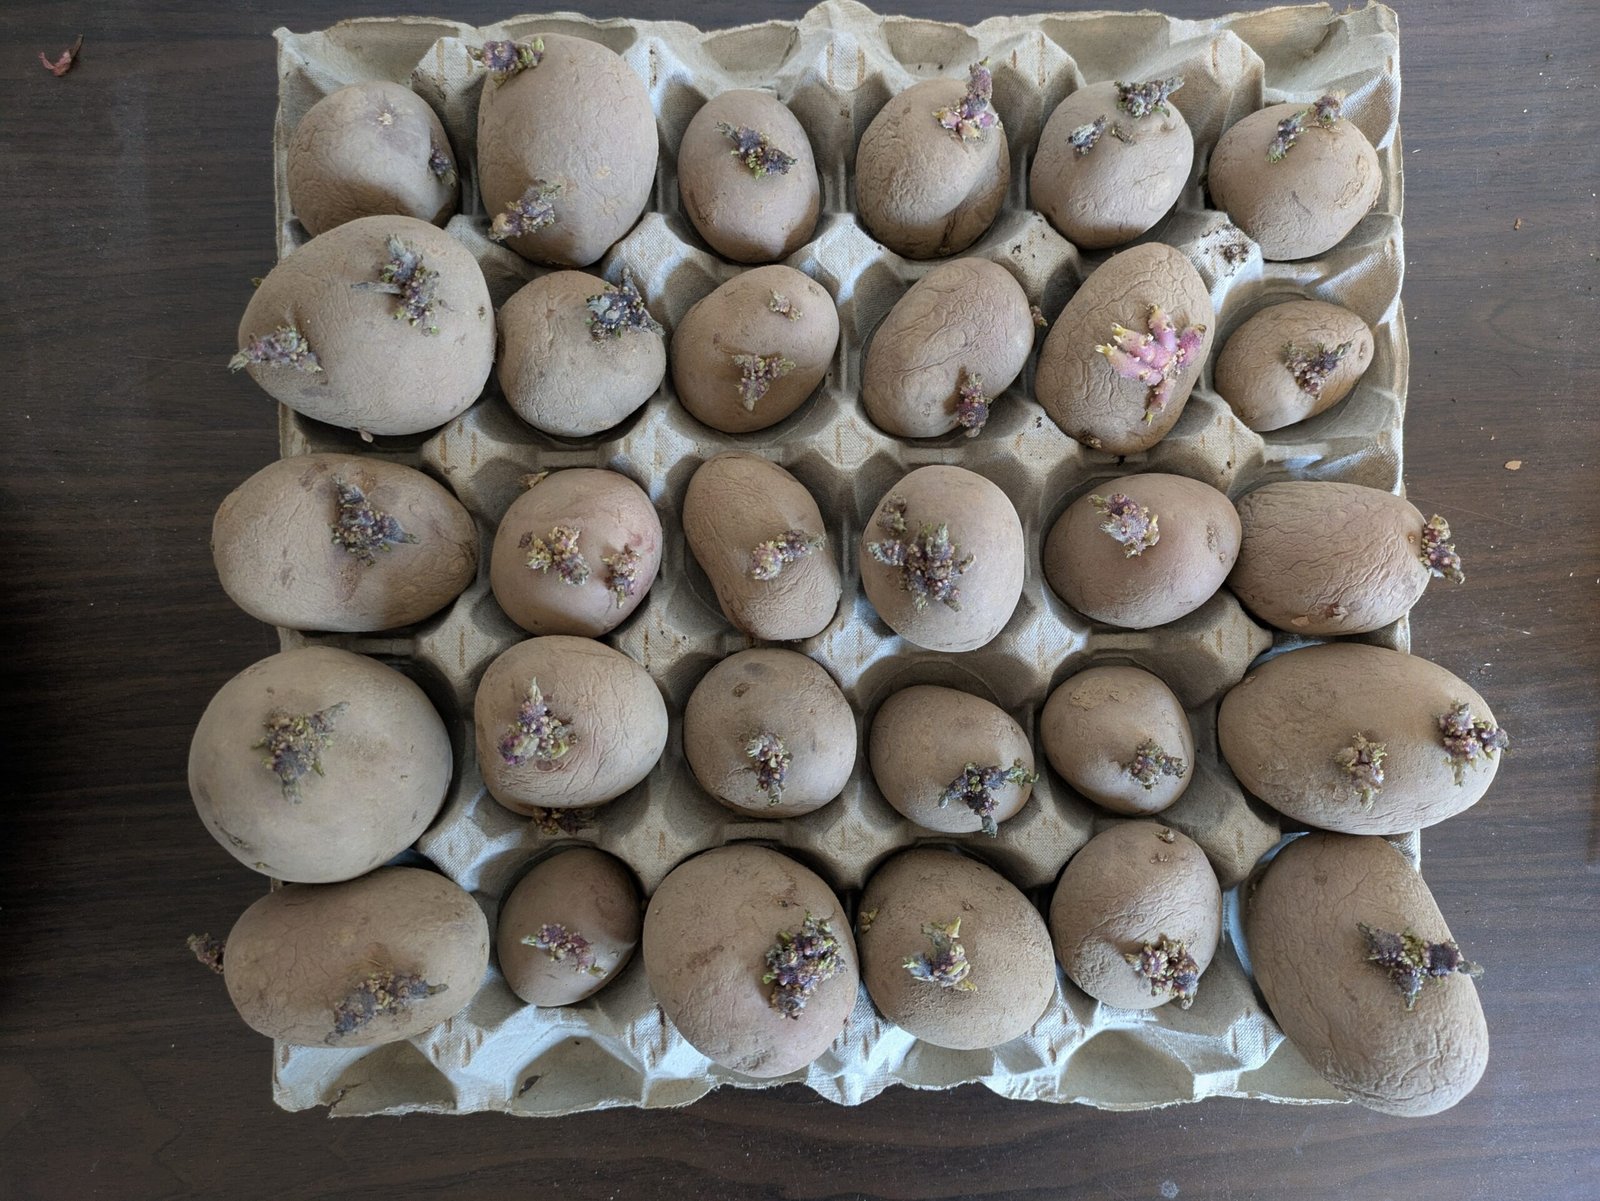
Chitting simply means encouraging seed potatoes to sprout sturdy shoots before planting. It is not essential, but it is easy, free, and gives plants a head start that matters most for early varieties and short seasons. Start four to six weeks before you plan to plant.
Look at each tuber and find the end with the most eyes — the tiny dimples where shoots emerge. That is the top. Stand the potatoes, eyes up, in an old egg box or seed tray, and put them somewhere cool, bright, and frost-free: a windowsill that does not bake, a porch, or a bright spare room. Light is the key ingredient. In good light the sprouts grow short, thick, and green or purple. In the dark they grow long, pale, and fragile, and snap off at planting.
After a few weeks the shoots should be around two centimetres long and feel firm. If a tuber has produced many shoots, you can rub off the weakest and keep three or four strong ones, which tends to give fewer but larger potatoes. Leaving all the shoots gives more, smaller tubers, which suits salad varieties. Handle chitted potatoes like eggs on planting day, because a knocked-off shoot will regrow, but it costs the plant time.
Planting Day, Step by Step
Potatoes are hungry, thirsty plants growing in a finite bucket of compost, so what you fill the container with matters. A good multi-purpose compost works well on its own, and mixing in a few handfuls of garden compost or well-rotted manure, if you have it, improves moisture retention and adds slow food. Avoid heavy garden soil in containers: it compacts, drains poorly, and defeats the advantage of growing in a bag. A handful of a balanced, slow-release fertiliser or pelleted poultry manure mixed through the compost gives plants a steady start.
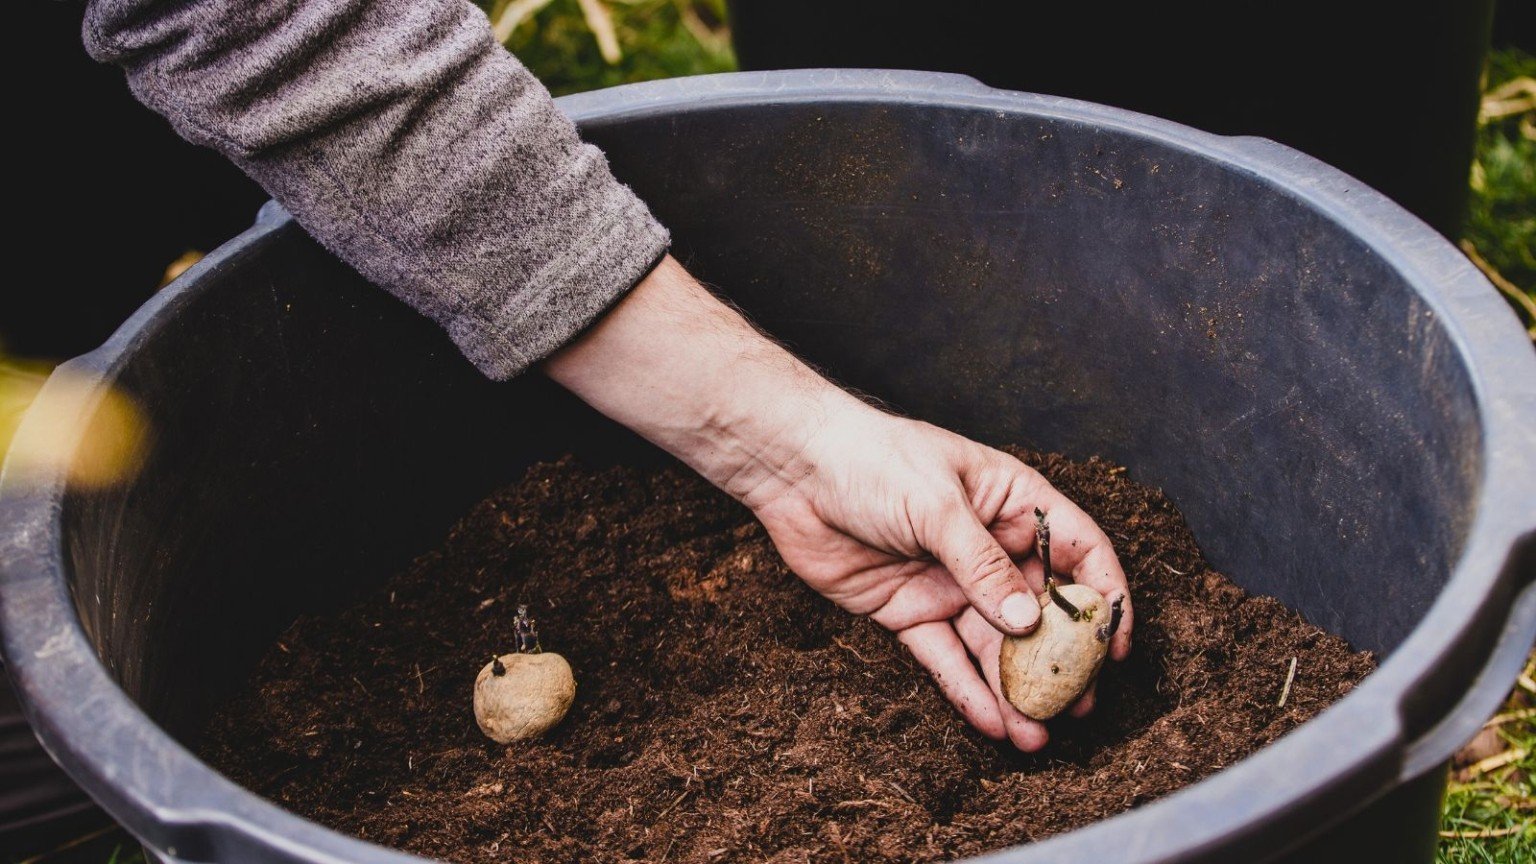
Planting itself is straightforward. Put a layer of compost about ten to fifteen centimetres deep in the bottom of the container. Set your seed potatoes on it, sprouts facing up, spaced evenly — two or three in a thirty-to-forty-litre bag, and no more, however tempting the spare tubers look. Cover them with another ten to fifteen centimetres of compost, water well, and place the container in a sunny spot. If a cold night is forecast once leaves appear, cover the container with fleece or move it under shelter overnight.
As a rough guide to timing, first earlies planted in spring are ready around ten to twelve weeks later, second earlies around thirteen to fifteen weeks, and maincrops from around eighteen to twenty weeks. Treat flowering and foliage as your real signals, which are explained in the harvest section below. Among the best vegetables to grow in pots, potatoes ask for the biggest container and the most water. Plan for that and they are among the most productive, too.
Earthing Up: The Rhythm That Makes the Crop
Hilling up, also called earthing up, is the one technique that makes container potatoes work. Potato tubers form on stems above the original seed potato, so as the green shoots grow, you bury the lower stems with more compost. That gives the plant more underground stem to produce tubers along, keeps developing potatoes in darkness, and stops them turning green. Green potatoes contain solanine and should not be eaten, so this step is about safety as well as yield.
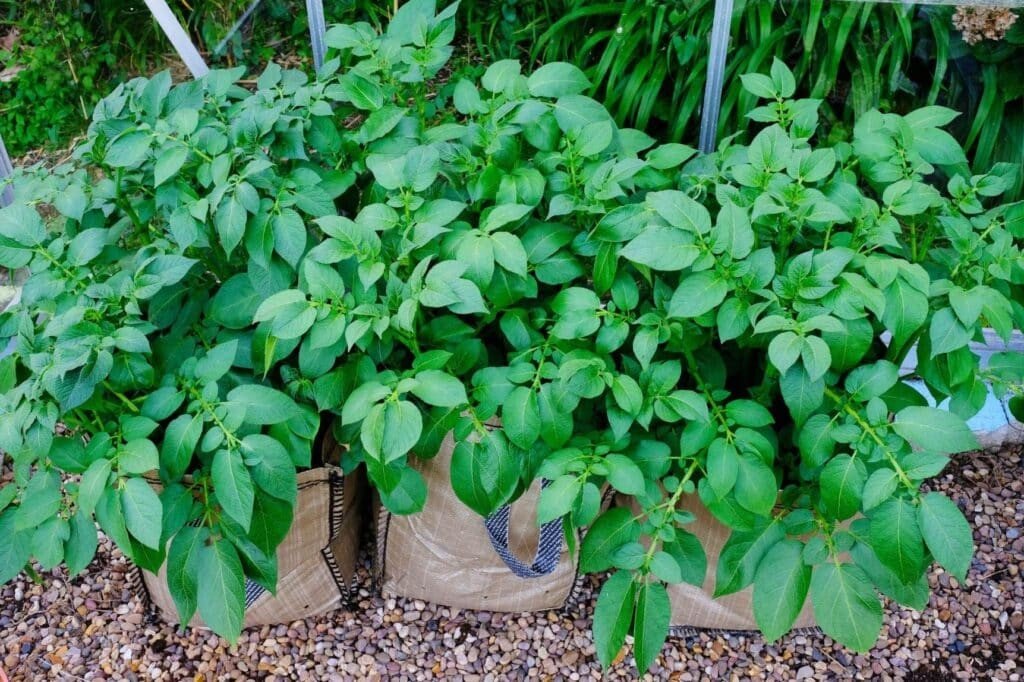
Begin when the shoots are about fifteen to twenty centimetres tall. Add compost around them until only the top few centimetres of leaves show, water it in, and let them grow again. Repeat every week or two as the stems lengthen, unrolling the sides of a grow bag as you go, until the container is nearly full, leaving a small rim so water does not run straight off. By the end, plants that started in a shallow layer are growing through a full, deep container.
Keep the timing relaxed. If you earth up a little late one week, the plants will not mind. Just avoid burying every leaf completely, since the plant needs its leaves to feed the tubers. Forgetting to earth up altogether is the mistake that matters: tubers exposed to light turn green and should be thrown away, not eaten. If the compost settles and tubers show near the surface, add a straw mulch as well as more compost.
Water and Feed: Keeping the Compost Even
If there is one job that decides the size of your crop, it is watering. Potato tubers are mostly water, and they swell during the weeks after flowering, which is exactly when a container in summer sun dries fastest. Compost that swings between dry and soaked produces small tubers, misshapen potatoes, and hollow or split centres. Aim for evenly moist compost: check with a finger pushed a few centimetres down, and water thoroughly whenever the top layer feels dry.
In warm weather a large bag may need a full watering can every day or two, and in a heatwave, daily. Water at the base, soaking the compost rather than wetting the leaves, because persistently wet foliage encourages blight. Morning watering is ideal. Containers standing on paving dry faster than those on soil, and a saucer under a pot in dry weather helps it hold a small reserve. Just empty saucers if a wet spell arrives, because roots sitting in water will suffer.
Feeding supports all that growth. The slow-release fertiliser added at planting carries plants through the early weeks. Once plants are growing strongly, a liquid feed every week or two keeps them going — a general-purpose liquid fertiliser or a tomato feed both work, used at the strength on the label. Tomato feed’s extra potash suits tuber formation well. One habit worth keeping: water before you feed, always. Liquid fertiliser added to bone-dry compost can scorch roots and mostly runs through unused.
Blight, Slugs and the Rest
Container potatoes escape some ground-dwelling trouble, but a few problems are worth knowing. Aphids cluster on soft tips and can be washed off with a jet of water or rubbed away by hand. Slugs love both foliage and tubers and hide in damp compost edges. Check under containers, pick them off in the evening, and keep the area tidy. Potato cyst eelworm, a persistent soil pest, is largely sidestepped by using fresh bagged compost, which is another point in containers’ favour.
The serious disease is blight, the same late blight that devastates tomatoes. It spreads in warm, wet weather, showing as dark patches on leaves with a pale, mildew-like growth underneath, then collapsing the plant quickly. There is no cure once it takes hold. Remove and bin — do not compost — badly affected foliage, and harvest the tubers soon after. Tubers left in infected compost can rot or carry the disease. Early varieties, harvested before blight season peaks in mid-to-late summer, are a practical way to dodge it in regions where blight is common. Good spacing and watering at the base also help foliage dry quickly. The University of Illinois Extension’s container potato guide is a useful second opinion on spacing, watering and blight in pots — see Growing potatoes in containers.
If foliage yellows evenly late in the season as the crop matures, that is not disease. It is the plant finishing, and a useful harvest signal.
Harvest: Flowers, Dying Leaves and the First Steal
For early potatoes, the classic signal is flowering. Once the flowers open or the buds begin to drop, you can gently explore the edge of the container with a hand — gardeners call it bandicooting — and steal a few tubers of usable size while leaving the plant to keep growing. Earlies are at their best eaten within days, skins so tender they rub off under your thumb.
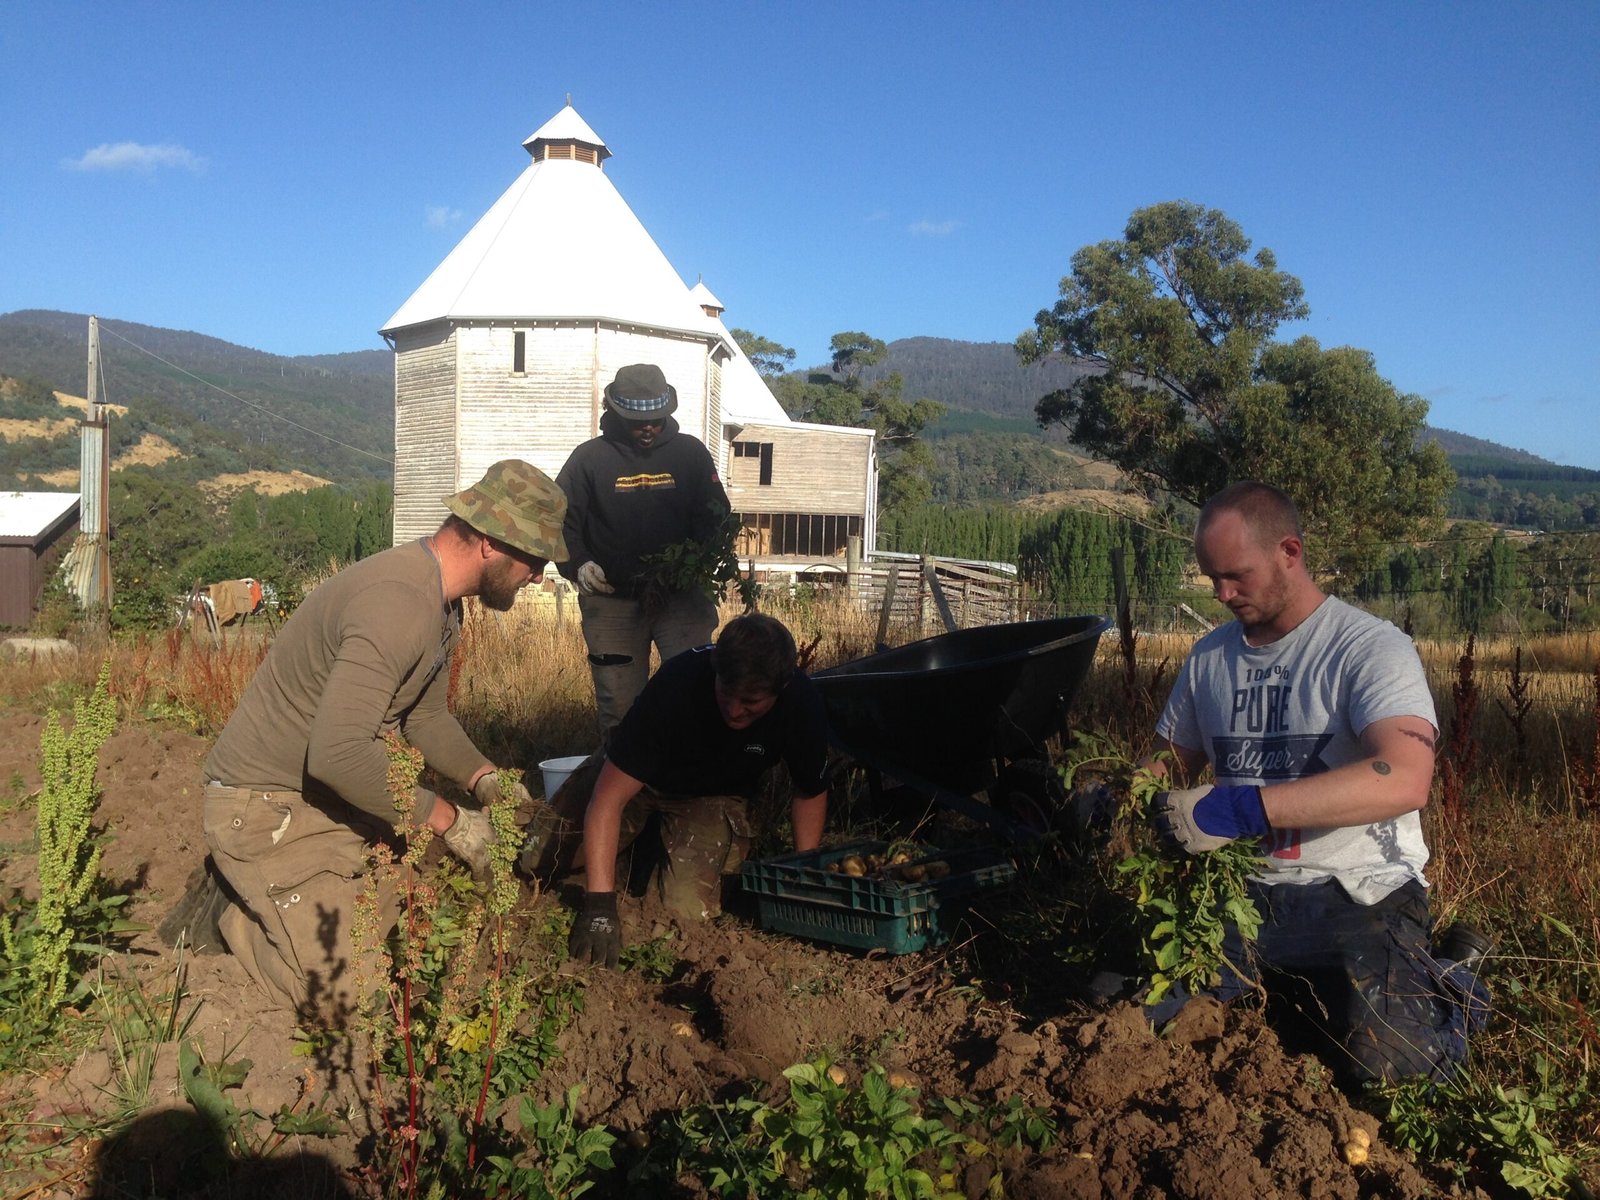
For the main harvest, wait until the foliage yellows and dies back naturally. That tells you the tubers have matured and their skins have set, which matters most for maincrops you plan to store. Cut away the dead foliage, wait a few days if you can, then tip the container onto a tarp or into a wheelbarrow and work through the compost by hand. The crop comes out clean, and you will find tubers you would certainly have missed in the ground.
Dry harvested potatoes in the shade for a few hours so the skins firm up. Brush off loose compost rather than washing potatoes you intend to store, and keep them cool, dark, and frost-free in a paper sack or crate. Earlies are best eaten fresh, but sound maincrop potatoes keep for weeks to a few months stored this way.
A small harvest despite healthy foliage usually means the container was too small, the season was cut short, or you harvested too early in your impatience. Wait for the flowering and die-back signals, and remember that tubers do most of their bulking late. Conversely, leaving maincrop tubers in cold, wet compost long after the foliage has died invites slugs and rot. Once the plant has finished, tip the bag within a week or two. Black, soggy seed potatoes and no growth point to rot in cold, wet compost, usually from poor drainage or heavy watering before plants were growing. Check the drainage holes and ease off the water until shoots grow strongly.
Questions People Ask Before Their First Bag
How many seed potatoes should I put in one container?
Two or three in a thirty-to-forty-litre grow bag or pot is the sweet spot. One plant suits a container of around twenty-five litres. More than three in a standard bag crowds the plants, dries the compost faster, and usually reduces the total harvest rather than increasing it.
How long do potatoes take to grow in containers?
First earlies are typically ready ten to twelve weeks after planting, second earlies around thirteen to fifteen weeks, and maincrops from about eighteen to twenty weeks. Flowering signals that early tubers are forming, while yellowing, dying foliage tells you a crop is fully mature and ready to tip out.
Can I grow potatoes from store-bought potatoes?
It is possible, but not recommended. Supermarket potatoes are not certified disease-free, may have been treated to stop them sprouting, and can introduce blight or viruses into your compost. Certified seed potatoes from a garden centre or seed supplier are inexpensive and far more reliable.
Do potatoes in containers need full sun?
They grow best with at least six hours of direct sun a day. In very hot climates, a little afternoon shade is acceptable and can help containers hold moisture, but deep shade gives leafy plants and a poor crop. If your sunniest spot is a patio, containers have the advantage that you can move them to it.
What do I do with the compost after harvesting?
Spread it on flower or vegetable beds as a mulch or soil improver, or mix it into a compost heap. Do not reuse it next season for potatoes, tomatoes, peppers, or aubergines, because these related crops share soil-borne diseases, and spent compost will also be low in nutrients after feeding a hungry potato crop.
After the Harvest: The Compost Question
Label each container with the variety and planting date. Ten weeks later, two identical bags of foliage give no clue which is the early crop ready to tip and which needs another month. Harvest earlies a few at a time and maincrops all at once: one bag tipped early for salads, another later, and the maincrop bag left until its foliage dies back for the biggest, storable tubers.
Potatoes in containers succeed because the method plays to the plant’s strengths: loose, clean compost, darkness around the developing tubers, and a harvest you can gather completely with your hands. Choose a big container, start with certified seed potatoes, chit them on a bright windowsill, earth up as the stems climb, and keep the watering steady. Those five habits cover almost everything that matters.
Begin with one bag this spring if you are unsure. By the time you tip it out and find clean, home-grown potatoes rolling across the tarp, the question will not be whether container potatoes work. It will be how many bags you can fit next year, and which variety to try first.
Sources
- University of New Hampshire Extension — What is the best way to grow potatoes in containers?
- University of Illinois Extension — Growing potatoes in containers