

These organic gardening tips for beginners are meant to make the whole idea feel smaller and more manageable than it first sounds. You do not need a big yard, a shed full of special products, or years of experience. You need decent soil, a sensible spot with sun, a few plants suited to your climate, and the willingness to look at them regularly. Organic gardening is mostly about working with ordinary natural processes instead of trying to override them with synthetic chemicals.
That does not mean doing nothing and hoping for the best. An organic garden still needs feeding, weeding, watering, and attention when pests show up. The difference is in the tools you reach for first. Instead of a synthetic fertilizer, you might use compost. Instead of spraying every insect you see, you learn which ones actually damage crops and which ones eat the pests for you. It is a slower, more observant way of gardening, and for most home growers it is also more satisfying.
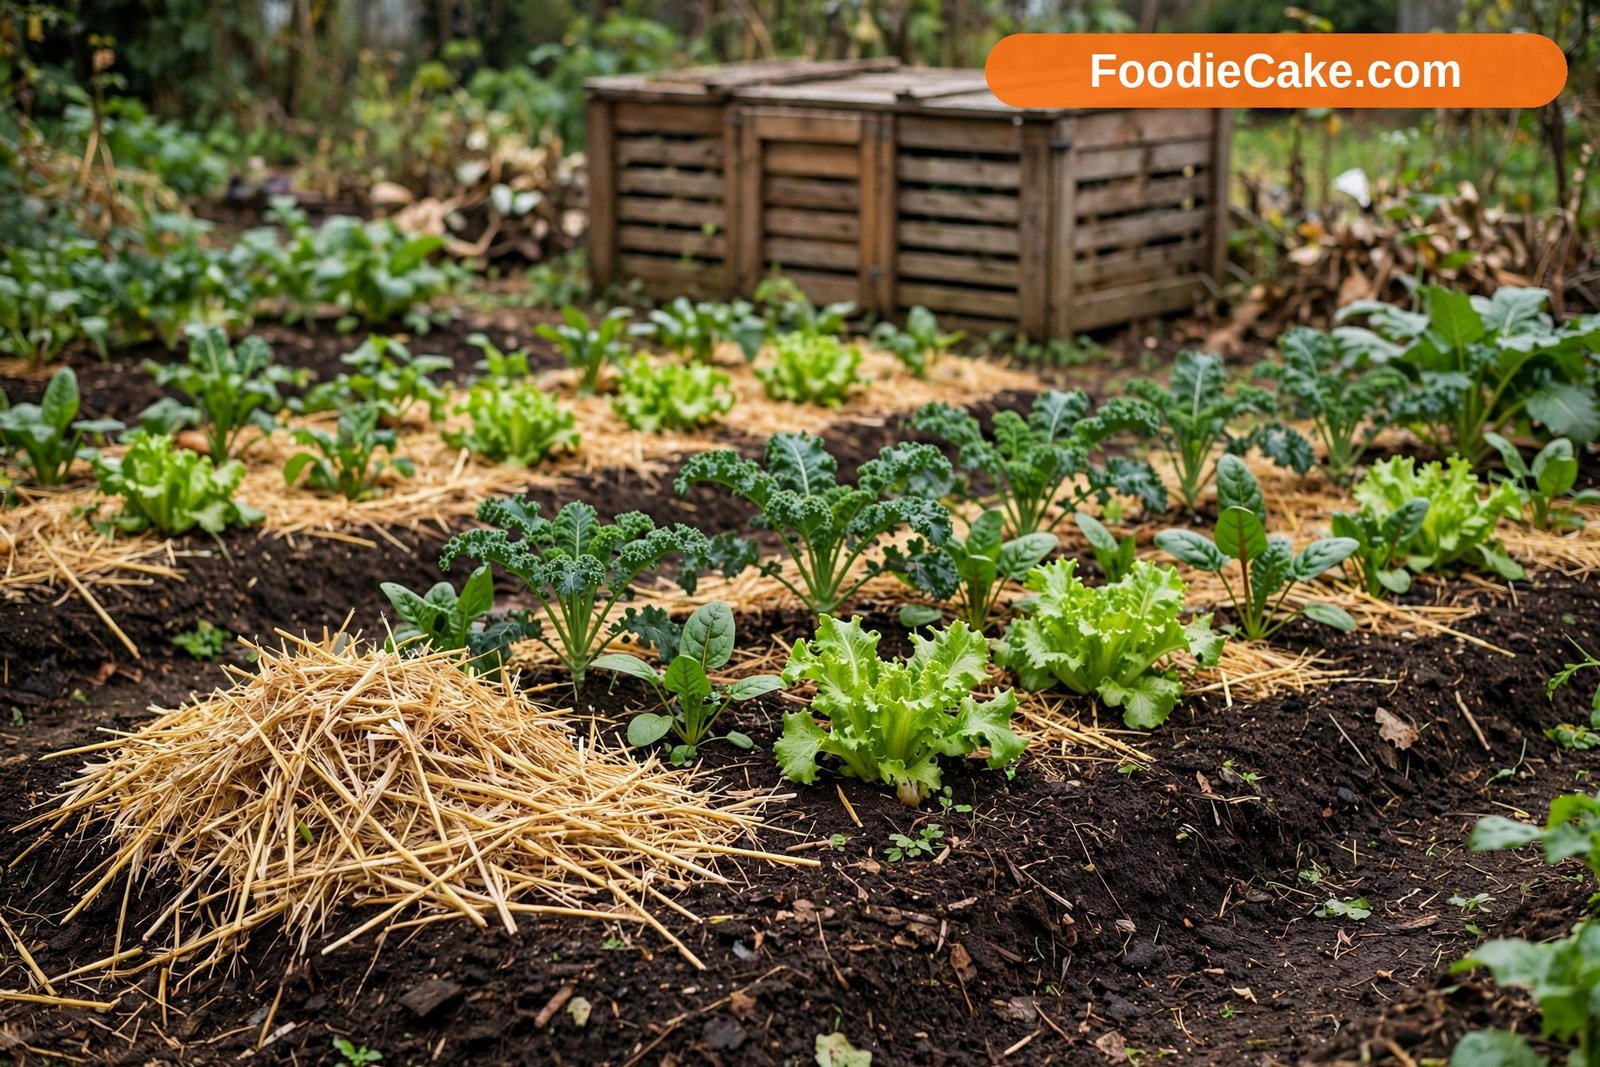
Start small in your first season. A single raised bed, a few large pots, or a sunny border about 4 by 8 feet is plenty to learn from. Grow things you actually like to eat or look at. Tomatoes, beans, lettuce, courgettes, herbs, and marigolds will teach you more in one summer than a dozen gardening books, because you will watch them respond to weather, water, and soil in real time.
What Organic Gardening Actually Means at Home
For a home gardener, organic simply means growing without synthetic fertilizers, synthetic pesticides, and synthetic weedkillers. You feed the soil with materials that were once alive, such as compost, well-rotted manure, leaf mould, and plant-based feeds. You manage pests with barriers, hand-picking, crop choice, and, when needed, sprays based on natural ingredients used carefully and sparingly.
It helps to separate the home approach from certified organic farming. Farmers who sell produce as certified organic follow strict rules and inspections. In your own garden, nobody is certifying anything. You are free to follow the spirit of those methods in a practical way. If a plant is struggling, you can still make sensible decisions. Organic at home is a direction, not a purity test.
There is also an honest limit worth naming early. Organic methods work best when they are preventative. Healthy soil, good spacing, the right plant in the right place, and early attention to problems prevent most trouble. If you wait until a plant is already overwhelmed by aphids or mildew, your options are narrower and less effective than a conventional spray might be. That trade-off is real, and planning ahead is how you deal with it.
Choose a Spot That Gives Plants a Fair Chance
Most vegetables and many flowers want at least six hours of direct sun a day, and fruiting crops such as tomatoes, peppers, and squash do better with eight or more. Watch your space for a full day before you dig. Note where shadows from fences, trees, and buildings fall in the morning and afternoon. A bed that looks sunny at noon may be shaded for most of the day.
Water access matters more than beginners expect. A bed far from a tap or outdoor faucet becomes a chore in a dry July, and thirsty plants get skipped. Place your first bed where a hose reaches easily, or keep a filled watering can nearby for pots. Level ground helps too, because water runs off a slope before it soaks in, leaving the uphill plants dry and the downhill ones soggy.
Think about wind as well. A very exposed site dries soil quickly and can snap tall plants like sweetcorn or staked tomatoes. A fence or hedge nearby softens the wind without stealing all the light. In zones 5 to 8, a sheltered, sunny spot also warms up a little earlier in spring, which can give heat-loving crops a useful head start.
Build Your Soil First, Then Worry About Plants
If there is one idea to take seriously, it is this: feed the soil, and the soil will feed the plants. Organic growing depends on the billions of small organisms in healthy soil breaking down organic matter and releasing nutrients slowly, in forms roots can use. Your job is to keep adding that organic matter and avoid damaging the structure they live in.
Test and look at what you already have
Dig a spadeful and look at it. Good garden soil is dark, crumbly, and full of life, with earthworms moving through it. Pale, sandy soil drains fast and holds few nutrients. Heavy clay feels sticky when wet, forms hard clods when dry, and drains slowly. Most soils sit somewhere between those extremes, and almost all of them improve with compost.
A basic soil test from your local extension service is worth the small cost every few years. It tells you the pH and whether phosphorus, potassium, or other nutrients are low. Most vegetables like a pH around 6.0 to 7.0. If your soil is very acidic, ground limestone raises pH gradually. If it is very alkaline, adding organic matter helps over time, though changing alkaline soil is slow. Guessing leads to wasted money and sometimes to real imbalances, so test before you add much of anything beyond compost.
Add compost generously and regularly
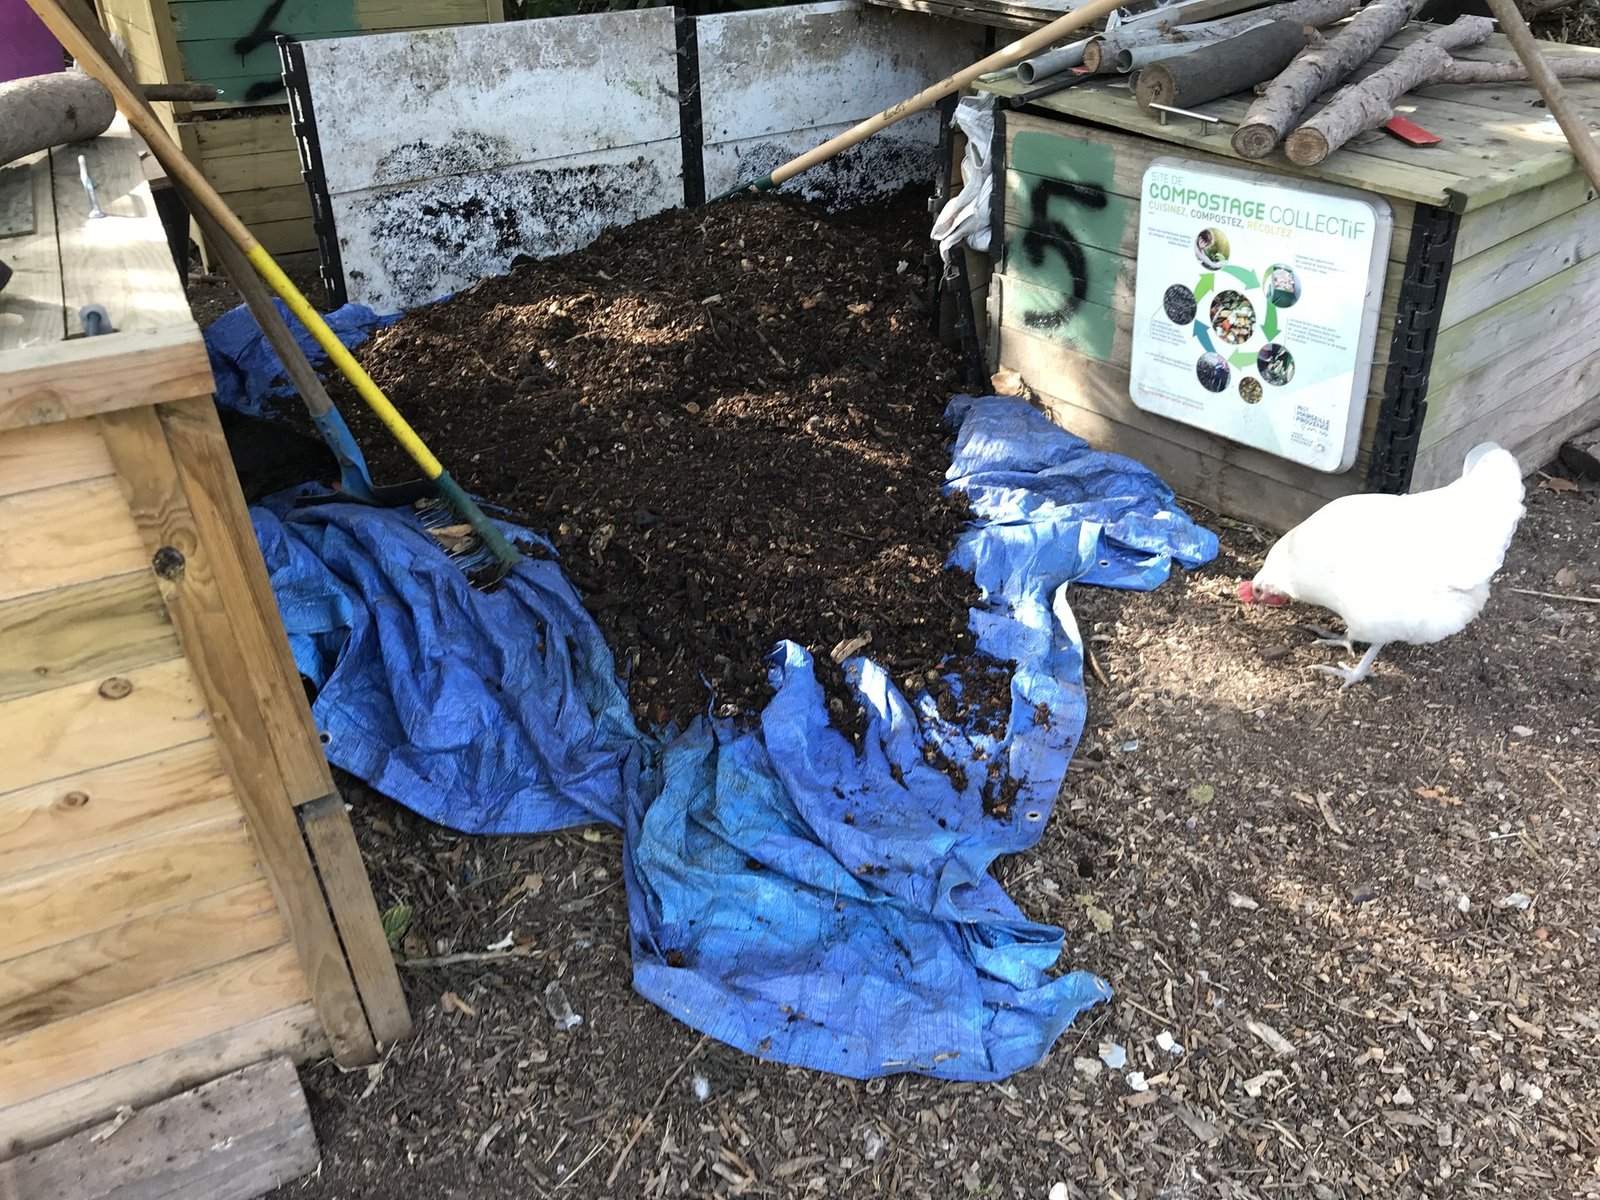
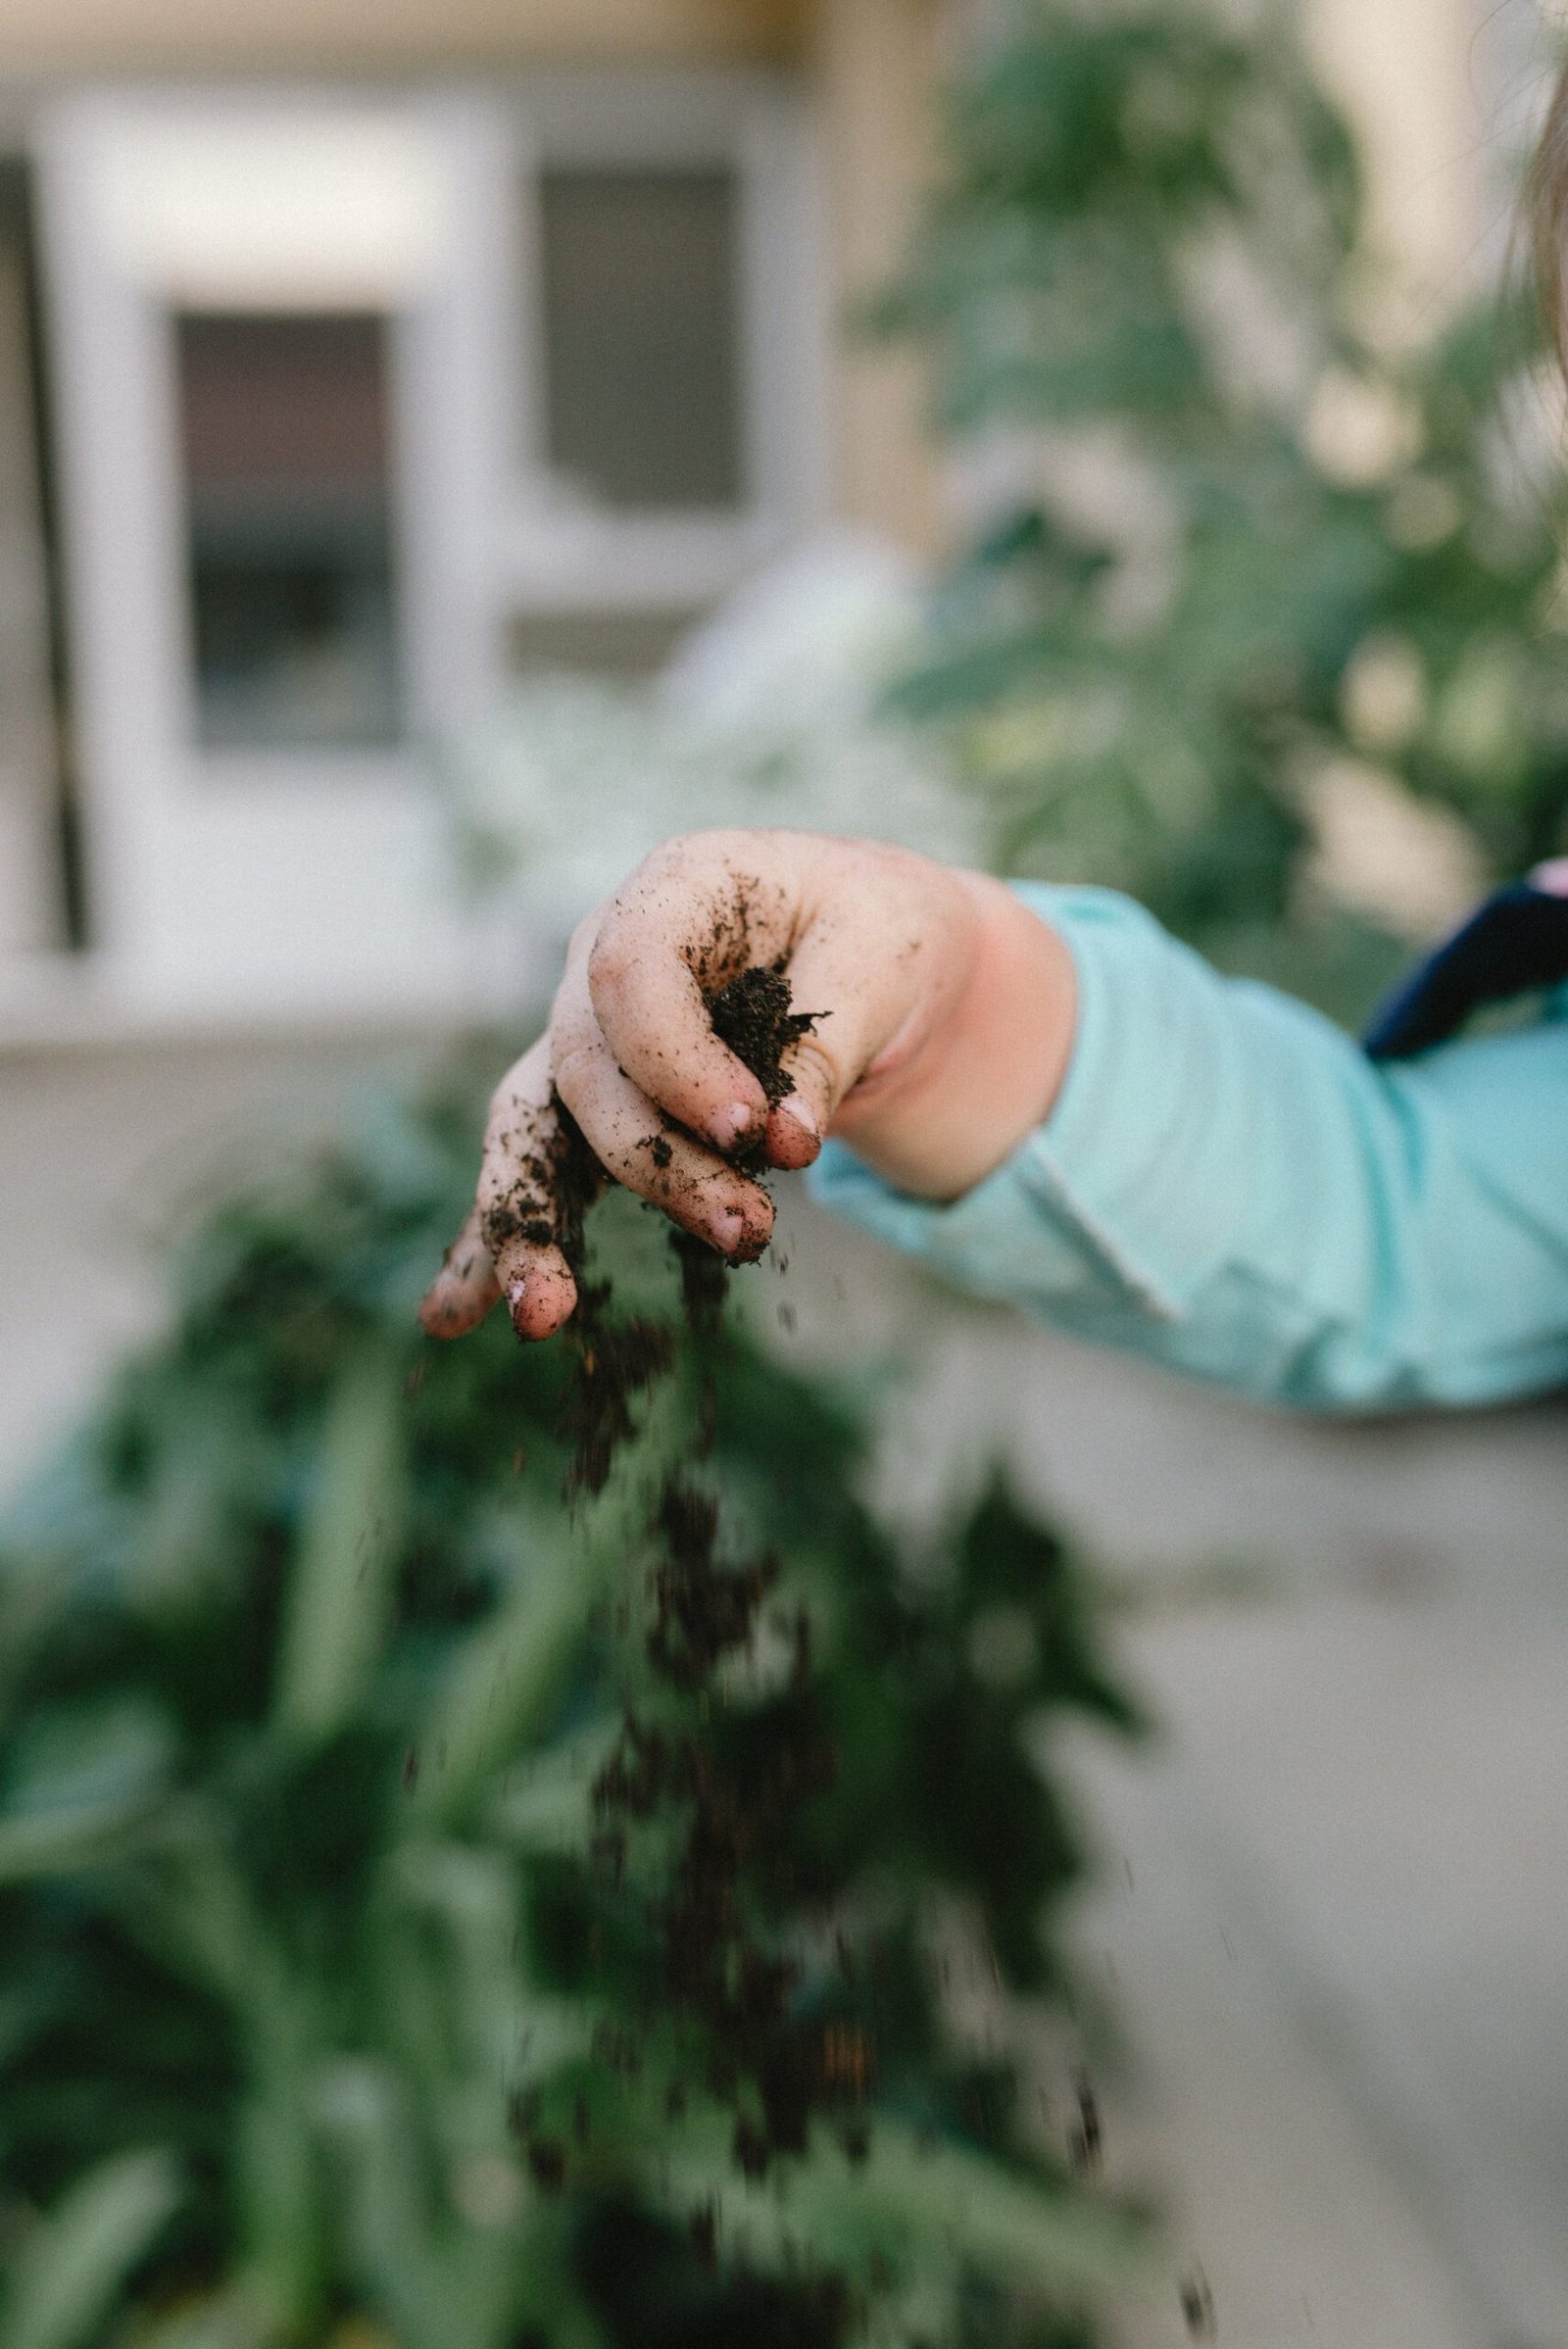
Compost is the backbone of an organic garden. Spread 2 to 3 inches over beds in autumn or early spring and either leave it as a surface layer or fork it lightly into the top few inches. In raised beds and pots that have settled, top them up each season, because organic matter naturally breaks down and the level drops.
You can make compost at home from kitchen scraps, grass clippings, fallen leaves, and spent plants, as long as you keep a rough balance between green, nitrogen-rich material and brown, carbon-rich material like dry leaves or shredded cardboard. Turn the pile when you remember to. It does not need to be perfect to work. Avoid adding meat, dairy, cooked food, diseased plant material, and the roots of stubborn perennial weeds, which can survive a cool home pile.
Go easy on digging
Soil has a structure, with layers of fungi, bacteria, and tiny channels made by roots and worms. Digging everything over every season breaks that up. Many organic gardeners now dig as little as possible, adding compost on top and letting worms pull it down. You will still need to dig planting holes and lift root crops, of course. The point is to stop treating deep digging as a routine chore when the soil is already in reasonable shape.
Start With Easy, Forgiving Crops
Your first season should build confidence. Choose crops that germinate reliably, grow quickly, and tolerate a few mistakes. Save the fussy plants for year two, when you understand your soil and light better.
Reliable choices for beginners include:
- Bush beans and runner beans – Sow after the last frost, keep them watered while they flower, and pick often to keep them producing. In zones 5 to 7, that usually means sowing from mid-May into June.
- Lettuce and salad leaves – Fast, happy in partial shade, and easy to sow little and often every two weeks for a steady supply. Varieties such as ‘Saladin’ and loose-leaf types like ‘Lollo Rosso’ are dependable.
- Courgettes (zucchini) – One or two plants are usually enough for a household. ‘Defender’ is known for some resistance to virus, and all types need rich soil and regular water.
- Radishes – Ready in as little as four weeks in spring. They are a good early win and can be sown between slower crops.
- Herbs such as basil, parsley, and chives – Useful in the kitchen and generally undemanding once established.
- Tomatoes – A little more work, but worth it. Bush varieties like ‘Roma’ suit pots and small spaces, while cordon types like ‘Gardener’s Delight’ need staking and side-shoot removal.
Buy healthy transplants if sowing seeds feels like too much at once. There is no rule that everything must start from seed. Many beginners do better buying tomato and pepper plants and sowing only the easy seeds such as beans, peas, and lettuce directly where they will grow.
Feed Plants the Organic Way
Even rich soil gets depleted as crops grow and are harvested. Organic feeding is slower and steadier than pouring on a synthetic liquid feed, so plan ahead rather than waiting for plants to look pale and hungry.
Compost covers much of the general feeding, but heavy feeders benefit from extras. Well-rotted manure, composted for at least six months, is excellent dug in before planting hungry crops like squash and brassicas. Pelleted chicken manure is a convenient, concentrated option for beds and is best applied in spring according to the packet rate. Seaweed-based liquid feeds supply potassium and trace elements and suit tomatoes once the first fruits set. Comfrey liquid, made by steeping comfrey leaves in water, is a traditional homemade potassium feed, though it smells strong and should be kept in a covered bucket away from the house.
Timing matters. Most feeding happens at planting time and again in mid-season for long-running crops. Feeding late in the season, especially with nitrogen-rich material, can push soft leafy growth that pests love and frost damages. If you want a fuller picture of your options, this guide to the best natural fertilizers for plants explains how the common ones differ and when each makes sense.
Watch the plants rather than the calendar alone. Slow growth with pale leaves often signals a nitrogen shortage. Poor flowering and fruiting can point to low potassium or simply to irregular watering. Yellow leaves have many causes, including waterlogging, so check the soil moisture before you feed a plant that may actually be too wet.
Water Deeply, Less Often, and at the Roots
Watering is where many beginners undo their good work. A light sprinkle every day wets only the surface, encourages shallow roots, and evaporates quickly. It is better to water thoroughly two or three times a week in dry weather, soaking the root zone, then let the surface dry slightly between waterings. Plants then send roots deeper, where moisture lasts longer.
Water in the morning when you can. Leaves dry quickly, which lowers the risk of fungal problems such as mildew and blight, and less water is lost to midday heat. If mornings do not suit your routine, evening watering is still far better than not watering at all. Just try to water the soil, not the foliage.
Practical watering points to remember:
- Pots dry out much faster than beds, especially terracotta pots in sun. In hot weather, check them daily with a finger pushed an inch into the mix.
- Seedlings and newly planted transplants need consistent moisture for their first few weeks, even if established plants nearby are fine.
- Mulch after watering so the moisture you added stays in the soil.
- A rain barrel saves water and gives you rainwater, which most plants are perfectly happy with.
- Drip lines and soaker hoses are worth considering for larger beds because they deliver water slowly to the roots with little waste.
In zones 9 and 10, summer watering may need to be near daily for pots and thirsty crops, while in cooler zones 5 and 6 spring watering is often only needed during dry spells. Local weather always overrides general advice, so check the soil rather than following a rigid schedule.
Manage Pests Without Panicking
Every garden has insects. Most of them do no harm, and many are actively helpful. Organic pest control starts with telling the difference and accepting a little cosmetic damage. A few nibbled lettuce leaves are not a disaster. A plant stripped bare overnight is a problem worth solving.
Prevention first
Strong plants resist trouble better, so everything above already helps. Space plants as the packet suggests so air can move between them, which discourages fungal disease and makes it harder for pests to spread unnoticed. Rotate crops, covered in more detail below, so pests and diseases that build up in soil around one crop family do not get the same meal in the same place year after year. Clear away fallen, diseased leaves rather than leaving them under plants.
Barriers and hand-picking
Physical methods are simple and genuinely effective. Fine insect mesh over carrots keeps carrot root fly off, and netting over brassicas stops cabbage white butterflies laying eggs. Collars around young brassica stems deter cabbage root fly. Copper tape and crushed eggshells around pots discourage some slugs, though neither is foolproof. A torch-lit walk on a damp evening, picking slugs and snails by hand, removes more of them than most products do, and dropping large caterpillars into a bucket of soapy water is quick and targeted.
Encourage the creatures that help you
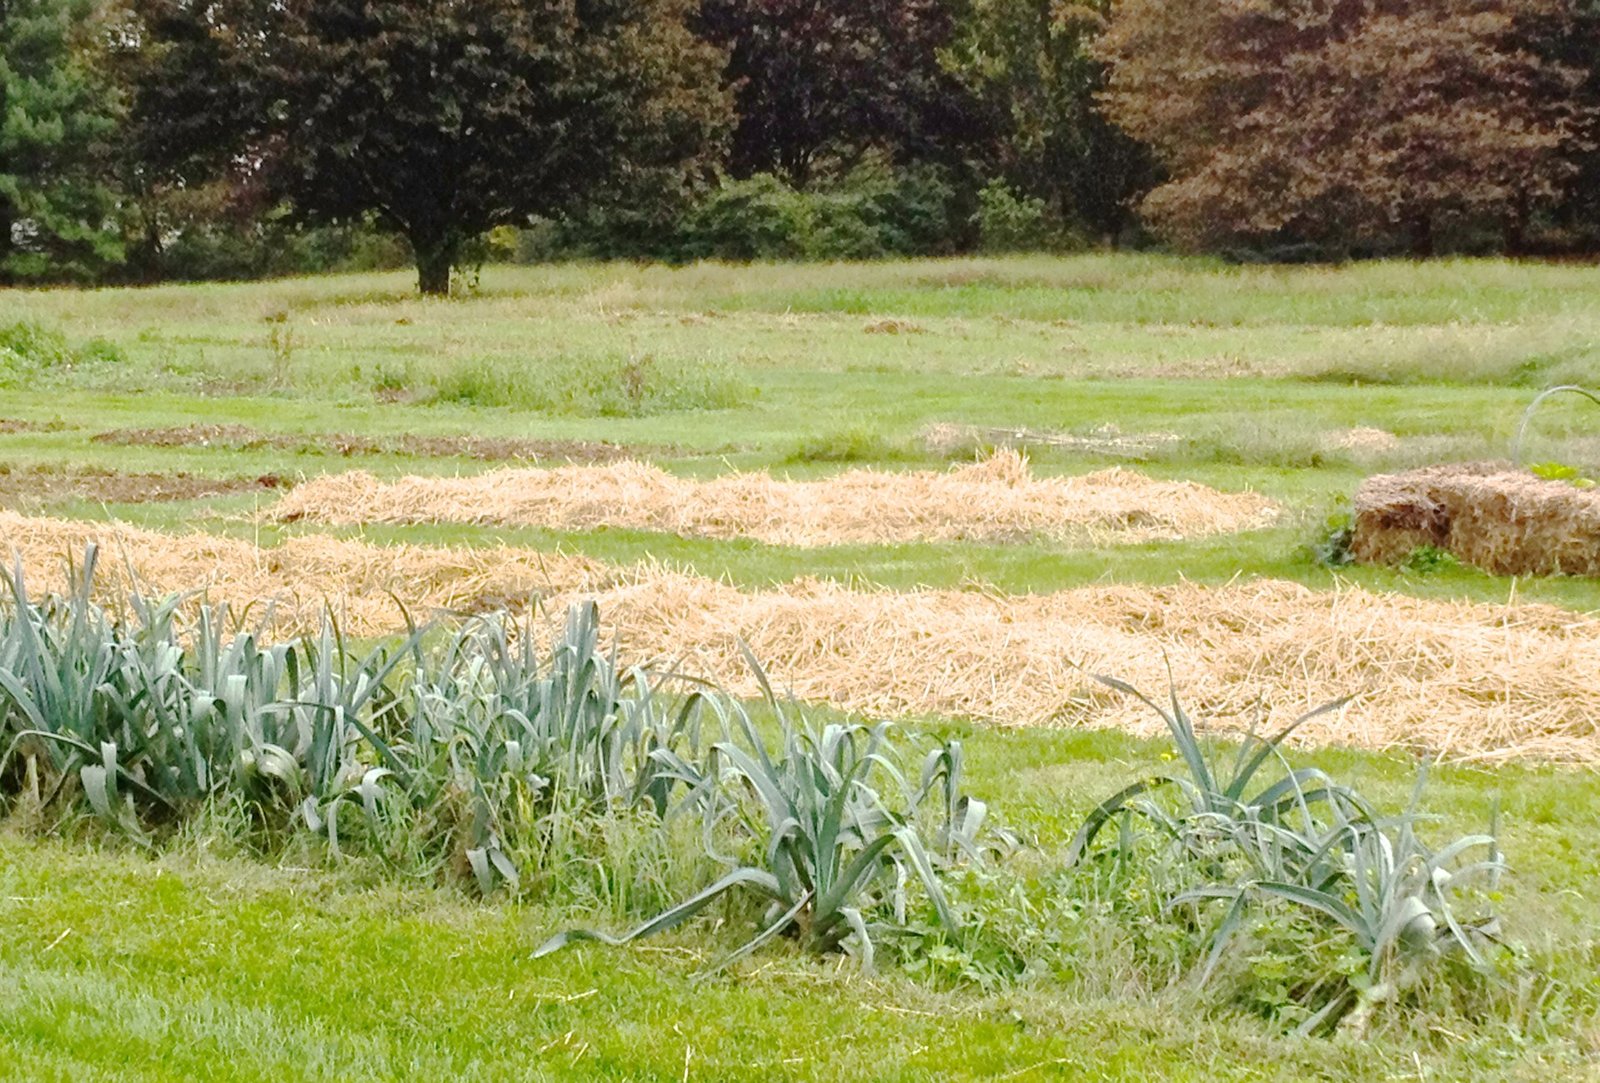
Ladybirds and their larvae eat aphids. Hoverfly larvae do the same. Ground beetles eat slug eggs. Birds pick off caterpillars, and frogs in even a small pond will work through slugs all season. You attract these helpers by planting simple, open flowers such as calendula, alyssum, and borage, by leaving a small untidy corner with a log pile, and by avoiding broad sprays that kill helpers along with pests. A shallow dish of water with a few stones in it gives insects somewhere safe to drink.
Use sprays carefully and honestly
Sometimes you still need to intervene. Insecticidal soap works on soft-bodied insects like aphids when it coats them directly, but it does nothing once dry and can harm beneficial insects it hits, so spray in the evening and aim carefully. Neem-based products can help with some pests, but they are not harmless to pollinators, so never spray open flowers and always follow the label. Homemade garlic or chilli sprays are popular online, though results are inconsistent and they can irritate eyes and skin. Whichever option you choose, test on a small area first, treat only the affected plants, and stop once the problem is under control. For a fuller run-through of these methods, see our advice on how to control garden pests naturally.
Keep Weeds Down Without Chemicals
Weeds compete for water, light, and nutrients, and they shelter slugs. You will never remove them all, and you do not need to. The aim is to keep them small and stop them setting seed, because one mature weed can shed thousands of seeds into your soil.
Mulch is your main tool. A 2 to 3 inch layer of compost, bark, straw, or leaf mould over bare soil blocks light from weed seeds, keeps moisture in, and feeds the soil as it breaks down. Keep mulch a couple of inches away from plant stems so they do not stay damp and rot. Grass clippings work too, applied thinly so they do not form a slimy mat, and only from lawns that have not been treated with weedkiller.
Hand weeding is easiest after rain or watering, when roots come out cleanly. A hoe used on a dry, sunny day slices young weeds off at the surface and leaves them to wither. Little and often beats a single exhausting clear-out. Ten minutes twice a week keeps a small bed tidy. For paths and gaps you cannot reach, boiling water poured carefully on weeds is a simple option, though it only kills the top growth of deep-rooted perennials like dandelions, which may regrow and need repeat treatment.
Never let your guard down with perennial weeds such as bindweed, ground elder, and couch grass. Dig out as much root as you can, because tiny fragments regrow. It may take a season or two of persistence, and that is normal.
Rotate Crops and Grow a Mix of Plants
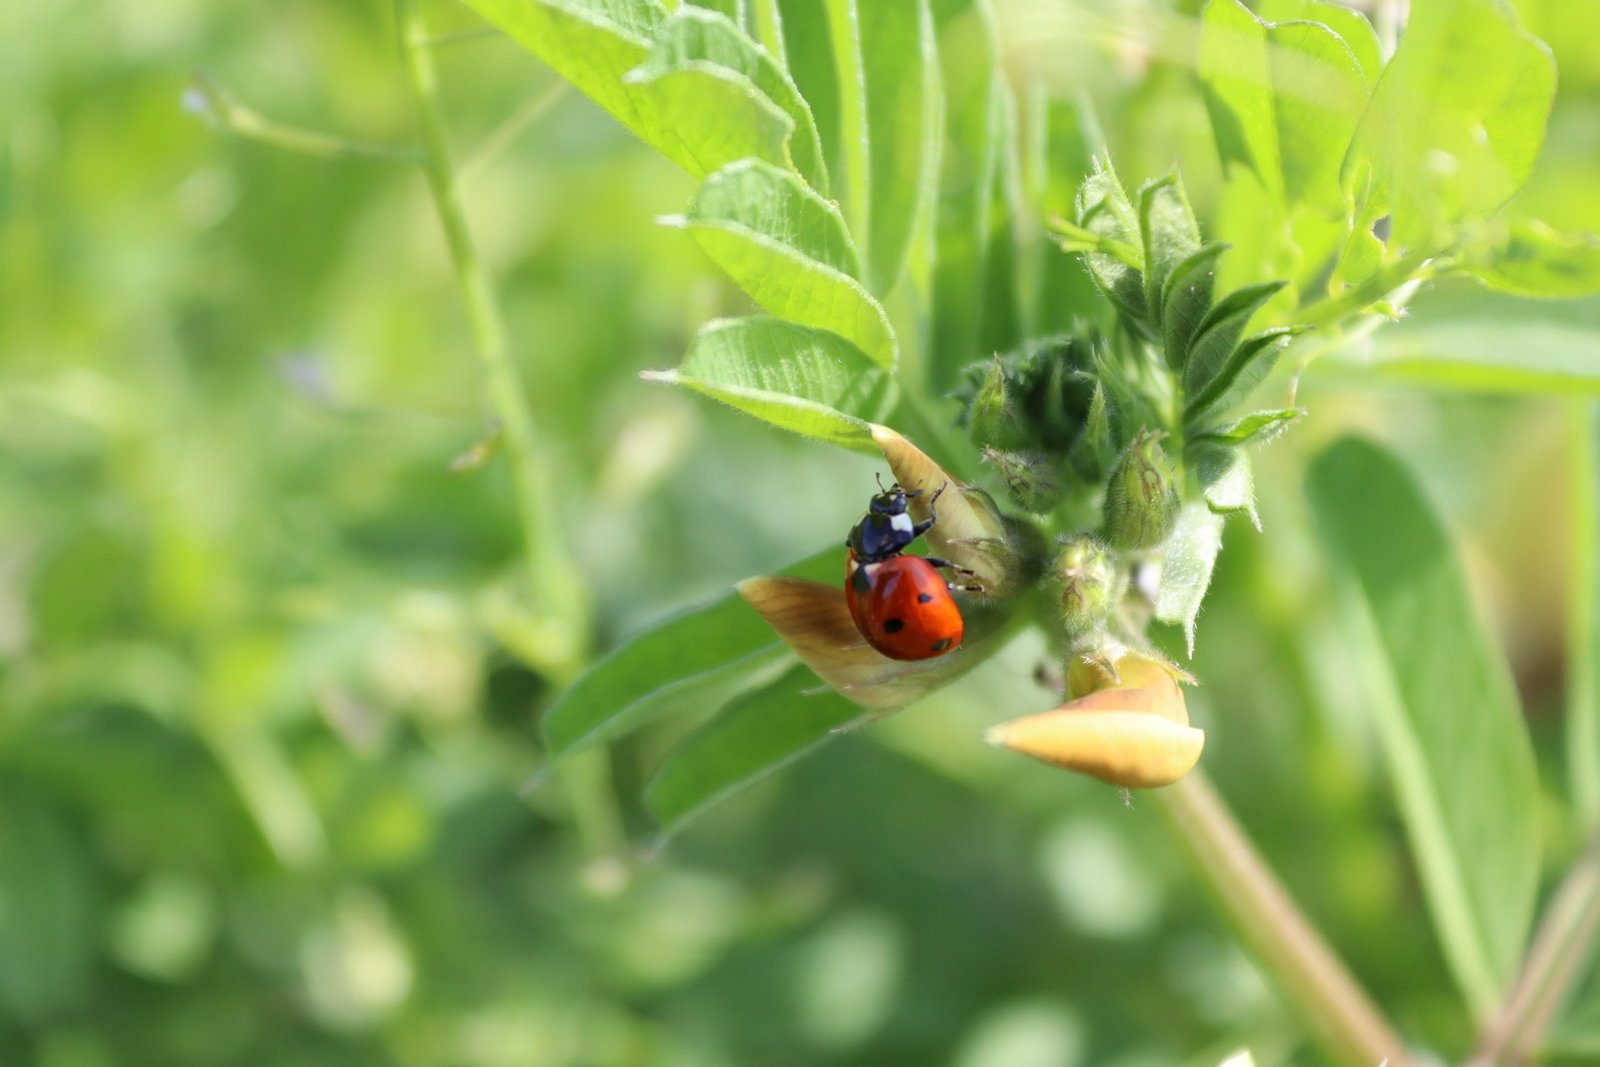
Growing the same crop family in the same soil every year invites trouble. Soil-borne diseases build up, and each family draws similar nutrients from the ground. Rotation simply means moving families around your beds each season. A simple four-year pattern works for many home gardens: legumes such as peas and beans in one bed, brassicas such as cabbage and kale in the next, roots and onions in another, and potatoes and tomatoes in the fourth, then swap them all round the following year.
You do not need to be rigid about it. If you only have one small bed, at least avoid planting tomatoes or potatoes in the exact same spot two years running, and refresh the soil with compost each season. Containers make rotation easy, since you can change the compost and move the crop.
Variety itself is protection. A bed mixing vegetables, herbs, and flowers confuses pests that find their food by smell and sight, and it supports more beneficial insects than a single block of one crop. Companion planting claims online often go too far, and many pairings have little evidence behind them. Still, mixing plants of different heights, root depths, and flowering times is sound practice for soil cover and pollinators, even if no single pairing is magic.
Practical Tips That Make Organic Gardening Easier
- Keep a simple notebook. Note what you sowed, when, and how it did. Next spring you will not remember which tomato variety tasted best or when the frost actually came. A few lines per week is enough.
- Label everything. Seedlings of different crops look surprisingly alike. Labels save you from weeding out the carrots and cherishing the weeds.
- Sow little and often. Small sowings of lettuce, radish, and spring onions every couple of weeks prevent gluts followed by nothing.
- Feed the compost pile as you garden. Keep a bucket by the back door for vegetable scraps so adding to the pile is effortless.
- Use what is free. Fallen leaves become leaf mould in a pierced bag over winter. Coffee grounds can go on the compost pile in modest amounts. Cardboard makes a good base layer under a new bed to smother grass.
- Check plants while you water. Turn a leaf over now and then. Finding aphids or eggs early is the difference between wiping them off and fighting an infestation.
- Save your own seed from easy plants. Beans, peas, and lettuce seed are simple to collect and will be well suited to your garden over time.
- Accept the seasons. Eat what is ready, preserve gluts by freezing beans and making sauce from tomatoes, and do not fight to grow tender crops through a cold winter without protection.
Common Mistakes and Problems Beginners Run Into
The most common misunderstanding is that organic means doing nothing. Letting a garden fend entirely for itself usually produces a few tough herbs, a lot of weeds, and slug-fed vegetables. Organic gardening is active gardening. You are feeding soil, checking plants, and stepping in early with gentle methods instead of strong chemicals.
Overwatering causes as much damage as drought. Roots need air as well as water, and permanently soggy soil leads to rot and weak growth. If a plant wilts at midday but recovers by evening, it may just be coping with heat. Check the soil before reaching for the can.
Planting too much, too close, is another classic error. Seed packets hold far more seed than a small household needs. Crowded plants compete, airflow drops, disease spreads, and thinning feels wasteful so it never happens. Sow less than you think you need and give each plant its space.
Beginners also often plant tender crops too early. Tomatoes, peppers, beans, and squash hate cold soil and late frosts, no matter how eager you are in April. In zones 5 to 7, wait until after your last expected frost and until nights are reliably mild. A plant checked by cold rarely catches up with one planted later into warm soil.
Soil neglect shows up slowly. If you take harvests out and put nothing back, yields shrink year by year. An annual compost layer is not optional decoration; it is the system working as intended. Finally, do not give up after one bad crop. Every gardener, organic or not, loses plants to weather, pests, or simple bad luck. A failed row of carrots is information, not a verdict on your ability.
Frequently Asked Questions
Do I need to buy special organic seeds?
No. Ordinary untreated seeds grow perfectly well in an organic garden. Organic seed is a nice extra if it is available and affordable, since it comes from plants grown without synthetic chemicals, but it is not a requirement for getting started. Healthy plants and good soil matter far more.
Is organic gardening more expensive?
It can be cheaper, because you are making compost instead of buying lots of products. Costs tend to come at the start, in the form of tools, a compost bin if you build or buy one, and perhaps raised bed materials. After that, seeds, homemade compost, and saved seed keep running costs low. Bought organic feeds and mulches can add up, so use free materials like leaves and grass clippings where you can.
How do I deal with slugs without pellets?
Combine several methods. Go out at dusk with a torch and remove them by hand. Keep hiding places such as loose boards near beds to a minimum, or lift them daily and clear what shelters underneath. Use barriers like copper tape on pots, encourage frogs and beetles, and protect young seedlings with cloches or mesh until they are big enough to cope with some damage. No single method works alone, but together they keep losses acceptable in most gardens.
Can I garden organically in pots and on a balcony?
Yes, and containers are a friendly way to start. Use a good peat-free compost, choose pots with drainage holes, and remember that pots need more frequent watering and feeding than beds because nutrients wash out. Add a slow, organic feed at planting time and top up with a liquid feed during the season for hungry crops like tomatoes.
How long before my soil improves?
You will usually notice a difference within one season of adding compost and mulch. Soil becomes easier to work, holds moisture better, and has more worms. Deeper improvements to structure and fertility build over two to three years of regular additions. It is gradual, but it does not reverse as long as you keep feeding the soil each year.
What should I do if a plant gets a serious disease?
Remove badly affected leaves or the whole plant if it is clearly failing, and put the material in household green waste or the bin rather than your compost pile, since home compost rarely gets hot enough to kill disease organisms. Improve airflow around remaining plants, avoid wetting the foliage, and note the spot so you plant a different crop family there next year.
Final Thoughts
Organic gardening rewards patience more than perfection. Build your soil with compost, choose plants that suit your space and climate, water with care, and deal with pests early and calmly. Some crops will thrive, a few will disappoint, and each season will teach you something specific about your own patch of ground.
Begin with one bed or a handful of pots this season. Add compost, plant something you enjoy eating, and pay attention. That simple loop, repeated year after year, is really the whole method. Your soil will get better, your harvests will grow, and the garden will start doing more of the work for you.
[…] sappy growth — aphids adore that kind of growth. If you are starting out, following a few simple organic gardening tips for beginners will do more for pest control in the long run than any spray, because almost all of them are really […]