

Homemade fertilizer for vegetable plants does not have to be complicated, expensive, or mysterious. Most of what your tomatoes, peppers, courgettes, and leafy greens need is probably already passing through your kitchen and garden — banana peels in the fruit bowl, eggshells in the baking bowl, coffee grounds in the morning pot, and leaves and clippings you would otherwise throw away. Used thoughtfully, these everyday materials can gently feed your soil and your plants for very little cost.
That said, it helps to be honest from the start. Homemade feeds are supplements, not magic potions. They work best on soil that is already reasonably healthy, they release their goodness slowly, and their strength varies from batch to batch in a way a shop-bought feed never does. You will not transform a starved, exhausted bed overnight with banana water alone, and any recipe that promises that is overselling it. What you can do — and this is genuinely worthwhile — is build a simple, regular routine that keeps vegetables topped up, reduces waste, and improves your soil a little more each season.
This guide walks you through what vegetables actually need, which homemade options are worth your time, how to make and use each one safely, and the mistakes that catch beginners out. Pick two or three recipes that suit what you already have at home, rather than trying to make them all at once, and you will have a feeding routine that is cheap, calm, and sustainable.
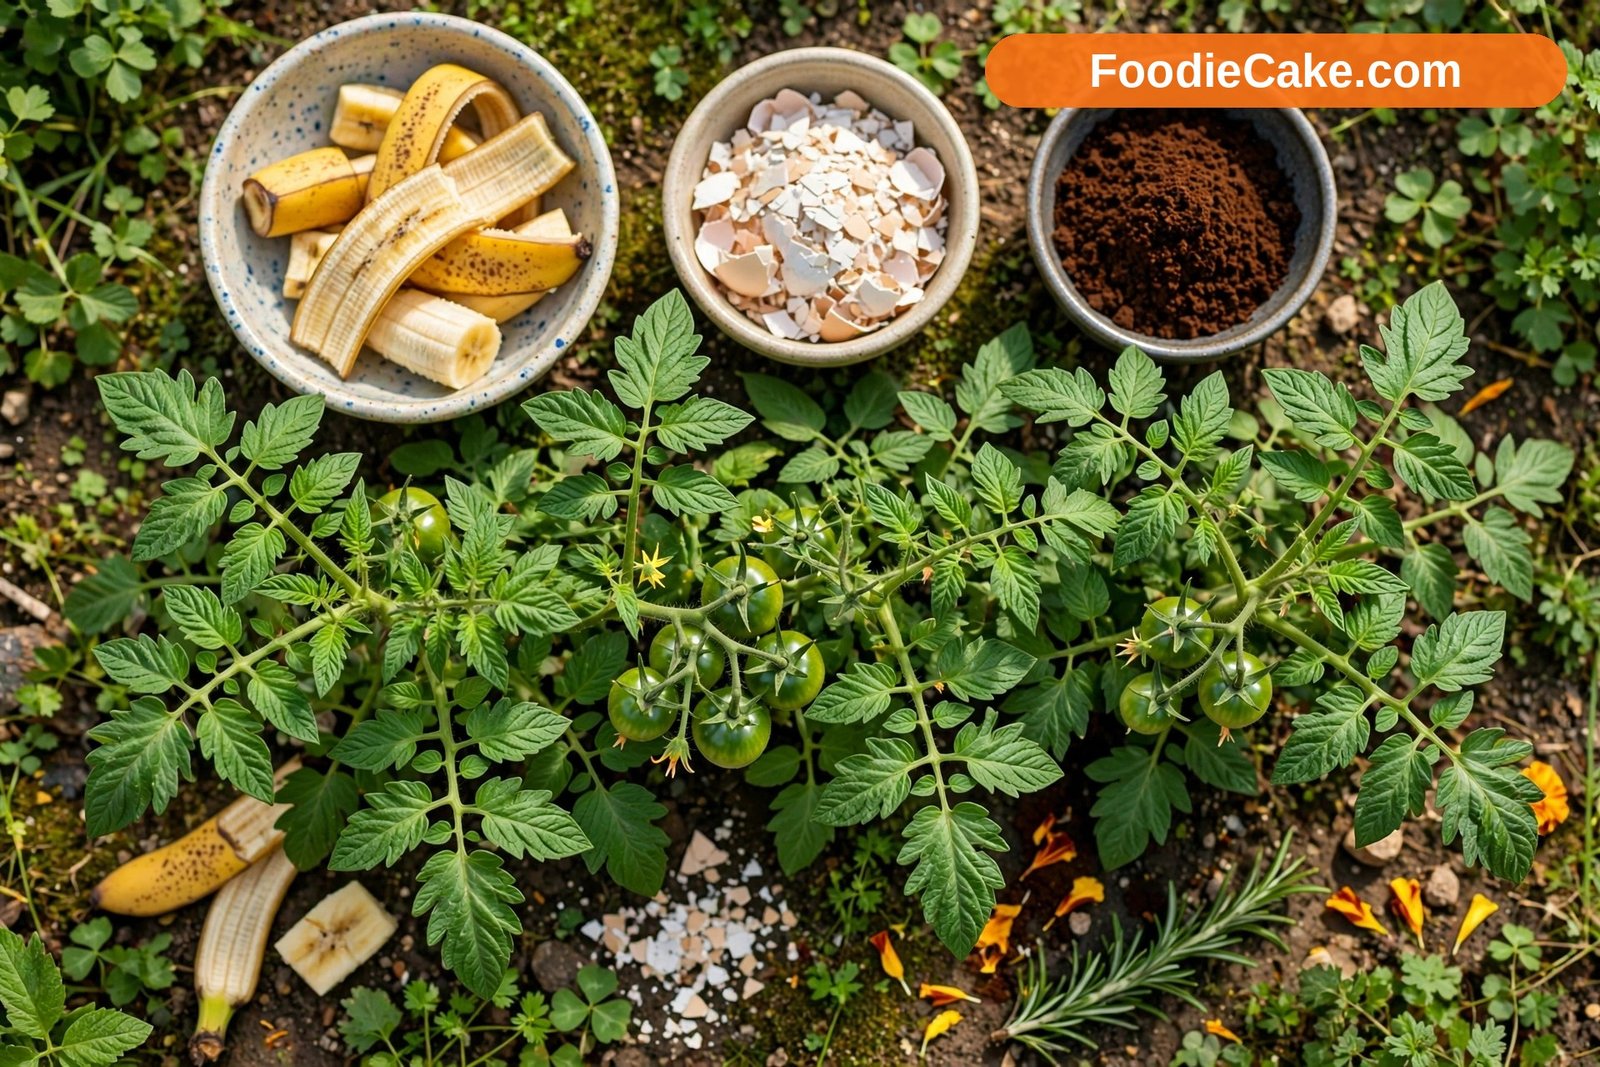
What Vegetables Actually Need: NPK in Plain Language
If you have ever looked at a bag of fertilizer and seen three numbers like 5-5-5 or 10-5-8, you have already met NPK. The letters simply stand for the three nutrients plants need in the largest amounts. Once you understand what each one does, every homemade recipe in this article makes much more sense, because you will know what job each ingredient is actually doing.
N is nitrogen, and it is mostly about leafy, green growth. Nitrogen helps a plant build leaves and stems, stay a good deep green, and grow steadily. Leafy crops such as lettuce, spinach, kale, cabbage, and herbs are especially hungry for it. A plant short of nitrogen often looks pale or yellow-green, grows slowly, and produces small leaves, starting with the older leaves at the base.
P is phosphorus, and it supports roots, flowering, and fruiting. Seedlings need it to establish a strong root system, and flowering vegetables need it to set and hold fruit. A shortage can show up as stunted growth, dull or slightly purplish leaves, and poor flowering — though in many garden soils phosphorus is already adequate, and adding more when it is not needed does not help.
K is potassium, sometimes called potash, and it is about overall toughness and quality. It helps plants move water, resist stress from heat and drought, and ripen good-quality fruit. Tomatoes, peppers, potatoes, and beans all appreciate it, especially once they start flowering and fruiting. A shortfall can show as yellowing or scorching along leaf edges and disappointing fruit.
Heavy Feeders, Light Feeders, and Everything in Between
Not all vegetables are equally hungry, and feeding them as if they were will waste your time in one bed and short-change another. Grouping your crops roughly by appetite is one of the simplest ways to make homemade feeding actually work.
Heavy feeders want rich soil and regular top-ups. This group includes tomatoes, sweetcorn, courgettes and squash, pumpkins, cucumbers, peppers, and most brassicas such as cabbage, cauliflower, and Brussels sprouts. These are the plants to prioritise when you have a limited bucket of compost tea or comfrey tea. Plant them into soil that has had compost or well-rotted manure forked in first, then keep the liquid feeds coming every week or two once they are growing strongly.
Medium feeders manage with decent soil and an occasional boost. Carrots grown in very rich soil can fork and split, so they belong here rather than with the heavy group, along with beetroot, onions, garlic, lettuce, spinach, and chard. A little compost at planting and one or two liquid feeds in the season is usually plenty, and for root crops moderation really is better than enthusiasm.
Light feeders and soil builders need the least. Peas and beans fix nitrogen from the air with the help of bacteria in their roots, so heavy nitrogen feeding just gives you lots of leaf and fewer pods. Herbs such as rosemary, thyme, and sage also prefer leaner soil and develop better flavour when they are not overfed. Grow these in ground that fed a hungrier crop last year, and save your best homemade feeds for the plants that will truly use them.
Compost Tea: The Gentle All-Rounder
If you make only one homemade feed, make it compost tea. It is mild, balanced, forgiving of mistakes, and almost impossible to overdo in the way a strong feed can be overdone. It will not deliver a big hit of any single nutrient, and that is exactly its strength — it suits almost everything, at almost any stage.
To make a simple version, half-fill a bucket with finished, crumbly compost, top it up with rainwater if you have it, or tap water left standing for a day, and stir well. Leave it for two to four days, stirring once or twice a day to keep air moving through it, then strain it through an old cloth or sieve into a watering can. The liquid should look like weak tea. Use it straight away — it is at its best fresh — and tip the soggy compost left behind back onto the heap or spread it as a mulch, so nothing is wasted.
Apply it diluted if it looks very dark, roughly one part tea to four or five parts water, and pour it around the base of plants onto soil that is already moist. Every two weeks through the growing season suits most vegetables, and weekly is fine for heavy feeders in pots, where nutrients wash out quickly. If you are still building your first heap, our step-by-step guide to how to make compost at home will get you from kitchen scraps to finished compost you can brew with confidence.
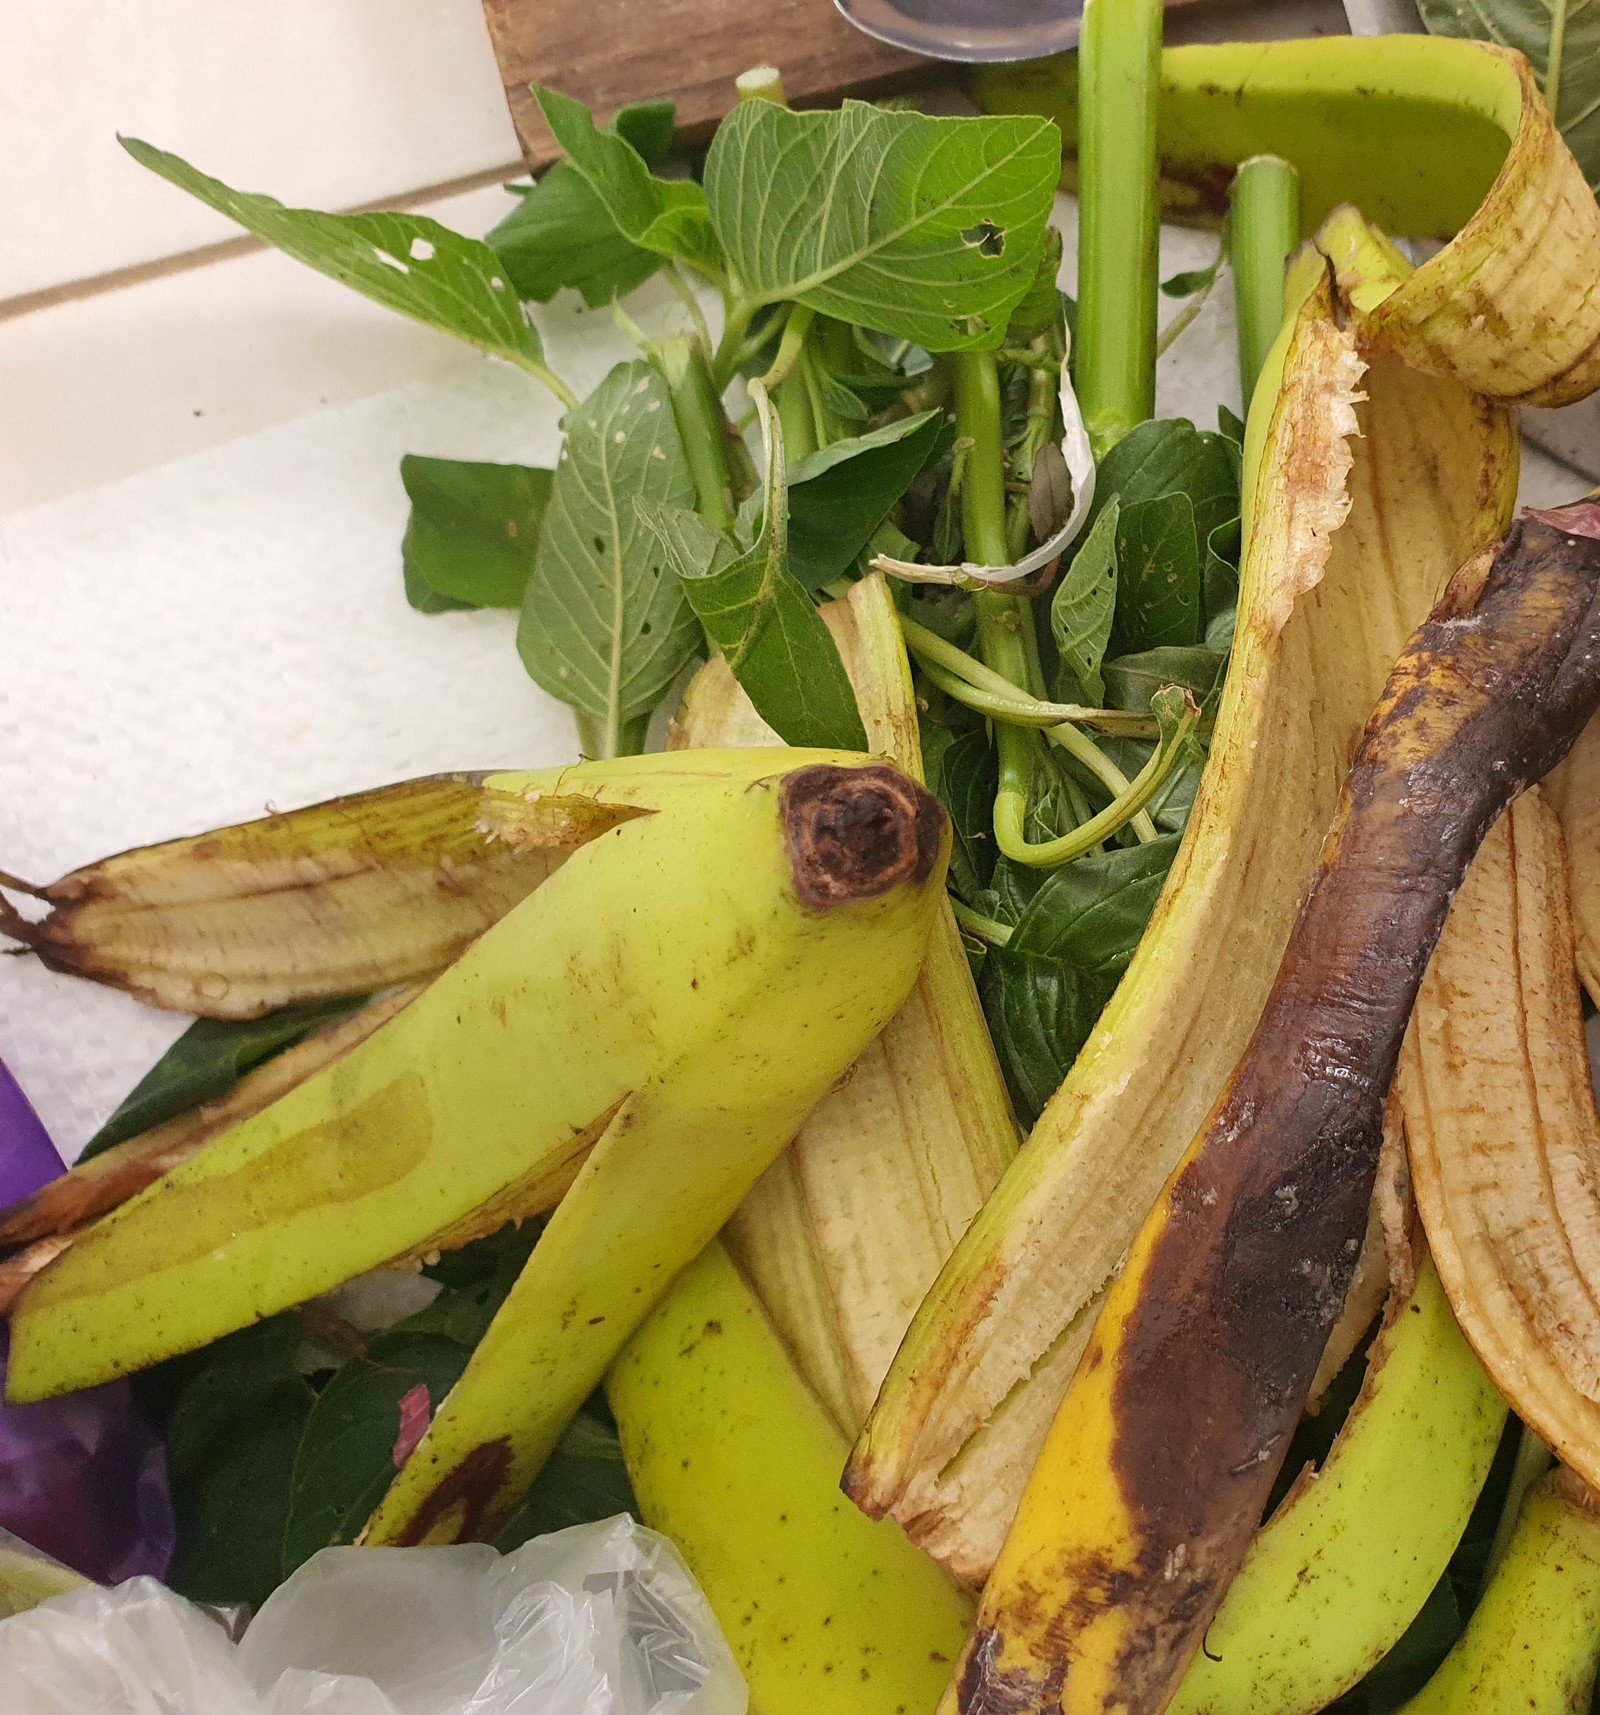
Banana Peel Water and Tea
Banana peels are the homemade feed almost everyone tries first, because they are free, clean to handle, and always available in a fruit-eating household. Peels do contain potassium and small amounts of phosphorus, calcium, and magnesium, which is why they are so often recommended for tomatoes and peppers. Just keep expectations in proportion: a jar of banana water is a mild potassium-leaning top-up, not a complete fertilizer.
The simplest method is a soak. Chop two or three peels into small pieces — smaller pieces release more, faster — put them in a large jar or bucket, cover with about a litre of water, and leave for two to three days. Strain, dilute the liquid roughly half and half with fresh water, and pour it around flowering and fruiting plants. Use it within a few days, because left longer it turns sour and attracts fruit flies.
Use banana water every week or two during flowering and fruiting for tomatoes, peppers, and roses if you grow them, and do not rely on it for leafy crops that mainly need nitrogen. It is a supporting player, and in that role it earns its place.
Crushed Eggshells: Useful, But Slow
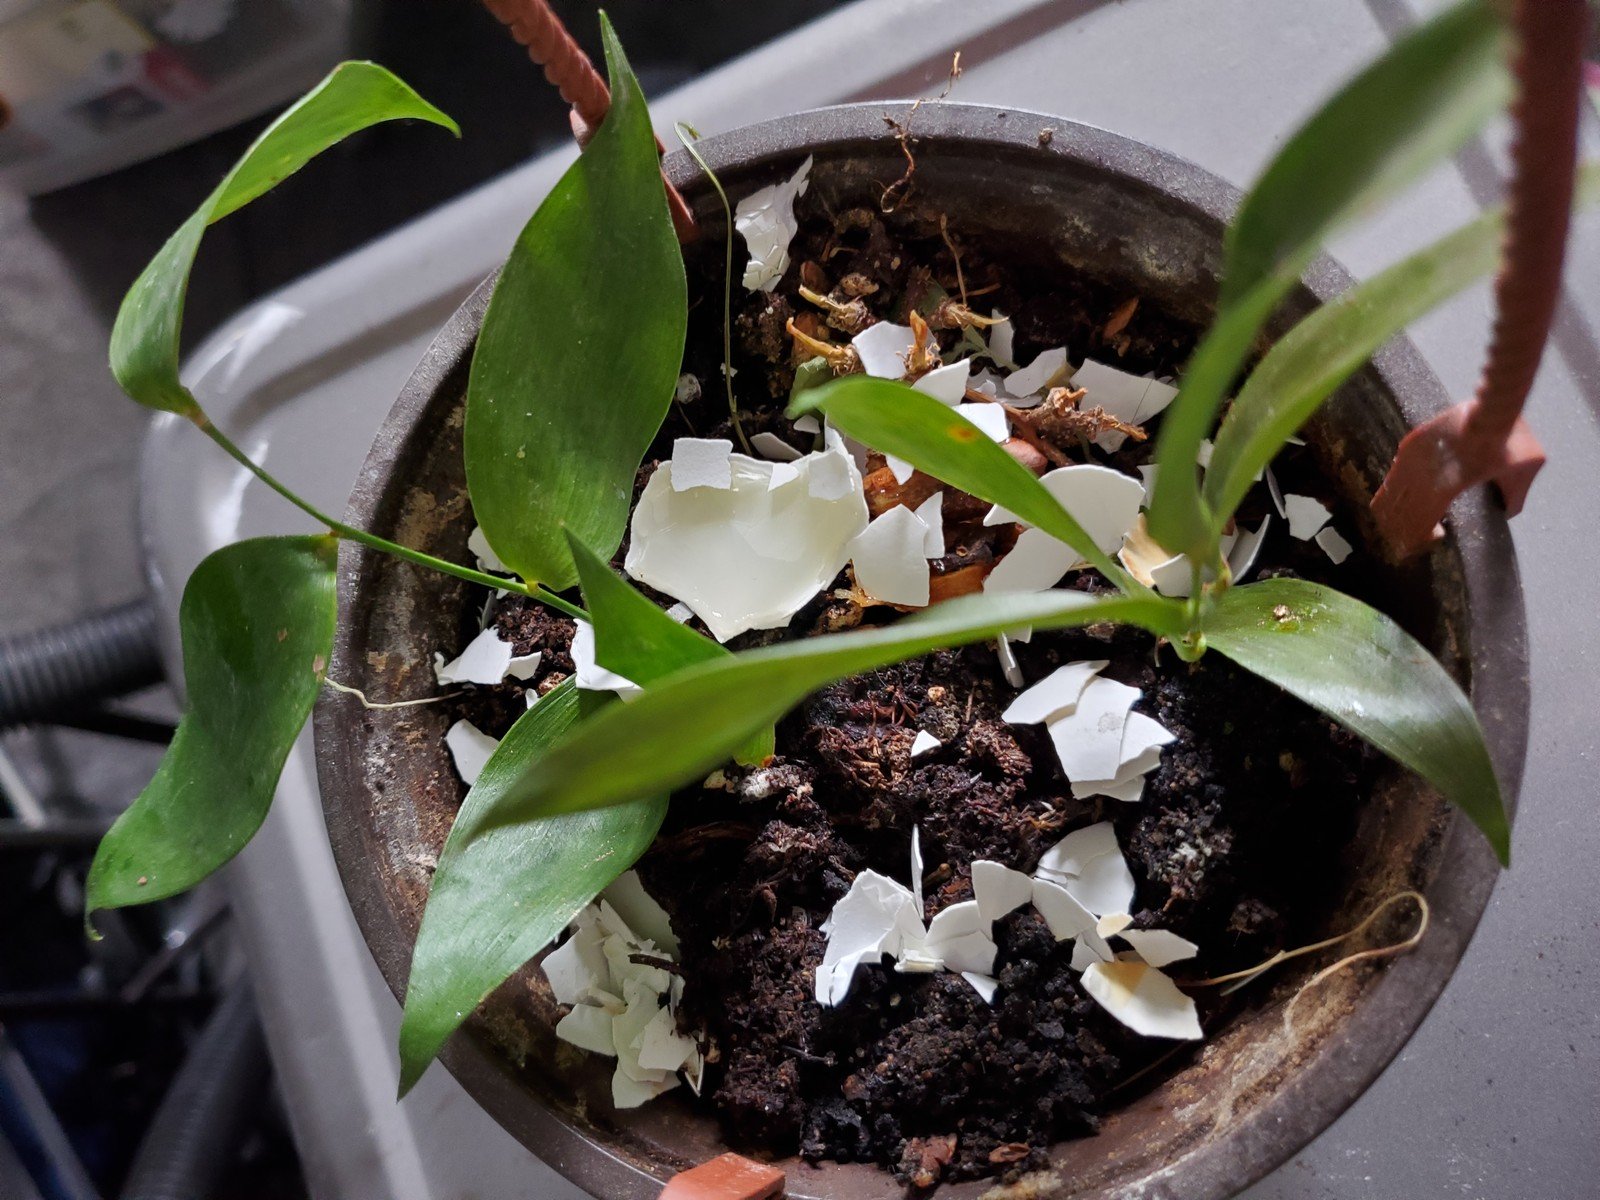
Eggshells are mostly calcium carbonate, so the idea behind using them is sound — but the part that is often left out is speed. A whole or roughly broken shell in the soil breaks down extremely slowly, over months to years rather than weeks. Eggshells are a long-term soil addition, not a quick fix for a plant that needs calcium today, and they will not rescue a tomato already suffering this week.
To make them genuinely useful, rinse the shells, let them dry, and grind them as finely as you possibly can — a mortar and pestle, a rolling pin between sheets of paper, an old coffee grinder, or a few minutes of crushing in a sturdy bag all work. The finer the powder, the more surface area the soil organisms and mild soil acids have to work on, and the sooner the calcium becomes available. Sprinkle a small handful of the powder into planting holes, fork it into the top layer of beds in spring, or add the shells to the compost heap, where the composting process helps break them down further.
Eggshells suit most vegetable beds in moderation, especially where you grow tomatoes, peppers, and brassicas year after year. What they will not do is fix blossom end rot on their own. That problem is most often caused by irregular watering — the plant cannot move calcium to the fruit steadily if the soil swings between dry and soaked — so consistent moisture matters more than any amount of shell. Keep the shells, by all means, but fix the watering first.
Used Coffee Grounds: Nitrogen, With Cautions
Used coffee grounds do contain nitrogen, along with small amounts of other nutrients, and they are a perfectly good addition to the garden — provided you use them in the right way and in moderation. Fresh, unused grounds are acidic, but used grounds are much closer to neutral than most people assume, so the old warning that they will badly acidify your beds is overstated for normal use.
Used directly on beds, keep layers thin. A thick mat of grounds spread on the surface can dry into a crust that sheds water instead of letting it through, and very heavy use around seedlings is best avoided. A light sprinkle forked into the soil, or grounds mixed into a mulch rather than sitting alone on top, works far better. A sensible rhythm is a small handful per plant every few weeks at most, not a daily dusting.
Comfrey Tea and Nettle Tea: The Potent Plant Teas
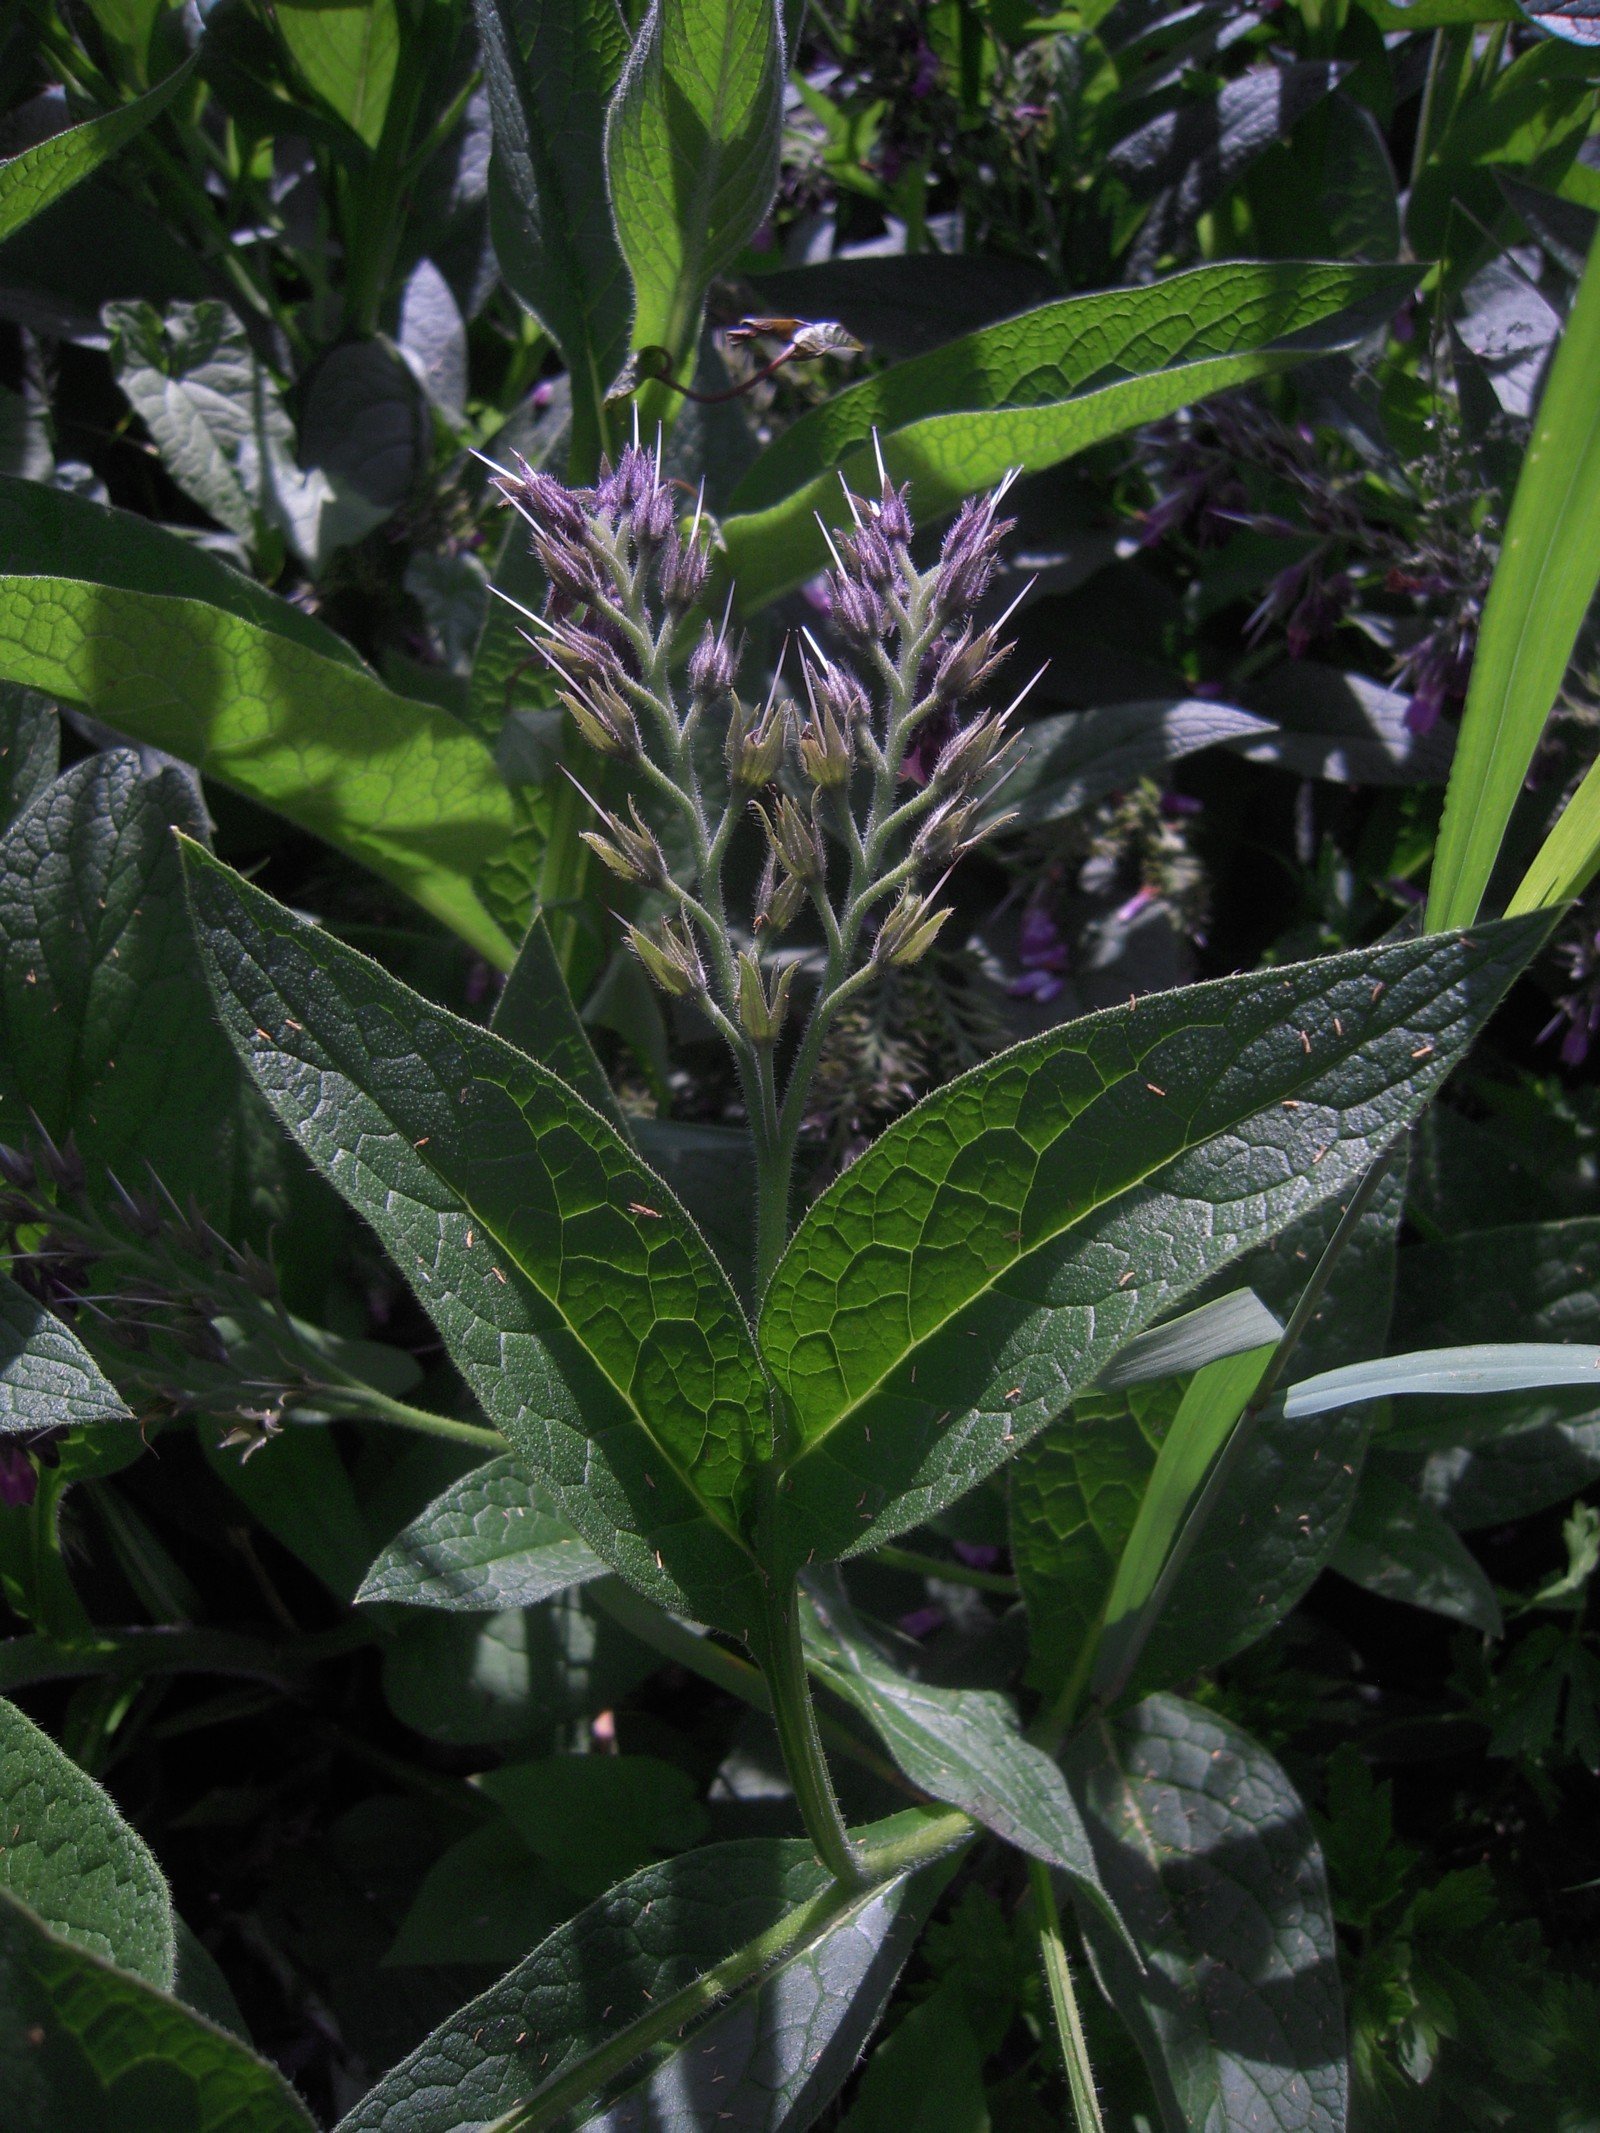
If compost tea is the gentle tonic, comfrey tea is the strong feed — and the smelliest one you will ever make. Gardeners have grown comfrey specifically for feeding other plants for generations, and for good reason. Its deep roots draw up potassium and other minerals from well below where most vegetable roots reach, and its leaves break down into a liquid that flowering and fruiting crops genuinely appreciate. The sterile variety known as Bocking 14 is the one usually recommended, because it does not spread by seed and take over.
To make comfrey tea, pack a bucket with fresh comfrey leaves, weigh them down with a brick or stone, and either add water to cover them or, for the most concentrated version, add no water at all and let the leaves rot down into a dark liquid over three to five weeks. The water version is ready in about two to three weeks. Either way, cover the bucket, put it somewhere downwind — the smell is famously awful, like a farmyard drain — and dilute the finished liquid until it looks like weak tea, roughly one part concentrate to ten to fifteen parts water, before using it. Feed tomatoes, peppers, courgettes, and potatoes with it every week or two from first flowering onwards.
Nettle tea is comfrey’s partner for the other end of the season. Young spring nettles, cut before they flower and handled with gloves, are rich in nitrogen, so a nettle brew suits leafy growth. Fill a bucket loosely with chopped nettles, cover with water, leave for two to three weeks with an occasional stir, then strain and dilute about one to ten. Use it on leafy crops, young brassicas, and sweetcorn in late spring and early summer, then switch to comfrey as plants move into flowering. Together, the two teas cover the season neatly: nettles for leaves early, comfrey for fruit later.
Wood Ash, Grass Clippings, and Other Honest Extras
Wood ash from untreated wood in a stove or fireplace is a useful source of potassium and calcium, and it also has a mild liming effect, raising soil pH slightly. Sprinkle it thinly — a small handful per square metre, a few times a year at most — fork or rake it in, and keep it dry until you use it, because rain washes the potassium straight out of ash stored outside. Use it sparingly and thoughtfully: never on acid-loving plants such as blueberries, and go carefully on potatoes, since the liming effect can encourage potato scab on some soils. Never use ash from treated timber, painted wood, coal, or rubbish.
Grass clippings earn their keep in two ways. Spread fresh clippings in a thin layer, no more than a couple of centimetres, as a mulch around vegetables, and they suppress weeds, hold moisture, and feed the soil as they rot — but let each layer dry slightly before adding more, or a thick fresh layer mats into a slimy, smelly blanket. You can also soak a bucket of clippings in water for a few days for a mild nitrogen-leaning tea. Only use clippings from lawns that have not been treated with weedkiller, and never from the first cuts after any treatment.
Two famous extras deserve honest handling. Epsom salts are simply magnesium sulphate: they help only if your soil is actually short of magnesium, which many soils are not, and excess can interfere with calcium uptake, so skip routine dosing. Diluted urine — roughly one part to ten parts water, applied to moist soil around hungry crops and never onto leaves or edible parts — is a traditional, genuinely nitrogen-rich feed that some gardeners use and many would rather skip. It is entirely optional, and the teas and compost above will feed most gardens perfectly well without it.
If you want a wider comparison before choosing your routine, browsing the best natural fertilizers for plants alongside these homemade options helps you see where a bought organic feed might fill a gap your kitchen cannot.
How and When to Apply Homemade Fertilizers
How you apply a homemade feed matters almost as much as what is in the bucket. A few simple habits will protect your plants and make every litre go further.
Always water the soil first, or apply after rain, if the ground is dry. Pouring feed onto bone-dry soil can stress roots, runs off or pools unevenly, and is the most common reason a well-made feed seems to scorch a plant. Moist soil first, feed second — in that order, every time.
Dilute, and dilute again if you are unsure. Every tea in this article should be used weak and often rather than strong and rarely. Weak tea colour is your visual guide for compost and comfrey brews, and if a batch smells especially fierce or looks very dark, add more water. You can always feed again next week; you cannot un-feed a plant you have overwhelmed today.
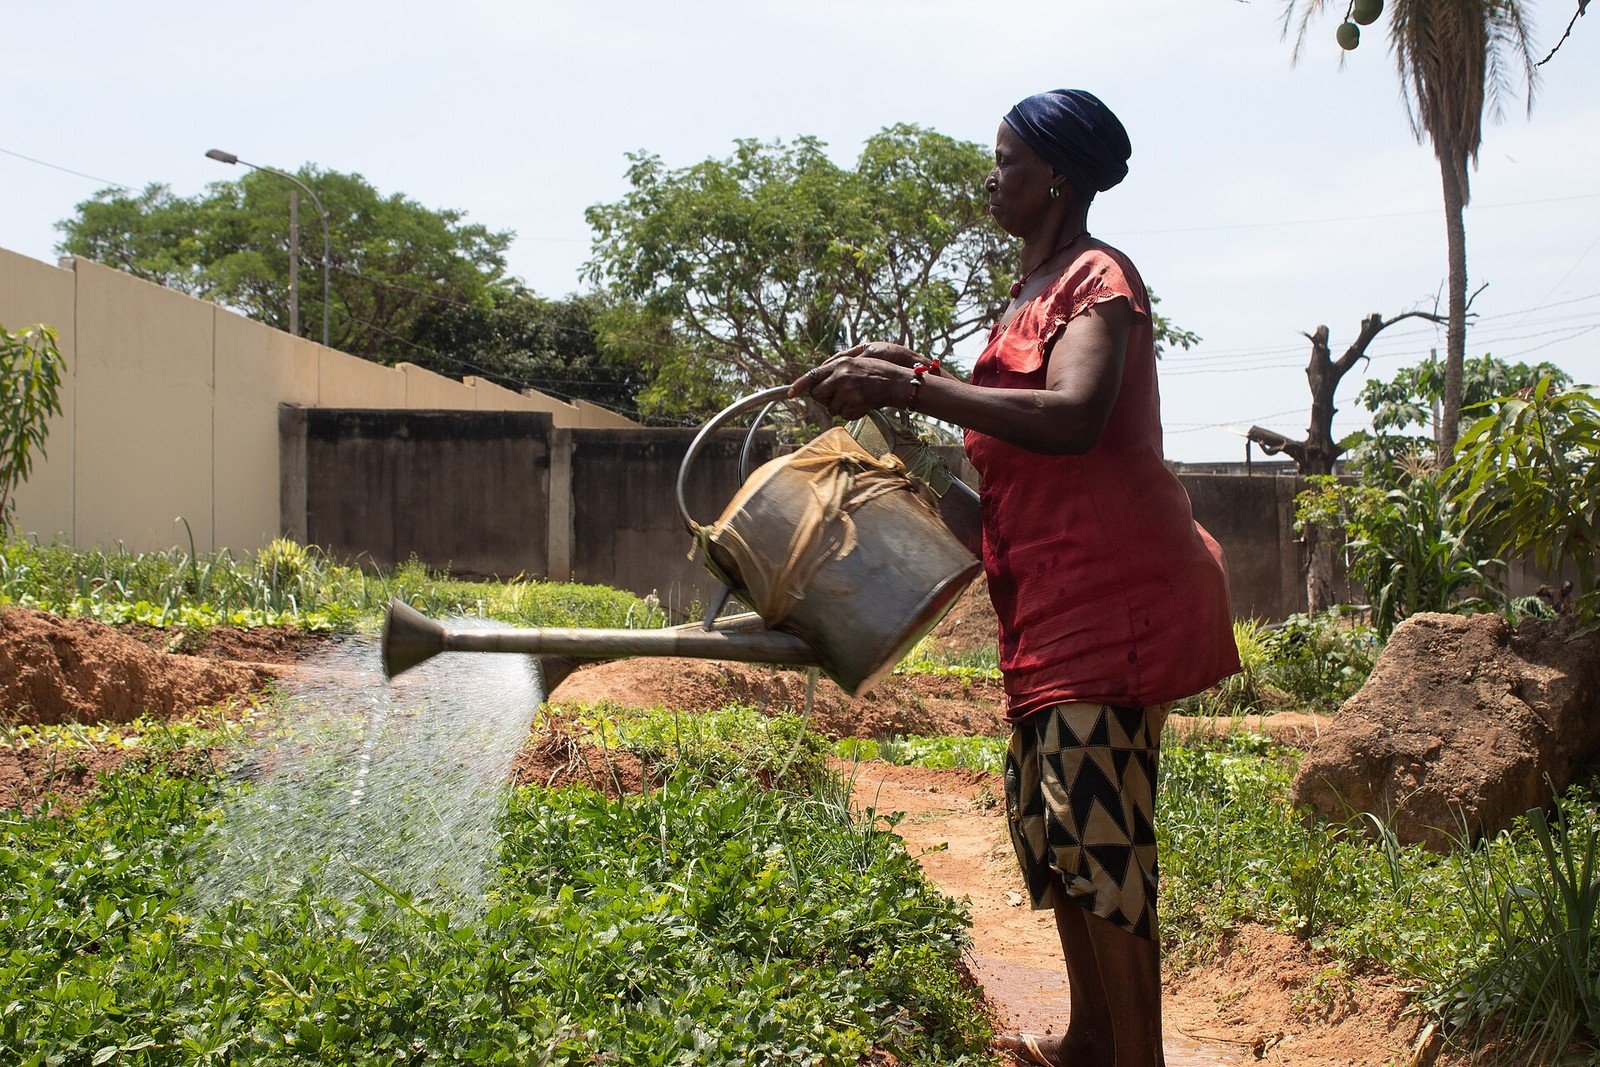
Timing follows the plant, not just the calendar. Start liquid feeding when plants are established and growing actively — for most vegetables, a few weeks after planting out — rather than drenching tiny seedlings, which need little more than good compost in their mix. Feed leafy and hungry crops every ten to fourteen days in the main growing season, weekly for heavy feeders in pots and grow bags, and ease off as growth slows in autumn. Morning or evening application is kinder than midday sun, and pouring at the base rather than over the foliage keeps leaves clean and reduces waste.
Practical Tips for Better Homemade Feeding
Label everything. Buckets of dark liquid all look identical after a fortnight, and comfrey concentrate used undiluted by mistake is a lesson you only want to learn once. A strip of tape and a marker with the contents and the date will save you.
Keep a simple routine rather than an elaborate one. For most gardens, compost tea or comfrey tea every two weeks, banana water for fruiting plants when you have peels to spare, and eggshells and ash worked into the soil in spring is more than enough. A routine you can keep up in a busy August beats a perfect schedule abandoned in June.
Watch the plants, not just the schedule. Steady green growth and good flowering mean your routine is about right. Pale, slow growth suggests stepping up feeding or, more often, improving the soil itself. Very lush, dark, leafy growth with few flowers on fruiting crops suggests easing back on nitrogen-rich feeds and leaning on comfrey and potassium instead.
Common Mistakes and How to Avoid Them
The biggest mistake is overfeeding. Because homemade feeds feel gentle and natural, it is tempting to assume more must be better. It is not. Too much nitrogen gives you soft, sappy growth that aphids love and frost damages easily, too much of any feed can scorch roots, and excess nutrients simply wash away into the wider environment. Weak, regular, and observed always beats strong and frequent.
Applying feed to dry soil runs a close second. It concentrates the feed around thirsty roots, distributes it unevenly, and stresses the very plant you are trying to help. If the bed is dry, water it properly, wait a little while, and then feed.
Expecting instant results is the third trap. Solid additions like eggshells work over seasons, liquid teas over days to weeks, and soil improvement over years. A plant will not visibly transform by the weekend because you gave it banana water on Tuesday. Judge your routine at the end of the season, by the health of the crop as a whole, not by the morning after a single feed.
Unbalanced feeding catches people out quietly. Using only one ingredient — only coffee grounds, only banana water, only ash — narrows what your plants receive and can push one nutrient up while others fall behind. Variety is the safeguard: compost as the base, a nitrogen-leaning tea early, a potassium-leaning tea later, and mineral extras in small amounts.
Frequently Asked Questions
Can homemade fertilizer completely replace shop-bought feed?
For many home gardens, yes — especially if your soil gets regular compost and your expectations are realistic. Homemade feeds are variable in strength, though, so if you are growing very hungry crops in pots, or your soil is poor to start with, a bought organic feed can be a useful backup while your soil improves. Think of homemade options as the foundation, not a rule you must never break.
How often should I feed vegetables with homemade liquid fertilizer?
Every ten to fourteen days is a good rhythm for most vegetables in beds during the main growing season, and weekly for heavy feeders in pots. Always dilute, always apply to moist soil, and ease off in autumn as growth slows. More frequent strong feeding does not produce more vegetables — it usually produces problems.
Is banana water enough for tomatoes on its own?
No. Banana water is a mild, potassium-leaning top-up with very little nitrogen, and tomatoes are heavy feeders that need a balanced diet. Use it as one part of a routine built on compost-rich soil, with compost tea or comfrey tea as the main liquid feed, and your tomatoes will fare far better than on banana water alone.
Are coffee grounds and eggshells actually worth using?
Yes, in the right place and with honest expectations. Coffee grounds are best added to the compost heap as a nitrogen-rich green, or used thinly on beds. Eggshells are a slow, long-term calcium addition, most useful finely ground and worked into soil or compost. Neither is a quick fix, and both earn their place as part of a varied approach rather than as stand-alone cures.
Why did my homemade fertilizer smell so bad, and is it still safe to use?
Plant teas, especially comfrey and nettle, smell dreadful as they ferment — that is normal, and a covered bucket kept away from the house makes it bearable. Diluted and used on the soil around plants, a smelly tea is fine. If a brew has been sitting for many weeks and smells truly putrid, tip it onto the compost heap instead and make a fresh batch.
Final Thoughts
Homemade fertilizer for vegetable plants works best when you keep it simple, honest, and regular. Build your soil with compost, match the feed to the crop — nitrogen-leaning teas for leafy growth, comfrey for flowering and fruiting, eggshells and ash as slow mineral extras in small amounts — and apply everything diluted, to moist soil, every week or two through the season.
Start with what your household already produces, notice how your plants respond, and adjust gently rather than chasing the next miracle recipe. Season by season, that quiet routine will leave both your vegetables and your soil in better shape than any single wonder feed ever could.