

If you want to know how to make compost at home, the good news is that you need no special equipment, no big garden, and no real expertise to start. Composting simply helps nature do what it already does on a forest floor — breaking down leaves, scraps, and plant material into dark, crumbly material that feeds your soil. You are not really making compost so much as setting up the right conditions and letting microbes, fungi, worms, and time do the work.
Most beginners overthink it. Almost any pile of mixed organic material will eventually rot down into something useful. A well-managed pile just gets there faster, smells better along the way, and gives you a more even finished product. The difference between a slimy, sour heap and a sweet-smelling one is usually just balance: enough dry material, enough air, and enough moisture.
Compost turns scraps and garden waste you would otherwise throw away into a free soil improver. Spread on beds, it helps heavy clay drain better, helps sandy soil hold water and nutrients for longer, and feeds the life in your soil. You will not see overnight results — anyone promising that is overselling it — but you will see steady improvement, season after season.
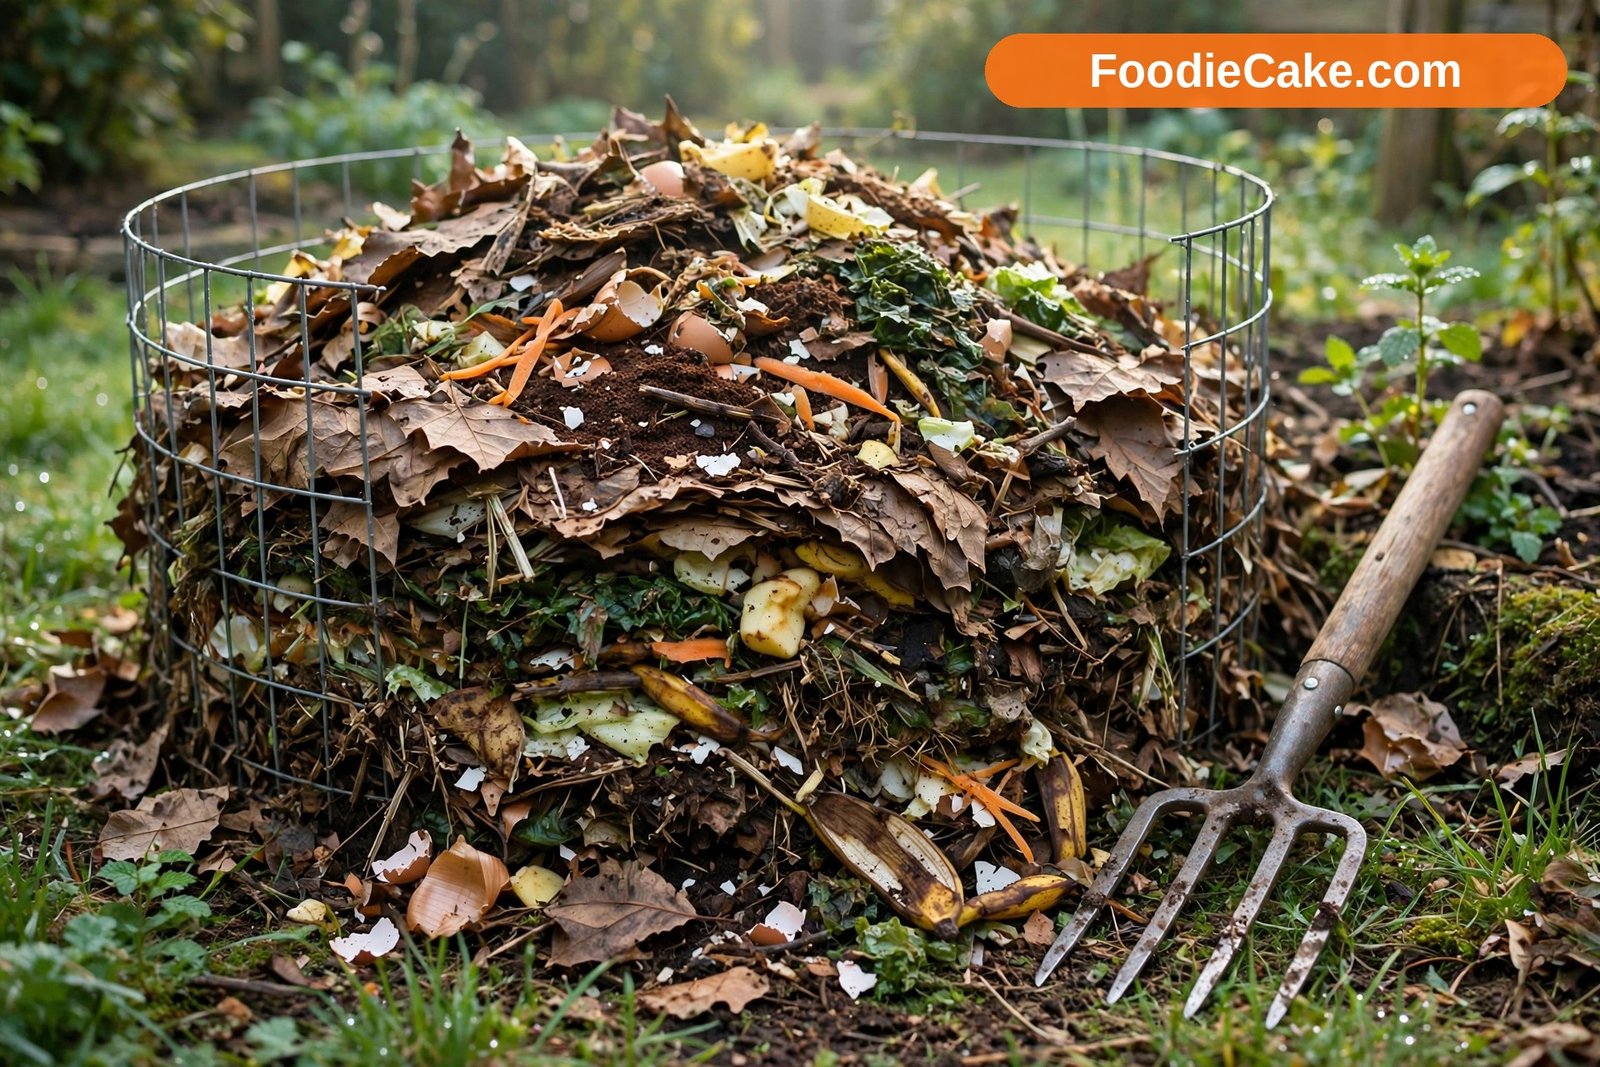
Step 1: Choose a Spot and Decide on a Bin
Start with location, because a pile in the wrong place becomes a chore you avoid. Pick a spot that is easy to reach with a bucket of kitchen scraps, even in wet weather — within a short walk of the kitchen door, and close to the beds where the finished compost will be used.
The ground underneath matters. Bare soil or grass is best: it lets excess water drain away and lets worms move up into the pile. A pile on paving tends to sit in its own puddle after rain, and that puddle is where bad smells start — so if paving is your only option, lay thick straw or wood chips down first.
Partial shade is often the sweet spot: full sun can bake a small pile dry in summer, while deep shade keeps it cold and soggy. A spot near a fence or hedge, sheltered from the strongest wind, suits most gardens.
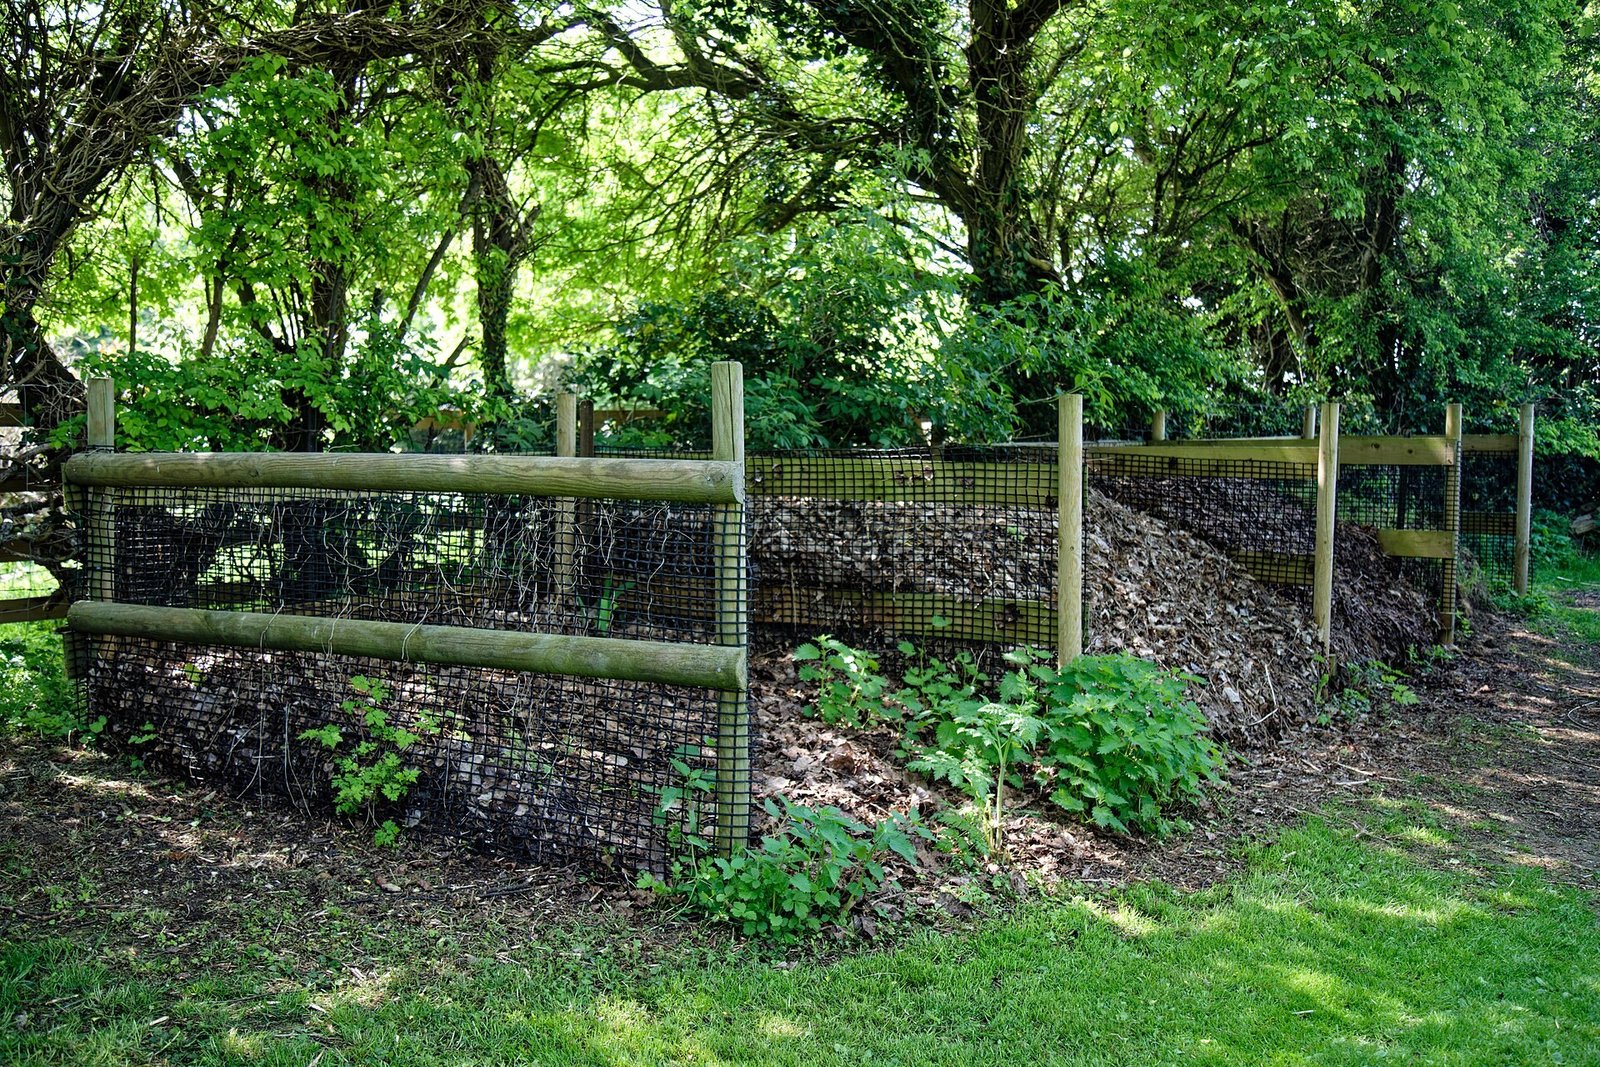
As for a bin, you have more freedom than the catalogues suggest. A simple open heap works well, and so do a slatted wooden bin, a wire mesh cylinder, or a pallet frame. Enclosed plastic bins are neater and discourage animals but can be awkward to turn and empty; tumblers are easy to spin but hold less, and turn into a heavy, wet ball if overloaded with grass.
On size, a pile roughly a metre across and a metre high is a good target, because at that volume the centre warms up properly. Smaller piles stay cool and slow, though they still get there in the end — and a modest pile you actually maintain beats a perfect system you abandon by August.
Step 2: Understand Greens and Browns
Everything you add falls roughly into one of two groups. Gardeners call them greens and browns, though the names are about function, not colour.
Greens are the fresh, moist, nitrogen-rich materials: fruit and vegetable scraps, coffee grounds and paper filters, fresh grass clippings, green leaves, and young weeds before they set seed. Greens are the fuel that gets microbes multiplying quickly — and the materials most likely to turn slimy and smelly if you add too many at once, because they are wet and pack down tightly.
Browns are the dry, carbon-rich materials: fallen dry leaves, straw, shredded cardboard, torn newspaper, wood chips, and dry, woody prunings. On their own they break down very slowly; their real value is structure — they create air pockets, soak up excess moisture, and balance the soft, wet greens.
The rule of thumb is roughly three parts browns to one part greens (about 3:1), by volume rather than weight: for every bucket of kitchen scraps or grass clippings, add about three buckets of dry leaves, shredded card, or straw. Treat it as guidance, not law — the pile will tell you when the balance is off. Too many greens and it turns wet, compacted, and sour-smelling; too many browns and it stays dry, cool, and unchanged. If in doubt, lean towards more browns.
One habit helps: keep a store of browns near the bin — bagged autumn leaves, a bale of straw, a box of shredded cardboard. Greens arrive daily from the kitchen; browns are what people run out of.
Step 3: Build the Pile in Layers
Start with a coarse base layer, ten to fifteen centimetres deep, of twiggy prunings, straw, or chunky wood chips. It is not there to feed the pile — it lets air in from underneath and stops the bottom becoming a compacted, airless mat.
On top, add materials in loose layers, alternating greens and browns: a layer of kitchen scraps or grass, then a layer of leaves or shredded cardboard two or three times as thick, and so on. The layers need not be neat. The point is to avoid one thick slab of a single material, especially grass, which mats within days into a dense, airless layer that smells dreadful. Thin and mixed is the goal.
Chop or shred large items first when you can. A corn stalk or a whole cabbage will eventually rot, but smaller pieces give microbes more surface area and speed everything up — running the mower over fallen leaves shreds them quickly. A spadeful of finished compost mixed through a new pile adds active microbes: a gentle head start, not an essential one.
Finish with a cap of browns. A dry top layer keeps flies off fresh scraps, holds in warmth, and stops the surface crusting over or turning to mush in heavy rain.
Step 4: Get the Moisture Right
Water quietly decides whether a pile works or stalls. The microbes doing the decomposing live in the thin film of moisture on every particle, so a dry pile slows right down. A soaking pile, though, fills its air spaces with water, oxygen cannot get in, and slower, smellier organisms take over.
Use the squeeze test: grab a handful of material from the middle of the pile and squeeze. It should feel like a well-wrung-out sponge — damp throughout, holding together, but giving up only a drop or two of water. Dry and dusty means the pile needs water; water streaming out means it needs dry browns forked through it.
Water while turning or adding material, so it reaches the middle. One surprise for new composters is how quickly a hot pile dries out: heat drives off moisture, and a pile that was perfect a fortnight ago can be bone dry in the centre. If progress stalls, dryness is the first thing to check.
Step 5: Turn the Pile for Air
The fast, sweet-smelling decomposition you want is aerobic — it needs air. As microbes work, they use up the oxygen in the pile, and the material settles and compacts. Turning undoes that: you fork the pile over, break up clumps, move cooler outer material into the hot centre, and let fresh air back in.
How often you turn depends on how fast you want results. Turning every two to four weeks in the active season keeps a pile moving briskly; turning once a month, or a few times over the pile’s life, still produces good compost, just more slowly. A pile never turned at all still breaks down eventually, from the bottom up, over a year or more. There is no wrong answer, only a trade-off between time and effort.
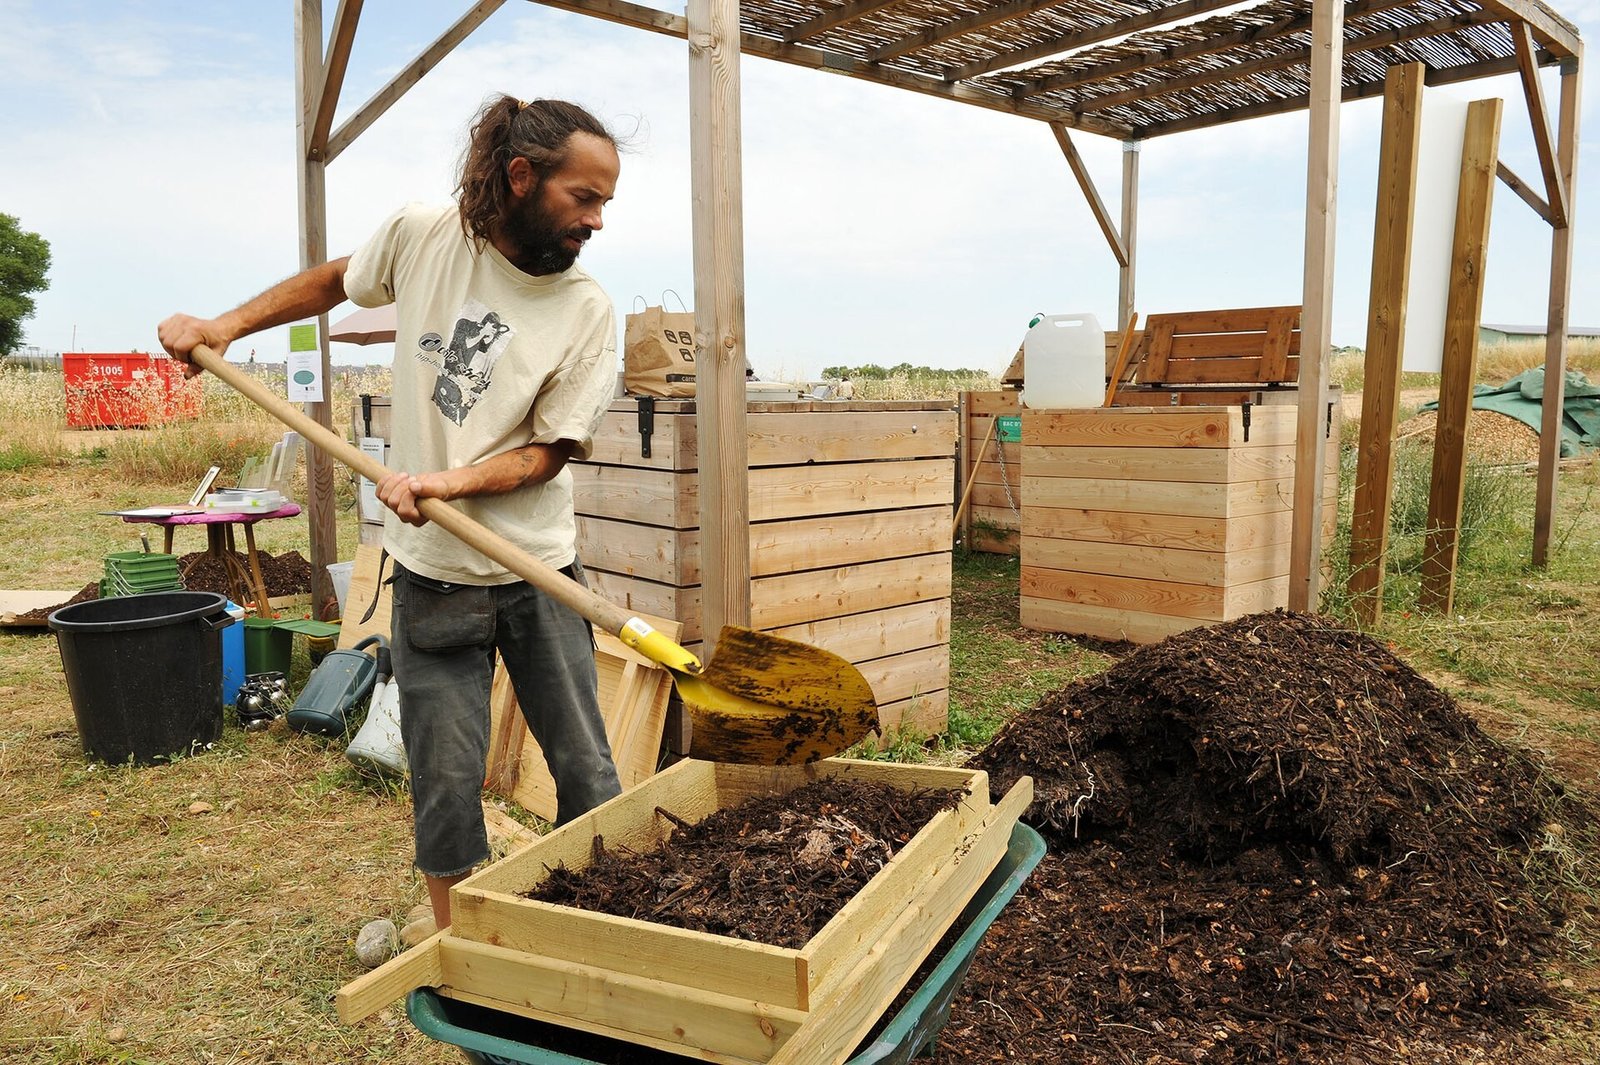
The technique is simple. Fork material out from one side and rebuild it in a fresh heap, in the same bin or the space beside it — which is why many gardeners keep two or three bays, so one can be filled, one turned, and one emptied. Shake clumps apart, mix wet patches with dry ones, and water dry sections as you rebuild.
Heat is your progress report. A healthy pile often warms up within a few days of building or turning, and the centre can feel properly hot to the touch. When the pile stops reheating after a turn, it is usually moving into its finishing phase. Good compost sits at the heart of any attempt to improve your garden soil naturally, and the pile you are building now is the most reliable way to get a steady, free supply of it.
Step 6: Know What Not to Add
A pile accepts a wide range of organic material, but a few things genuinely do not belong in it — and leaving them out prevents most beginner problems.
Keep meat, fish, dairy products, and cooked food with oils or fats out of a typical home compost bin. They can break down, but in a simple home pile they tend to smell as they do, and they attract rats, foxes, flies, and neighbourhood pets. Oil and grease also coat other materials and slow everything down. The rule is simple: if it came from an animal and it is not eggshells, leave it out.
Pet waste from cats and dogs should also stay out, especially from compost for food crops, since it can carry organisms you do not want near vegetables. Waste from herbivores such as rabbits or guinea pigs, including their bedding, is generally fine.
Be careful with weeds. Weeds that have set seed, and perennial weeds with creeping roots like bindweed or couch grass, can survive a cool home pile and return when you spread the compost. Unless you are confident your pile gets hot and stays hot, dispose of them another way. The same applies to badly diseased material such as blighted tomato foliage, which home piles do not reliably make safe.
Also skip glossy or coated paper, treated or painted timber, coal ash, and anything synthetic. If in doubt, leave it out — a compost pile is not a rubbish bin.
Step 7: Wait, Watch, and Know When It Is Finished
At some point you stop adding fresh material and let the pile finish — otherwise the bottom may be ready while the top is still recognisably last week’s peelings. This is the practical argument for a second bay: fill one, then leave it alone while you start the next. With only one bin, stop adding for the last month or two.
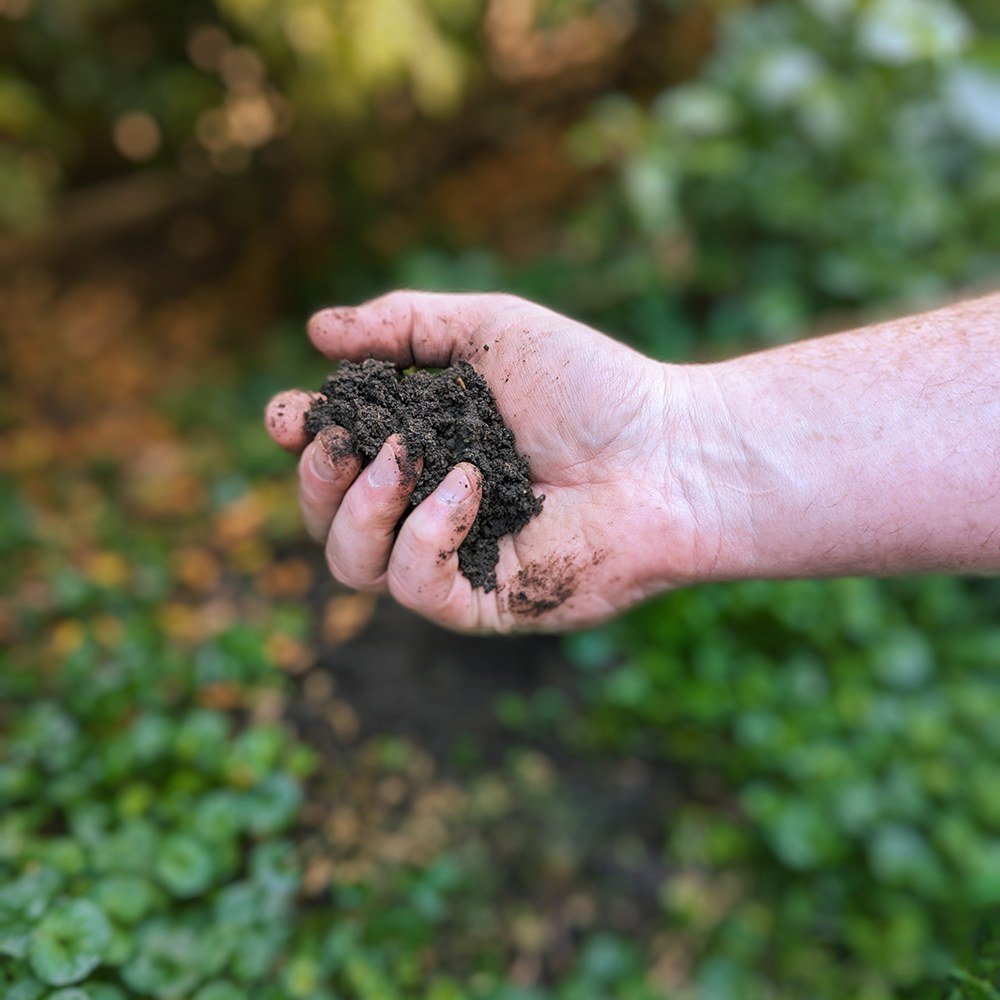
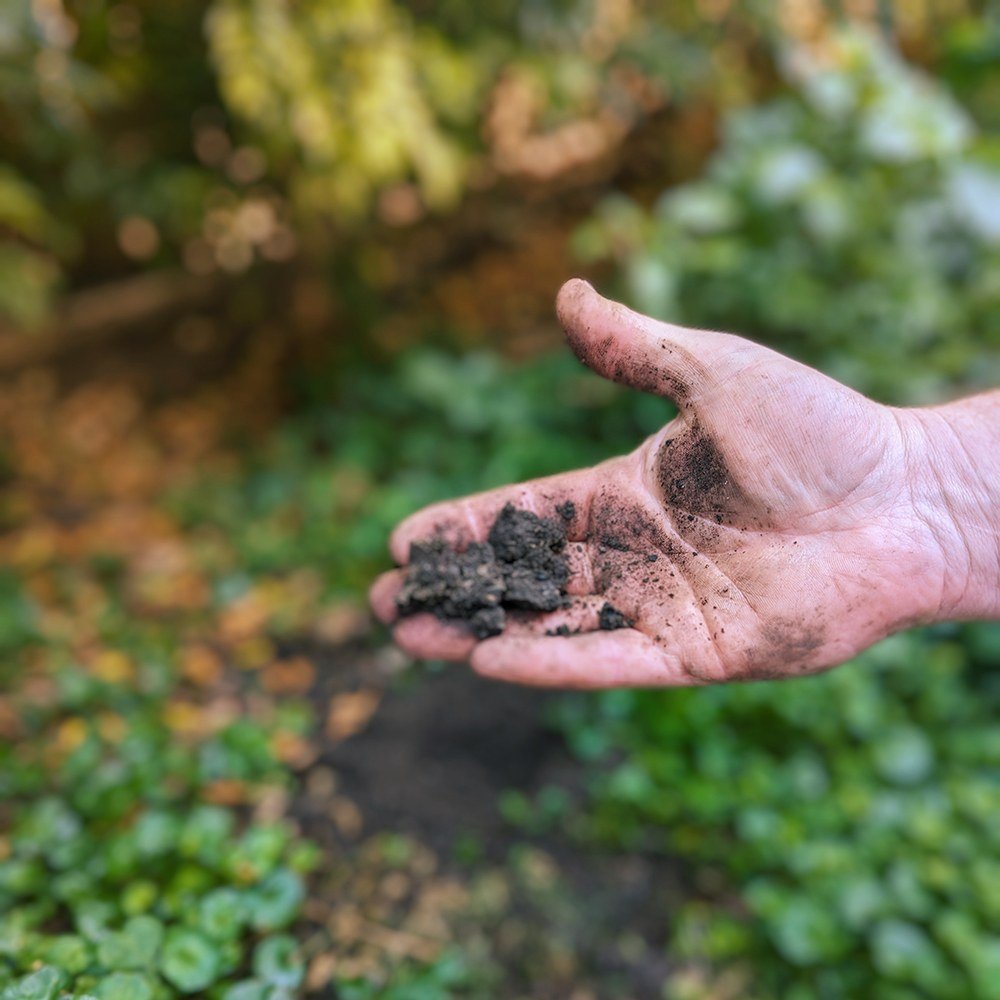
Finished compost is easy to recognise: dark brown, crumbly, and earthy-smelling, like a woodland floor after rain, with most of the original ingredients no longer identifiable. A few stubborn items may remain — eggshell fragments, twiggy bits, the odd fruit stone. Sieve or pick them out and throw them back into the active pile.
Timing varies a lot. A hot, frequently turned pile in warm weather can be ready in two to three months; a typical home pile, turned occasionally, more often takes six months to a year; a neglected heap takes longer still. All three are fine. Compost is ready when it looks, feels, and smells ready, not when a calendar says so.
Use finished compost fairly promptly, or store it under cover where rain will not wash through it: spread it as a mulch a few centimetres thick, fork it into the top layer of soil before planting, or mix it through planting holes. Compost is a soil conditioner first and a fertiliser second — its nutrient content is modest and variable, depending on what went into the pile. Knowing the best soil for vegetable gardening helps you decide which beds will benefit most from each batch.
Practical Tips for Better Compost
Keep a small lidded caddy in the kitchen for scraps and empty it every couple of days. A sprinkle of shredded paper in the bottom absorbs moisture, and a tight lid keeps fruit flies to a minimum.
Shred, chop, and crush as a habit rather than a project. A quick pass with the mower over autumn leaves gives you a winter’s worth of browns in twenty minutes, and small pieces are the cheapest speed boost available.
Think in handfuls when you add material. Every bucket of kitchen scraps should be followed by two or three buckets of browns, forked in lightly. This one habit prevents almost every smell, fly, and slime problem, and it takes less than a minute.
Do not chase heat for its own sake. A cool pile still makes perfectly good compost, and worms moving in signal a healthy finishing pile, not failure. If you have more than one bay, date them with a chalk mark — three months from now you will not remember which you filled first.
Common Mistakes and Problems, and How to Fix Them
The pile smells bad. This is the most common complaint, and it almost always means too much wet green material and not enough air. A sour smell points to excess greens; a rotten-egg smell points to waterlogged conditions. Either way, fork in dry browns, turn the whole pile, and ease off the grass clippings for a while. The smell usually clears within days.
The pile is slimy. Sliminess is the visible cousin of the same problem — matted grass and sodden scraps with no structure. Break it apart with a fork, mix in straw, shredded card, or dry leaves until the texture loosens, and add grass only in thin layers mixed with browns from then on.
Nothing is happening. A still, unchanged pile is usually too dry, too heavy on browns, or too small to warm up. Check moisture first and water if needed. If it is damp but inert, fork in fresh greens — grass clippings, coffee grounds, kitchen scraps — to give the microbes a meal, turn it, and wait a week or two before judging again. Patience fixes more piles than products do.
The pile attracts flies or animals. Exposed food scraps are the usual cause, so bury fresh kitchen waste in the middle of the pile and cover it with browns. Check that no meat, dairy, or oily food has found its way in, and make sure a bin lid fits properly. Ants, meanwhile, usually just mean the pile is too dry; water it while turning and they generally move on.
Frequently Asked Questions
How long does it take to make compost at home?
It depends on your materials, the weather, and how often you turn the pile. A hot, well-balanced pile can be ready in two to three months; a typical home pile more often takes six months to a year. Both are normal — the calendar matters less than the look, feel, and smell of the finished material.
Can I compost in a small garden or on a balcony?
Yes, with the right setup. In a small garden, a compact enclosed bin works at a smaller volume, just more slowly. On a balcony, a sealed bin or worm bin is usually most practical, since an open pile needs ground contact and drainage. Keep animal products out, cover fresh scraps well, and even a small system stays pleasant.
Does compost smell?
A well-managed pile should smell earthy, like soil, not bad. Bad smells are a signal: the pile is too wet, too heavy on greens, or short of air. Adding dry browns and turning it fixes the problem in most cases within a few days.
Can I add citrus, onions, and coffee grounds?
Yes, in normal household quantities. An old belief says citrus peel and onions make compost too acidic or drive worms away, but in modest household amounts they break down fine in a mixed pile, and coffee grounds are a good green addition.
What do I do with compost in winter?
Keep adding to it. Decomposition slows in cold weather and may pause in a hard freeze, but it picks up again in spring, and winter additions will be well on their way by planting time. A cover keeps winter rain from waterlogging the pile.
Final Thoughts
Making compost at home is less a technique to master than a habit to settle into. Choose a convenient spot, mix roughly three parts browns to every part greens, keep the pile as damp as a wrung-out sponge, give it air when you remember, and keep meat, dairy, and oils out. Do those few things and the pile does the rest.
Do not wait for the perfect bin or recipe. A simple heap started this weekend with leaves, scraps, and shredded cardboard will teach you more in a month than any amount of reading — and within a season or two your beds will be getting better every year because of it.
[…] experienced vegetable growers use homemade compost as the backbone of that routine, and learning how to make compost at home gives you a free, steady supply made from your own kitchen and garden waste. Well-rotted farmyard […]
[…] nutrients wash out quickly. If you are still building your first heap, our step-by-step guide to how to make compost at home will get you from kitchen scraps to finished compost you can brew with […]
[…] viable weed seeds and sit too hot against stems. Keep it a little away from crowns. Learning how to make compost at home is the skill that unlocks this option, because bought bags for a whole garden add up […]