
Best Mulch for Vegetable Gardens
If you are looking for the best mulch for vegetable gardens, the honest answer is that there is no single winner for every bed, crop, and season — but there are clear right choices for particular jobs. Clean straw around potatoes behaves nothing like black plastic under peppers, and shredded leaves that are perfect for garlic over winter would be a sloppy choice between rows of tiny carrot seedlings. Match the material to the crop and the time of year, and mulch becomes one of the hardest-working tools in the garden.
The benefits are practical, not decorative. Mulch holds moisture so you water less often and more evenly, shades out many weed seedlings, and stops soil splashing onto leaves in heavy rain, which helps reduce some soil-borne diseases. Organic mulches do one more thing inorganic covers cannot: as they break down, they feed soil life and add organic matter.
This guide compares the main organic options one by one — straw, shredded leaves, grass clippings, compost, wood chips, shredded bark, pine straw, and living mulch — then covers timing, crop-by-crop use, the nitrogen question with fresh wood chips, and inorganic options. Timing matters by zone: a mulch that helps in May can hold soil too cold in a cool spring in zones 5–7, while in warmer zones 9–10 it may be what keeps roots alive in August.
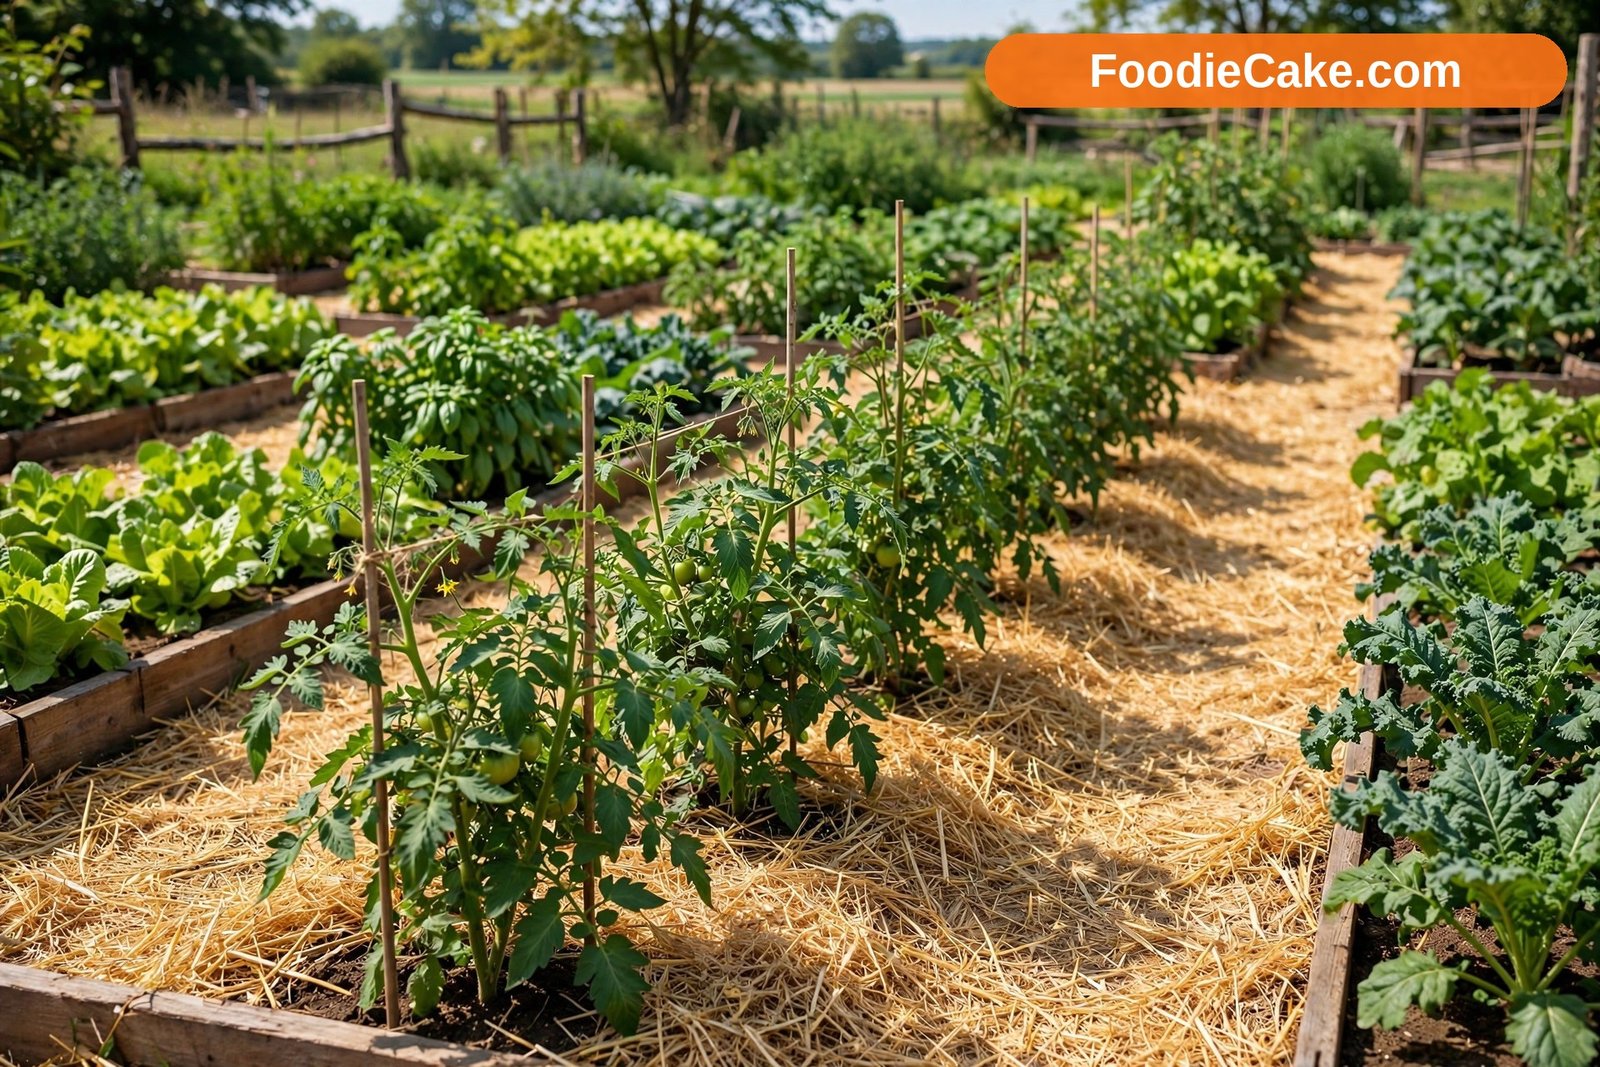
Straw: The All-Round Vegetable Garden Favourite
For many growers, clean straw is the default mulch, and it earns that position. It is light, easy to spread, quick to pull back for planting, and breaks down within a season or two. Around tomatoes, peppers, squash, cucumbers, and potatoes it keeps fruit off damp soil, reduces mud splash, and lets rain soak through.
Apply straw about 3 to 4 inches deep once settled; lay it 4 to 6 inches deep fluffy at first, because it compresses quickly. Keep it a couple of inches away from young stems so air moves and bases stay drier. Around potatoes, use it generously as tops grow, almost hilling with it, which keeps tubers in the dark and harvests cleaner.
Know the difference between straw and hay. Straw is the stalk left after grain harvest and should contain very few seeds; hay is cut forage full of seeds, and using it can sow weeds you will fight for years. Buy from a source you trust, and be cautious with straw from fields where persistent herbicides may have been used, since residues can damage sensitive crops such as tomatoes, peas, and beans.
Shredded Leaves: The Free Mulch Hiding in Autumn
Shredded leaves may be the best-value mulch you ever use: free, available in quantity exactly when beds need covering, and loved by worms. As they decompose they add organic matter and encourage the soil life vegetables thrive on. They suit garlic, overwintering beds, asparagus, and the edges of the vegetable plot around fruit bushes.
The word shredded matters. Whole leaves, especially from maples and similar trees, can mat into a slimy, waterproof sheet that sheds rain and smothers seedlings. Run leaves through a mower with a bag attached, or mow over a pile a few times, and they become crumbly, stay in place, and let water through. Oak leaves are often called too acidic, but as a surface mulch their effect on soil pH is small and temporary for most beds, and they mix happily with other leaves.
Use shredded leaves 2 to 3 inches deep around established vegetables and 3 to 4 inches deep over autumn-planted beds such as garlic. They break down faster than wood chips, so a spring layer will be thin by late summer — that is the material going into your soil, which is the point. In zones 5–7 an autumn layer also protects empty beds from winter erosion; pull it aside in spring to let soil warm, then push it back once plants are up.
Grass Clippings: Useful, Free, and Easy to Misuse
Grass clippings are the mulch most lawn owners already produce, and used well they are excellent around hungry vegetables. They carry nitrogen and other nutrients back to the bed, break down quickly, and feed the soil as they go. Sweet corn, brassicas, squash, and established tomatoes all respond well to them.
The misuse is piling them on thick and fresh. A deep layer of wet clippings compacts into a hot, slimy, smelly mat that excludes air. Spread them thinly instead — about 1 inch at a time — and let each layer dry and settle for a few days before adding more. Over a season you can build 2 to 3 inches in total, layer by layer. Dried or wilted clippings spread far more evenly than fresh ones.
Only use clippings from a lawn not treated with weedkiller or weed-and-feed products, because residues can damage vegetables, and avoid clippings from grass that has gone to seed. Think of them as a feeding mulch to renew, not a set-and-forget cover.
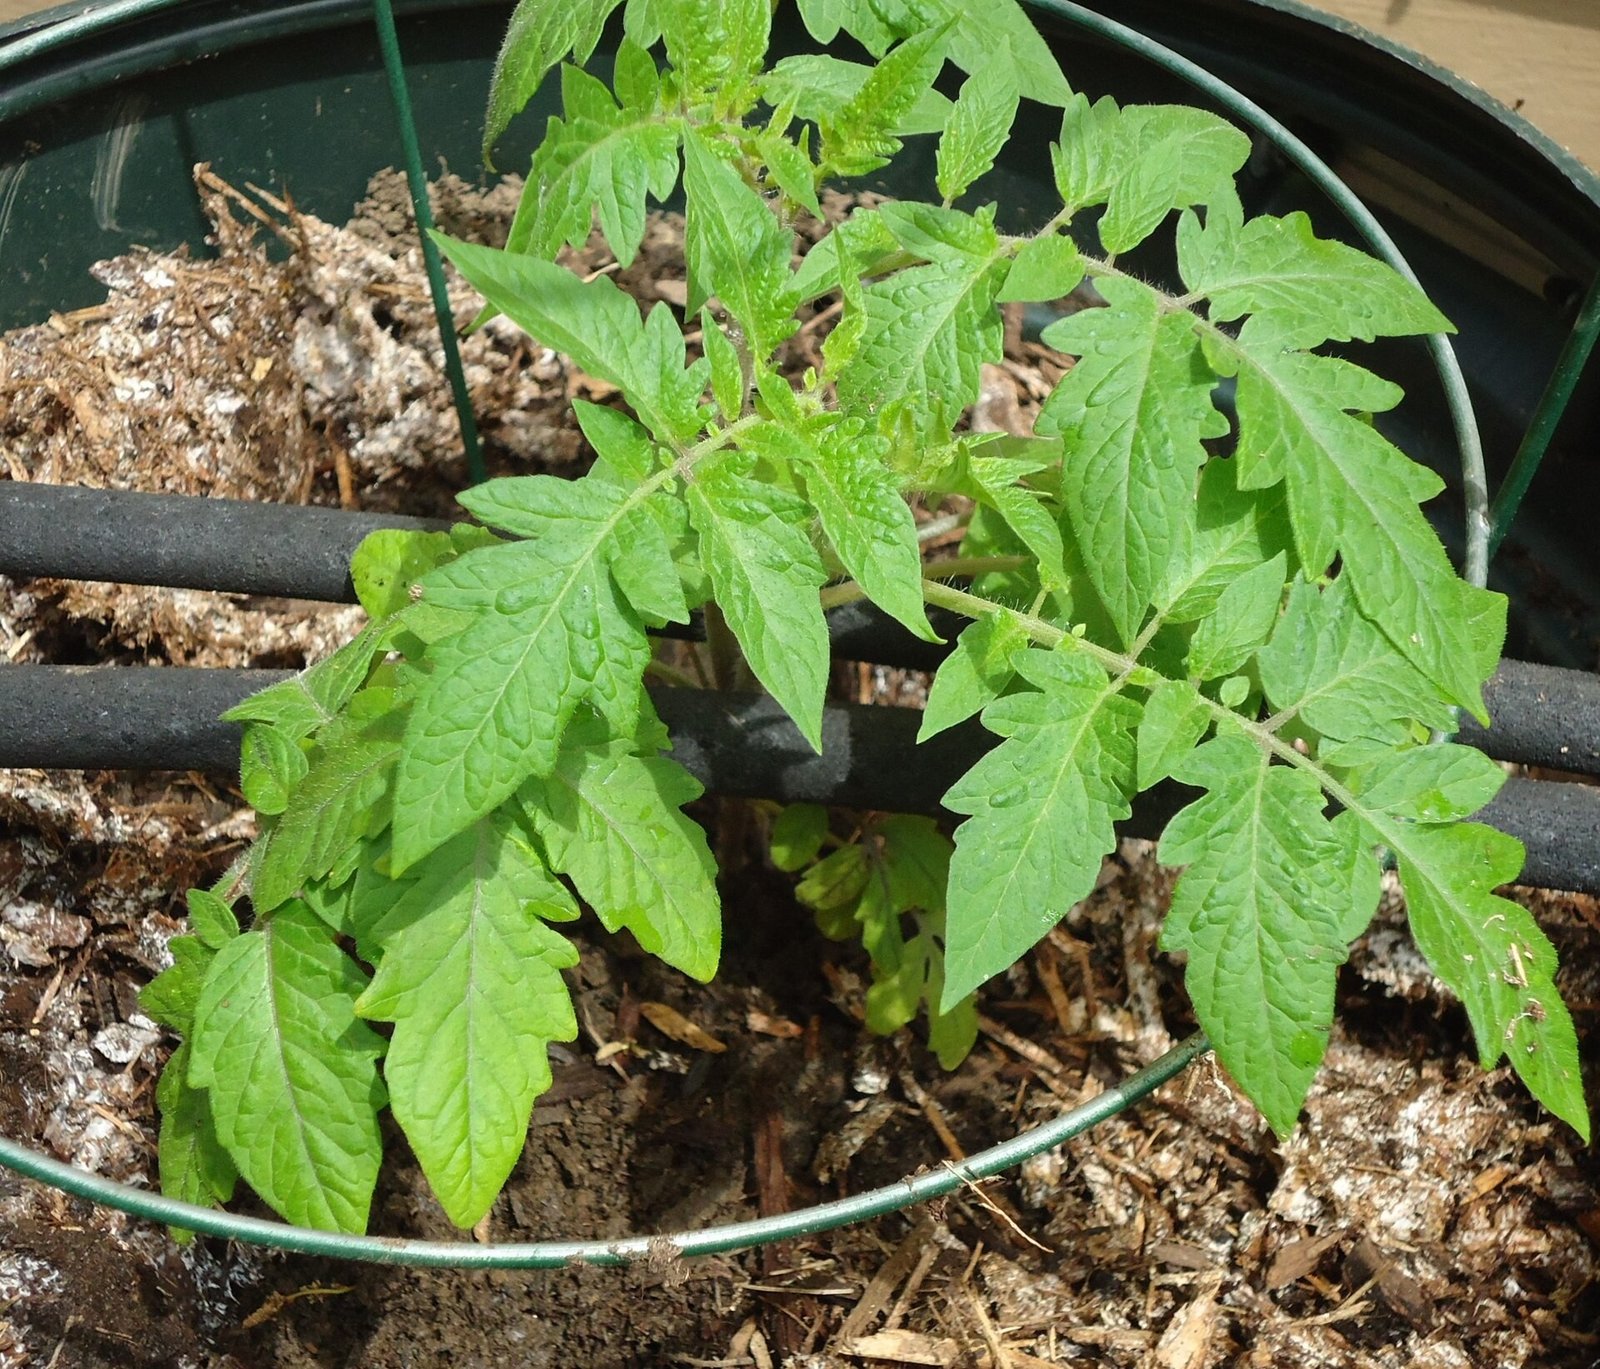
Compost as Mulch: Feeding and Covering in One
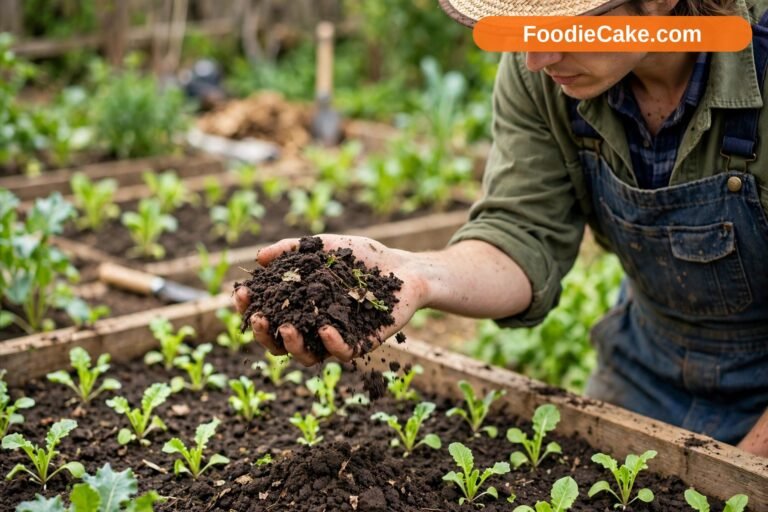
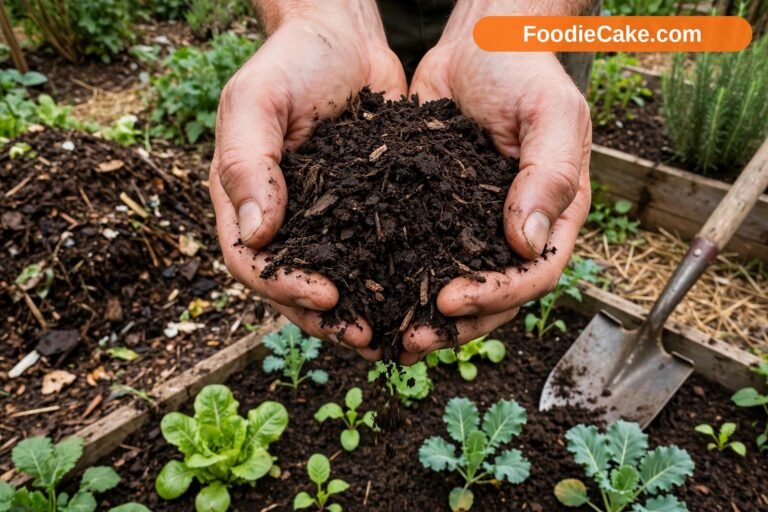
Finished compost spread 1 to 2 inches deep around vegetables suppresses small weeds, holds some moisture, prevents surface crusting, and feeds plants every time rain washes nutrients down to the roots. Around leafy greens, herbs in the vegetable bed, and crops in containers or intensive raised beds, it is often the first choice — dark, crumbly, and already half soil.
It has two honest limits. Compost does not suppress weeds as completely or as long as a thicker, coarser mulch, because wind-blown weed seeds can germinate in it. And good compost is precious: covering every bed 2 inches deep takes a serious heap. Many gardeners therefore use compost as the feeding layer and cap it with straw or shredded leaves — the two-layer approach gives the benefits of both.
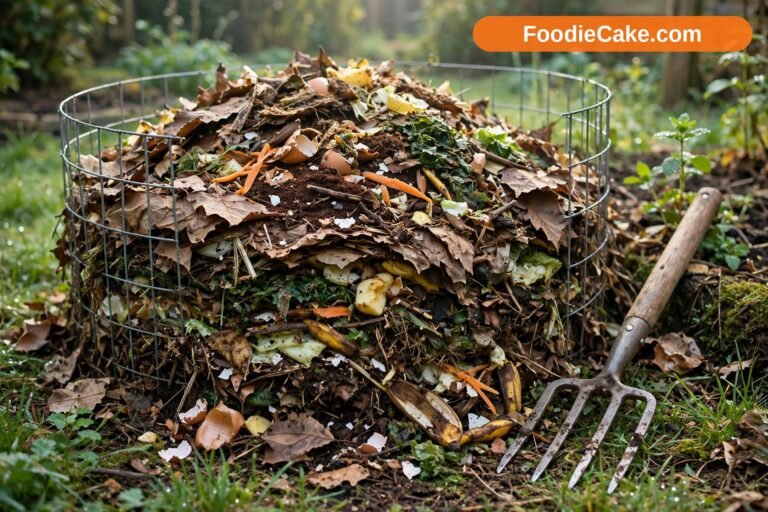
Use only finished compost as a surface mulch: dark, crumbly, earthy-smelling, with the original ingredients no longer recognisable. Half-finished material can contain viable weed seeds and sit too hot against stems. Keep it a little away from crowns. Learning how to make compost at home is the skill that unlocks this option, because bought bags for a whole garden add up quickly.
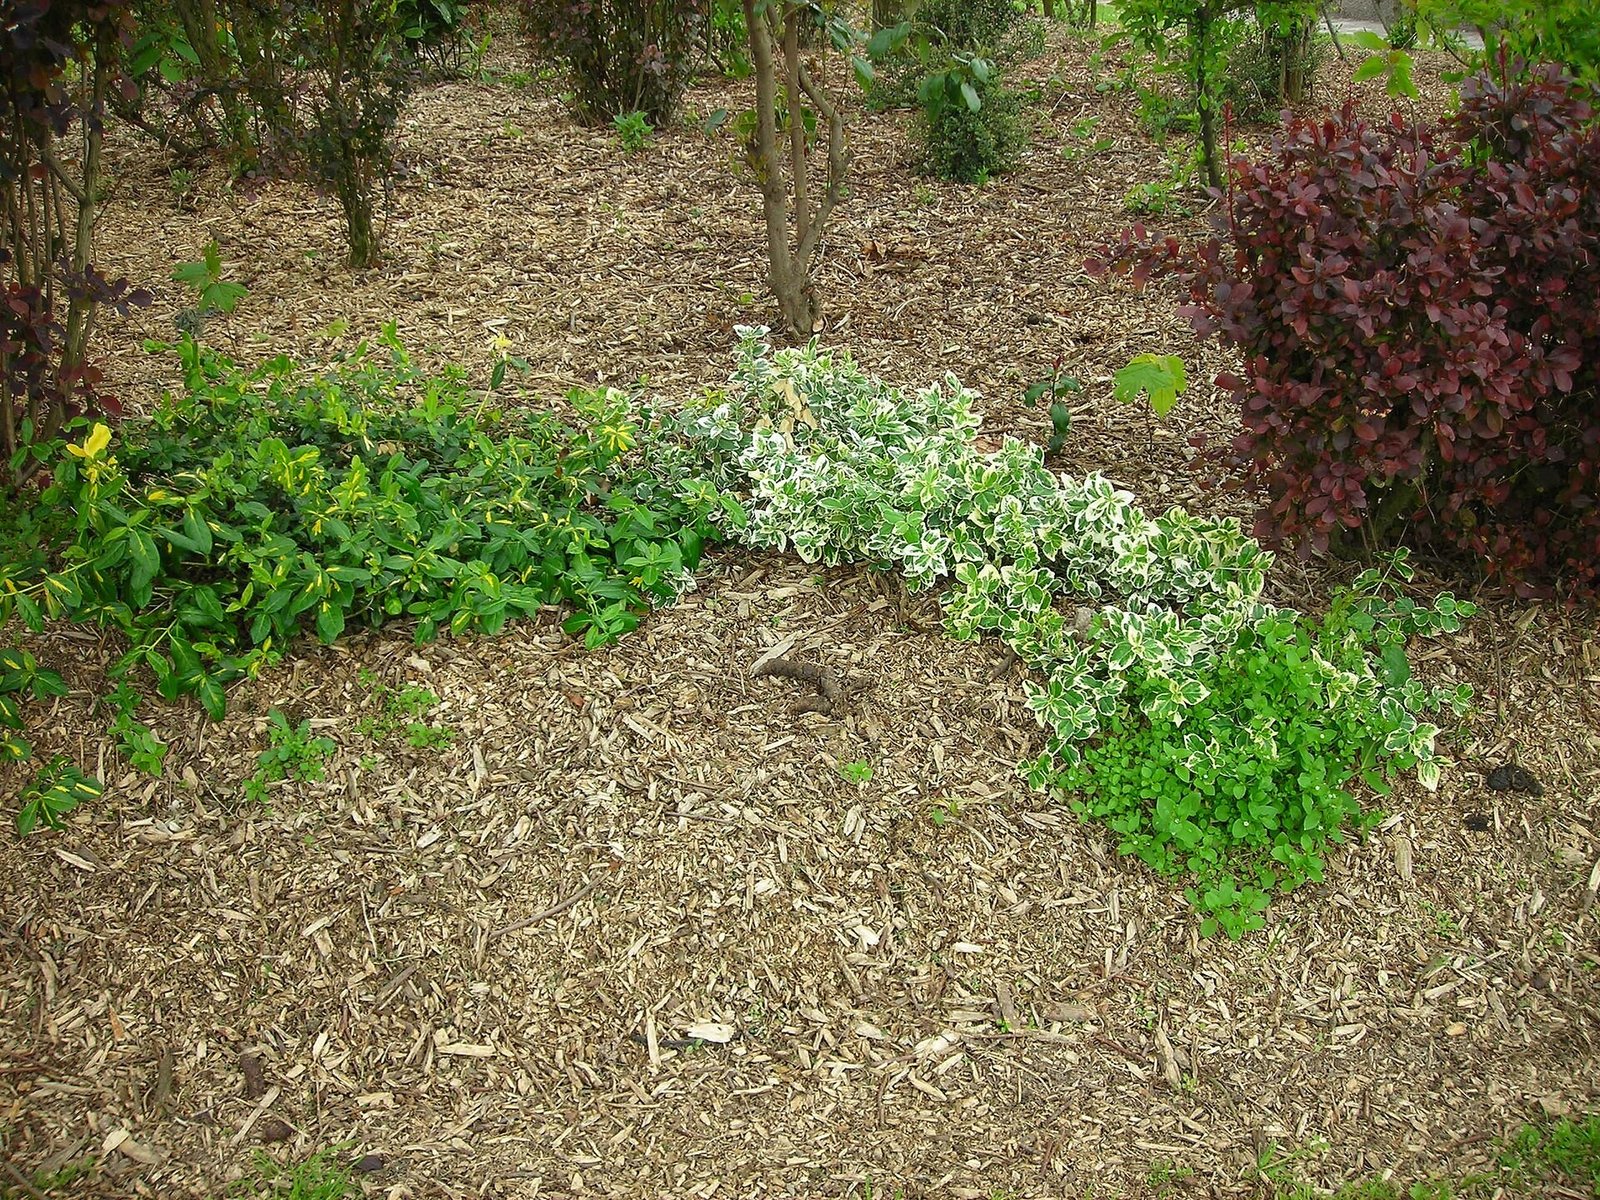
Wood Chips: Best on Paths and Perennial Edges
Wood chips shine on vegetable garden paths and around perennial vegetables such as asparagus and rhubarb and around fruit bushes: durable, tidy, good underfoot, and slow to break down. On annual beds that are dug and re-sown every season they are far less convenient, because chips get mixed into the soil at every planting and linger as woody chunks the following year.
Apply chips 3 to 4 inches deep on paths and around established perennials; at that depth they suppress weeds well and last a year or more before needing a top-up. If you use chips around long-season crops in a no-dig bed, keep them strictly on the surface and rake them aside for the next planting rather than digging them in.
Shredded Bark: Tidy, Durable, and Better for Permanent Plantings
Shredded bark has stringy, interlocking fibres that knit together and stay put on slopes and windy sites where loose chips wander. It looks neat, suppresses weeds well at 2 to 3 inches deep, and lasts longer than straw, leaves, or clippings. It suits the permanent parts of a kitchen garden: fruit trees, herb beds, and ornamental edges.
On annual vegetable beds it shares the drawbacks of chips and adds cost — bagged bark is one of the more expensive mulches per square foot, and it is awkward in beds re-sown several times a year. Large bark nuggets are the least suited to vegetables of all: they roll, leave gaps for weeds, and get in the way of tools. Very dry bark can shed water at first, so water after spreading. Gardeners in warmer zones 8–10 sometimes favour bark around perennial beds because it resists the rapid rot that takes straw and leaves in humid heat.
Pine Straw: A Regional Specialist Worth Knowing
Pine straw — the fallen needles of pines, sold in bales — is a major mulch in the southeastern United States and a curiosity elsewhere. Where it is local, it deserves serious consideration. Needles interlock into a light, airy layer that does not compact, lets water through, and is easy to pull back. Around strawberries it is a traditional favourite, keeping berries clean without trapping damp, and it works well around blueberries.
Spread it about 3 inches deep, fluffed rather than packed, and refresh it once or twice a year. Gardeners worry that pine needles will acidify soil dramatically; in practice the effect of needles as a surface mulch is modest, because by the time the material decomposes its acidity is largely neutralised. If soil is already very acidic, test it rather than blaming the mulch — and getting the best soil for vegetable gardening underneath matters more than the layer on top.
Outside pine regions it can be expensive to ship. In zones 7–9, where pines are common, it is a genuinely good option.
Living Mulch: Cover Crops Between and Beneath Crops
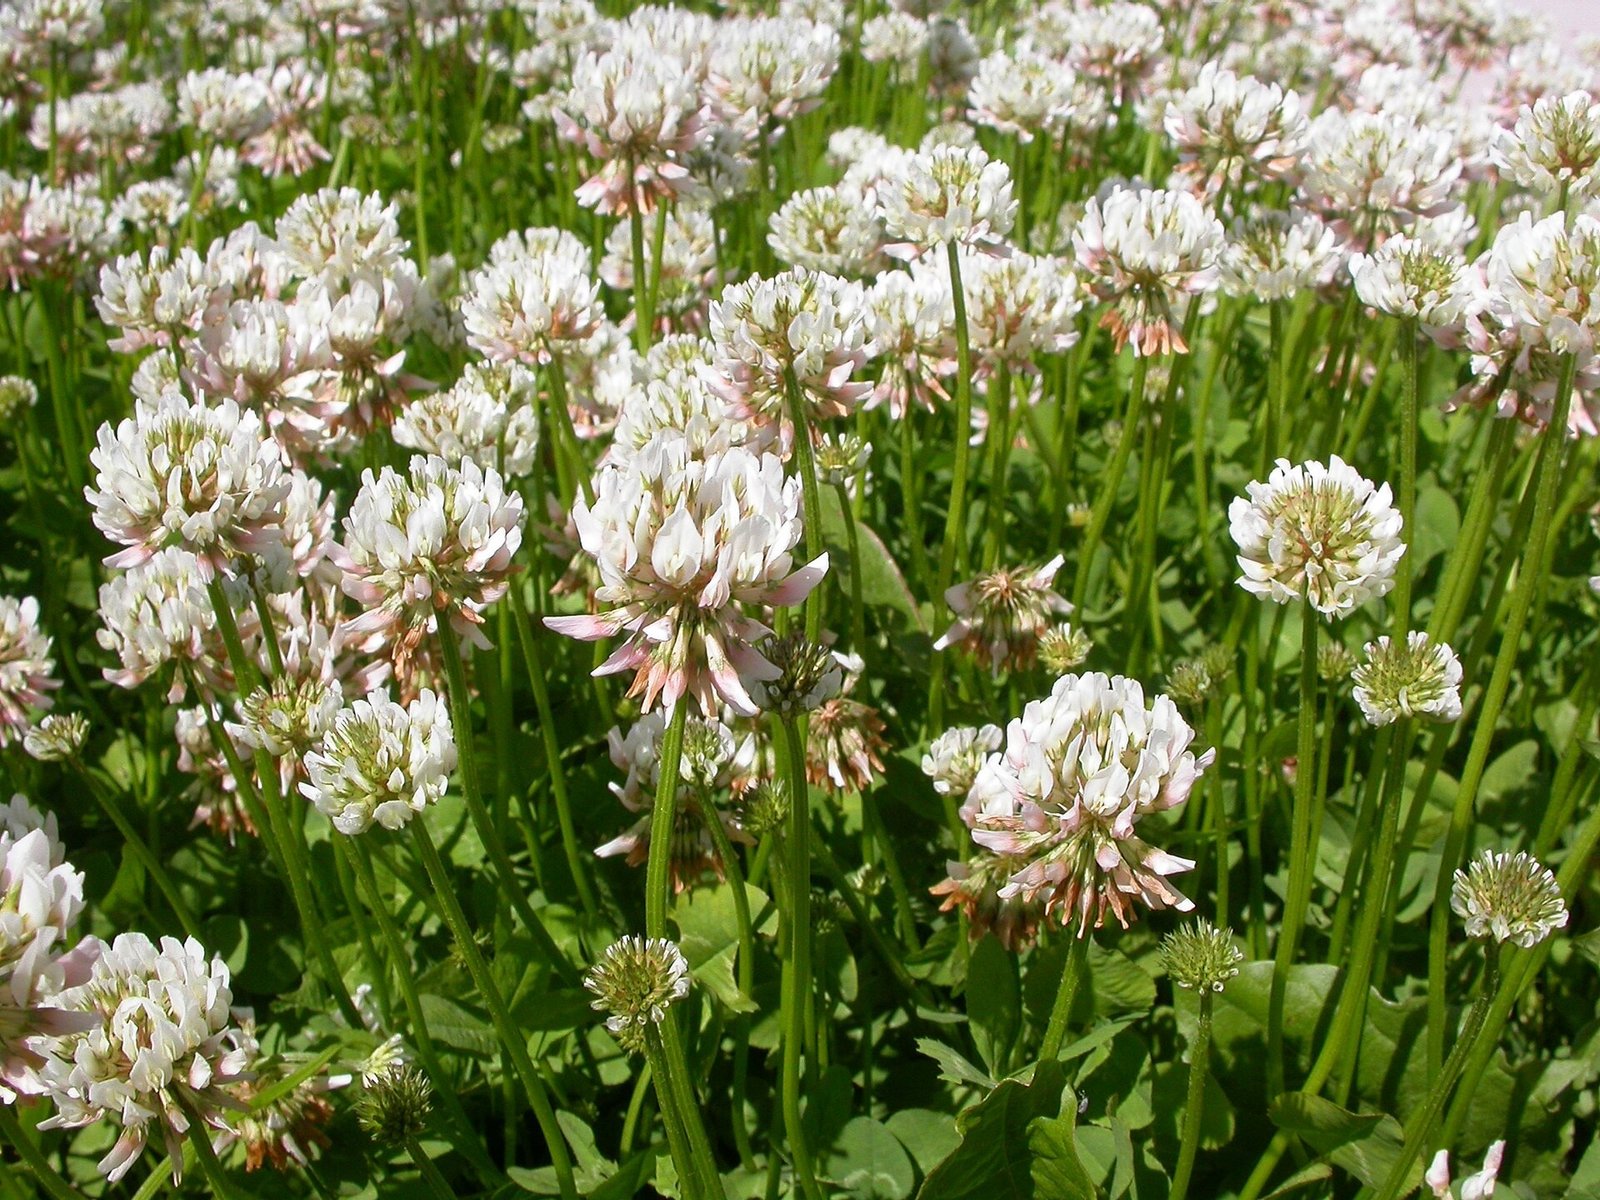
Living mulch means growing a low plant to cover the soil instead of spreading dead material. Low white clover between rows or under tall crops such as sweet corn and brassicas can shade out weeds, protect the surface, fix nitrogen in its roots, and flower for pollinators. On paths, a managed clover cover is a green alternative to wood chips.
It demands honesty about competition. A living mulch drinks water and takes nutrients, so under thirsty crops in a dry summer it can cost you yield if it is not mown, trimmed, or confined to paths. Small crops such as onions, carrots, and lettuce are poor candidates, because the cover can swamp them. The safer pattern is tall, widely spaced crops established first, with the living mulch sown once they are growing.
When to Apply Mulch and How Deep
Timing is where many gardeners go wrong, usually by mulching too early in spring. Soil needs to warm. A thick insulating layer spread over cold soil in zones 5–7 keeps it cold, and tomatoes, peppers, beans, and squash will sit and sulk. The reliable pattern is to let the soil warm, plant, let crops establish, then mulch — often two to three weeks after transplanting, when plants are several inches tall and the soil feels warm to a hand pushed in to the wrist.
Cool-season crops are the exception. Lettuce, spinach, peas, and brassicas in a hot spell benefit from mulch sooner, because their problem is heat, and a pale mulch such as straw keeps roots cooler. Garlic is mulched right after autumn planting for winter protection.
Depth depends on texture. Fine materials such as compost and dried clippings pack down, so 1 to 2 inches is enough and more can smother. Shredded leaves and straw want 2 to 4 inches settled. Wood chips on paths want 3 to 4 inches. Keep every mulch a few inches from stems, in a shallow doughnut rather than a volcano, and top up a thinning layer in midsummer.
Mulch Around Different Crops: A Crop-by-Crop Guide
Tomatoes, peppers, and eggplants want warm soil first, then mulch. Wait until plants are established and soil is thoroughly warm, then apply straw, shredded leaves, or compost capped with straw at about 3 inches. In cooler zones 5–6, dark plastic is sometimes used for peppers specifically to gain heat, as discussed below.
Cucumbers, squash, and melons benefit once vines start to run: mulch keeps fruit clean and holds the steady moisture they demand. Potatoes take straw generously, topped up as they grow. Carrots are trickier — mulch between rows once tops are a few inches high, but keep the seed row bare until germination is complete. Lettuce prefers a fine mulch of compost or finely shredded leaves between plants.
Garlic, onions, and shallots want mulch for winter and weed control, but dislike wet necks near harvest, so pull garlic mulch back slightly as harvest approaches. Brassicas are unfussy — clippings, leaves, or straw all suit them. Sweet corn appreciates almost any mulch and is one of the best crops for trying living mulch beneath it once the corn is knee-high.
The Nitrogen Drawdown Question with Fresh Wood Chips
This concern is real but often stated wrong. When fresh wood chips are mixed into soil, the microbes decomposing the wood need nitrogen and can temporarily take it from the surrounding soil, leaving plants short. That drawdown happens mainly where chips and soil meet and mix.
The key word is mixed. Chips laid on the surface decompose at a very thin interface, and long experience shows surface-applied chips do not meaningfully starve established plants with roots below that zone. Trouble starts when fresh chips are dug into a bed in quantity and vegetables are planted straight into the mixture; then drawdown happens throughout the root zone and young plants can yellow and stall.
So: use chips on the surface of paths and perennial plantings without worry, do not dig fresh chips into annual beds, and if chips are mixed in by accident, a nitrogen feed such as compost or a balanced organic fertiliser will carry crops through. Aged chips, piled for six months to a year, are less of a concern than fresh ones in every respect.
Inorganic Options: Plastic, Fabric, and Stone, Honestly Assessed
Black plastic warms soil early, suppresses weeds completely, and is widely used for peppers, melons, and tomatoes in cool zones 5–6 where heat limits the crop. Its costs are real: it must be removed at season’s end, water reaches plants only through planting holes or drip lines beneath it, soil life under it gets no organic food, and it adds plastic waste to the garden. Coloured plastics are marketed with strong yield claims; weigh the extra cost cautiously against simply timing your planting well.
Landscape fabric suits permanent paths better than annual beds, where soil builds up on it, weeds root into it, and it eventually has to be dug out. Stone and gravel suit Mediterranean herbs in hot, dry gardens, but in vegetable beds they heat roots in zones 9–10, feed nothing, and are miserable to remove. For most gardens, organic mulch is the better default.
Practical Tips for Mulching Vegetable Gardens
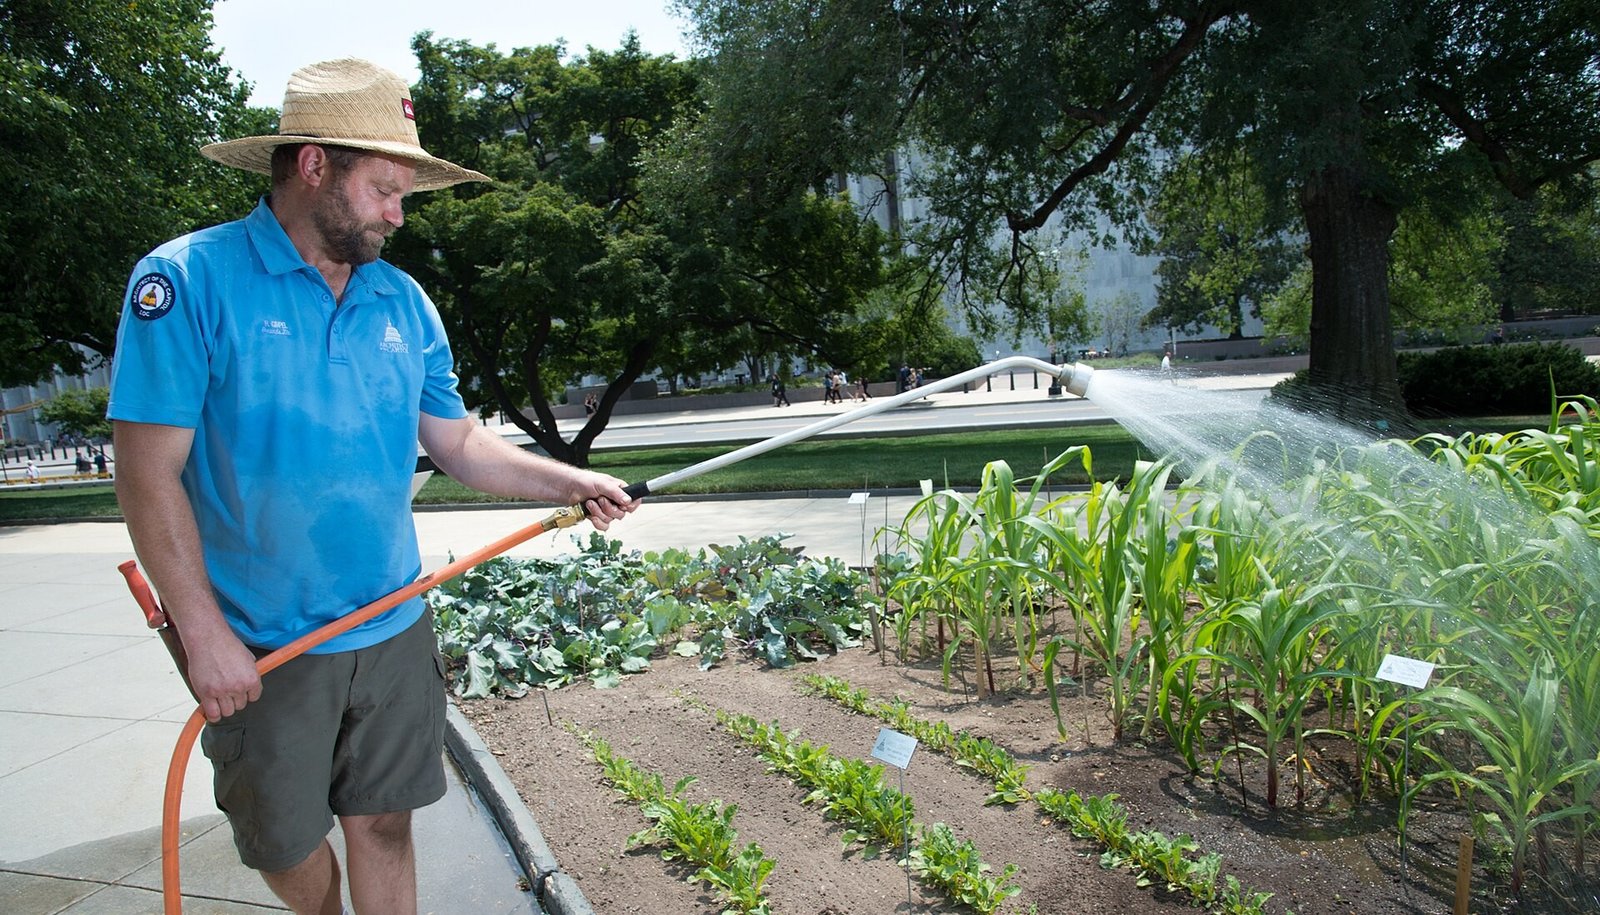
Mulch after rain or watering, when the soil is already moist. Mulch preserves the moisture in the ground; spread thickly over dry soil ahead of a light shower, it can intercept much of that rain before it reaches the roots. Water first, then cover, then check a day later with a finger under the mulch.
Keep a mulch store — a bay of straw, a leaf bin filled in autumn, ageing chips for paths — so the right material is on hand the moment a bed is ready. Pull mulch back briefly for sowing and liquid feeding, then replace it; seeds sown under mulch fail, and feed poured onto thick mulch is largely wasted.
Watch for slugs where the climate is wet and mulch is thick, especially around lettuce and young transplants. Mulch after transplants are sturdy, keep it back from stems, and remove slugs by hand after rain when pressure is worst. If you can see bare soil between plants in midsummer, the mulch needs topping up — bare soil in July is water leaving and weeds arriving.
Common Mistakes When Mulching Vegetables
Mulching too early in spring is the classic error. Cold soil under a fresh blanket stays cold, transplants stall, and seeds can rot. Wait for warmth for summer crops.
Piling mulch against stems, the mulch volcano, causes rot at the crown and gives pests a damp bridge to the plant. Leave a small clear ring around every stem. Using the wrong material in the wrong place causes most other problems: seed-filled hay on a clean bed, fresh clippings dumped six inches thick, fresh chips dug into a seedbed, whole leaves smothering seedlings. None of these are arguments against mulch — they are arguments for matching material to job.
Finally, do not mulch a weedy bed and hope. Mulch suppresses seedlings; it does not kill established bindweed, couch grass, or docks, which grow straight through. Weed the bed properly first, then mulch to keep it that way.
Frequently Asked Questions
What is the best all-purpose mulch if I can only buy one?
Clean straw is the safest single purchase for most vegetable gardens. It suits many crops, is easy to apply and remove, suppresses weeds and mud splash, and breaks down within a season. If you have abundant free leaves in autumn, shredded leaves rival it at no cost.
How deep should mulch be in a vegetable garden?
As a guide, 1 to 2 inches for fine materials such as compost and dried grass clippings, 2 to 3 inches for shredded leaves, and 3 to 4 inches settled for straw and for wood chips on paths. If weeds push through easily it is too thin; if small plants look buried, pull some back.
Will wood chips steal nitrogen from my vegetables?
Only meaningfully if fresh chips are dug into the soil in quantity. On paths or around established perennials, chips decompose at the surface and do not starve roots below. Keep fresh chips out of annual beds, and add a nitrogen feed if chips get mixed in by accident.
Can I mulch straight after sowing seeds?
Not over the seed row. Seeds need warmth and direct soil contact, and most seedlings cannot push through mulch. Leave the row bare until seedlings are a few inches tall, then tuck mulch between the rows. Large transplants, by contrast, can be mulched the same day once the soil is warm enough.
Is black plastic better than organic mulch?
It is better at one job: warming soil and blocking weeds completely for heat-loving crops in cool climates. It is worse for soil health, sheds water unless irrigation is laid beneath it, and must be removed and disposed of. Most home gardens do better with organic mulch as the default and plastic as an occasional tool.
Final Thoughts
The best mulch for your garden is the one that fits the crop in front of you, the season you are in, and the materials you can get without spending a fortune — straw for most fruiting crops, shredded leaves saved from autumn, compost where feeding matters most, clippings in thin layers, and chips kept to paths and perennials. Start with one well-weeded, well-watered bed, mulched at the right depth at the right moment, and compare its watering and weeding needs with a bare neighbour. That comparison, in your own soil, will teach you more than any ranking.
2 Comments