Best Natural Remedies for Yellow Leaves on Plants
The short answer: yellow leaves are a symptom, not a diagnosis — so look before you treat. Check where the yellowing starts (old leaves or new), how the leaf yellows (all over, or yellow between green veins), and whether the soil is wet or dry. Most cases come back to watering, drainage, or feeding, in that order. Fix the cause first, and the plant will usually answer with fresh green growth within a couple of weeks — even though the yellow leaves themselves rarely turn green again.
Few things worry a gardener faster than a plant that was green last week and is turning yellow this week. It feels urgent, and the instinct is to do something — feed it, spray it, water it more — right away. Resist that urge for a day. The wrong remedy can make the real problem worse: feeding a plant with drowning roots just adds salts to soil it cannot use, and watering a hungry plant more only keeps it hungry.
The good news is that most of the remedies are simple, cheap, and already in your garden shed. They start with looking closely, because a plant yellowing from too much water needs the opposite treatment from one yellowing from hunger. This guide works like a detective casebook: read the pattern first, match it to a cause, and only then reach for the fix.
The 60-Second Leaf Check
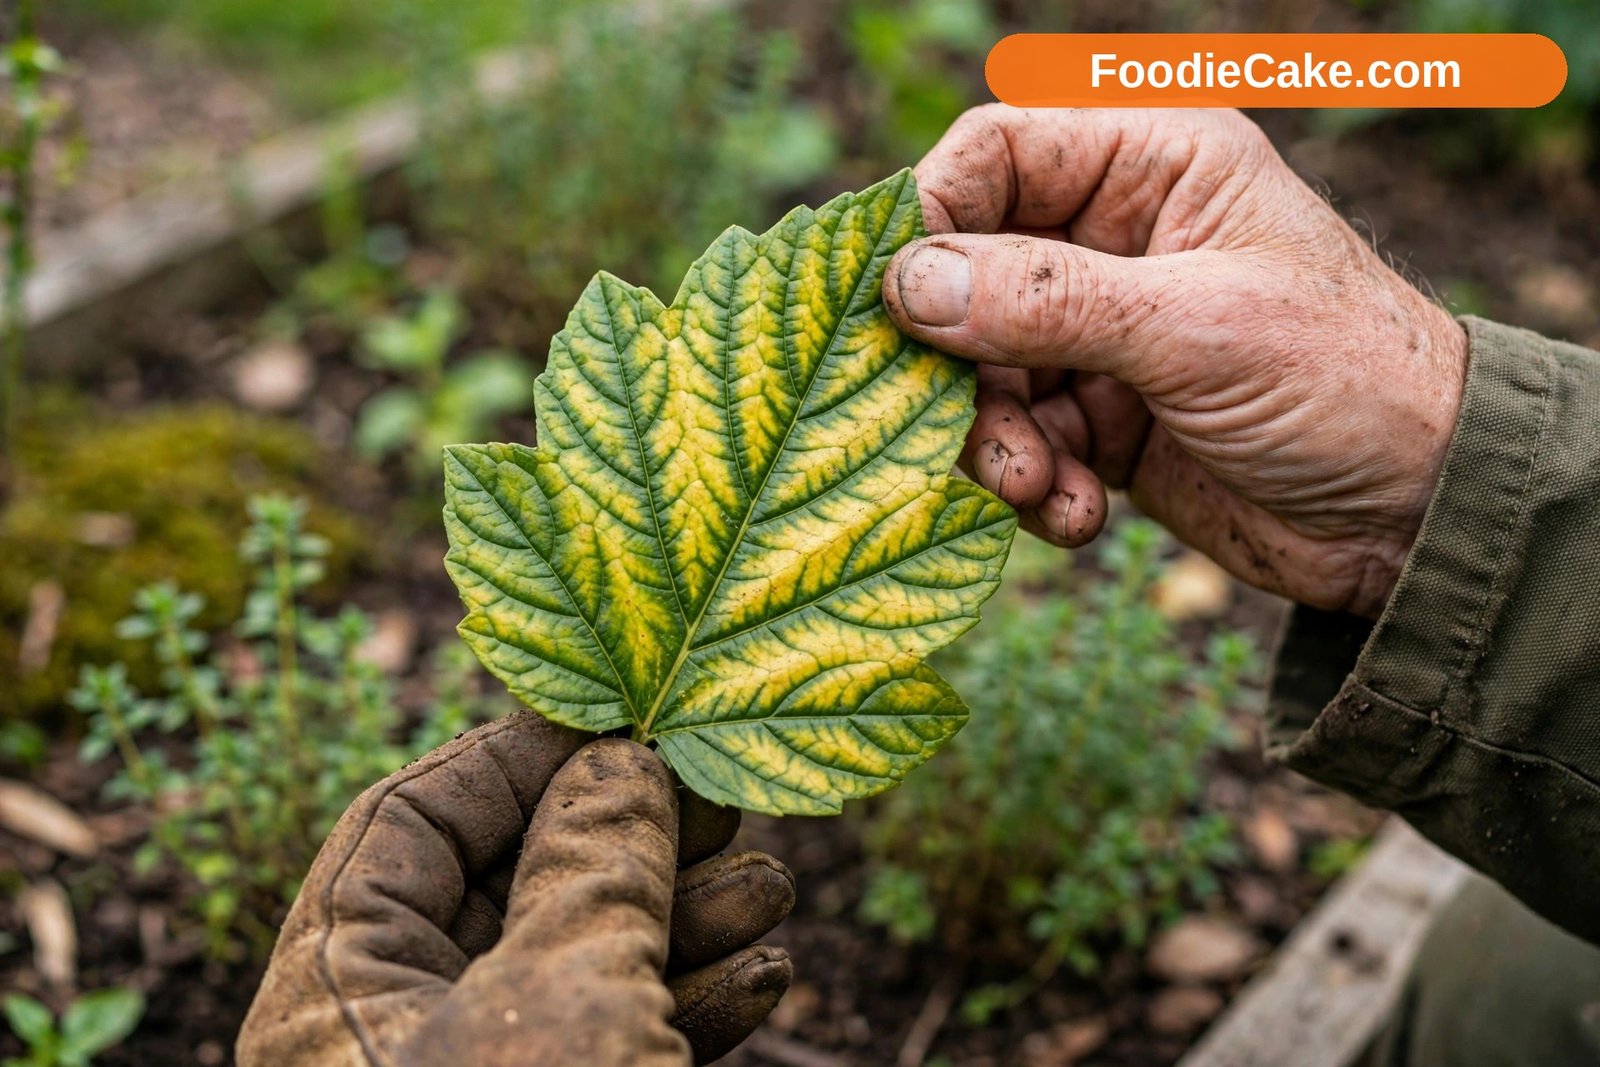
Before anything else, spend one minute with the plant itself. Push a finger or a wooden skewer down a few inches into the soil. Is it soggy, dry, or somewhere in between? Lift the pot if there is one; a waterlogged pot is noticeably heavy. Sniff the soil as well — a sour, stagnant smell is a strong hint that roots are sitting wet and struggling for air. Five minutes of this detective work saves weeks of treating the wrong problem.
Then read the pattern on the leaves. This little table covers most of what you will see at home:
| What you see | Most likely cause | Go to |
|---|---|---|
| Oldest, lowest leaves yellow first; new growth stays green | Nitrogen shortage — the plant pulls nitrogen from old leaves to feed new ones | Case 3 |
| New leaves emerge yellow while older leaves stay green | Iron or another nutrient the plant cannot move around — often a soil pH problem, not a true shortage | Case 4 |
| Yellow tissue between green veins (interveinal chlorosis) | Iron on young leaves; magnesium on older leaves | Case 4 |
| Leaves yellow, soft and limp, in wet soil; sour smell | Overwatering and poor drainage; roots suffocating | Case 1 |
| Leaves yellow, then brown and crisp from the edges inward, in dry soil | Underwatering | Case 2 |
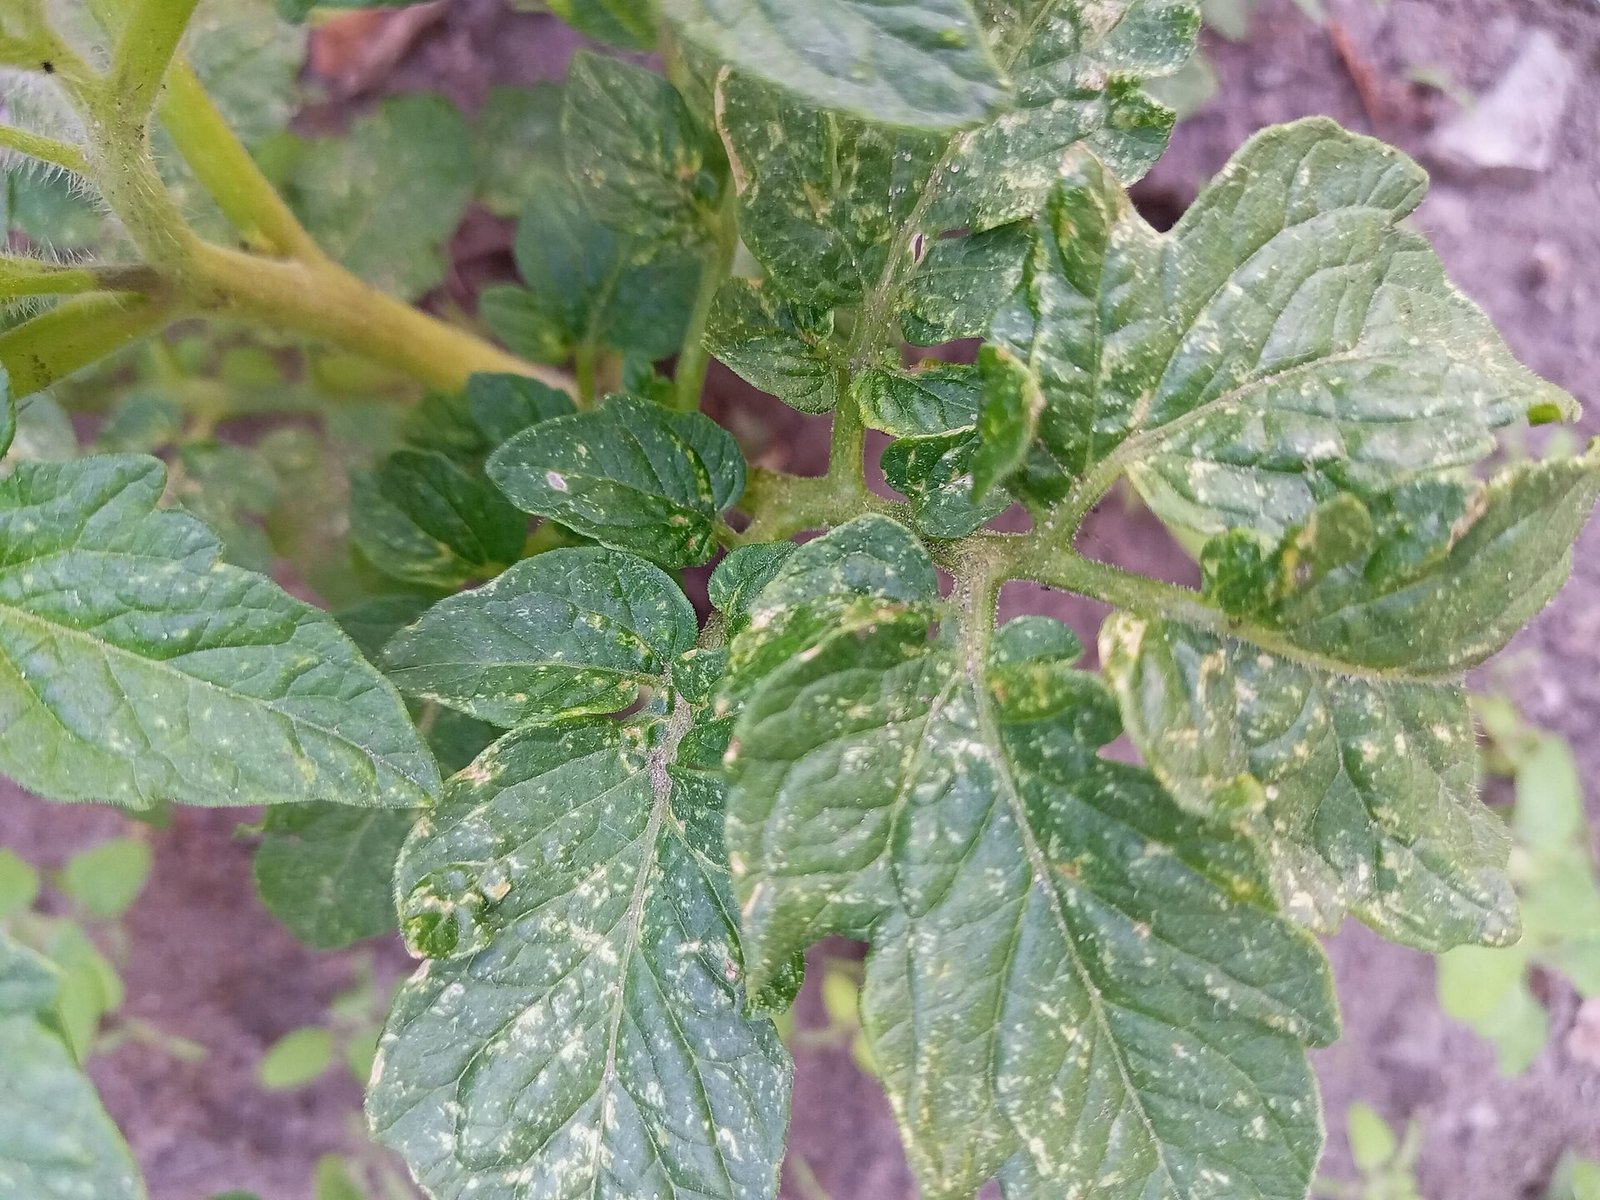
| Fine yellow speckling or bronzing, worst on leaf undersides, with delicate webbing | Spider mites in hot, dry conditions | Case 5 |
| Pale, leggy growth stretching toward light; lower leaves yellowing and falling | Too little light | Case 5 |
| One or two old leaves yellowing while new growth looks healthy | Probably normal shedding — no treatment needed | See “When Yellow Leaves Are Not a Problem” |
Work through the cases below in order. Most yellowing in home gardens comes from watering, drainage, or feeding, in that order, and most plants recover with fresh green growth once the cause is corrected.
Case 1 — Too Much Water: The Kindness That Kills
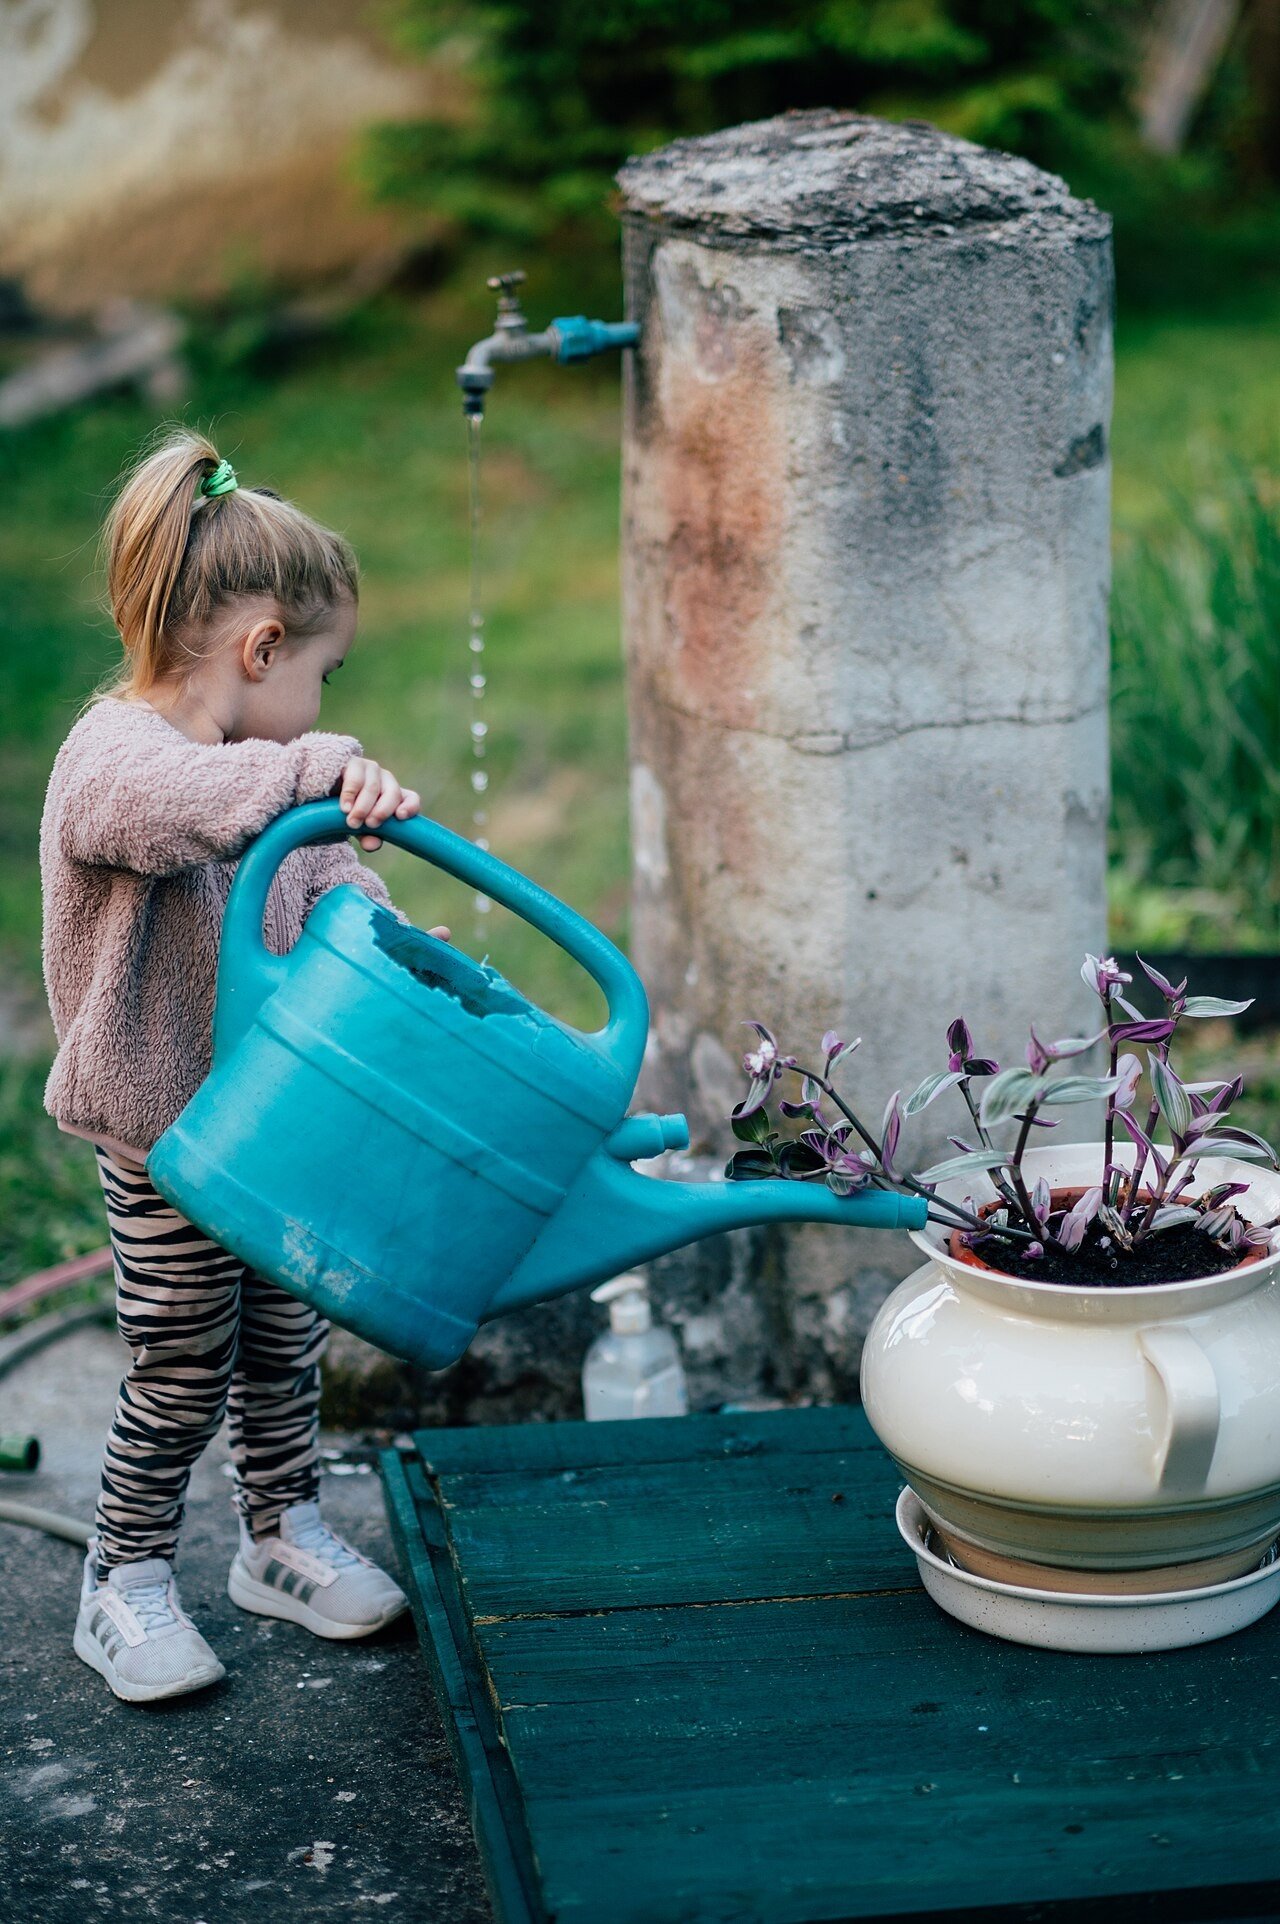
More houseplants and container plants are killed by kindness than by neglect. Roots need oxygen as well as water, and in constantly wet soil they suffocate and begin to rot. A plant with damaged roots cannot take up water or food properly, so, confusingly, an overwatered plant often looks thirsty and yellow at the same time. Lower leaves yellow and drop, growth stalls, and the soil surface may grow algae or attract fungus gnats.
The natural remedy is not a product; it is a correction. Stop watering and let the soil dry to the depth that plant prefers — for most vegetables and flowers, the top inch or two dry between waterings. Check that pots actually drain: empty saucers after watering, clear blocked holes, and raise pots slightly so water can escape. For plants in the ground in heavy clay, work compost into the surrounding soil over time and avoid watering on a fixed schedule during cool, wet spells. In zones 5–7, spring soil stays cold and wet for a long time, so yellowing seedlings there are often simply waiting for warmer, better-drained conditions.
If a potted plant smells sour and its roots are brown and mushy through the drainage hole, repot it into fresh, free-draining mix, trimming away rotted roots with clean scissors. Then leave it alone for a while. Recovery from wet roots is slower than recovery from thirst, because the plant has to grow new roots before it can feed itself properly again. Do not feed it while it recovers — a plant that cannot take up nutrients will only sit in salty soil.
Case 2 — Too Little Water: Dry, Crispy, and Thirsty
Underwatering produces its own pattern. Leaves yellow, then turn brown and crisp from the edges inward, and the whole plant may wilt in the heat of the day. The soil pulls away from the sides of the pot, and water poured on top runs straight through the gap without wetting the root ball. Unlike an overwatered plant, an underwatered one usually perks up visibly after a deep drink, which is a useful clue when you are unsure which case you are looking at.
Fix this by watering deeply and slowly. For pots, set the whole pot in a basin of water for twenty to thirty minutes so the mix rehydrates from below, then drain it fully. For beds, water in the morning, give a long drink rather than a daily sprinkle, and mulch the surface once the soil is moist. Shallow daily watering trains shallow roots, which then suffer more in every hot spell, so retraining the plant with deeper, less frequent watering is the real long-term remedy. In warmer zones 9–10, containers on a sunny patio may genuinely need water daily in midsummer, and a yellowing, crispy plant there in August is thirsty until proven otherwise.
Case 3 — The Plant Is Hungry: Pale From the Bottom Up
Nitrogen drives leafy green growth, and a shortage shows as a general paleness that starts on the oldest leaves and creeps upwards. Plants look washed out, growth slows, and lower leaves may drop after turning fully yellow. Fast-growing crops like sweet corn, brassicas, and leafy greens show it first, as do hungry container plants that have used up the food in their compost.
Feed naturally and steadily. Well-rotted compost worked in as a mulch, a side-dressing of compost around the plant, or a liquid feed made from compost or well-rotted manure gives nitrogen in a gentle, slow form. Among the best natural fertilizers for plants, blood meal is one of the quickest organic nitrogen sources for a plant that needs help now, used sparingly and watered in. Avoid the temptation to overdo it: a sudden heavy feed can scorch roots and produces soft, sappy growth that aphids love. Little and often wins — and if you are not sure the plant is hungry rather than wet, check the soil first, because feeding a drowning plant is the single most common way a small problem becomes a dead plant.
Case 4 — Yellow Between Green Veins: Iron, Magnesium, and the pH Trap
When young leaves turn yellow or almost white between green veins, think iron chlorosis. The tricky part is that iron may be present in the soil but unavailable — especially in alkaline soil with a high pH, in waterlogged soil, or after heavy liming. Blueberries, azaleas, rhododendrons, and other acid-loving plants are frequent sufferers when planted in soil that is not acidic enough for them, and many garden plants struggle in very chalky ground. University of Illinois Extension makes the same point: most often the issue is not a lack of iron in the soil but the pH of the soil — if the pH is too high, it limits the iron’s availability to the plant.
Iron and magnesium both cause yellowing between the veins, but they strike different leaves. This table tells them apart:
| Iron shortage | Magnesium shortage | |
|---|---|---|
| Which leaves? | Young, new leaves first | Older leaves first |
| Pattern | Yellow tissue between green veins; severe cases turn almost white | Yellow between veins, sometimes with reddish or purple tints |
| Common where? | Alkaline or chalky soil, waterlogged soil, after heavy liming; acid-lovers in the wrong soil | Light, sandy soils and heavily cropped beds; excess potassium can lock magnesium out |
| Usual garden examples | Blueberries, azaleas, rhododendrons | Tomatoes and peppers |
| Fastest fix | Chelated iron feed, watered or sprayed on as the packet directs | Epsom salt — but only if magnesium is really the problem (see below) |
| Long-term fix | Test soil pH; add compost and organic matter; use acidic mulches like pine bark around acid lovers; avoid lime or fresh wood ash near them | Soil test; dolomitic limestone adds magnesium slowly to acidic soil; regular compost dressings supply some too |
A chelated iron feed, watered or sprayed on according to the packet, is the fastest honest remedy for iron chlorosis, because the chelate keeps the iron available to the plant. For a longer-term fix, work on the soil: add compost and other organic matter, use acidic mulches like pine bark around acid lovers, and avoid adding lime or fresh wood ash near them. Liquid seaweed often helps mildly chlorotic plants along, as it supplies a broad range of trace elements in small amounts, though it will not correct a severe iron lock-up on its own. Test your soil pH if chlorosis keeps returning; guessing at pH year after year wastes more money than one simple test. Illinois Extension’s advice is the same: take a professional soil test, correct the pH to below 7 so iron becomes available, improve the soil with compost, and use iron chelate only as the fast, short-lived response. You can read their full guidance in their iron chlorosis article, and Utah State University Extension explains the same pattern — and which species to avoid planting in alkaline soil — in its guide to iron chlorosis symptoms, causes and solutions.
Magnesium deserves its own honest caveat, because this is where Epsom salt — magnesium sulfate — is often recommended, and the honest answer is that it helps only when magnesium really is the problem. If your soil already has plenty of magnesium, adding more does nothing for yellow leaves and can unbalance other nutrients. If you have good reason to suspect magnesium shortage — the pattern on older leaves, a soil test, light sandy soil — dissolve about a tablespoon in a gallon of water and apply it to the soil or as a foliar spray once, then watch for new growth improving over the following weeks. Use Epsom salt as a targeted remedy, not as a routine tonic for every plant that looks sad.
Case 5 — Light, Pests, and Other Suspects
Not every yellow leaf is about food or water. Two other suspects are worth checking before you buy anything.
A plant short of light grows pale, leggy, and weak, stretching thin stems towards the nearest window or gap in the canopy while its lower leaves yellow and fall. Seedlings on a windowsill in late winter are classic cases, especially in zones 5–7 where days are short when sowing season starts. The remedy costs nothing: move the plant gradually into brighter conditions, rotate pots weekly so all sides get a turn, and thin or prune neighbours that are casting unwanted shade in the border. Too much harsh light can also bleach leaves, particularly when a plant raised indoors is moved straight into full summer sun. Leaves develop pale, papery patches on the most exposed side. Harden plants off over a week or so, increasing sun exposure a little each day, and most will toughen up and colour normally.
Then there are the pests. Spider mites — tiny sap-suckers that thrive in hot, dry conditions — cause a fine yellow speckling or bronzing, often worst on the undersides of leaves, with delicate webbing when numbers build up. Aphids and whitefly can also yellow leaves by draining sap and coating them in sticky honeydew, which then grows sooty mould.
Start with water. A strong jet from the hose, aimed at the undersides of leaves every few days, knocks mites and aphids down remarkably well. Follow with insecticidal soap spray if needed, applied thoroughly to leaf undersides in the cooler part of the day, and repeat as the label directs because eggs survive. Encourage the predators that do this job for free — ladybirds, lacewings, and hoverflies — by avoiding broad sprays and keeping some flowers nearby. Raise humidity around houseplants by grouping them or standing pots on a tray of wet pebbles, since mites dislike humid air.
The Recovery Shelf: What Actually Helps After You Fix the Cause
Once the main cause is fixed, a few gentle remedies help a plant rebuild. Compost tea — compost steeped in water and strained — watered around the roots gives a mild feed plus a dose of soil life. Liquid seaweed is a useful general tonic during recovery, applied diluted every couple of weeks. Neither replaces a proper feed for a hungry plant, but both support steady, green regrowth.
Work at the soil level for lasting results. Plants feed through their roots, and roots thrive in soil rich in organic matter that drains freely yet holds moisture. If you keep returning to yellowing problems bed after bed, learning how to improve garden soil naturally will do more for next season than any bottle. Mulch after feeding and watering to keep that improved soil moist and cool, and let earthworms pull the goodness down for you.
Coffee grounds deserve an honest mention too. Used in thin layers as part of a mulch or added to the compost heap first, they contribute a little nitrogen and organic matter, and that is a fine use for them. But they are not a quick cure for yellow leaves, they are mildly acidic at most once brewed, and thick, compacted layers of fresh grounds on the soil surface can repel water and slow young plants. Compost them, or sprinkle them thinly and mix them in — moderation makes them a help rather than a hindrance.
When Yellow Leaves Are Not a Problem at All
Sometimes yellow is not a problem at all. Plants naturally shed their oldest lower leaves as they grow, especially tall crops like tomatoes and brassicas once the canopy closes. Evergreens drop a portion of their older inner leaves in spring or autumn. Many perennials yellow and die back as they enter dormancy, and autumn colour is, of course, yellowing by design in deciduous plants. A plant that is producing healthy new green growth while losing an occasional old leaf at the base is usually just getting on with its life.
Seasonal shedding also follows stress events that have already passed. A plant that dried out badly on holiday may drop the damaged leaves a week after you rescue it. Judge the plant by its new growth and overall vigour, not by a handful of yellow leaves alone. If the new leaves are coming through green and the plant is growing, the yellow leaves are history, not a diagnosis.
Removing Yellow Leaves Without Hurting the Plant
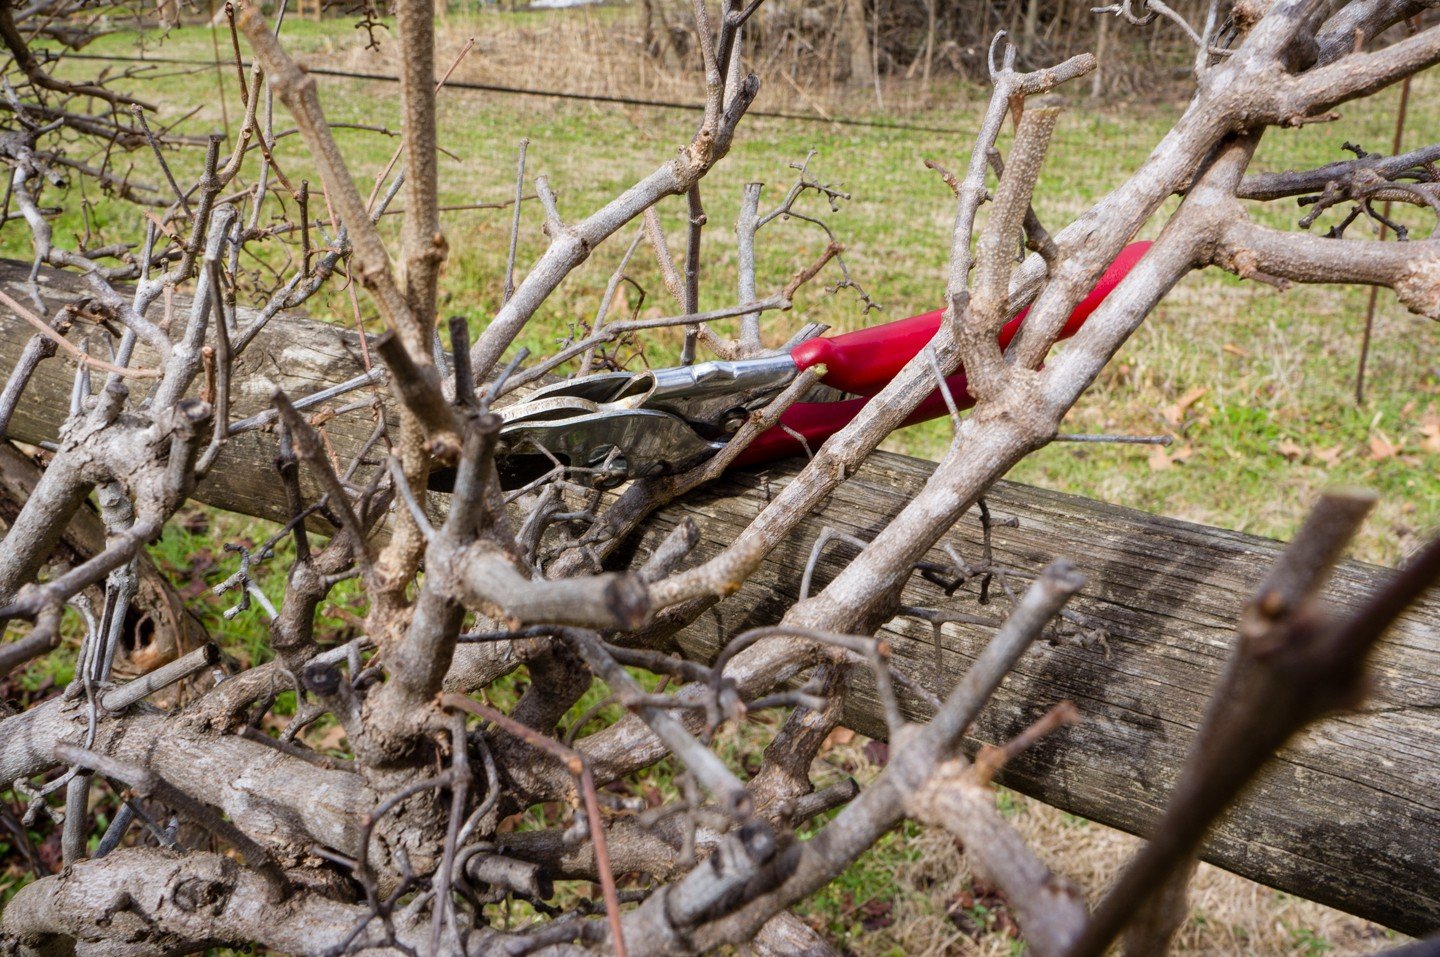
Remove leaves that are fully yellow, brown, or mushy. They will not turn green again, because a leaf that has lost its chlorophyll in earnest does not rebuild it, and leaving soft, dying tissue in place invites grey mould and other fungal trouble in damp weather. Snip them off cleanly at the base of the leaf stalk with clean scissors or pruners, and put diseased material in the bin rather than the compost heap.
Be restrained, though. If a leaf is only partly yellow, it is still feeding the plant, so leave it until the underlying problem is fixed and new growth is coming through. Never strip more than about a third of a plant’s leaves at once — a defoliated plant cannot photosynthesise enough to recover well. Wash your hands and tools after handling obviously diseased plants before touching healthy ones.
The Mistakes That Make It Worse
The biggest mistake is treating before diagnosing, especially reaching for feed when the real problem is wet roots — feeding a plant that cannot take up nutrients just adds salts to already stressed roots. The second is watering more in response to every yellow leaf, which turns mild hunger into root rot. The third is expecting yellow leaves to turn green again; improvement shows in new growth, and judging a remedy after two days by the old leaves leads people to dose again and again.
Other common errors include using Epsom salt or coffee grounds as universal cures regardless of cause, applying foliar sprays in hot midday sun so leaves scorch, and stripping a struggling plant of most of its leaves in a tidying frenzy. Slow down, check the soil and the pattern, change one thing at a time, and give the plant a week or two to answer.
Prevention, quietly, is the rest of the story. Water by the soil, not by the calendar: check moisture at root depth and adjust for the weather, the pot size, and the plant in front of you. Feed little and often with compost and organic feeds rather than in rare, heavy doses. Repot container plants before they become a solid mat of roots, and refresh the top layer of mix each spring. Keep a simple notebook of what yellowed, where, and what fixed it; patterns across a season tell you more than any single guess. Rotate crops in vegetable beds so the same family is not draining the same nutrients from the same patch year after year, and top up beds with compost every season as a matter of routine. Watch leaf undersides weekly in hot weather, because catching spider mites at the speckled stage is far easier than rescuing a webbed, bronzed plant in August.
Questions, Answered
Will a yellow leaf turn green again once I fix the problem?
Usually not. A fully yellow leaf rarely regains its colour, so judge your success by new growth emerging green and healthy. Remove fully yellow leaves once the plant is recovering, and let its energy go into fresh foliage.
What is the fastest natural remedy for yellow leaves?
There is no single fast remedy, because speed depends on the cause. Correcting soggy soil can revive a plant within days, chelated iron can green up new growth in a week or two, and nitrogen feeds take a little longer. Fixing the cause is always faster than trying tonics at random.
Can I use Epsom salt on all my plants?
No. Epsom salt only helps when magnesium is genuinely short, and using it routinely can unbalance the soil. Use it once, as a measured drench or spray, when the pattern on older leaves suggests magnesium shortage, and prefer compost and a soil test for the long term.
Are coffee grounds good for yellow leaves?
Only modestly, and not as a cure. Composted grounds or a thin, mixed-in sprinkle add a little organic matter and nitrogen over time, but they will not fix overwatering, iron chlorosis, or a hungry plant quickly. Compost them first for best results.
How do I tell overwatering from underwatering?
Check the soil and the leaf texture. Overwatered plants yellow with soft, limp leaves in wet soil, sometimes with a sour smell. Underwatered plants yellow with dry, crispy leaf edges in dry soil, and they perk up visibly after a deep drink.
When should I worry that it is disease rather than a simple cause?
Worry if you see black spots, purple-rimmed lesions, fuzzy mould, rapid spreading from plant to plant, or yellowing paired with badly distorted growth. Remove and bin affected material, avoid wetting the foliage, and do not compost diseased leaves.
Your Two-Week Recovery Plan
Yellow leaves are your plant talking to you, and once you learn its patterns — old leaves or new, veins or whole leaf, wet soil or dry — the conversation gets much easier. Here is how the next two weeks should go.
Days 1–2: diagnose. Do the 60-second leaf check. Feel the soil, read the pattern, and match it to a case above. Change one thing only — the watering, the drainage, or the feed — and write down what you did and when.
Days 3–7: wait and watch. Do not dose again because the old leaves still look yellow; they will not recover. Look instead for the first signs that the plant has stopped getting worse: no new yellowing, soil drying or staying moist as it should, and the plant holding its remaining leaves.
Days 8–14: look for new green. Fresh growth emerging green and healthy is the verdict. If new leaves are still coming through yellow, your diagnosis was probably wrong — go back to the leaf check, test the soil pH, and change one thing at a time until the new growth answers. Most cases at home come back to water, drainage, or food, and most plants forgive quickly when you fix the right one. Work gently, use natural remedies where they genuinely fit, and watch the new growth. A flush of fresh green leaves is the best thank-you a garden gives.
Sources
- University of Illinois Extension — “Iron Chlorosis” — extension.illinois.edu
- Utah State University Extension — “Ask an Expert: Iron Chlorosis: Symptoms, Causes and Solutions” — extension.usu.edu
- FoodieCake — best natural fertilizers for plants and how to improve garden soil naturally