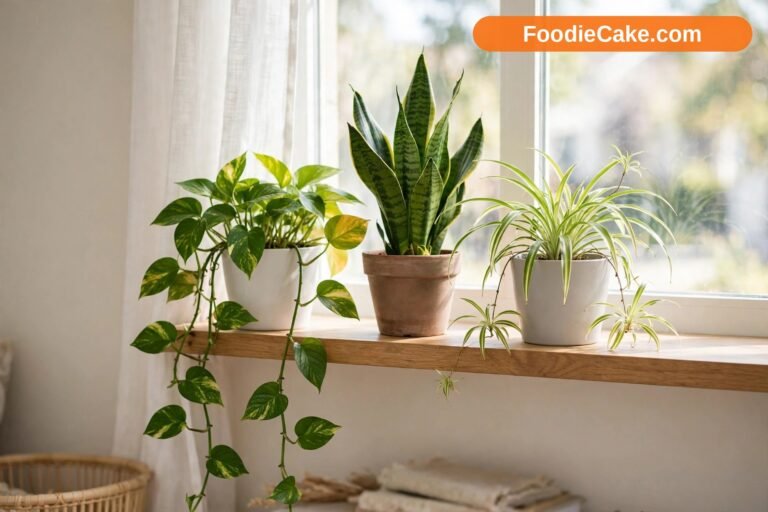
How to Start a Kitchen Herb Garden
There is a small, familiar frustration that sends a lot of cooks to the garden centre: you need a handful of fresh parsley or a few basil leaves for dinner, and the only option at the shop is a big plastic packet that costs too much, wilts in two days, and leaves you throwing half of it away. Learning how to start a kitchen herb garden is the simplest fix for that problem. A few pots on a windowsill can give you fresh flavour exactly when you need it, in the amount you need it, without the waste or the last-minute trip to the store.
The good news is that a kitchen herb garden does not ask for much. You do not need a greenhouse, a large garden, or years of experience. Most of the herbs we cook with every week are forgiving plants that are quite happy in a pot, as long as they get enough light, water that can drain away, and a little regular attention. Start small, get the basics right, and those first plants will teach you most of what you need to know. Within a few weeks you can be snipping chives over eggs, tearing basil over pasta, and adding mint to drinks straight from your own sill.
This guide walks you through the whole process step by step, from choosing the right spot and the easiest herbs to begin with, to potting, watering, harvesting, and keeping everything alive through winter. It is written for real kitchens — including small, shady, and rented ones — so you will find honest notes about what to do when your light is not perfect and which shortcuts are actually worth taking. By the end, you will have a clear, manageable plan you can start this weekend.
Step 1: Choose a Sunny Spot and Understand Your Light
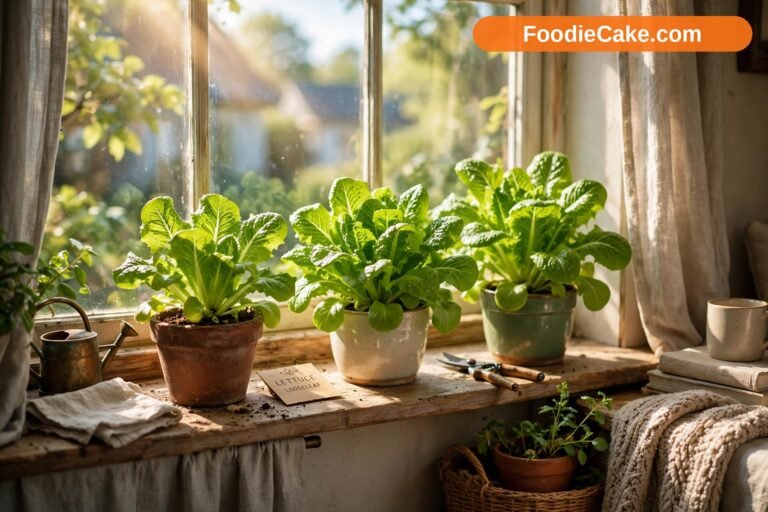
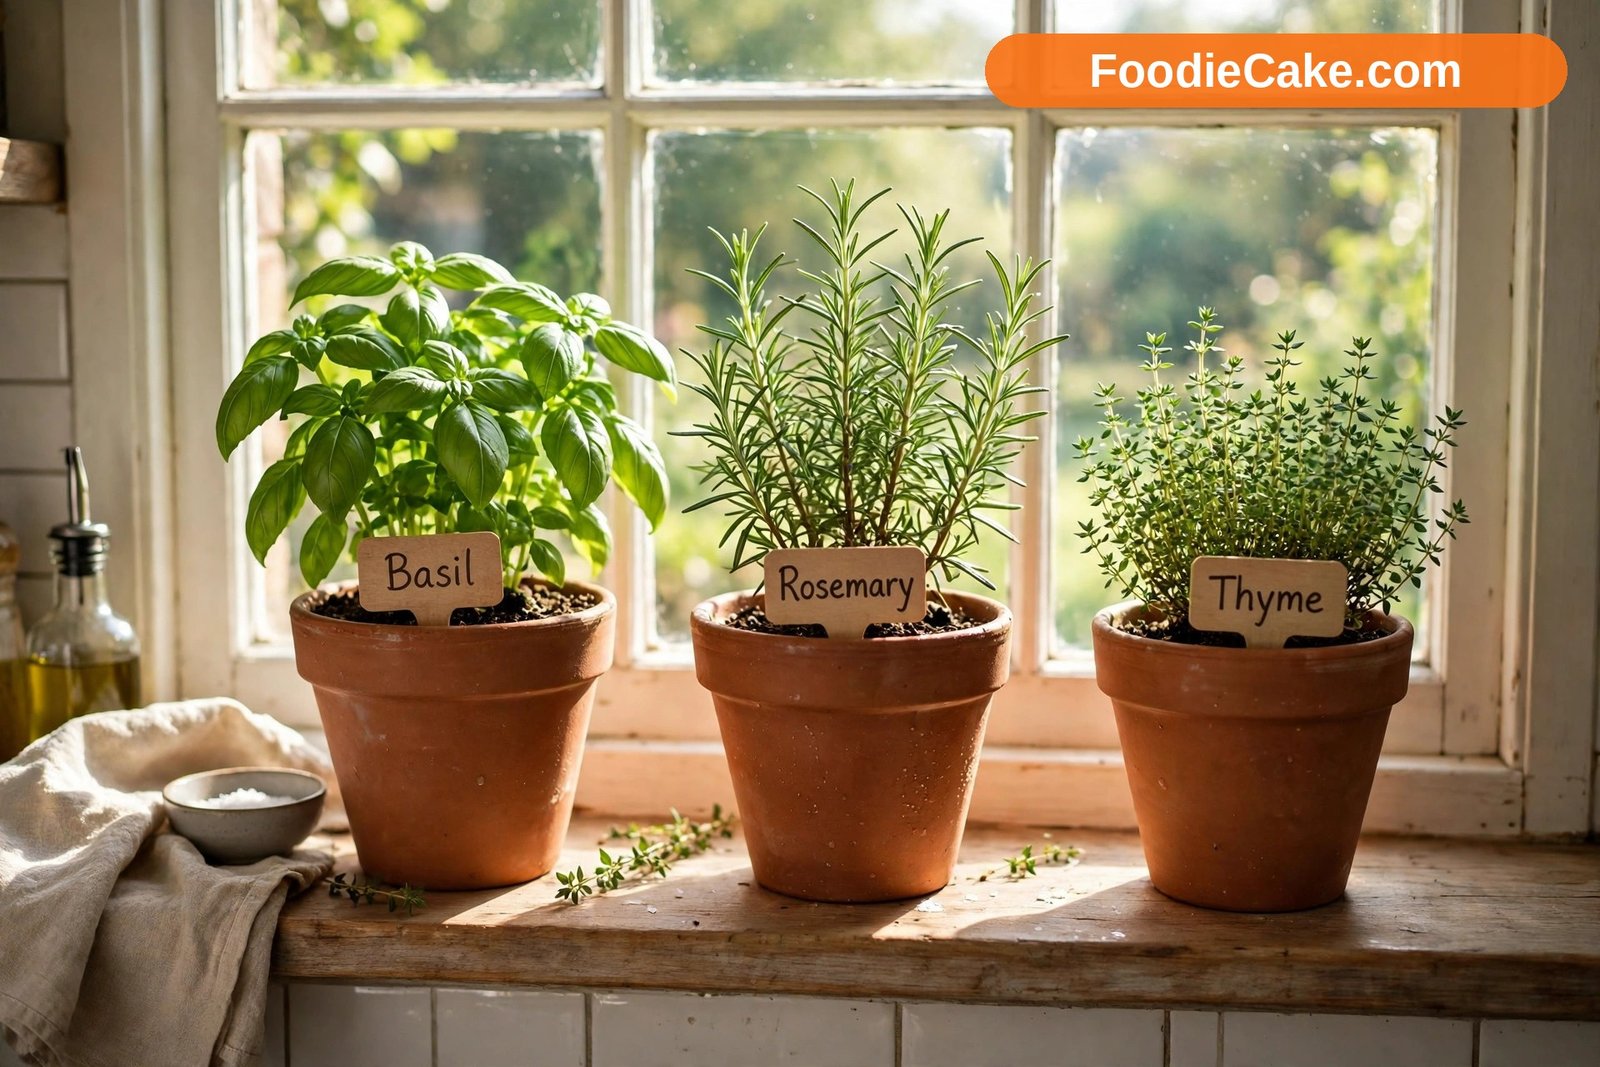
Light is the one thing that decides whether a kitchen herb garden thrives or slowly fades, so it is worth starting here before you buy a single plant. Most culinary herbs come originally from sunny, fairly dry places, and they still want as much bright light as you can give them indoors. As a general guide, aim for a spot that receives at least six hours of direct sun a day if you can manage it. A south-facing windowsill is usually the brightest option in the northern hemisphere, with east- and west-facing sills as decent alternatives. A north-facing window, or a spot several feet back from the glass, is often simply too dim for sun-lovers like basil and rosemary.
Do not guess — watch your kitchen for a day or two before you commit. Notice where the sun actually lands in the morning and afternoon, and how long it stays. Kitchens can be deceptive: a window that feels bright to us, because our eyes adjust so well, may only give a plant a couple of hours of usable direct light. Buildings opposite, trees, deep window reveals, and even a dirt film on the glass can all cut the light down. Give the glass a clean, clear any clutter off the sill, and think of the sunniest spot as prime real estate for your thirstiest, hungriest herbs.
If your best spot falls short, you still have options. Put the most light-hungry plants — basil, rosemary, thyme, and oregano — in the brightest position, and let more tolerant herbs like mint, parsley, and chives take the slightly shadier end of the sill. Turn each pot a quarter turn every few days so all sides get a share of the light and the plants grow evenly instead of leaning hard toward the window. And if your kitchen is genuinely dark, a simple LED grow light on a timer is not cheating at all. It is often the difference between leggy, pale plants and compact, flavourful ones, especially in winter.
Step 2: Pick Beginner-Friendly Herbs You Will Actually Use
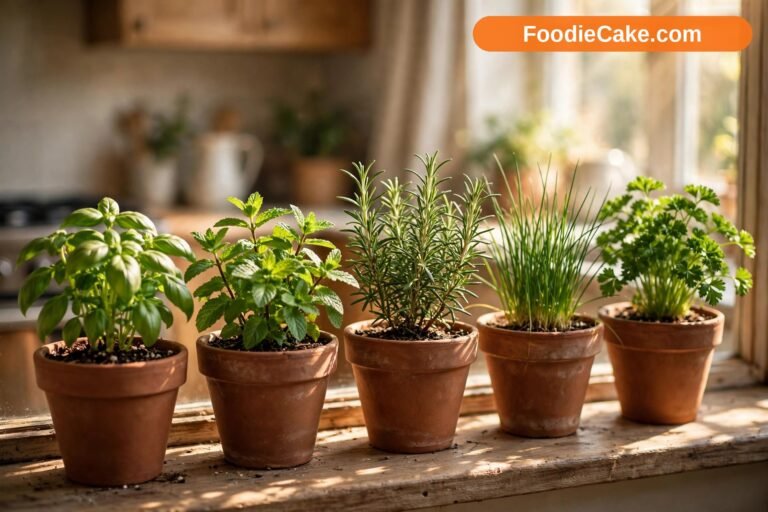
The best first herbs are the ones that match both your cooking and your conditions. It is tempting to order one of everything, but three to five plants you use every week will teach you far more — and give you far more pleasure — than a crowded sill of things you never pick. Think about what you cook: Italian and Mediterranean dishes call for basil, rosemary, and thyme; garnishes and salads lean on parsley and chives; teas, drinks, and desserts love mint; and cilantro is essential if you make a lot of curries, tacos, or Southeast Asian food.
Basil is the classic kitchen herb, fast-growing and generous in summer, with sweet leaves that are best picked little and often. It loves warmth and sun and dislikes cold draughts and soggy soil. Parsley is slower to start from seed but once it is established it is tough, productive, and happy in slightly less sun than basil. Flat-leaf parsley tends to have the stronger flavour for cooking, while curly parsley is pretty and mild. Chives are among the easiest of all — grass-like clumps that regrow quickly after cutting, tolerate a range of light, and come back reliably. They are a brilliant confidence-builder for a first garden.
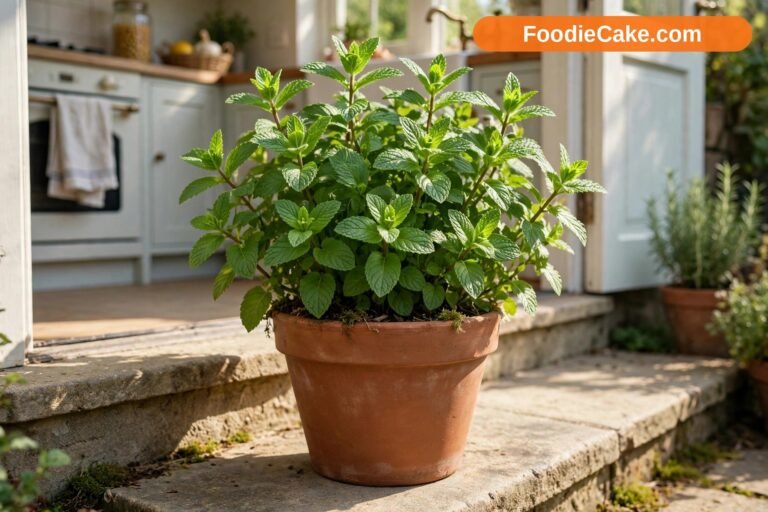
Mint is vigorous to the point of pushiness, which makes it wonderfully easy, but always give it a pot entirely to itself. In a shared container or an open garden bed it will spread and crowd out its neighbours. Thyme is the opposite in habit: small, neat, and drought-tolerant once settled, with tiny leaves packed with flavour. It wants excellent drainage and hates sitting wet. Rosemary is a woody Mediterranean shrub in miniature — slow, sturdy, and aromatic — that can live for years in a pot if it gets bright light and is not overwatered. Cilantro is the one to treat a little differently: it grows quickly, prefers cooler conditions, and tends to bolt, or run to seed, in heat. Sow it a little at a time, every few weeks, so you always have a young plant coming along. For a deeper look at varieties and conditions, our guide to the best herbs to grow indoors is a helpful next step once you have your first pots settled.
Step 3: Choose Pots With Drainage and Room to Grow
Almost any container can work — terracotta, ceramic, plastic, or a repurposed tin — but one feature is non-negotiable: drainage holes in the bottom. Without them, water collects around the roots, the soil stays sour and airless, and root rot is very likely to follow. If a pretty pot has no hole, either drill one if the material allows it, or use it as an outer cover pot and keep the herb in a plain inner pot with holes that you can lift out to drain.
Size matters, too. A pot that is roughly six to eight inches across is a sensible starting size for most single herbs. It holds enough soil to stay evenly moist for a day or two without drying out every few hours, which tiny pots tend to do. Basil and parsley appreciate a little more depth for their roots, rosemary will eventually want to step up into something larger as it becomes woody, and mint deserves a wider pot of its own so it can spread without invading anyone else. When you move a plant up, choose a pot only one size bigger at a time. A small plant lost in a huge pot sits in a lot of wet soil it cannot use, and that invites problems.
Material is mostly a matter of habit and taste. Terracotta is porous, so soil dries faster — helpful if you tend to overwater, less helpful if you often forget. It is also heavy and stable, and many people love how it looks on a sill. Plastic and glazed ceramic hold moisture longer, which suits basil, parsley, and cilantro. Whichever you choose, stand the pot on a saucer or tray to protect your sill, and empty any water left sitting in that saucer after about half an hour. Herbs like a drink, but very few of them like wet feet all day.
Step 4: Use the Right Soil Mix for Pots
Garden soil from outside is rarely a good choice for pots indoors. It can be heavy, compact easily, drain poorly in a container, and bring in weed seeds and unwanted pests. A good-quality, peat-free multi-purpose potting mix made for containers is a much better starting point. It is light, clean, and designed to hold a balance of air and moisture around roots in a confined space.
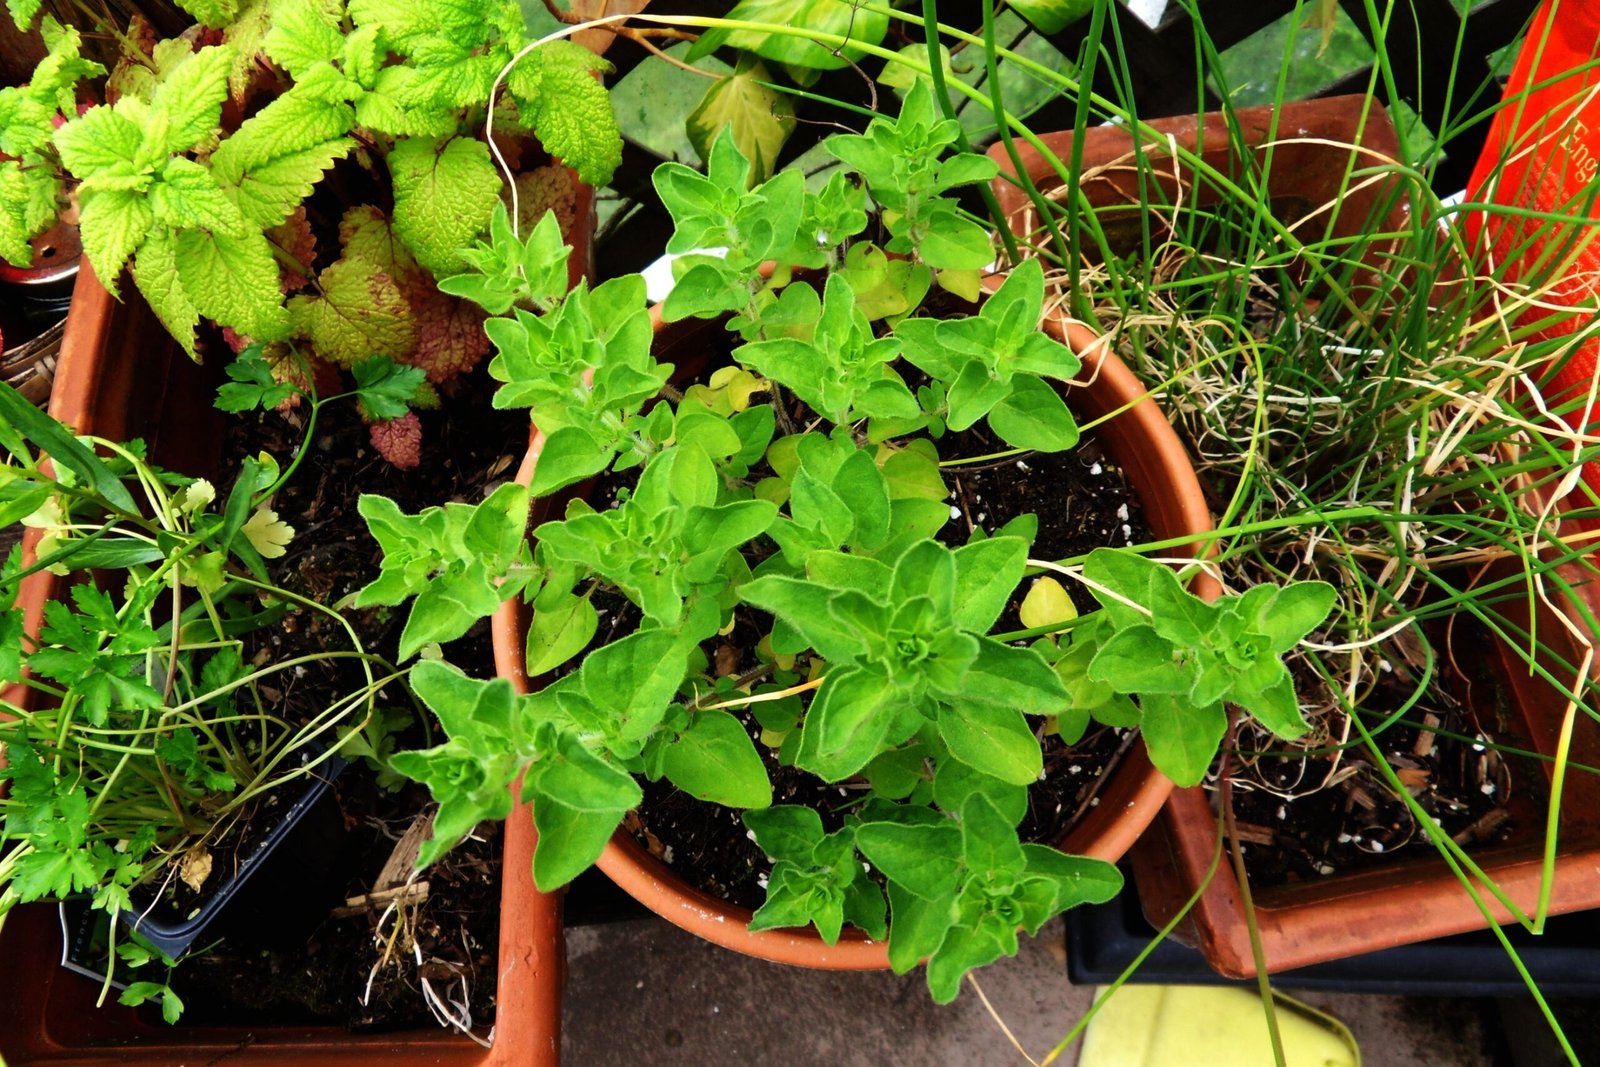
For Mediterranean herbs like rosemary, thyme, and oregano, drainage needs to be sharper still. Mix a handful or two of horticultural grit, coarse sand, or perlite into the potting mix — roughly one part grit to three parts mix is a workable guide — so water passes through freely. Basil, parsley, chives, mint, and cilantro are happier in a slightly more moisture-retentive mix, so you can use the potting mix as it comes, perhaps with a small amount of perlite just to keep it open. Avoid mixes that promise to hold lots of extra water for thirsty herbs in a kitchen; in practice that often means soil that stays soggy, which causes more losses than dryness ever does indoors.
Fill the pot loosely, leaving about an inch between the soil surface and the rim so watering does not spill soil over the edge. A thin layer of grit on the bottom is not needed and does not really improve drainage despite the old advice — what matters is that the holes stay clear and the mix itself drains well. Over the season, potting mix gradually breaks down and compacts, so when you repot or refresh a long-lived herb like rosemary, replace the old mix rather than just topping it up.
Step 5: Decide Between Sowing Seeds and Buying Starter Plants
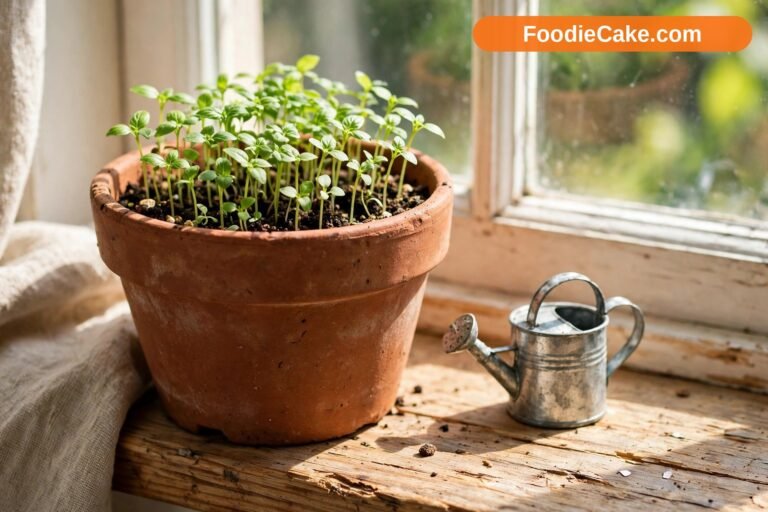
Both routes work, and many gardeners end up using a mix of the two. Seeds are inexpensive, offer the widest choice of varieties, and are deeply satisfying when they come up. They do need patience, though. Parsley can be slow and erratic to germinate, sometimes taking a few weeks, and basil seed should not be sown until conditions are warm, because basil dislikes cold from the very start. Chives and cilantro are usually quick and reliable from seed, which makes them good first sowings. Sow thinly on the surface of moist mix, cover very lightly unless the packet says the seed needs light, keep the pot somewhere warm, and keep the surface just moist — a clear cover or a piece of cling film can help until seedlings appear, then remove it so air can move.
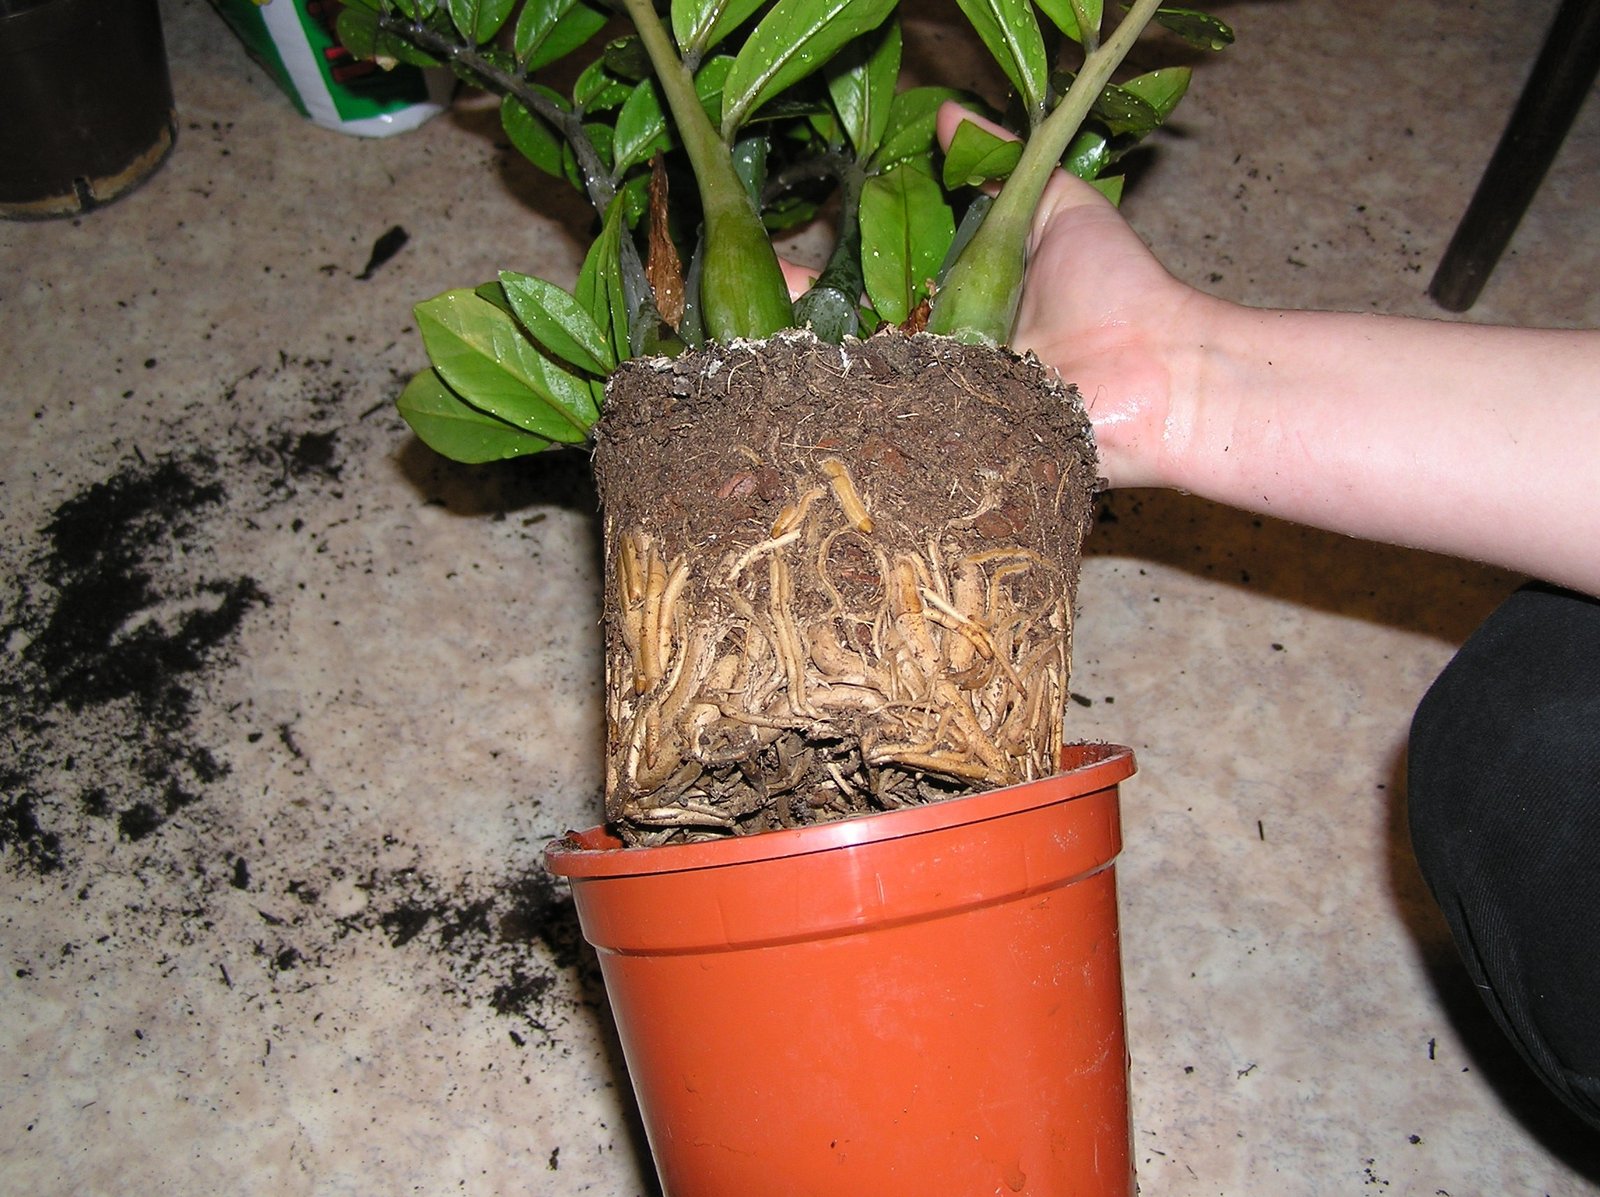
Starter plants from a garden centre or supermarket cost more, but they give you an instant garden and a harvest within days or weeks. They are a sensible choice for rosemary and thyme, which are slow from seed, and for anyone starting their first sill who wants some early success. When you buy, choose compact plants with healthy green leaves and no yellowing, wilting, or tiny flies hovering around the soil. Check the bottom of the pot: a few roots showing is fine, a dense mat of roots circling tightly suggests the plant has been in that pot a long time and will need potting on soon.
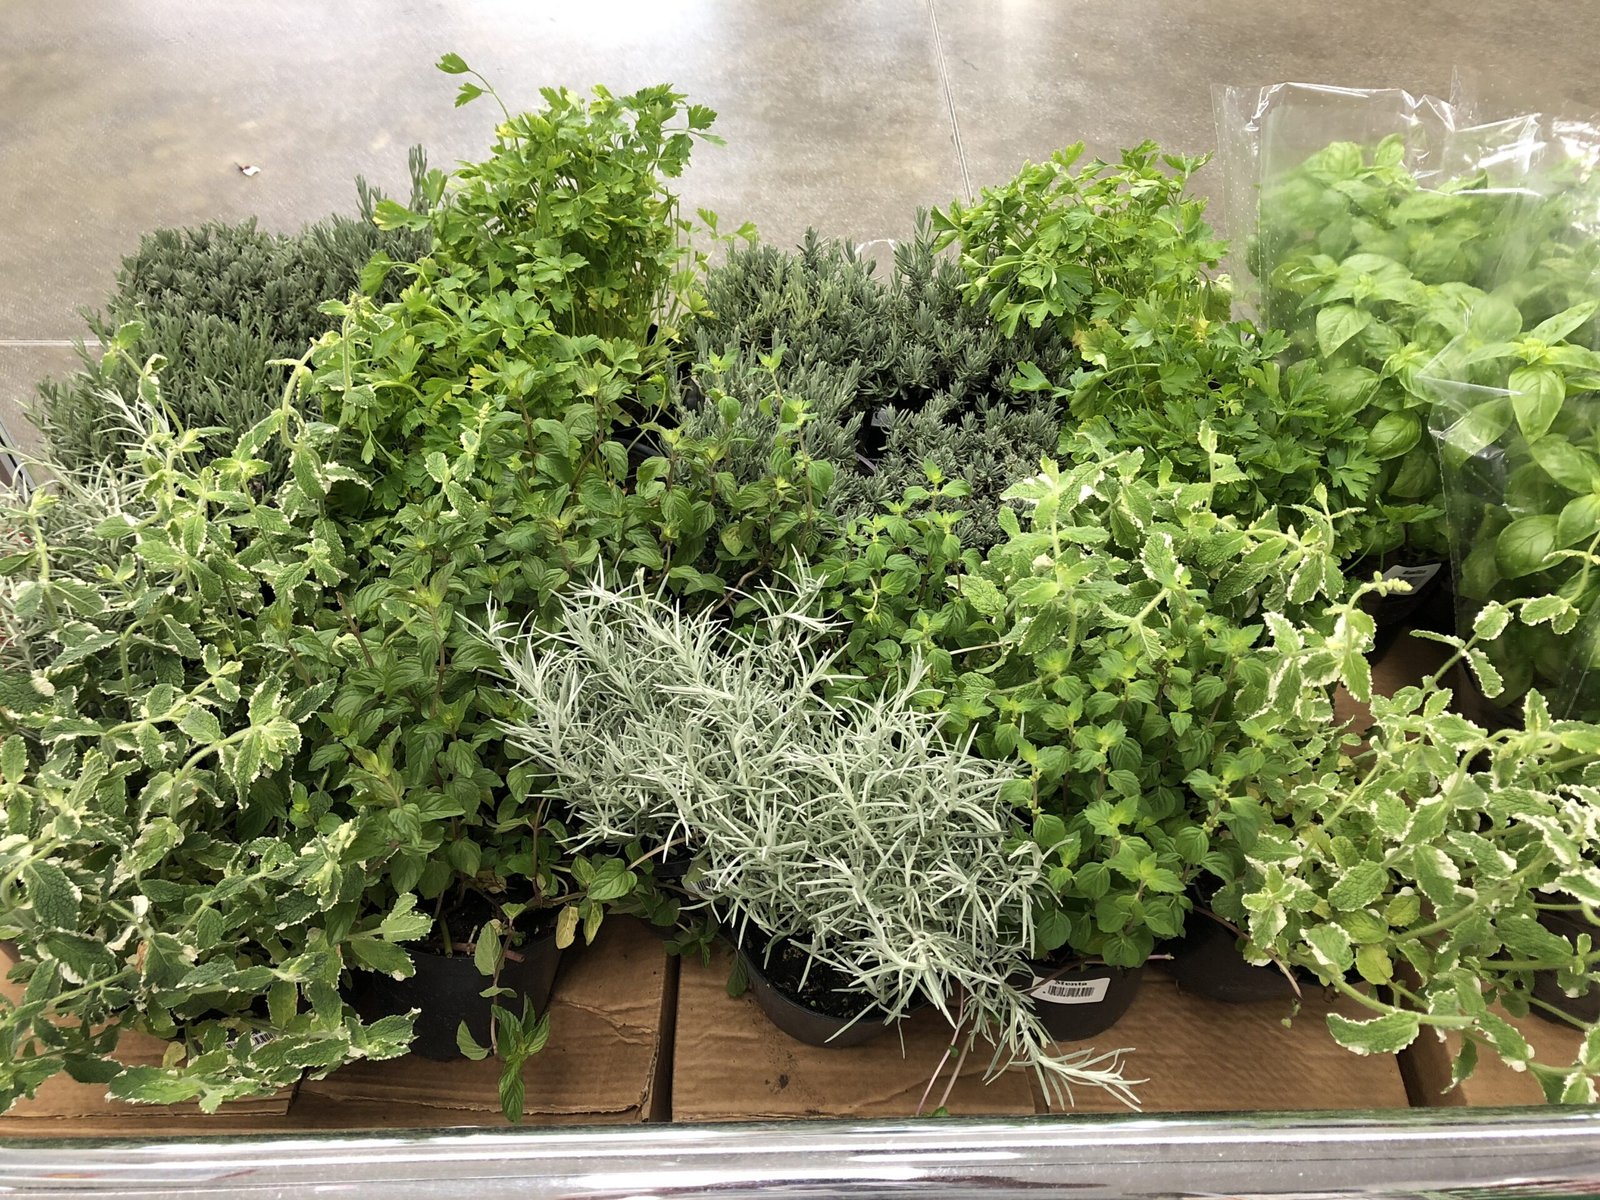
A note on supermarket herb pots: those lush pots of basil and parsley sold for cooking are usually many seedlings crowded into one small pot, grown fast for a quick sale. They often collapse within a week or two if left as they are, not because you did anything wrong, but because there are simply too many plants competing in too little soil. You can often rescue them by gently teasing the clump apart into two or three smaller clumps and potting each one up separately with fresh mix and a good water. Done early, they can grow on surprisingly well.
Step 6: Water Thoughtfully and Feed Lightly
More indoor herbs are lost to overwatering than to almost anything else. The safest habit is simple: check before you water. Push a fingertip about an inch into the soil. If it feels damp, leave it another day. If it feels dry at that depth, water. Most kitchen herbs prefer to be watered thoroughly and then left to approach dryness, rather than given small sips every day that keep the surface wet and the roots shallow and stressed.
When you do water, water properly. Pour slowly and evenly over the surface until a little runs out of the drainage holes, then let the pot drain fully and tip away the excess in the saucer. Watering in the morning is ideal where you can manage it, so leaves dry quickly and plants start the day hydrated. Try to water the soil, not the foliage — wet basil leaves in particular can mark and spoil — and use room-temperature water if your tap runs very cold. Needs differ by herb: mint, parsley, and cilantro like consistent moisture and should not dry out completely, while rosemary and thyme prefer to dry out more between waterings and suffer quickly in constantly wet soil. In a warm, sunny kitchen in summer you may be watering thirsty pots every day or two; in a cool winter room, it might be once a week or less. Let the soil, not the calendar, decide.
Feeding can stay gentle. Potting mix usually contains enough nutrients for the first few weeks. After that, fast-growing leafy herbs like basil, parsley, and mint will benefit from a weak liquid feed — a balanced fertiliser or a seaweed feed used at about half the strength suggested on the label, every two to four weeks during active growth in spring and summer is a reasonable rhythm for many growers. Go easy: overfed herbs can grow soft, leggy, and less flavourful, and rosemary and thyme need very little feeding at all. Stop feeding in winter when growth slows, unless your plants are growing strongly under lights. If you are new to houseplants in general as well as herbs, the advice in our round-up of the best indoor plants for beginners covers the same light-and-water basics that keep most indoor plants happy.
Step 7: Harvest Little and Often So Plants Keep Producing
Harvesting is not something you do to a herb garden at the end — it is how you keep it going. Regular picking encourages most herbs to branch and produce more leaves, while a plant that is never cut often grows tall, woody, or determined to flower. As a gentle working rule, avoid taking more than about a third of a plant at any one time, and always leave enough healthy foliage for it to recover and keep growing.
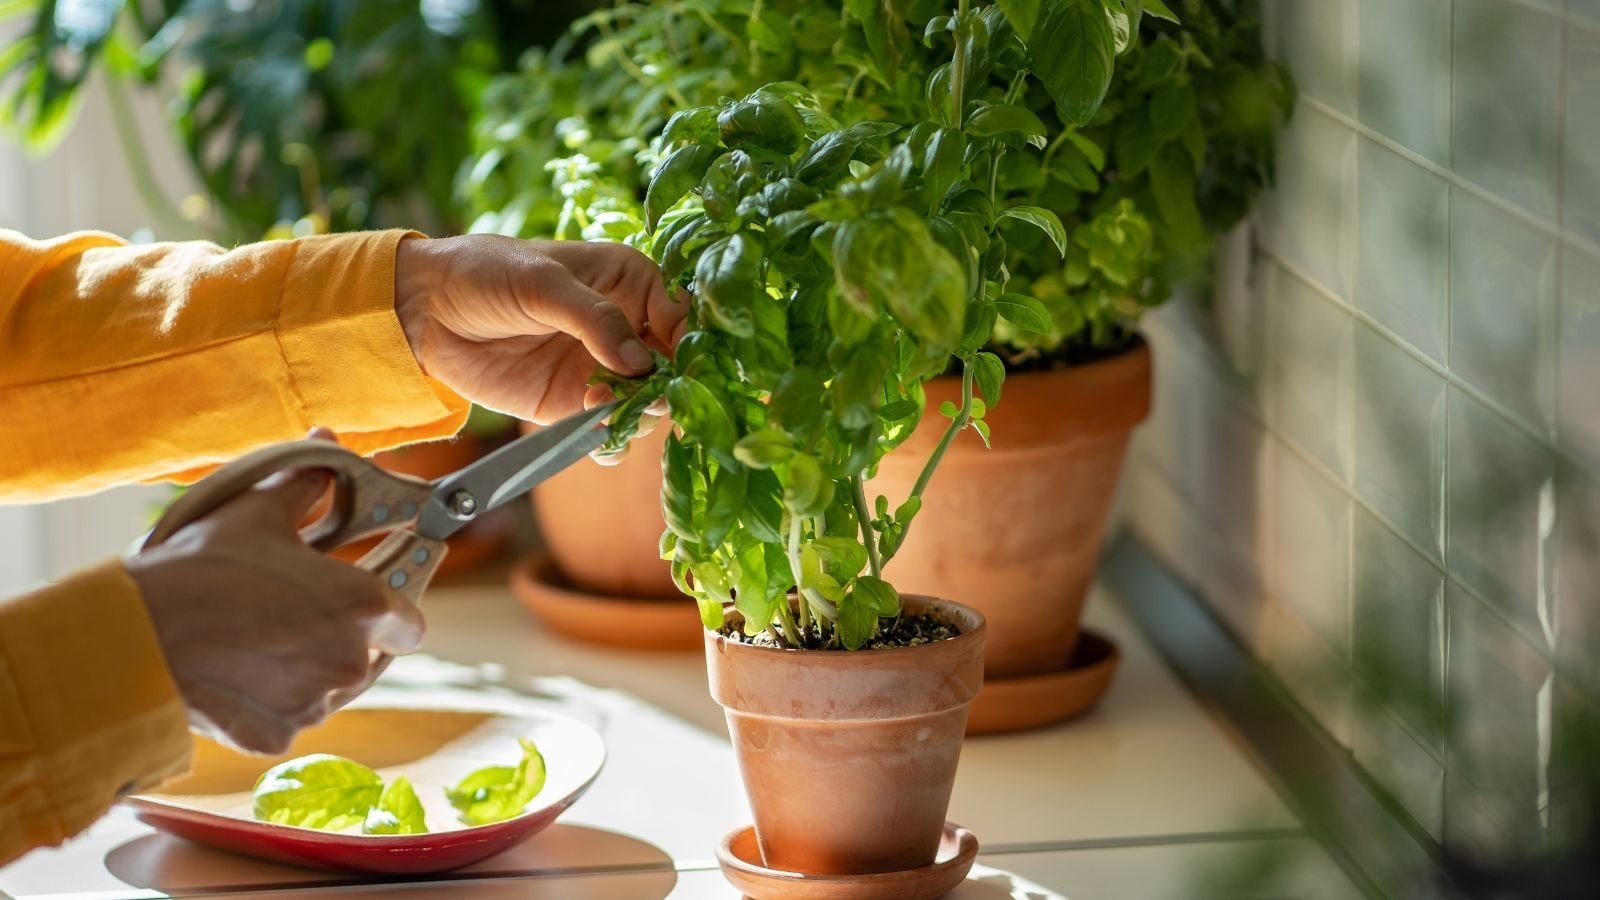
Technique matters a little by herb. With basil, pinch or cut just above a pair of leaves, and that stem will usually branch into two — never just strip all the leaves off a single stem and leave it bare. Pinch out the growing tips and any flower buds as soon as you see them if you want leaves, because once basil flowers freely the leaves often turn bitter and the plant winds down. With parsley and cilantro, cut the outer, older stems low at the base and leave the young centre growth alone. With chives, snip whole leaves down near the base, a small bunch at a time, rather than trimming just the tips, which leaves tough ends behind. Thyme is harvested by snipping sprigs, and rosemary by cutting short lengths of stem — take care not to cut back into the old, bare wood, as rosemary does not reliably regrow from it.
Harvest in the morning after any dew has dried, when leaves tend to be at their most flavourful, and use what you pick straight away if you can. If you have a glut — and a happy basil plant in summer will give you one — chop herbs and freeze them in ice-cube trays with a little water or oil, dry thyme and rosemary in small bunches, or blend basil into pesto and freeze that. A productive sill stops being a worry once you have a few ways to store the surplus.
Step 8: Keep Herbs Going Through Winter and Under Lights
Indoor growing has one big advantage: it is mostly independent of your USDA hardiness zone, because your kitchen, not the weather outside, sets the conditions. That said, winter still changes things indoors. Days get shorter, light gets weaker and lower in the sky, and even a south-facing sill may give a fraction of the light it gave in June. At the same time, central heating dries the air, while windowsills themselves can be chilly at night and prone to cold draughts. How much this matters depends on where you live — winters in milder zones are naturally kinder to sill herbs than long, dark winters further north — so treat the advice here as something to adapt to your own home.
Expect growth to slow, and adjust. Water less often, because plants use less and soil dries more slowly. Stop feeding unless growth is strong. Keep pots a little away from radiators, and on very cold nights you can move them a few inches back from the glass. Some herbs handle winter on a sill quite well — parsley, chives, mint, and thyme are often fairly content if the light is decent — while basil commonly struggles once temperatures and light drop, and many people simply treat it as a summer herb and start fresh plants in spring. There is no failure in that; it matches how the plant naturally lives.
A small LED grow light makes the biggest difference if you want year-round basil or steady winter growth. Look for a full-spectrum light, position it a few inches above the tops of the plants — following the maker’s guidance, as distances vary — and run it for roughly twelve to fourteen hours a day on a simple timer so the routine does not depend on you remembering. Raise the light as plants grow. If you move any pots outside for summer, which can suit rosemary and mint very well, remember the reverse in autumn: bring them back in well before the first frost is expected in your area, check them carefully for pests hiding under leaves, and expect a week or two of sulking while they readjust to lower indoor light.
Practical Tips for a Kitchen Herb Garden That Lasts
Start with three plants, not ten. A small, thriving sill you understand is worth far more than a crowded one you are constantly rescuing. Once basil, chives, and parsley — or whichever trio suits your cooking — are growing steadily, add one new herb at a time and learn its habits before the next arrives.
Label everything, even if you are sure you will remember. Seedlings of parsley and cilantro look confusingly similar at first, young thyme varieties blur together, and a small label with the name and the sowing or purchase date saves real guesswork later. A wooden coffee stirrer or a cut-up yogurt pot works perfectly well.
Group plants by thirst, not just by looks. Keep the moisture-lovers — mint, parsley, basil, cilantro — together at one end of the sill and the drier-loving rosemary and thyme at the other. It makes watering simpler and means you are far less likely to drown a thyme plant while you are busy keeping the mint happy. A tray under each group also catches drips and keeps the sill tidy.
Rotate, inspect, and tidy as a weekly habit. While the kettle boils, turn the pots, look under a few leaves for aphids or other early trouble, and pinch out anything yellowing or crowded. Small problems caught at this stage — a few aphids you can rinse off, a stem that needs pinching — rarely become big ones. Wipe dusty leaves gently, too. Clean leaves take in light better, and kitchens coat everything in a fine film of cooking grease over time.
Keep a pair of clean, sharp kitchen scissors just for herbs, and wash pots and tools between uses. It sounds fussy, but snipping with blunt or dirty tools can tear stems and spread problems from a sick plant to a healthy one. A quick rinse and dry is enough for everyday use.
Finally, sow and replace without sentimentality. Cilantro and basil are short-lived by nature, and even the best-kept plants eventually get tired. A small packet of seed and a habit of sowing a fresh pot every few weeks through the growing season keeps your supply continuous, so one plant finishing is never a crisis.
Common Mistakes and Problems With Kitchen Herbs
The most common mistake of all is loving plants with too much water. Yellow leaves, a musty smell from the soil, stems going soft at the base, and tiny black fungus gnats drifting up when you tap the pot all point toward soil that has stayed too wet. Let the mix dry out more between waterings, check that drainage holes are clear, empty saucers promptly, and — for gnats — allow the surface to dry and remove any fallen leaves, which usually reduces them considerably over time. A plant with rotted roots rarely recovers, so prevention really is the cure here.
Leggy, stretched growth with long gaps between leaves and a pale, weak look is almost always a light problem, not a food problem. Move the plant to your brightest spot, turn it regularly, pinch the tips to encourage branching, and consider a grow light rather than adding extra fertiliser. Similarly, herbs that taste bland are often overfed, overwatered, or under-lit. Strong light, modest feeding, and regular harvesting usually do more for flavour than any special product.
Crowding causes a quiet set of troubles: poor air movement, leaves that stay damp, mildew on basil or mint, and roots competing in too little soil. Give plants elbow room, avoid cramming several herbs into one decorative pot unless it is genuinely large, and repot supermarket clumps as described earlier. For aphids — small green or black insects clustered on soft new growth — a firm rinse under the tap or wiping them off by hand is often enough for a kitchen plant. Check again a few days later, as eggs and stragglers are easily missed.
Two timing mistakes are worth naming. The first is putting tender herbs like basil on a cold sill or outside too early in spring; basil can be set back or killed by cold nights that hardier herbs shrug off, so wait until nights are reliably mild in your area. The second is letting basil and cilantro flower without a plan. Cilantro bolting in heat is natural — you can let one plant set seed, which is coriander, and sow a replacement. With basil, pinch flower buds off promptly if leaves are what you want, because once it commits to flowering, its season is nearly over.
Frequently Asked Questions
How much light do kitchen herbs really need each day?
Most common culinary herbs do best with at least six hours of direct sunlight a day, or the equivalent from a good grow light for twelve to fourteen hours. Some, like mint, parsley, and chives, can manage with a little less direct sun if the spot is still bright, but basil, rosemary, and thyme will become leggy and weak in poor light. If your plants are leaning hard toward the window and stretching, that is them telling you they want more.
Which herb is the easiest to start with if I have never grown anything?
Chives and mint are probably the most forgiving choices for a complete beginner. Chives tolerate a range of light and watering, regrow quickly after cutting, and do not demand much attention. Mint grows enthusiastically and recovers from mistakes — just remember to keep it in its own pot so it does not take over a shared container. Parsley is also a good early choice once it is established, though it is slower to start from seed.
Should I grow herbs from seed or buy plants?
If you want quick results and early confidence, buy a few starter plants — especially rosemary and thyme, which are slow from seed. If you enjoy the process and want more variety for less money, seeds are excellent for cilantro, chives, basil, and parsley. Many people do both: bought plants for an instant harvest, and a small sowing alongside so a replacement is ready when the first plant tires.
Why does my basil keep wilting and turning black at the base?
That pattern often points to a combination of cold, wet soil, or both. Basil dislikes cold draughts and chilly sills, and its roots rot quickly if the soil stays soggy, which turns stems dark and soft at the base. Check that the pot drains freely, water only when the top inch of soil feels dry, keep the plant away from cold glass at night, and avoid wetting the leaves. If the base has gone fully black and mushy, that plant is unlikely to recover — start again with fresh mix and a lighter watering hand.
Can I keep my kitchen herb garden going all year round?
Yes, with a few adjustments. Perennial herbs like rosemary, thyme, chives, and mint can live in pots for a long time, and parsley can keep going for many months, though growth will slow in winter when light is low. Water less, stop feeding, and add a small grow light if your windowsill becomes very dim. Basil and cilantro are the exceptions most growers accept: basil is usually restarted in spring, and cilantro is kept going by sowing a little, often, rather than expecting one plant to last indefinitely.
Is it safe to grow herbs in a kitchen where I cook with gas and cleaning sprays?
In ordinary home use, kitchen herbs are generally grown and eaten this way by a great many people without issue, but a few sensible habits help. Keep pots away from direct heat and splashes from the hob, rinse leaves before you use them — as you would any produce — and avoid spraying cleaning products or pesticides onto the plants themselves. If you ever spray a plant for pests, choose a product that is labelled for use on edible plants and follow its guidance on how long to wait before harvesting, or stick to simple hand-removal and rinsing methods indoors.
Final Thoughts
A kitchen herb garden asks for very little — a bright sill, a pot that drains, decent soil, and a few minutes of attention here and there — and gives back something disproportionate: fresh flavour at arm’s reach, a greener kitchen, and the quiet pleasure of cooking with something you grew yourself. You do not need to get everything perfect in the first week. Start with a few herbs you genuinely love to eat, put them in the best light you have, water by checking rather than by habit, and pick from them often. The plants themselves will show you what they like, and you will get better at reading them faster than you expect.
So pick your first three herbs, find them a sunny spot this weekend, and get them potted up. Snip a little, taste as you go, and let one success lead to the next pot on the sill. Before long, reaching for fresh herbs will stop feeling like a project and start feeling like just how your kitchen works — and that is exactly the point.