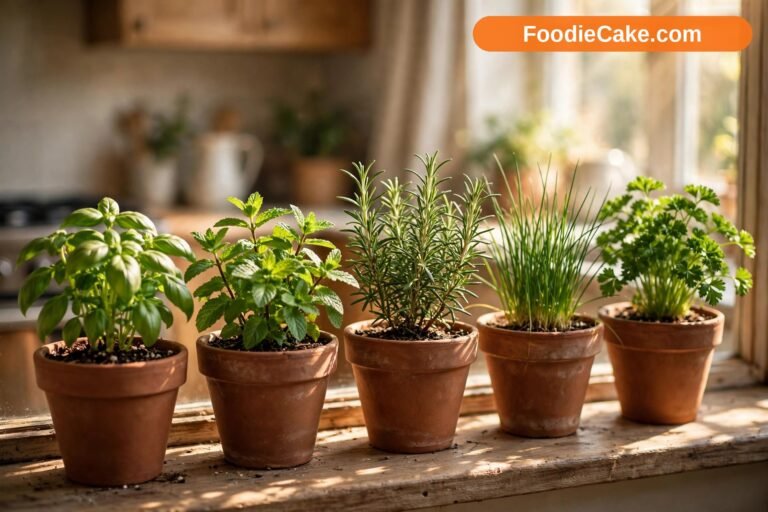
How to Grow Basil from Seeds
If you have ever bought a basil plant from the supermarket, watched it flop within a fortnight, and wondered if there was a better way, learning how to grow basil from seeds is the answer. A packet of seed costs very little, holds dozens of potential plants, and lets you raise strong, bushy basil that is used to your kitchen light and your watering habits from day one, rather than shocked by the move from a bright commercial greenhouse to a dim windowsill.
Basil is a warm-weather herb, and that single fact explains most successes and failures. It loves heat, hates cold, sulks in soggy soil, and bolts when stressed. None of that makes it difficult — you just need to sow at the right time, keep seedlings warm and bright, and pinch them regularly so they branch instead of racing upwards into one leggy stem.
This guide walks through the whole process in order: choosing a variety, sowing indoors, giving seedlings light and warmth, potting on, moving plants outside, and then pinching and harvesting so a handful of seeds turns into months of pesto, salads, and leaves for pasta and tomatoes. Whether you have a sunny windowsill, a balcony of pots, or a herb bed, the steps are the same.
Step 1: Choose the Right Basil Variety
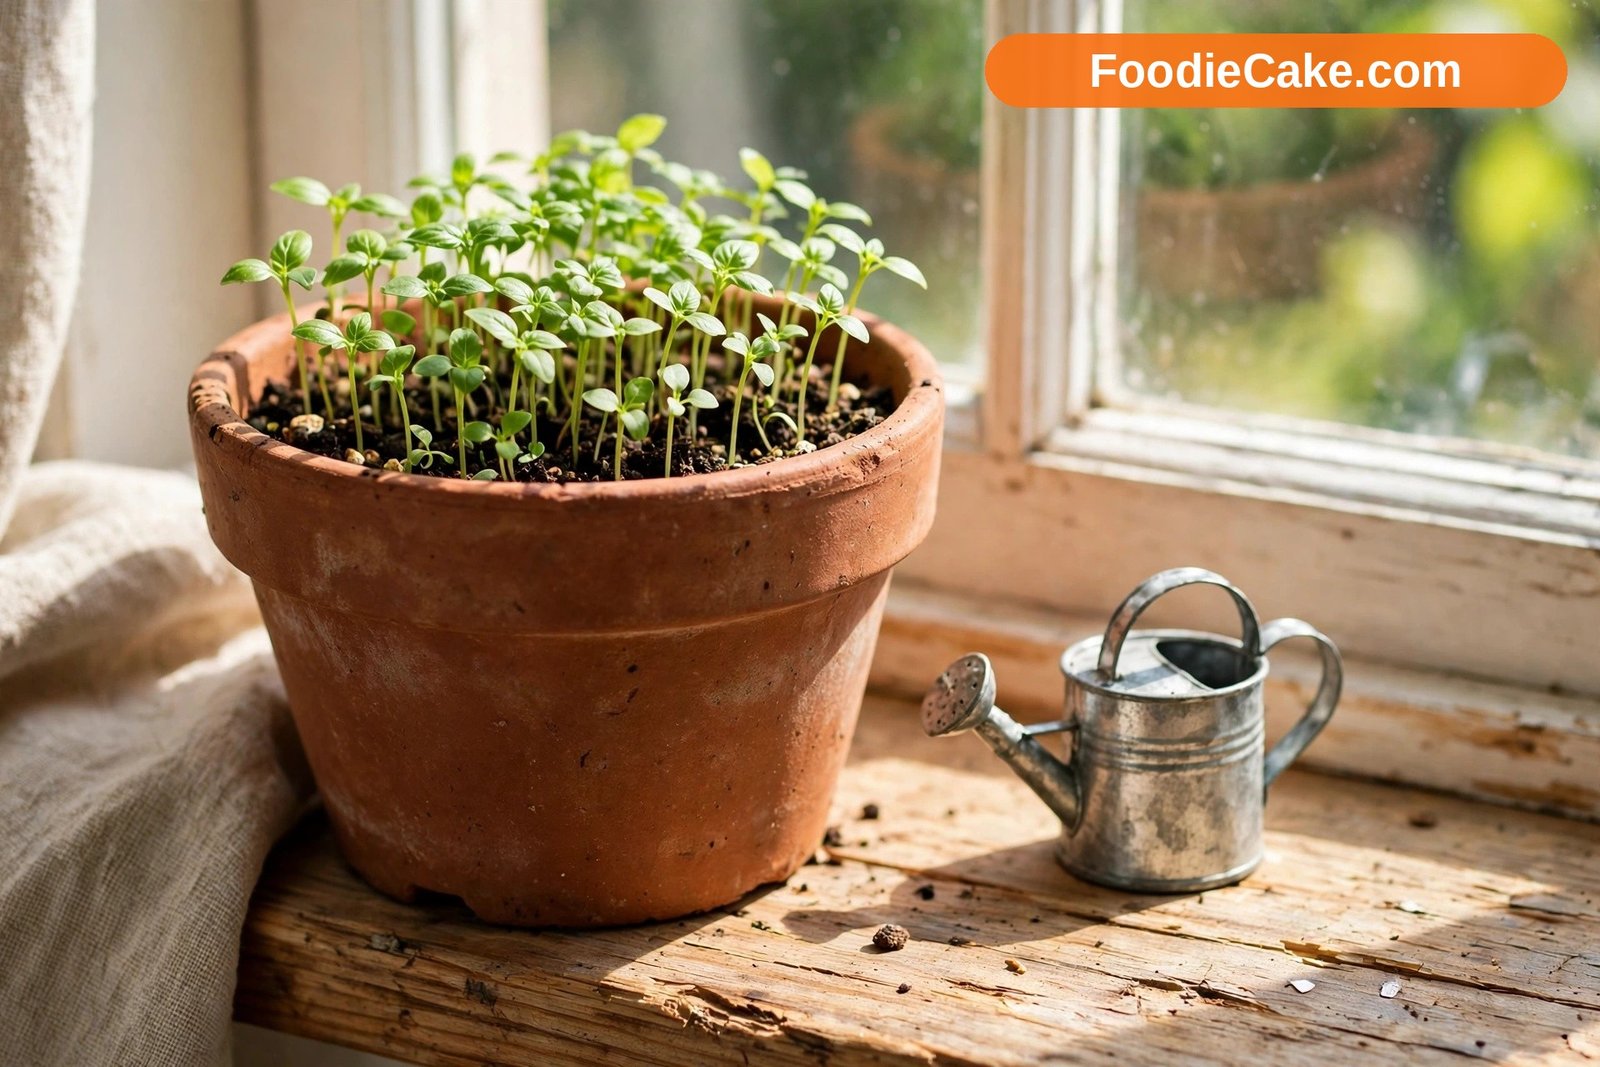
Start with sweet basil if this is your first attempt. ‘Genovese’ is the classic Italian type, with large, glossy, strongly flavoured leaves that make the best pesto. It grows vigorously, responds well to pinching, and is the variety most recipes have in mind when they simply say “basil”.
If space is tight, look for compact types. ‘Spicy Globe’ and Greek basil form neat, rounded mounds of small leaves with an intense flavour, and they suit a small pot on a windowsill far better than a lanky Genovese. They also need less pinching to stay tidy, though they still benefit from regular picking.
For other flavours, lemon basil brings a bright citrus note lovely with fish and salads, Thai basil has a warm, slightly aniseed flavour that holds up well in stir-fries, and ‘Dark Opal’ gives you deep purple leaves for contrast. All are sown and grown the same way, so choose by flavour and space. One note: basil seed keeps for a few years stored cool and dry, but very old seed germinates patchily, so sow an old packet a little more thickly.
Step 2: Know When to Sow Basil Seeds
Timing is where most beginners go wrong, usually by sowing too early. Basil seed needs warmth to germinate well — soil around 20 to 25°C is ideal — and seedlings need strong light from the moment they emerge. Sow in a cold, dark February and you get pale, stretched seedlings that never quite recover.
For most gardeners in zones 5–8, the sensible window for sowing indoors is about six to eight weeks before your last expected frost, which in practice means mid-March to mid-April for many northern gardens. In warmer areas, in zones 9–10 for example, you can sow earlier indoors and also sow directly outside once nights are reliably warm. In cooler, shorter-season areas, waiting until April is no disadvantage at all — basil sown into warmth and light in April will often overtake basil sown into cold gloom in February.
Do not rush plants outside. Basil is tender, and a single cold night can blacken leaves and check growth for weeks. Wait until all risk of frost has passed and night temperatures are staying consistently above 10°C — often late May or early June in zones 5–6, a few weeks earlier in zones 7–8. If a cold snap threatens, cover pots with fleece or bring containers under cover. Sow in succession, too: a small sowing every three to four weeks into midsummer gives you young plants as older ones tire, and a July sowing for the windowsill can carry you into autumn.
Step 3: Gather What You Need Before You Start
You need very little, and none of it has to be expensive: seed, small pots or a seed tray with drainage holes, and a fine, free-draining seed compost or a light multi-purpose compost sieved to remove the biggest lumps. Basil seedlings are small at first, and a very coarse, chunky mix makes it harder for the tiny roots to make good contact.
You also need a clear lid, propagator top, or clear plastic bag to cover the tray while seeds germinate, labels so you remember which variety is which, and a spray bottle or small watering can with a fine rose. A bright windowsill may be enough in late spring, but a simple LED grow light makes a real difference earlier in the year. If you plan to grow in pots all season, have larger pots ready — a final pot of at least 20 to 25 cm across for a single bushy plant. Terracotta dries out fast in hot weather; plastic or glazed pots hold moisture longer and are more forgiving if you miss a watering.
Step 4: Sow the Seeds Step by Step
Fill your tray or small pots with compost, firm it gently, and water it so the compost is evenly damp before you sow. Sowing onto already-moist compost is much kinder than flooding tiny seeds afterwards and washing them into a corner.
Scatter the seeds thinly over the surface. Basil seeds are small and dark, and they swell into a jelly-like coating when wet, so take your time. Aim for a seed every centimetre or so in a tray, or three to four seeds in a small 7 cm pot. You can thin later, but sowing thinly from the start gives each seedling air and light and reduces the risk of damping off, the fungal problem that topples seedlings at soil level.
Cover the seeds with only a very fine sprinkle of compost or vermiculite — just 3 to 5 mm. Basil buried deeply struggles to emerge. Press the surface down very lightly so the seeds sit snugly against the damp compost, then mist with water.
Cover the tray with a clear lid or bag to hold in humidity, and place it somewhere warm: on top of a fridge, in an airing cupboard, or on a heat mat. Light is not essential until the seeds sprout, but warmth is. Germination usually takes 5 to 10 days. As soon as green loops push through, remove the cover and move the tray into the brightest light you have — that move is the most important moment in the whole process.
Step 5: Give Seedlings Light, Warmth, and Careful Watering
New basil seedlings need light immediately and in quantity. Twelve to sixteen hours of strong light a day keeps them short and sturdy. On a windowsill, turn the tray a quarter-turn each day so seedlings do not lean one way, and choose your sunniest sill. If seedlings stretch, grow pale, or develop long gaps between leaf pairs, the light is not enough — a grow light placed just a few centimetres above them will fix it in a way a March windowsill often cannot.
Keep the compost moist but never sodden. Water from below where you can, by standing the tray in a shallow dish of water for ten minutes, which encourages roots to grow downwards and keeps the surface a little drier — a small help against damping off. Empty any water left standing afterwards. Seedlings sitting in cold, wet compost in poor light are the ones that suddenly collapse, so drainage, air movement, and light matter as much as watering itself.
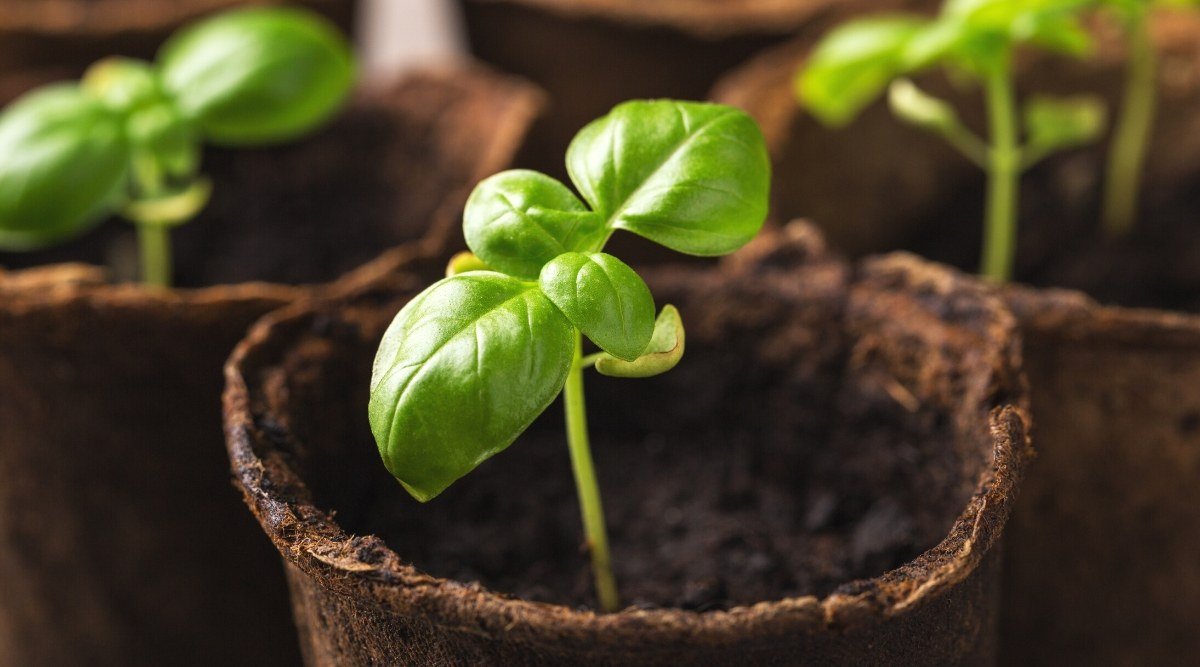
Once the seedlings have their first pair of true leaves — the crinkled, proper basil leaves that follow the smooth round seed leaves — begin thinning or pricking out. If you sowed into a tray, lift each seedling gently by a leaf, never by its delicate stem, and settle it into its own small pot, burying it up to just below the seed leaves. If you sowed several seeds in one pot, snip out the weakest with scissors rather than pulling, so you do not disturb the roots of the one you are keeping.
Step 6: Pot On and Grow Strong Plants Indoors
Basil grows quickly once it is warm and bright, and it will need potting on once roots fill the first pot or the plant is 10 to 15 cm tall. Move it into a pot one size larger with fresh compost, water it in well, and keep it in bright light. Pinch it even at this stage — more on that below — because a plant that is pinched young becomes a bush, while a plant left alone becomes a single stem.
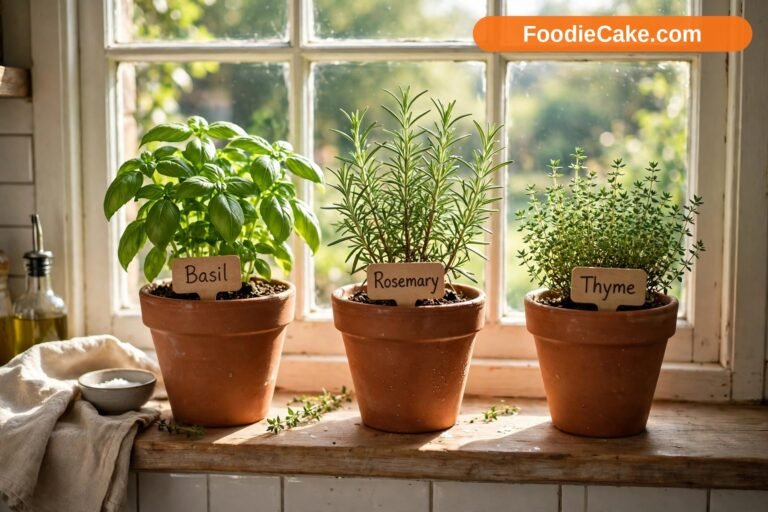
If your long-term plan is a windowsill plant, settle it into its final pot now: the brightest spot you have, regular watering, and good air without cold draughts, rotating the pot every few days. Many people who are starting a kitchen herb garden find basil teaches them the most, because it responds so visibly — it perks up within hours of a drink and branches within days of a pinch. Feed a strongly growing plant roughly every two weeks with a balanced liquid feed at half strength; basil does not need heavy feeding, and overfed, soft growth can be less flavourful and more attractive to aphids.
Step 7: Harden Off and Grow Basil Outdoors
Outdoor basil, in a bed or in pots on a patio, gives the biggest harvests, but it must be introduced gradually. Hardening off means moving plants outside for a few hours in a sheltered, lightly shaded spot on the first day, then increasing the time and sun over seven to ten days before planting out for good. Plants thrown straight into full midday sun can scorch, with bleached, papery patches on the leaves, even though basil ultimately loves sunshine.
Choose the sunniest, most sheltered position you have — against a warm wall is ideal — in soil that drains freely. Basil hates cold, wet roots, so on heavy clay, grow it in raised beds or pots, or dig in plenty of grit and compost to open the soil up. Space plants about 25 to 30 cm apart; they look sparse at first, but a well-pinched plant fills its space quickly, and crowded basil with poor airflow is prone to mildew later in the season.
Water plants in well at planting, and mulch once the soil has warmed to hold moisture. In pots, check moisture daily in hot weather, water at the base in the morning, and do not let pots sit in standing water.
Step 8: Pinch and Prune to Keep Basil Bushy
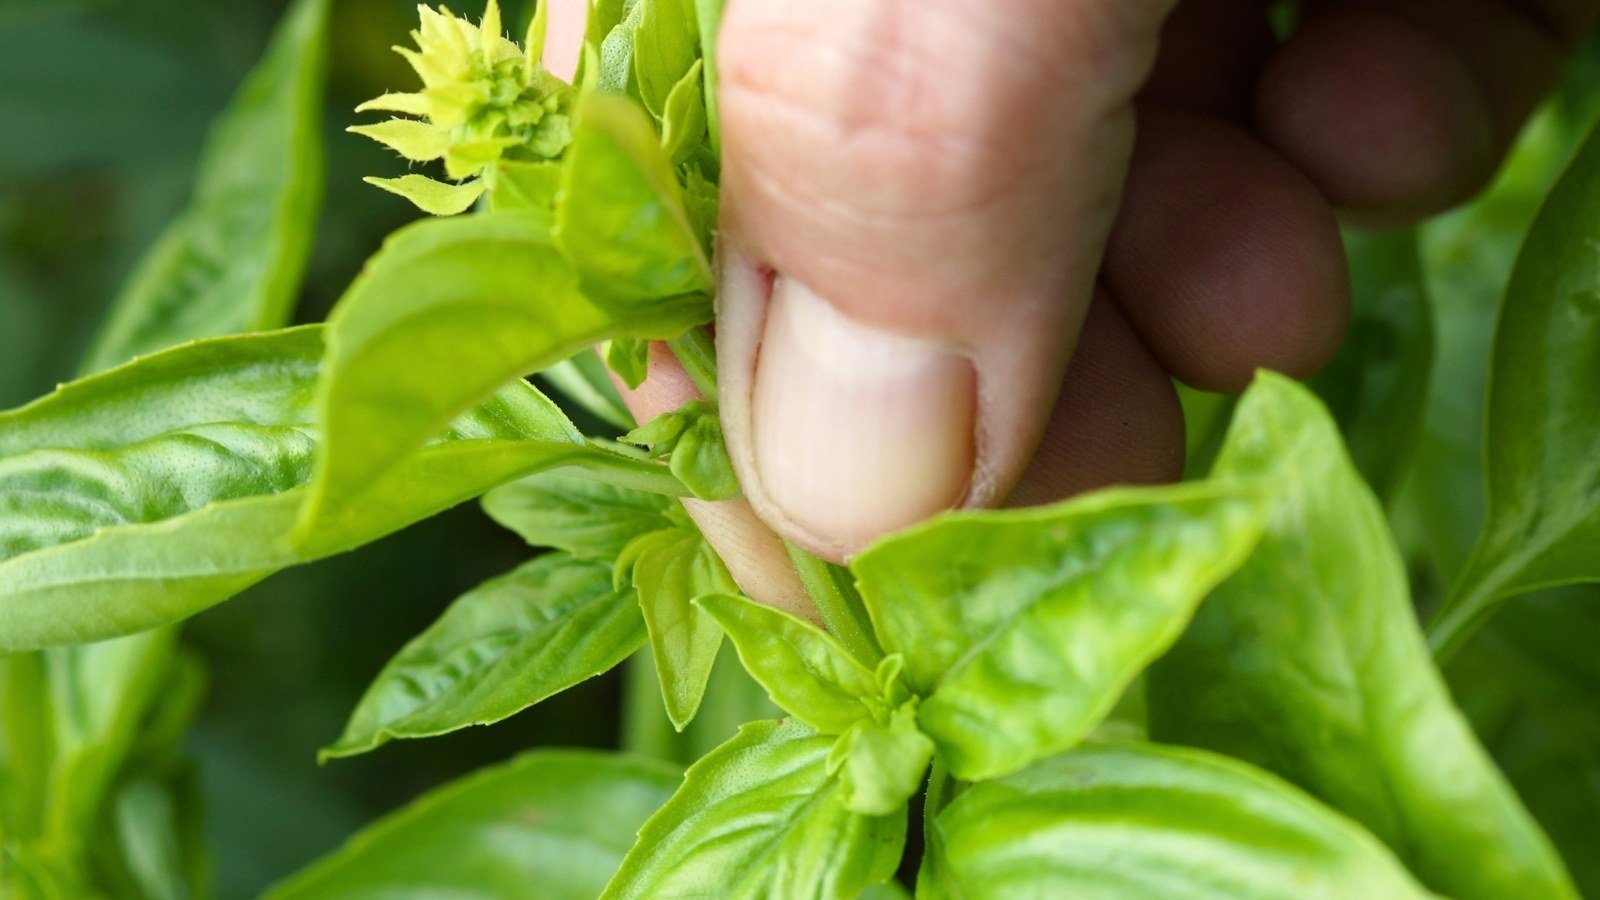
Pinching is the skill that separates a disappointing basil plant from a great one. Left alone, basil grows upwards, sets flower buds at the tip, and once it flowers, the leaves turn more bitter, growth slows, and the plant begins to wind down. Pinching delays flowering and forces the plant to branch, doubling your harvest points again and again.
Start early. When a young plant has three sets of leaves and is about 15 cm tall, look for the point just above the second set of leaves from the bottom, where two tiny new shoots are forming in the leaf joints. Pinch or snip the stem off just above that point. Those two tiny shoots will grow into two new stems. A week or two later, do the same on each new stem. Very quickly, one stem becomes two, two become four, and you have a rounded, leafy plant instead of a spire.
Keep it up all season: check plants every few days, pinch out flower buds the moment they form, and always cut above a pair of leaves. If a plant does flower, cut it back by up to a third, water and feed it, and it will often push out fresh growth — though a fresh sowing alongside is sensible insurance in late summer.
Step 9: Harvest Basil Leaves the Right Way
Harvest little and often, and harvest from the top. Picking is really just pinching with a purpose: take the growing tips first, then larger outer leaves as you need them, always leaving at least two sets of leaves on each stem so the plant can grow back. Never strip a stem bare, and take no more than about a third of the plant at one time.
The best time to pick is mid-morning, after any dew has dried but before the heat of the day, when the aromatic oils in the leaves are strong. If you need to keep leaves a little longer, treat cut stems like flowers in a glass of water at room temperature — basil blackens in the fridge, so cold storage is the one place it does not want to be.
For a glut, pesto is the classic answer, and it freezes well in small pots or ice-cube trays. Drying basil loses most of what makes it special, so freezing is the better choice — one more reason to count basil among the best herbs to grow indoors for fresh picking through the cooler months as well.
Practical Tips for Healthier Basil Plants
Grow more plants than you think you need. Basil is at its best when it is picked hard and often, and three or four plants picked in rotation stay in better shape than one plant you are afraid to touch. Succession sowing is the companion habit to this — a tiny fresh sowing every few weeks costs almost nothing and keeps young plants coming.
Water the soil, not the leaves, and water in the morning — wet foliage sitting overnight invites fungal problems. In pots, water thoroughly until it runs from the drainage holes, then wait until the top centimetre of compost feels dry before watering again. Basil wilts dramatically when thirsty and usually recovers within an hour or two of a drink, so an occasional wilt is a reminder, not a disaster — just do not let it happen daily.
Watch the night temperature, indoors and out. A windowsill warm by day can be cold by night in early spring if the plant sits between cold glass and a closed curtain, so move pots a little into the room on very cold nights, and outdoors keep fleece handy for late cold snaps. Finally, use your harvest: every tip you pinch is a branching point the plant would not otherwise have made, so the cook who uses basil generously ends up with the bushiest plants.
Common Mistakes When Growing Basil from Seeds
Sowing too early in cold, dim conditions is the classic first mistake. Seedlings emerge slowly, stretch towards weak light, and grow into thin, pale plants that never thrive. If yours look leggy, the honest fix is more light and, if they are very weak, a fresh sowing a few weeks later — a healthy April sowing will outgrow a miserable February one.
Overwatering and poor drainage come next. Basil likes consistent moisture, but roots sitting in cold, airless, saturated compost rot, and stems blacken at the base. Always use pots with drainage holes, empty saucers after watering, and let the surface dry slightly between waterings. If a seedling flops overnight with a pinched, dark stem at soil level, that is damping off, and it is prevented by thin sowing, good airflow, and not keeping seedlings constantly wet and covered.
Planting out too soon is the outdoor version of the same impatience. One cold night may not kill basil, but it checks it hard, and chilled plants sulk while later-planted neighbours grow away. Wait for warm nights and harden plants off properly. The last mistake is never pinching: a plant harvested only by pulling off side leaves grows tall, flowers early, and is finished by midsummer. Pinch the tips and cut above leaf pairs — it feels ruthless the first time, but within a fortnight you will see why growers insist on it.
Frequently Asked Questions
How long does basil take to grow from seed to harvest?
In warm, bright conditions, you can usually start pinching tips and picking a few leaves about six to eight weeks after sowing, once plants are around 15 to 20 cm tall. Cool temperatures and poor light stretch every stage, which is why a later sowing in good conditions often catches up with an early one.
Can I grow basil from seeds indoors all year round?
You can, provided you can give it warmth and strong light. In winter, daylight alone is rarely enough in northern areas, so a grow light on for 12 to 14 hours a day makes the difference between a plant that survives and one that produces leaves worth picking. Keep plants away from cold draughts and chilly glass at night, and expect slower growth in midwinter.
Why are my basil seedlings leggy?
Almost always because of low light, sometimes combined with too much warmth and sowing too thickly. Move seedlings into the brightest light you have the moment they emerge, place a grow light close above them if needed, turn pots daily, and thin crowded seedlings. Very stretched seedlings rarely become good plants; sowing again, a little later and brighter, is often the kindest option.
Why are my basil leaves turning black or yellow?
Black patches are most often a sign of cold — chilled leaves or storage in the fridge after picking. Yellow leaves can mean overwatering, a need for feed in an old pot, or simply old lower leaves ageing. Check the basics first: warmth, drainage, light, and regular pinching.
Should I let my basil flower?
If you are growing for leaves, no — pinch flower buds out as soon as you see them, because flowering changes the flavour and slows leaf production. Bees love the flowers, though, so if you have spare plants late in the season, letting one flower for the pollinators is a perfectly good choice. Just do not expect that plant to keep giving you its best leaves afterwards.
Final Thoughts
Growing basil from seeds is one of the most satisfying small jobs in the kitchen garden, because the plant tells you so clearly what it needs: warmth, light, water at the roots, and a regular pinch. Sow thinly onto damp compost, get seedlings into bright light the moment they appear, wait for warm nights before planting out, and then pinch, pick, and pinch again. Do those things, and a pinch of tiny seeds becomes a summer of fragrant harvests — with enough left over for pesto in the freezer.