How to Grow Basil from Seeds
Basil grown from seed tastes better than basil bought in a pot. That sounds like a bold claim, but there is a reason for it: shop plants are usually several seedlings crammed into one small pot, grown fast under artificial light, and they arrive stressed. A plant you raise from seed, thinned properly and pinched regularly, grows into a bushy, fragrant plant that keeps producing for months.
Seed is also absurdly cheap. One packet holds dozens of plants for the price of a single supermarket pot. This guide covers the whole journey — choosing a variety, sowing indoors, moving seedlings outside, and harvesting in a way that makes the plant branch instead of bolting.

Why Seed Beats a Shop Plant (Most of the Time)
Walk through any supermarket and you will see basil pots that look lush on the shelf and collapse within a week at home. They are not bad plants; they are crowded plants. Growers sow twenty or more seeds in a 9 cm pot so it looks full, and the seedlings then compete for light, water and root space. At home, that pot dries out in a day and the plants sulk.
Starting from seed lets you control the density. You sow thinly, thin to the strongest seedlings, and end up with one vigorous plant per pot. It also opens up varieties you will never find in a shop — lemon basil, purple ruffles, Thai basil — and it costs a fraction of the price.
The trade-off is time. From sowing to first harvest is about six to eight weeks, so if you want basil for a dinner party this weekend, buy a plant. If you want basil all summer, sow seed now.
Choosing Your Variety: Five Worth Knowing
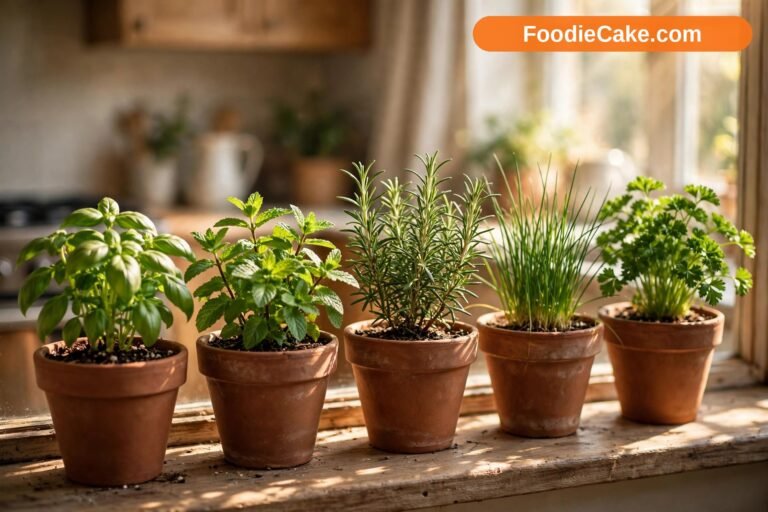
All basil is the same species, Ocimum basilicum, but varieties differ in flavour, size and looks. Here are the five most useful:

- Genovese basil — the classic. Large, sweet, slightly peppery leaves, the proper choice for pesto. Grows 18 to 24 inches tall. This is the one to sow if you only sow one.
- Sweet basil — the all-rounder, milder than Genovese, with big soft leaves. Good for salads, caprese and general cooking.
- Thai basil — narrow leaves with a distinct aniseed, almost liquorice flavour. Essential for Thai curries and noodle dishes. Its purple stems make it easy to spot.
- Purple Ruffles basil — deep purple, frilly leaves. Flavour is milder and slightly clove-like, but it is beautiful in salads and as a garnish, and it makes a striking pot plant.
- Lemon basil — small leaves with a clear citrus scent. Lovely with fish, in teas and in fruit salads. More compact than Genovese, so it suits small pots.
Whatever variety you pick, check the packet date. Basil seed stays viable for about three to five years if stored cool and dry, but fresh seed germinates faster and more evenly. The RHS guide to growing basil lists sowing times and spacing for the main varieties, and it is worth a read before you start.
Basil is an annual in most climates — it completes its life in one season and dies with the first frost. In USDA zones 10 and 11 it can behave as a short-lived perennial, but everywhere else, treat it as a summer crop and re-sow each spring.
The Sowing Calendar: When to Start, Month by Month
Basil hates cold. It will not germinate below about 60°F (15°C), and it sulks badly below 50°F (10°C). Everything in the calendar below works backwards from your last frost date.
| Timing | What to do | Where |
|---|---|---|
| 6–8 weeks before last frost | Sow indoors in trays or small pots | Warm windowsill or propagator, 70–75°F (21–24°C) |
| 2–3 weeks after sowing | Thin seedlings; pot on the strongest | Still indoors, bright light |
| 1 week before moving out | Harden off: a few hours outside daily, increasing | Sheltered spot, bring in at night |
| After last frost, nights above 50°F (10°C) | Transplant outdoors or into final pots | Sunniest spot, 12–18 inches apart |
| Early summer | Sow a second batch for succession | Indoors or direct in warm soil |
| Mid-summer onward | Harvest weekly; pinch flower buds off | — |
In warm climates with no frost, you can sow outdoors directly once the soil is reliably warm. In cooler regions, indoor sowing is not optional — it is the only way to get a long enough season. A second sowing in early summer keeps fresh plants coming after the first batch starts to tire, and it is the simplest succession trick in herb gardening.

Sowing Step by Step: From Packet to Seedling
Here is the method, in order. It takes about fifteen minutes.
Step 1 — Fill your trays
Use a seed tray, small pots, or a module tray filled with moist seed compost. Ordinary multi-purpose compost works, but seed compost is finer and gives small seeds better contact with the soil. Water the compost before sowing so it is damp all the way through, not wet on top and dry underneath.
Step 2 — Sow on the surface
Basil seed needs light to germinate, so do not bury it. Scatter seeds thinly on the surface and press them gently into the compost with the back of a spoon, or cover with the thinnest dusting of vermiculite — just enough to hold moisture. Sowing too deep is the most common reason basil fails to appear.
Step 3 — Warmth and cover
Cover the tray with a clear lid, a sheet of glass, or a plastic bag held up with sticks. This keeps humidity in while seeds germinate. Place it somewhere warm — 70 to 75°F (21–24°C) is ideal. The top of a fridge, a heated propagator, or a warm windowsill all work. Remove the cover as soon as seedlings appear, or damping-off disease can strike.
Step 4 — Light from day one
As soon as green shows, seedlings need strong light. A south-facing windowsill is ideal; without one, a simple grow light 6 inches above the tray for 14 to 16 hours a day keeps them stocky. Seedlings grown in dim light stretch tall and pale within days, and they never fully recover.
Step 5 — Thin without mercy
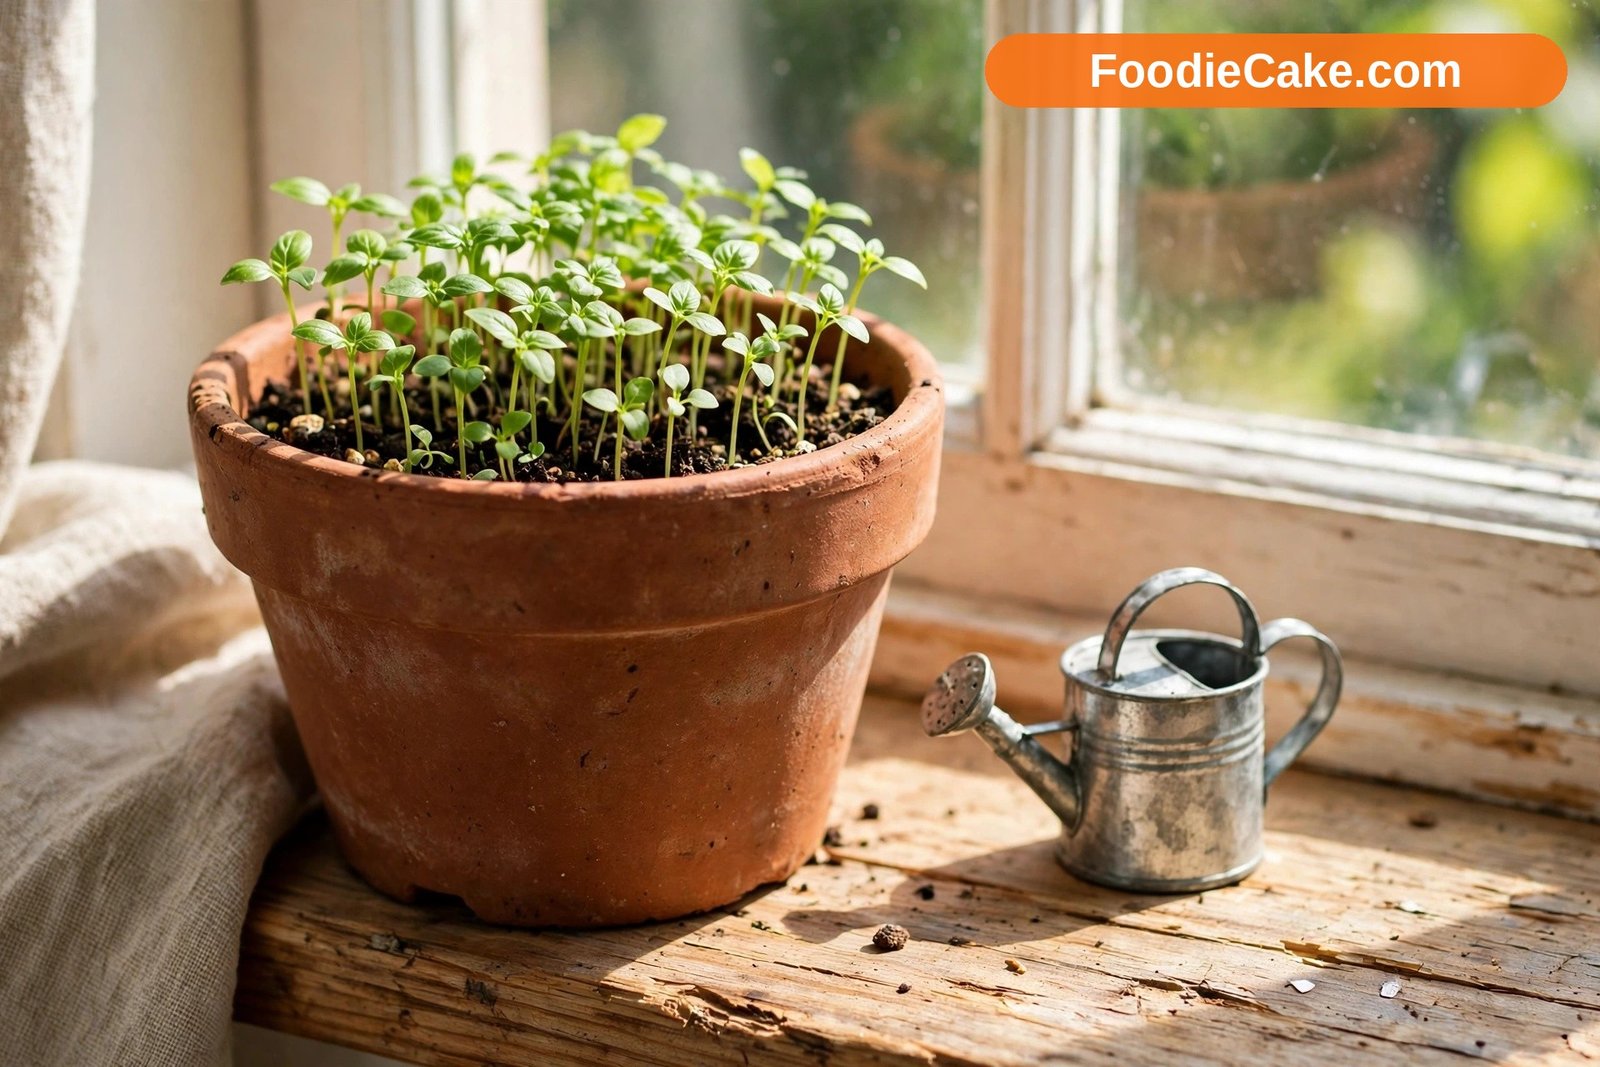
When seedlings have two or three sets of true leaves, thin to one plant per module, or to about an inch apart in a tray. Snip the extras with scissors rather than pulling them out, which disturbs the roots of the ones you keep. It feels wasteful. It is the difference between one strong plant and ten weak ones.
Step 6 — Pot on
Once seedlings are 3 to 4 inches tall with several sets of leaves, move each one into its own 3- to 4-inch pot of multi-purpose compost. Handle them by a leaf, never by the stem — a crushed stem is a dead seedling. Water them in gently and keep them in bright light.
Germination usually takes 5 to 10 days at the right temperature. If nothing appears after two weeks, the seed was probably too cold, too deep, or too old — re-sow rather than waiting longer.

Moving Outdoors: Transplanting Without the Shock
Seedlings raised indoors are soft. They have never felt wind, direct sun, or a cold night, and moving them straight outside will scorch or wilt them in a day. Hardening off is the bridge: for about a week before transplanting, put plants outside for a few hours each day in a sheltered spot, bringing them in at night, and lengthen the time outdoors gradually.
Transplant only after the last frost, when night temperatures stay above 50°F (10°C). Basil planted into cold soil just sits there, sulking, and often never catches up with plants set out two weeks later in warm soil. Patience here pays off.
Space plants 12 to 18 inches apart — Genovese and sweet basil need the wider spacing; smaller varieties like lemon basil manage with 12 inches. They want full sun, six to eight hours a day, and rich, well-drained soil with plenty of compost dug in. In containers, one plant per 6- to 8-inch pot is right; a 12-inch pot can hold two or three if you keep up with watering.
Water seedlings in well after transplanting, and mulch around outdoor plants with a thin layer of compost or straw. Mulch keeps the soil moist and warm, and it stops soil splashing onto leaves during rain, which is how soil-borne diseases spread.
Water, Feed and the Art of Pinching
Watering: Basil likes steady moisture and hates drying out completely. Water at the base of the plant in the morning, so leaves stay dry and the plant has water for the heat of the day. In pots, check daily in summer — a pot in full sun can need water every day. In the ground, an inch or two a week is usually enough, depending on rain. Yellowing lower leaves often mean too much water; wilting in the afternoon sun usually means too little, and plants normally recover by evening once watered.
Feeding: Basil is a light feeder. Too much nitrogen fertiliser makes big soft leaves with weak flavour, so go easy. A monthly feed of half-strength balanced liquid fertiliser during the growing season is plenty, and compost worked into the soil at planting time often covers most of its needs. Never fertilise a dry plant — water first, then feed.
Pinching: This is the single most important habit for basil. Once a plant has six to eight leaves, pinch the growing tip off just above a pair of leaves. Two new stems will sprout from that point, and each of those can be pinched again later. A plant pinched regularly turns into a bush with dozens of stems; a plant never pinched grows into a single tall stalk that flowers early and dies. Start pinching when plants are about 6 inches tall, and repeat every couple of weeks through the season.
Flowers: When basil flowers, leaf production slows and flavour turns slightly bitter. Pinch flower buds off as soon as you see them. If a plant has already bolted badly, you can cut it back hard — to about half its height — and it will usually regrow fresh leaves within a couple of weeks, especially in warm weather.

Harvesting: How Much, How Often, and What to Do With It
First harvest comes about six to eight weeks after sowing, once plants are 6 to 8 inches tall. Harvest in the morning, when the essential oils are at their peak and leaves are crisp. Never strip more than one-third of the plant at once — it needs leaf area to keep growing.
Pick leaves from the top down, always pinching just above a leaf pair so the plant branches. Regular picking is not just harvesting; it is the pruning that keeps the plant productive. A well-pinched plant can supply a household all summer from just two or three plants.
Fresh basil is best used the same day. It bruises easily, so tear leaves rather than chopping them with a knife when you can, and add them at the end of cooking — long cooking destroys the flavour. For pesto, Genovese is the classic choice; blend with pine nuts, garlic, parmesan and olive oil, and freeze the pesto in ice-cube trays for winter.
Preserving: basil dries poorly — it loses both colour and flavour. Freezing works much better. Blanch leaves briefly in boiling water, plunge into ice water, squeeze dry, and freeze in small bags; or blend leaves with a little olive oil and freeze the paste in cubes. Either way, you will have summer basil in January.
Pests, Diseases and the Things That Go Wrong
Basil is generally healthy, but a few problems appear every year. Most are preventable with spacing, morning watering and air circulation.
| Problem | Signs | What to do |
|---|---|---|
| Fusarium wilt | Plants wilt suddenly, stems brown inside | Remove and destroy the plant; do not compost; grow resistant varieties next year; rotate beds |
| Downy mildew | Yellow patches on upper leaves, grey fuzz beneath | Remove affected leaves; improve air flow; water at the base; choose resistant varieties |
| Aphids | Clusters of small green or black insects on young growth | Blast off with water; encourage ladybirds; insecticidal soap for heavy attacks |
| Slugs and snails | Ragged holes, slime trails, worst after rain | Hand-pick at dusk; keep mulch thin near stems; beer traps or copper tape |
| Japanese beetles | Skeletonised leaves in mid-summer | Hand-pick into soapy water in the morning when they are sluggish |
| Damping off | Seedlings collapse at soil level | Use fresh compost; do not overwater; ventilate trays once seeds sprout |
Fusarium wilt is the serious one — it lives in the soil and there is no cure once a plant is infected. The defence is prevention: buy seed of resistant varieties where available, rotate basil to a different bed each year, and never plant basil where tomatoes or other fusarium-prone crops grew the year before. Clemson Extension’s herb fact sheet covers basil’s basic cultural needs — full sun, well-drained soil, and regular pinching — and those three things prevent most trouble before it starts.
Neem oil can help with aphids and mildew, but use it sparingly on herbs you eat: spray in the evening, follow the label, and wash leaves well before cooking. In most cases, water, hand-picking and good airflow solve the problem without any spray at all.
Basil in Pots vs in the Ground: Which Is Better?
Both work, and the right choice depends on your space and your climate. Pots give you control — you can move plants into the sun, bring them inside when a cold night threatens, and keep the soil exactly as basil likes it. The price is watering: a pot in full summer sun can need water every day, and a missed day shows in wilted leaves by evening. Use pots at least 6 to 8 inches wide, and bigger is better — a 12-inch pot holds moisture far longer than a 6-inch one and gives roots room to support a big bushy plant.
Basil in the ground grows bigger, with less watering, because the soil stays cooler and holds moisture longer. Plants spaced 12 to 18 inches apart in rich, compost-improved soil can reach 2 feet tall and produce armfuls of leaves. The trade-off is slugs, which love basil, and the fact that you cannot move the plants when a cold snap arrives. Mulching with compost or straw helps on both counts — it keeps soil moist and reduces the soil splash that spreads disease.
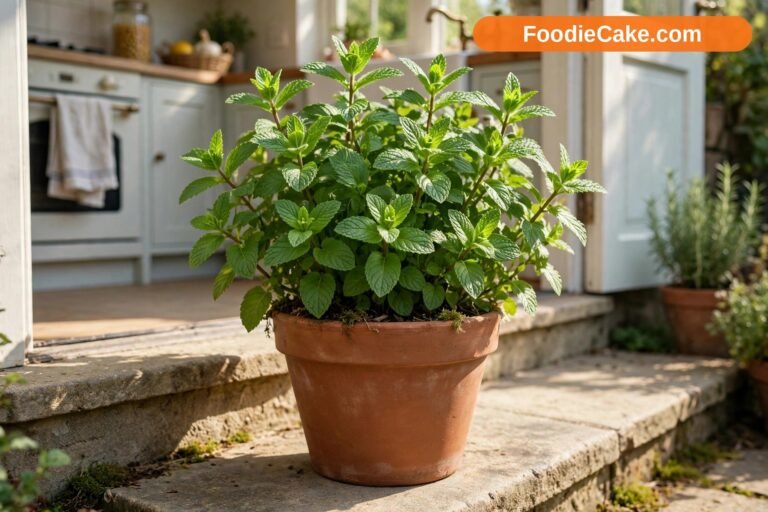
For most people, the best answer is both: a couple of plants in pots by the kitchen door for daily picking, and a row in the garden for bulk harvests and pesto-making. If you only have a balcony or a windowsill, pots alone will serve you perfectly well — just size them generously and check water daily in summer.
Keeping Basil Going: Succession Sowing and Overwintering
A single sowing of basil gives you about two to three months of good picking before the plants get woody and tired. The gardeners with fresh basil in September are not the ones who sowed once in April — they are the ones who sowed again in June.
Succession sowing is simple: sow a small batch every three to four weeks from spring through mid-summer. Each batch takes six to eight weeks to reach harvest size, so the second batch is ready just as the first starts to fade. You do not need many plants per batch — three or four is enough for a household — and you can sow them in the same trays and pots you used for the first round, with fresh compost.
In warm climates, you can also sow directly outdoors in succession through the summer, as long as the soil stays warm and moist. In cooler climates, keep sowing indoors and transplanting out; the last outdoor batch should be planted at least six weeks before the expected first frost.
Overwintering is possible but it is a project rather than a convenience. Basil is a tropical plant and it needs warmth, strong light and steady moisture all winter. Bring a healthy plant indoors before night temperatures drop below 50°F (10°C), give it your brightest south-facing window or a grow light for 14 to 16 hours a day, and keep it away from cold draughts. Growth will be slow and leaves smaller than summer ones, but they are still fresh basil in January.
An easier winter route is cuttings. In late summer, take several 4-inch cuttings from your best plant, root them in water on a windowsill, and pot them up. Small young plants overwinter better than big old ones, and you will have vigorous plants ready to go out again in spring. If they get leggy in the dark months, pinch them back hard in February and they will regrow bushy as the days lengthen.
Finally, save seed if you grow an open-pollinated variety and you have only one variety flowering — basil cross-pollinates easily, so seed from mixed plantings is unpredictable. Let a few flower heads dry on the plant, shake the tiny black seeds into a paper bag, dry them thoroughly, and store them in a labelled envelope in a cool, dry place. They stay viable for three to five years, and next spring’s sowing costs you nothing.
Questions Growers Ask About Basil Seed
How long does basil seed take to germinate?
Five to ten days at 70–75°F (21–24°C) with light and steady moisture. Cooler conditions slow it down a lot, and seed buried too deep may not come up at all.
Can I sow basil directly outside?
Yes, once the soil is warm — reliably above 60°F (15°C) — and all frost has passed. Sow thinly where the plants are to grow, and thin to 12 to 18 inches apart. In cool climates, indoor sowing gives you a much longer season.
Why did my seedlings go tall and floppy?
Not enough light. Basil seedlings stretch toward the nearest light source within days if it is too dim. Give them a south-facing window or a grow light close above them, and they will stay short and sturdy.
How many plants does one household need?
Two or three well-grown plants supply most households through summer, especially if you pinch regularly. Sow a second batch in early summer so fresh plants are ready when the first ones tire.
Can I grow basil indoors all year?
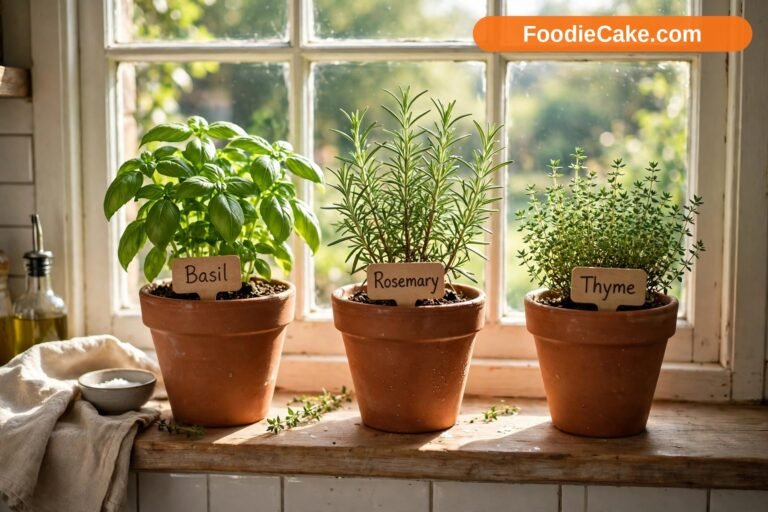
Yes, with a sunny south-facing window or a grow light giving 14 to 16 hours of light a day, and steady warmth above 60°F (15°C). Indoor plants are smaller and slower, but they give fresh leaves in January — which is the whole point. Our guide to starting a kitchen herb garden covers the indoor setup, and the best herbs to grow indoors compares basil with nine others.
Growing basil from seed is one of those skills that looks fiddly and turns out to be mostly about warmth, light and pinching. Sow on the surface, keep it warm, thin ruthlessly, and pinch the tips. Do those four things and a 50-cent packet of seed will give you more basil than you can eat.
Sources
- Royal Horticultural Society — How to grow Basil: https://www.rhs.org.uk/herbs/basil/grow-your-own
- Clemson Cooperative Extension, Home & Garden Information Center — Herbs fact sheet: https://hgic.clemson.edu/factsheet/herbs/