How to Make a DIY Drip Irrigation System
The short answer: a DIY drip system is an afternoon’s work with hand-tight fittings — no soldering, no trenching machine. Water goes slowly, right at the roots, through 1/2-inch mainline tubing and drip lines or individual emitters, controlled by a filter, a pressure regulator set near 25 psi, and a simple battery timer. Done well, drip irrigation can be over 90% efficient, against 50 to 70% for sprinklers, because almost no water is lost to wind, evaporation, or watering the path. Start with one bed, learn how the parts feel in your hands, and expand next season.
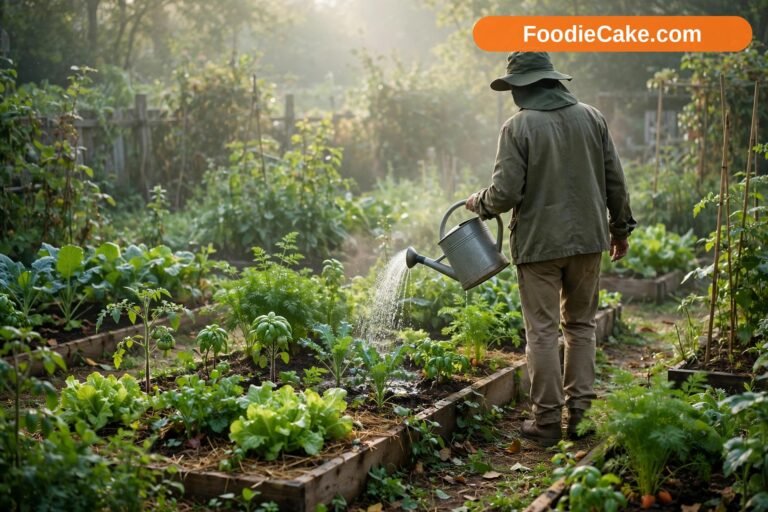
If you have ever dragged a hose from bed to bed on a hot evening, watched half the water run off dry soil, and still found wilted tomatoes the next morning, you already understand the problem drip irrigation solves. Water goes slowly, right at the roots, where plants can actually use it. Leaves stay drier, weeds get less encouragement, and you stop paying to water the path. That is why learning how to make a DIY drip irrigation system is worth an afternoon of your time.
The build is much easier than most beginners expect. There is no soldering, no trenching machine, and no need to understand plumbing beyond screwing a few fittings together by hand. The basic kit is forgiving, parts are cheap enough to experiment with, and if a line ends up in the wrong place, you can pull it up and move it in minutes. This guide works differently from most: first the whole system explained in one picture, then the shopping list, then the plan, then the build itself — so you understand what you are making before you touch a fitting.
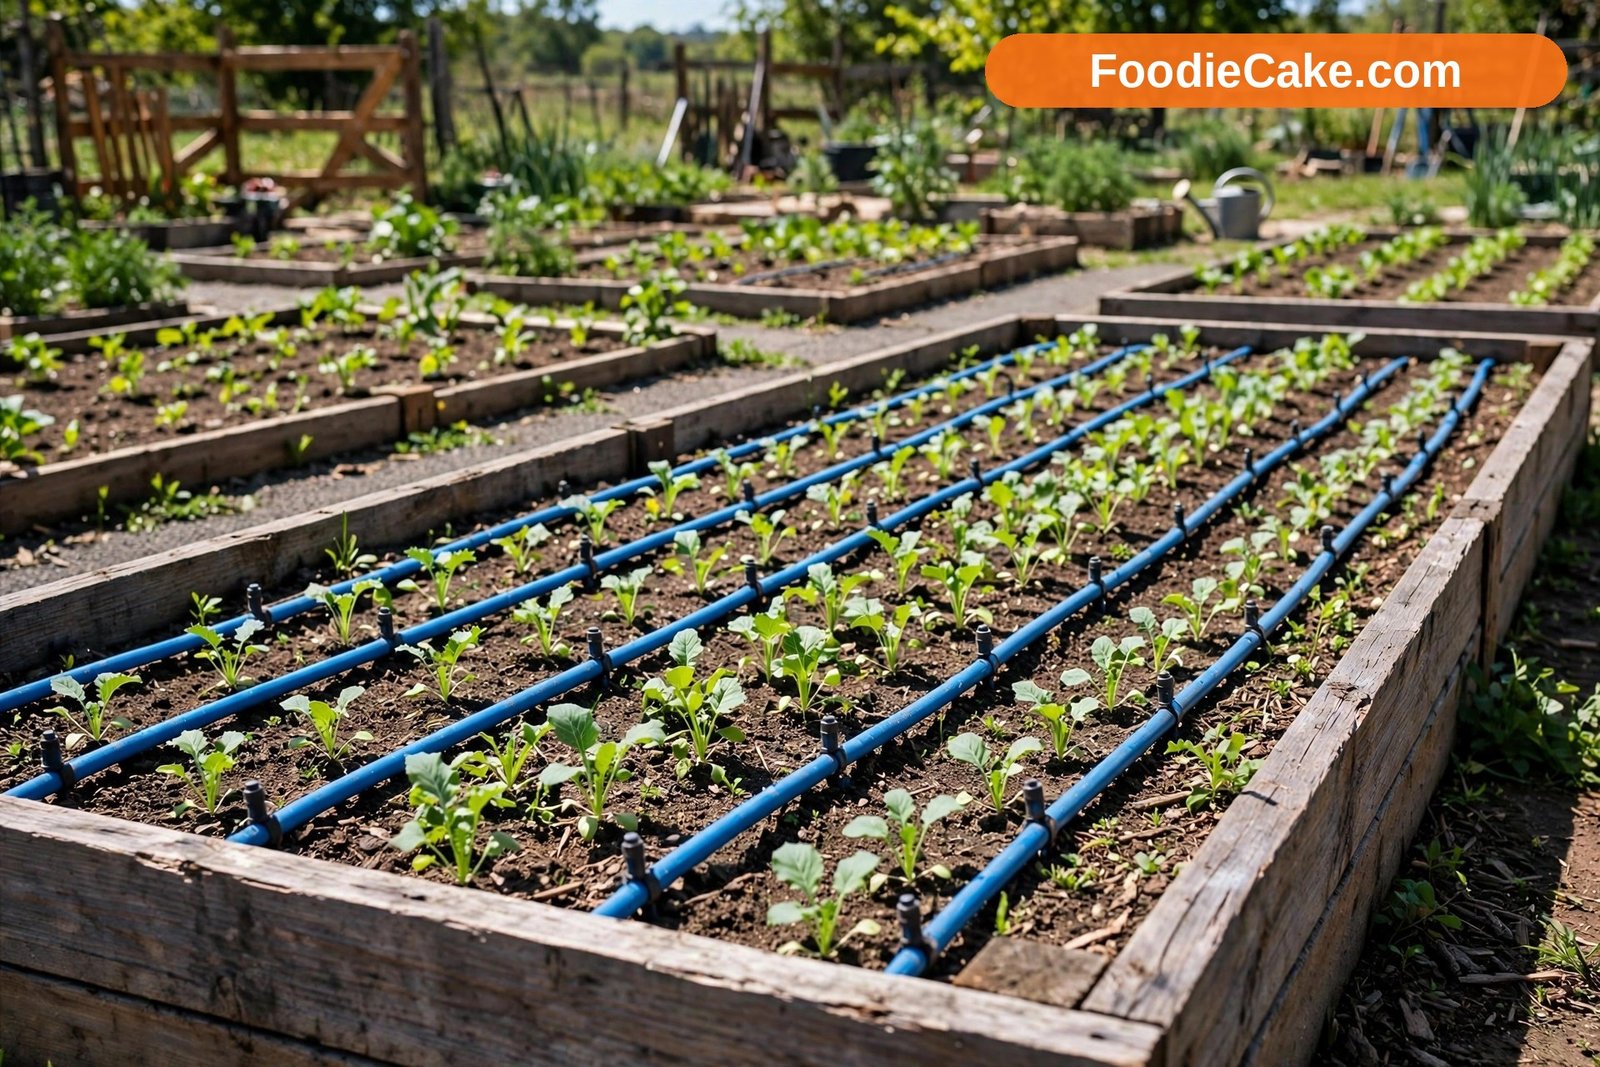
What You Are Building: The System in One Picture
Every drip system, from one raised bed to a whole garden, is the same chain of parts in the same order. Learn the chain once and you can build, fix, and expand anything.
| Stage | Part | What it does |
|---|---|---|
| 1. At the tap | Backflow preventer | Stops garden water from ever siphoning back into your household supply |
| 2. At the tap | Timer (battery) | Turns the water on and off on a schedule, early in the morning |
| 3. At the tap | Filter (screen or disc) | Catches grit — the number one cause of blocked emitters |
| 4. At the tap | Pressure regulator | Drops household pressure to about 25 psi, which is what drip parts are designed for |
| 5. Around the garden | 1/2-inch mainline tubing | The plain black poly “highway” that carries water to each bed |
| 6. In the beds | 1/4-inch drip line or feeder tubing | Branches off the mainline; drip line has emitters built in at set spacings |
| 7. At each plant | Emitters (0.5, 1, or 2 gallons per hour) | Release water slowly, drop by drop, at the roots |
Colorado State University Extension puts the payoff in numbers: drip irrigation exceeds 90 percent efficiency, whereas sprinkler systems are 50 to 70 percent efficient — and many water utilities exempt drip-irrigated landscapes from restrictions during drought. The goal, as Utah State University Extension puts it, is to wet at least half of the plant’s root zone and then let it dry out between waterings. Everything in this guide serves that one goal.
The Shopping List
The parts list looks long, but each piece has one clear job. Many starter kits bundle the tap parts together, which is the cheapest way to begin — then add drip line by the roll as you expand.
| Part | What to look for |
|---|---|
| Backflow preventer | Screws straight onto the tap; keep it at the tap itself, where it belongs |
| Battery timer | Simple dial or digital; a rain-delay button is worth having |
| Filter | Screen or disc type; 150 to 200 mesh suits most municipal water |
| Pressure regulator | Rated near 25 psi; most drip parts are designed for 10 to 30 psi, far below household pressure of 40 to 100 psi |
| 1/2-inch mainline tubing | Plain black poly tube; buy enough for the tap-to-farthest-bed distance plus a little spare |
| 1/4-inch drip line | Emitters built in at 6- or 12-inch spacings; 6-inch suits closely planted greens and carrots, 12-inch suits most other rows |
| Individual emitters | 0.5, 1, and 2 gph; pressure-compensating types are worth it on slopes, plain flag or button emitters are fine on flat ground |
| End caps, figure-eight closures, end plugs | To close the mainline and drip lines after flushing |
| Goof plugs | For holes you punch in the wrong place — everyone makes one |
| Stakes or staples, punch tool, sharp scissors or tube cutter | To hold tubing down and make clean holes; a clean round hole seals, a torn one leaks |
| Bucket, old watering can, tape measure | For flushing, testing, and measuring |
Lay everything out on a warm afternoon if you can; poly tubing unrolls and straightens far more willingly after an hour in the sun. In zones 5–7, where spring can still surprise you with a late frost, wait until nights are reliably above freezing before leaving water in the lines full time. In warmer zones 9–10, you can set up much earlier, but watch for sun-baked tubing softening in the heat when you cut and fit it.
Plan on Paper First
Start with a simple sketch. It does not need to be neat. Draw your beds, rows, or pots as boxes, mark where the outdoor tap sits, and note which plants live where. Measure the distance from the tap to the farthest bed, then measure each bed’s length and width. Those few numbers decide how much tubing you need and prevent the classic mid-project trip back to the shop.
Think about how your plants drink. Leafy greens and carrots have shallow, spread-out roots and want water in a fairly even band along the row. Tomatoes, peppers, squash, and shrubs have deeper, wider root zones concentrated around each plant. Annual flowers in containers are different again, because a pot dries from all sides and needs its own small supply. Group plants with similar thirst together on the same line where you can. Mixing a thirsty cucumber with a drought-tolerant herb on one run time always leaves one of them unhappy.
Note sun and slope too. A bed that bakes all afternoon will need longer or more frequent runs than a shaded bed of lettuce. If your garden slopes, plants at the bottom tend to get a little more water than those at the top, especially on very long runs. Keep individual runs reasonably short — around 30 to 50 feet of drip line per branch is a comfortable home-garden range — and you will avoid most pressure headaches before they start. Finally, decide how you will water. A simple battery timer at the tap is enough for most gardens, and planning for it now means you leave a little space at the tap for the timer, filter, and regulator stack.
The Build: One Afternoon, Four Jobs
Here is the whole build, in the order you actually do it. Each job takes well under an hour on a first attempt.
Job 1 — Build the head assembly at the tap
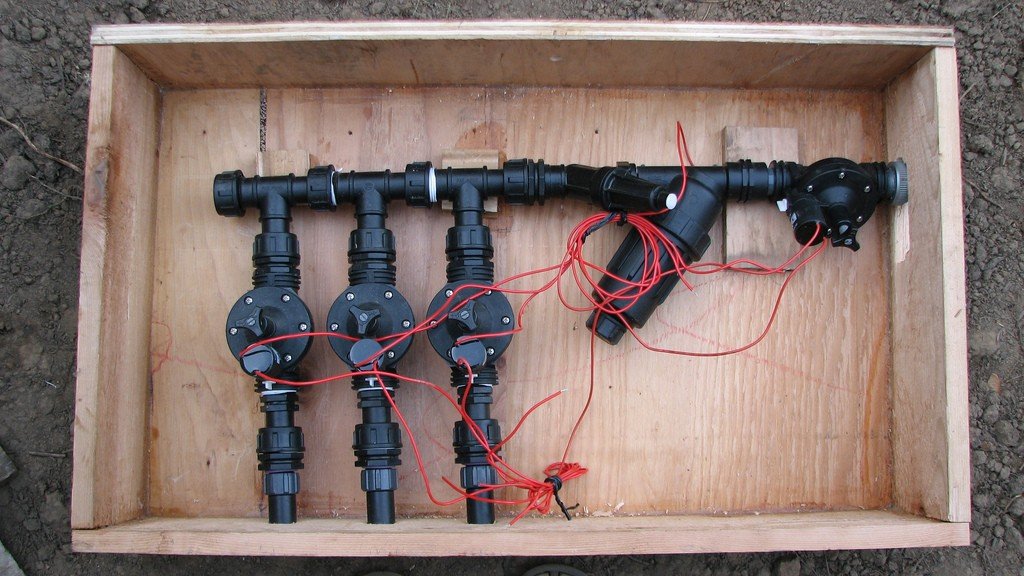
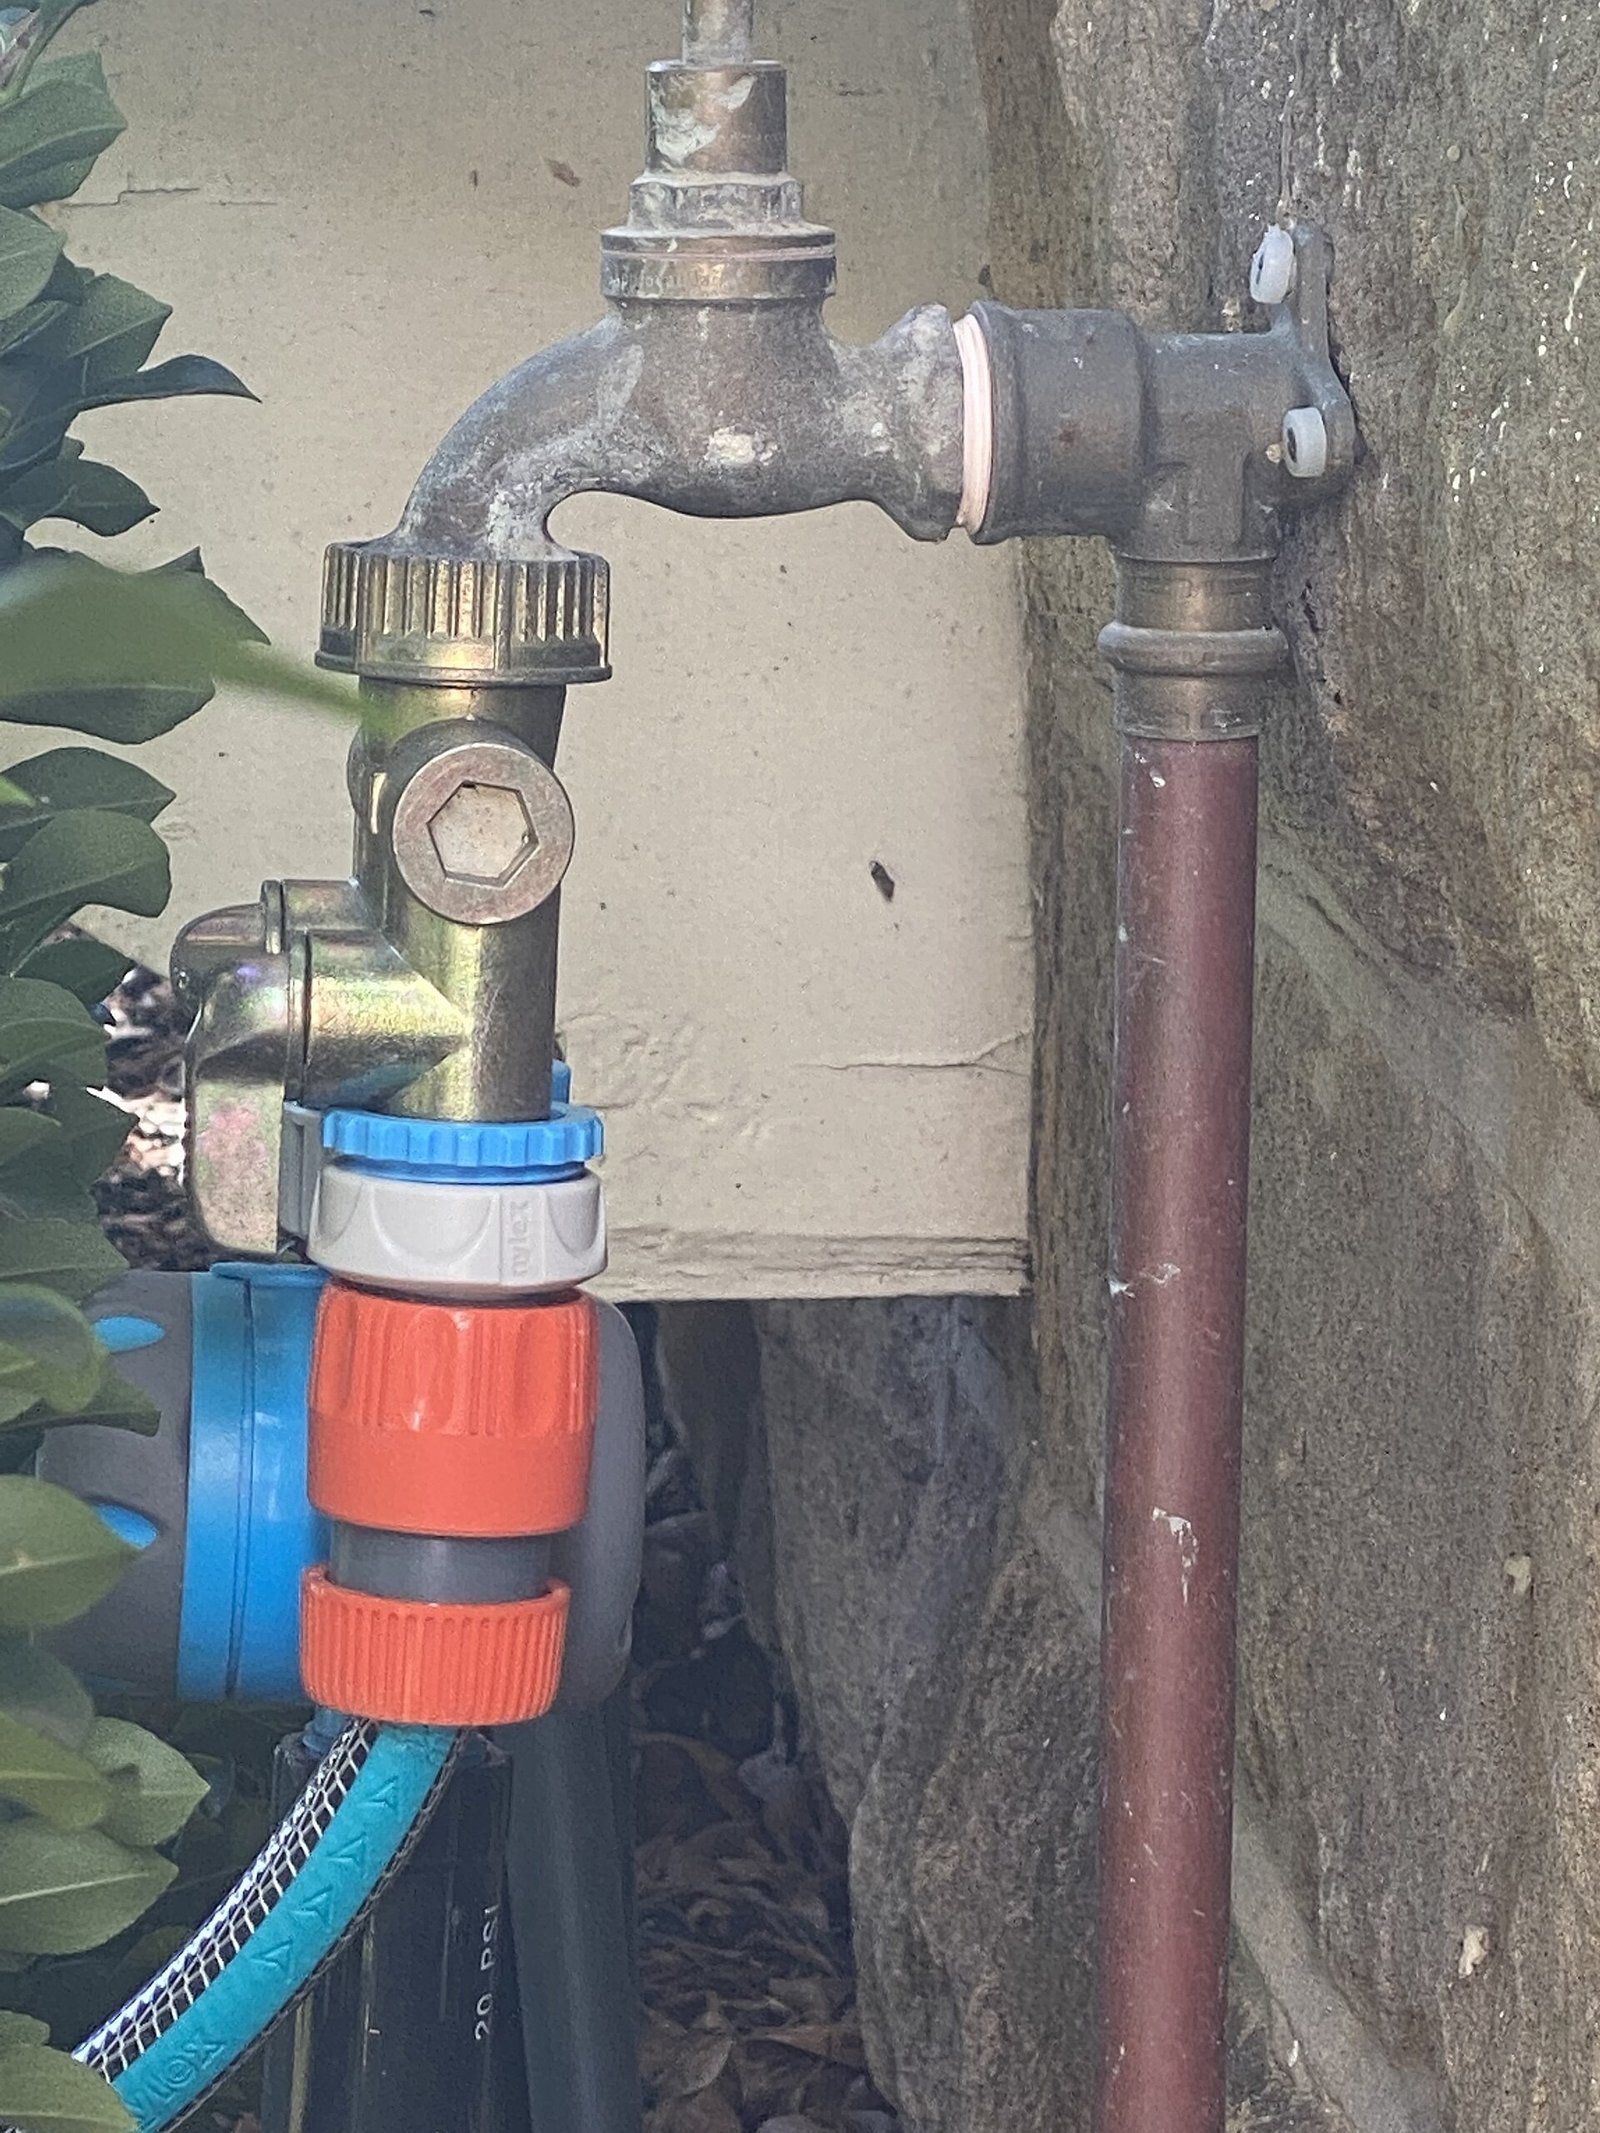
The head assembly is the short stack of parts between the tap and the mainline, and the order matters. Screw the backflow preventer onto the tap first. Attach the timer here if you are using one, so it sits above everything else and stays easy to reach. Below the timer, add the filter, checking the arrow on its body so water flows through it the right way. Then add the pressure regulator, and finally an adapter that takes you from hose thread down to your 1/2-inch mainline tubing, held with a compression fitting or a clamp.
Hand-tight is usually enough for the threaded parts, with a wrap of thread tape if a joint weeps a little. Do not overtighten plastic threads; cracked filter housings almost always come from enthusiasm rather than weak plastic. Turn the water on briefly before connecting the mainline and let a bucket catch the first flush from the tap, especially after winter, when sediment likes to sit in pipes. Keep this assembly accessible. You will unscrew the filter cap a few times a season to rinse the screen, and you will want to reach the timer without trampling the bed behind the tap. If your tap is in an awkward corner, a short length of hose can bridge from the tap to an assembly mounted at the bed edge — just keep the backflow preventer at the tap itself, where it belongs.
Job 2 — Lay out and connect the mainline
Unroll the 1/2-inch mainline along its planned route, weighting it down with bricks or stakes while the sun relaxes its curl. Run it along the edge of beds rather than through the middle, so you can cultivate and replant without constantly lifting it. Where the mainline needs to cross a path, you can bury it in a shallow slit trench a few inches deep to save it from feet and wheelbarrows.
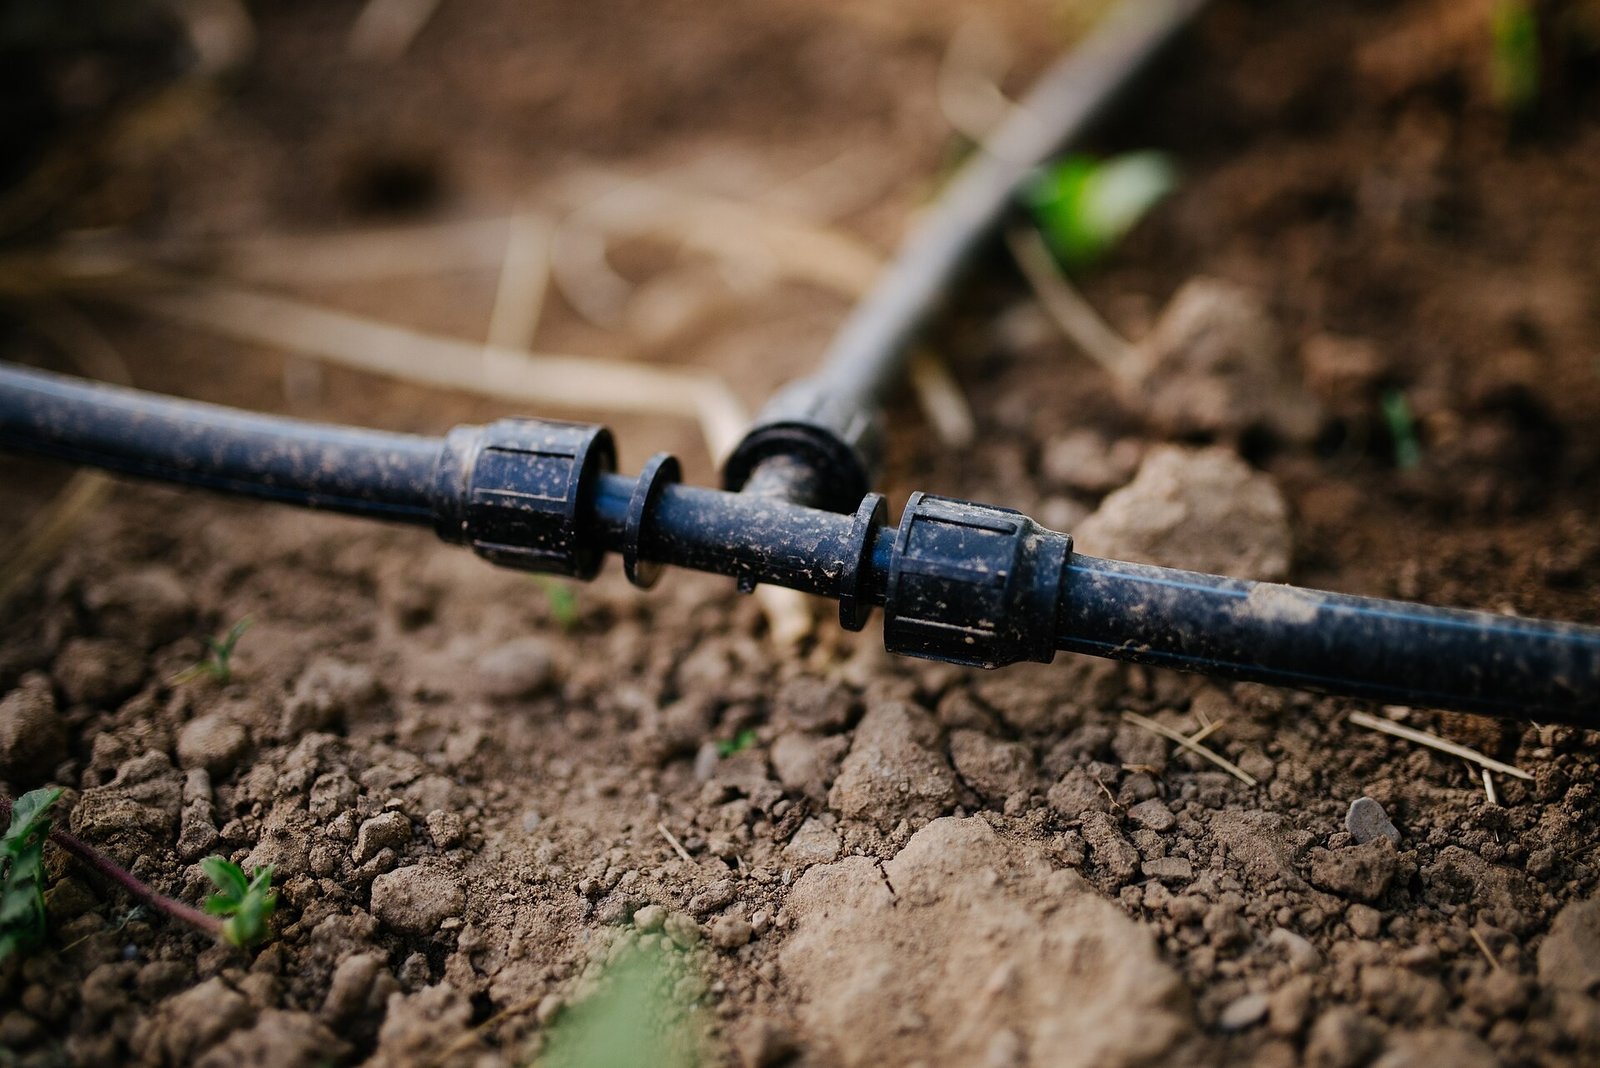
Push the end of the tubing firmly into the adapter at the head assembly until it seats. Compression fittings grip tighter as you pull, so a firm tug to check is a good habit. Leave the far end open for now, because you will flush the system before closing it. Stake the line every few feet, but do not pin it so rigidly that you cannot lift a section later to work underneath. If the garden splits in two directions, use a tee fitting and run a branch each way rather than making one very long line do all the work. Shorter branches mean more even pressure. Cap any branch you plan to extend later, and you have built yourself an easy expansion point for next year’s new bed.
Job 3 — Add drip lines and emitters
Now the satisfying part. For beds and rows, run lengths of 1/4-inch drip line down each planting row, spacing the lines roughly 12 to 18 inches apart across a bed so their wetting patterns overlap in the root zone. Connect each length to the mainline with a small barbed connector pushed through a punched hole. Use the punch tool, hold the mainline steady, and twist the punch rather than forcing it — a clean round hole seals; a torn one leaks.
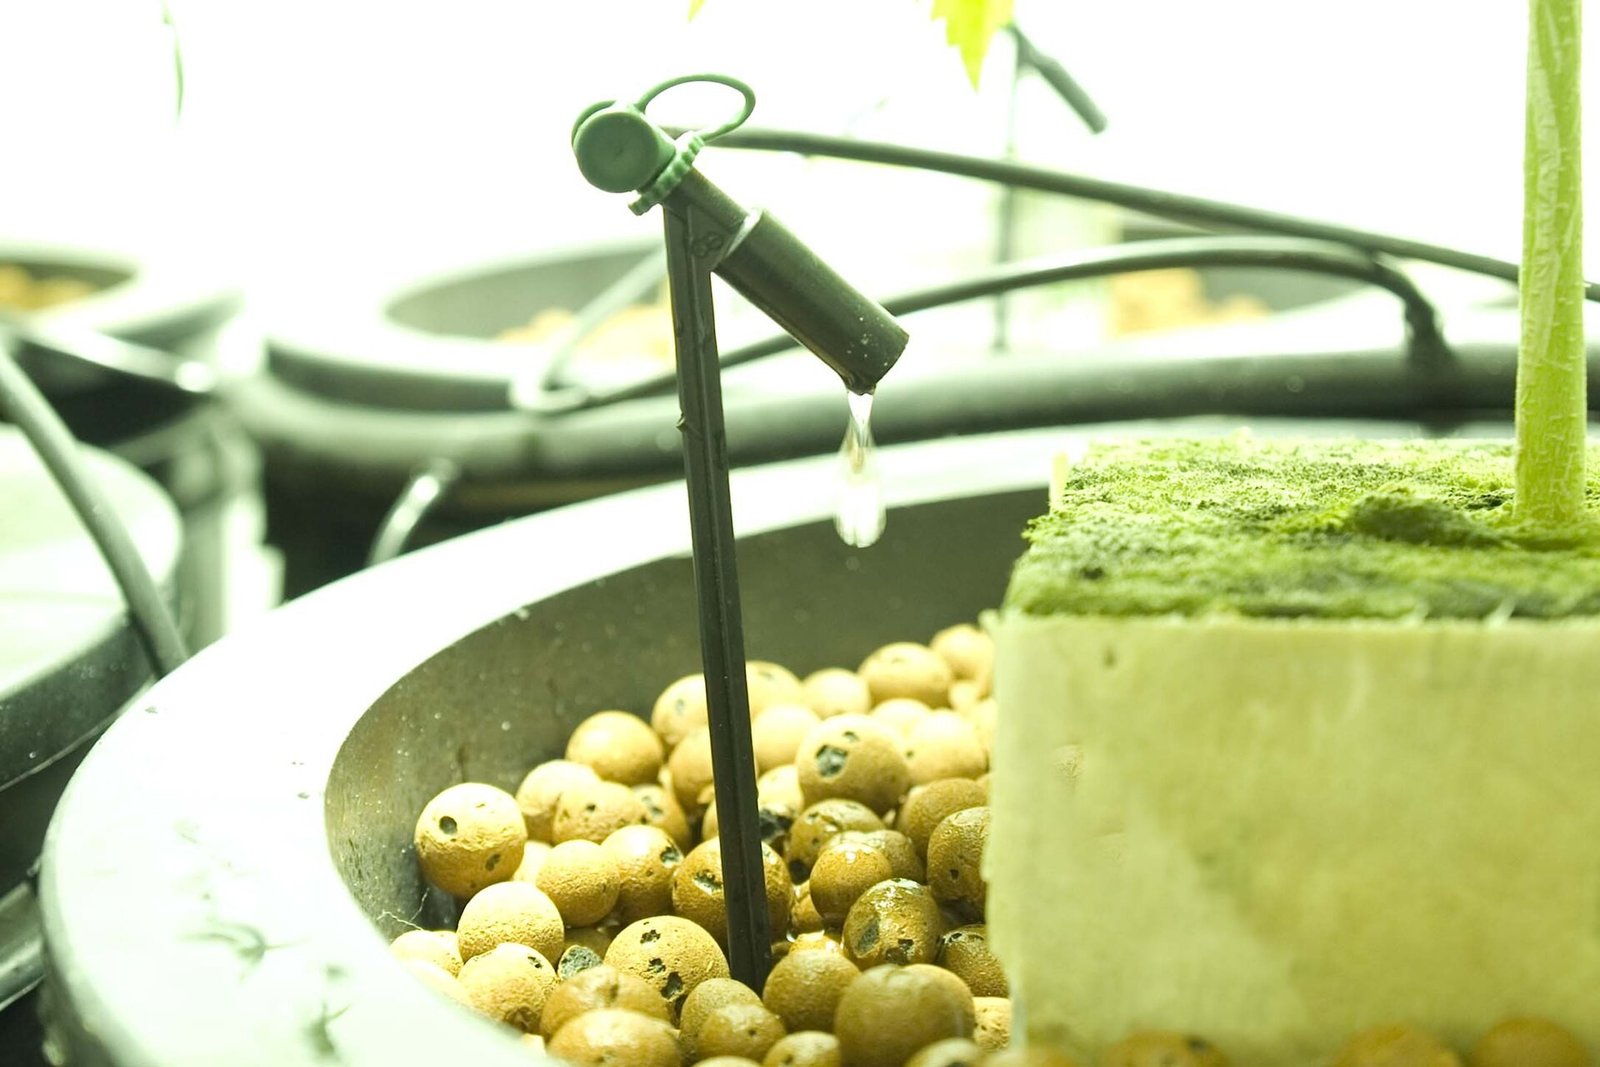
For widely spaced plants like tomatoes, peppers, and squash, place one or two individual emitters near each plant instead. Put the emitter a few inches from the stem, not against it, and move it outward as the plant grows and its roots spread. A ring of 1/4-inch drip line in a circle around a shrub works well too.
Choose flow rates with intention. Emitters commonly come in 0.5, 1, and 2 gallons per hour. Use 0.5 gph emitters in heavy clay soil, which absorbs water slowly, and in small containers. Use 1 gph for most vegetables in loam. Reserve 2 gph emitters for large shrubs, young trees, and very sandy soil where water drains away fast. Colorado State’s guidance adds a useful detail: in sand, space emitters about 12 inches apart; in loam, 18 inches; in clay, 24 inches — because water spreads sideways much further in clay than in sand. If you are unsure how long to run each session, it helps to think first about how often you should water garden plants in your soil, then set emitter numbers to match that rhythm rather than guessing.
Job 4 — Flush, test, and fix leaks
Before you close any ends, turn the water on and flush. Let water run freely out of the open mainline and each drip line for a minute or two. This washes out plastic shavings from punching holes and any grit that sneaked past you. You will be surprised what comes out. Then fit the end caps and plugs and turn the water on again at full working pressure.
Walk the whole system slowly. Look for fountains at bad punches — pull that connector, plug the hole with a goof plug, and punch a fresh hole a few inches away. Check that every emitter drips and none are gushing or dry. Feel the soil after twenty minutes; you want overlapping damp patches at root depth, not puddles on top. If the far end of a long run drips much more slowly than the start, the run is too long or too crowded, and splitting it into two branches fed from the mainline usually cures it.
Three Layouts: Raised Beds, Rows, and Pots
The same parts fit three very different gardens. Here is how the layout changes:
| Layout | How to run the lines | Watch out for |
|---|---|---|
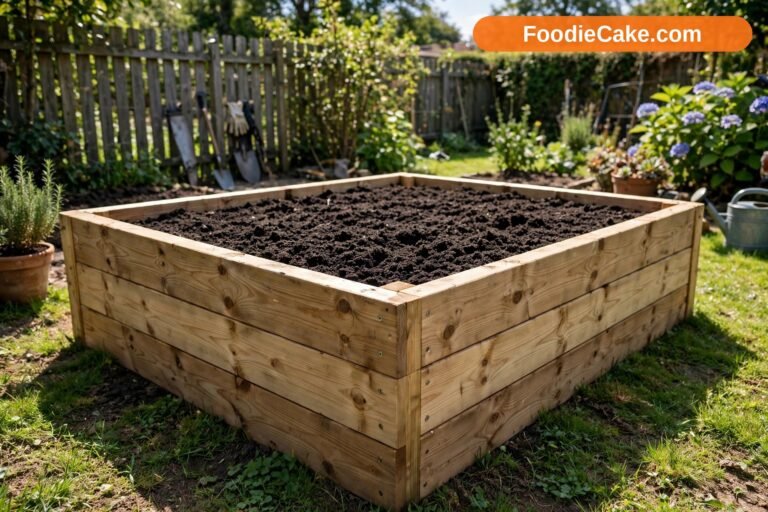
| Raised beds | Bring the mainline up over the bed edge, then snake drip line back and forth across the bed in parallel runs, or run straight lines along each crop row. Keep lines under mulch where possible. | Lines under mulch last longer out of the sun and the bed looks tidy. |
| In-ground rows | One drip line per row suits tomatoes and beans; two lines, one either side, suit wide crops like squash once they mature. Keep lines a couple of inches from small seedlings at first, then nudge them outward. | Long rows tempt you into runs that are too long — split them with a tee instead. |
| Containers | Run 1/4-inch tubing up into each pot, over the rim and down to the soil, held with a small stake. One 0.5 gph emitter is plenty for a medium pot; a large tomato pot may take two, or one emitter plus a short ring of drip line on the surface. | Pots on a hot patio in zones 9–10 can need a short run twice a day, while the same pots in a cooler, cloudy week in zones 5–7 might need water only every second day. |
Whichever layout you choose, cover finished beds with mulch once the system is tested. Mulch slows evaporation so your careful watering goes further, and it keeps soil from splashing up and crusting around emitters. Choosing the best mulch for vegetable gardens for each crop makes a noticeable difference to how far a single watering lasts.
Setting the Timer: How Long, How Often
A basic battery timer turns a good system into a great one. Set it to water early in the morning, when evaporation is low and leaves have all day to dry. Then adjust by soil, not by habit:
| Soil and situation | Starting point |
|---|---|
| Established vegetables in loam | Two or three sessions a week, 60 to 90 minutes each for drip line in beds |
| Sandy soil | Shorter, more frequent runs — water drains away fast |
| Clay soil | Longer gaps between sessions so it does not stay soggy |
| Small seedlings | Little and often while roots are shallow, then longer, deeper drinks as they grow |
| Heatwave | Add a session rather than doubling every run time |
| Rain forecast | Use the rain-delay button and let the sky do your job for free |
Check the soil with your finger or a trowel a few hours after a run, 4 to 6 inches down, and adjust the minutes, not just the frequency, until that depth stays evenly moist between waterings. Change the timer batteries at the start of each season, because a flat battery in July is the most common and most preventable drip disaster of all. And remember Colorado State’s warning: any irrigation system is only as efficient as the watering schedule used. If a system is set to water excessively, even drip can waste water.
Keeping It Working: Monthly Care and Winter
Once a month in the growing season, rinse the filter screen, open the end caps, and flush the lines for a minute. If an emitter slows down, soak it in a small cup of vinegar overnight if your water is hard, or replace it — emitters are cheap and life is short. Keep a small repair kit — goof plugs, spare emitters, connectors, and end caps — in a jar by the tap, so a five-minute fix never becomes an abandoned repair. Label each branch with a plant marker if different beds run on different schedules; future you, in August, will be grateful.
Bury or mulch over lines wherever you can, because tubing protected from sun and strimmers lasts seasons longer. Check soil moisture at root depth, not at the surface, before changing any settings — dry-looking mulch can hide perfectly moist soil underneath. If you garden on a slope, consider pressure-compensating emitters and shorter runs, and water in two shorter cycles with a gap between them so the top of the slope gets a fair share before water migrates downhill. Add plants to existing lines gradually, a few emitters at a time, and re-check the far end after each addition to be sure pressure still holds up.
In zones 5–7 and anywhere with hard freezes, winterise before the first serious frost. Turn off the water, remove the timer and head assembly, and store them indoors. Open the end caps and let the lines drain; poly tubing tolerates some freezing, but fittings and filters crack when trapped water expands. In warmer zones 9–10, you may run all year, but still flush the system and check the filter at the turn of the year, and shade any tubing that sits in fierce sun to slow it becoming brittle.
When Something Goes Wrong
| Symptom | Likely cause | Fix |
|---|---|---|
| Emitters pop off or mist instead of dripping | No pressure regulator; running at full household pressure | Fit a regulator set near 25 psi |
| One emitter dry while others drip | Grit in the emitter; no filter, or a dirty one | Flush the line, clean the filter, soak the emitter in vinegar or replace it |
| Plants near the tap swim; far end thirsts | Run too long; too many emitters on one line | Split into two branches from the mainline |
| Fountain at a punch point | Torn hole from forcing the punch | Goof plug, then punch a fresh hole a few inches away |
| Wet stem base, rotting plant | Emitter hard against the stem | Move it a few inches out and outward as the plant grows |
| System worked in spring, plants thirsty in July | Timer never adjusted as plants grew and weather changed | Re-check soil at root depth and adjust run times for the season |
The most common mistakes are the same ones Colorado State lists: skipping the filter, skipping the pressure reducer, using overly long lengths of mainline, and adding too many drip emitters. Avoid those four and most of the table above never happens. And a system this precise deserves a thirty-second check with a trowel before you blame the equipment — water on a fixed habit rather than by the soil is how good systems get a bad name.
Questions, Answered
How much does a DIY drip system cost for a small garden?
A starter kit covering one or two beds is usually modest — often less than a season of replacement hoses and sprinklers — and you can expand it a few parts at a time. Buying the head assembly and mainline in a kit, then adding drip line by the roll, is the cheapest way to grow.
Can I run drip irrigation from a rain barrel?
Yes, but gravity pressure from a barrel is very low, so you need emitters made for low pressure, short runs, and a barrel raised as high as practical. A tap-fed system with a regulator is far more predictable for vegetables.
How long should I run the system each time?
Start around 60 to 90 minutes, two or three times a week for beds in average loam, then check moisture 4 to 6 inches down. Adjust the minutes, not just the frequency, until that depth stays evenly moist between waterings.
Will drip lines work for lawns or ground cover?
They can, using drip line in a grid under the soil surface, but that is a more involved project. This style of system really shines in beds, rows, borders, and containers, where roots are in defined places.
What do I do about a clogged emitter?
First flush the line and clean the filter. If one emitter stays blocked, pop it out and soak it in vinegar if scale is the problem, or simply replace it. Keeping the filter clean prevents most clogs from ever happening.
Can I leave the system out all winter?
In mild climates, mostly yes, after draining and removing the timer. In freezing climates, remove the head assembly, open the ends, drain the lines, and store the timer and filter indoors to avoid cracked parts.
Start With One Bed
A DIY drip system is one of the rare garden projects that pays you back every single week: less time hauling hoses, calmer plants that are watered deeply and evenly, and beds that stay moist without waste. Build one bed first, learn how the parts feel in your hands, and expand with confidence. By midsummer, when the timer clicks on at dawn and every emitter is quietly doing its job, you will wonder why you ever watered any other way.
Sources
- Colorado State University Extension — “Drip Irrigation for Home Gardens” — extension.colostate.edu
- Utah State University Extension — “The Do-It-Yourself Guide to Backyard Drip Irrigation” — extension.usu.edu
- FoodieCake — how often should you water garden plants and best mulch for vegetable gardens