How to Grow Green Onions at Home
If you have ever bought a bunch of green onions, used two stalks for dinner, and watched the rest go limp in the back of the fridge, learning how to grow green onions at home will feel like a small but very satisfying victory. Instead of buying a fresh bunch every week, you can step outside — or over to a sunny windowsill pot — snip exactly what you need, and leave the rest growing happily for next time. They are fresh, they are right there, and they cost almost nothing once you get started.
Green onions, also called scallions or bunching onions, are one of the most forgiving vegetables a home gardener can grow. They take up very little space, they are not fussy about being squeezed into the edge of a bed or a spare pot, and they grow quickly enough that you see progress within days, not months. They also keep giving: snip the green tops and, in most cases, the plant will push up fresh growth again. For beginners, that kind of encouragement matters, and for experienced gardeners, they are a reliable staple that fills gaps between bigger crops.
In this guide, we will walk through everything step by step, from the three different ways to start your plants to soil, sunlight, watering, feeding, and harvesting. We will also cover how to keep a steady supply coming with simple succession planting, how to overwinter the hardiest types, and how to avoid the handful of mistakes that catch most people out. By the end, you will have a clear, practical plan that works whether you have a large garden bed, a small patio, or just one bright windowsill.
What Are Green Onions, Exactly?
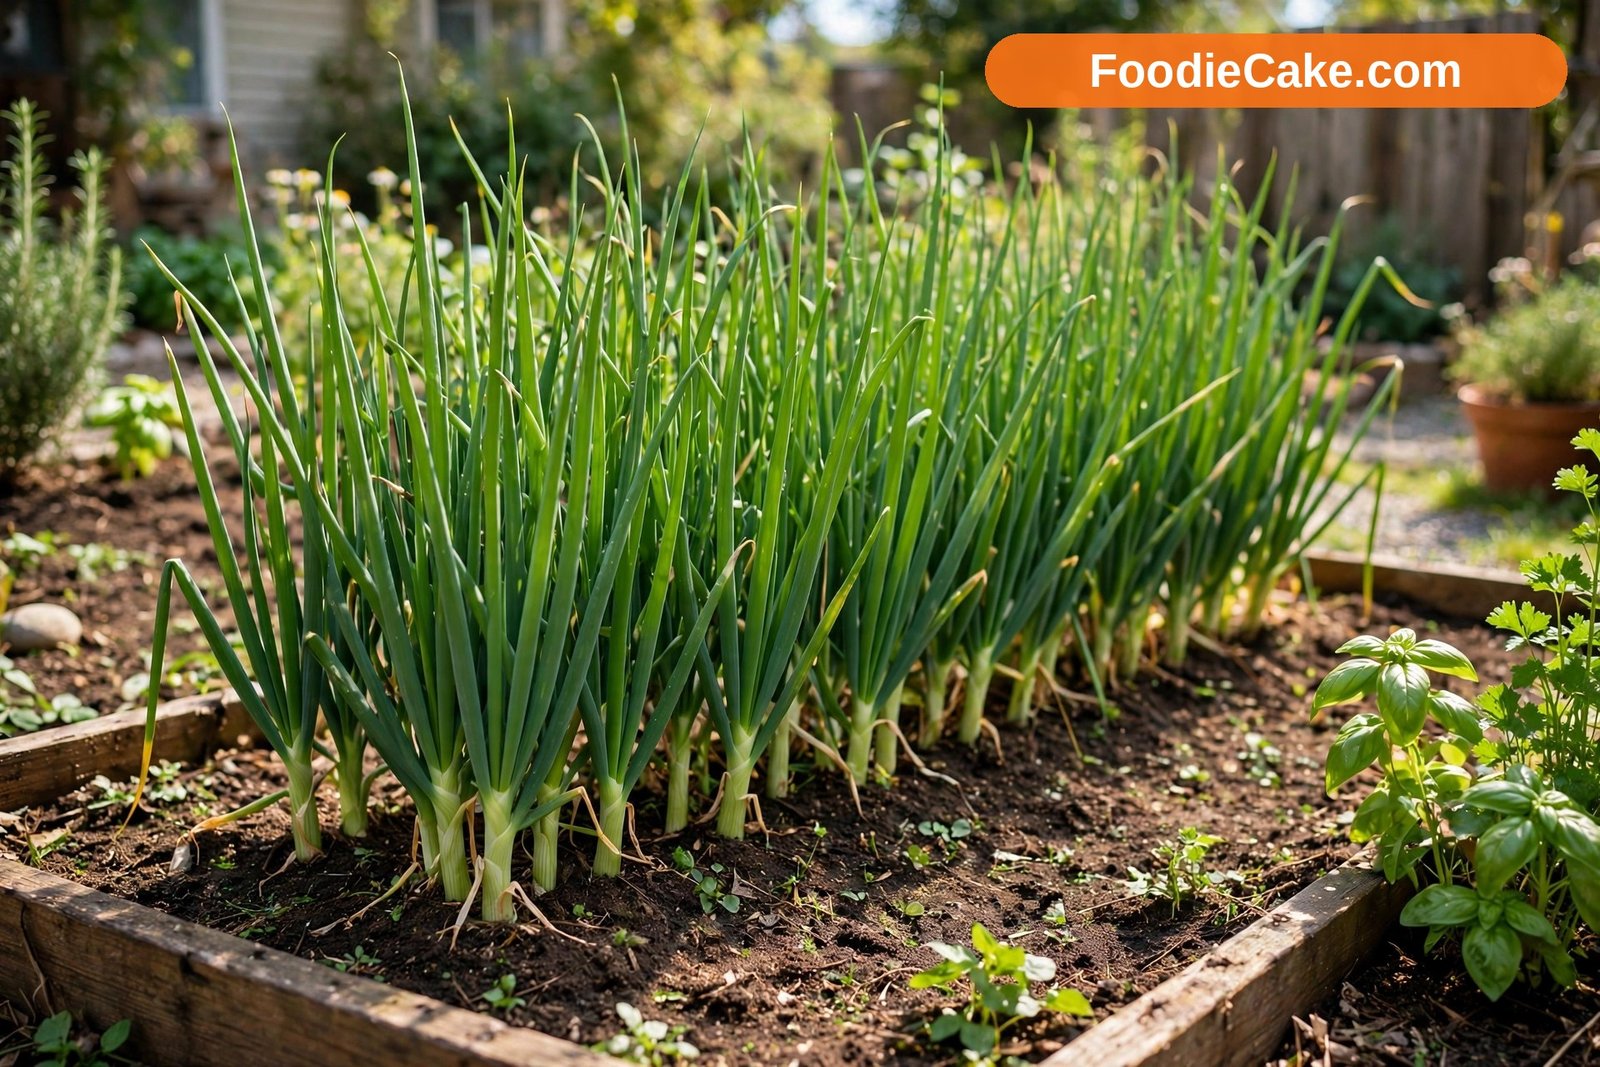
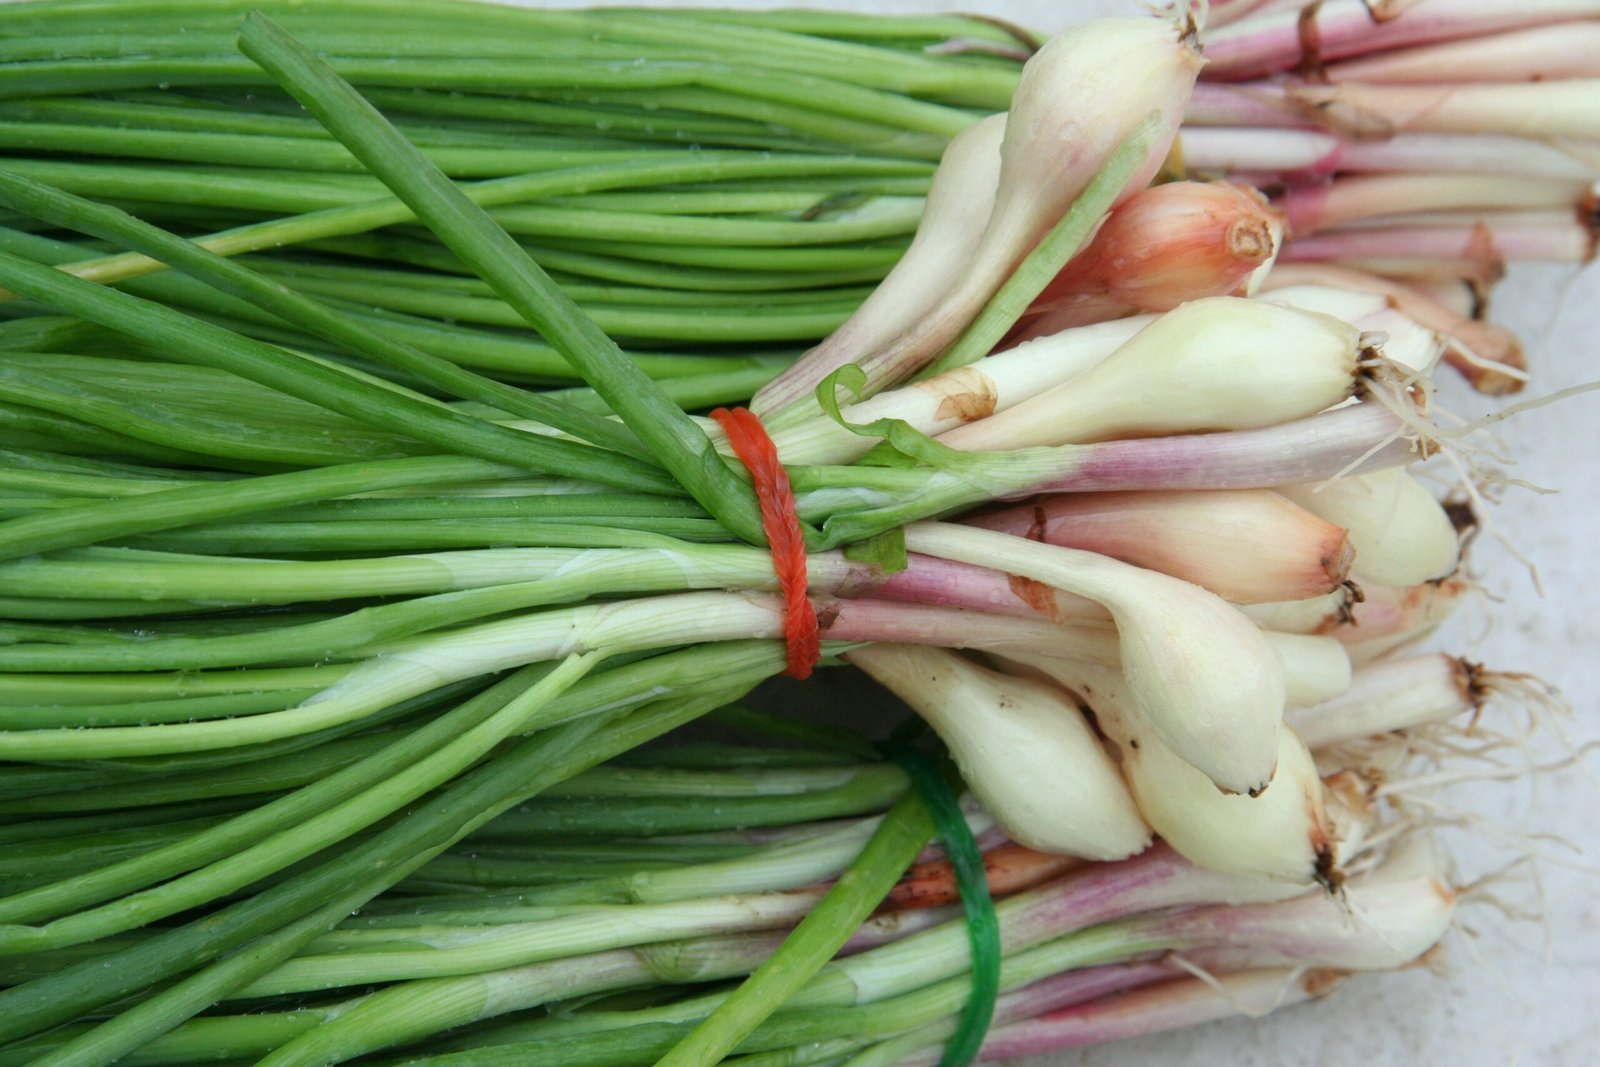
The names can be a little confusing at first, so it helps to sort them out before you buy seed. Green onions and scallions are essentially the same thing: onions harvested young, before a large bulb has formed, and eaten whole — white base, pale shank, and green tops together. Many of the best types for home growing are bunching onions, which are bred to form straight, slender stems rather than round bulbs, and to grow in tight clumps. Some are grown as quick annual crops, while others are perennial, meaning a healthy clump can come back year after year in the right conditions.
Variety choice makes a real difference to flavour, speed, and hardiness. Evergreen Hardy White is a classic bunching type, valued for its mild flavour, long white shank, and good cold tolerance, which makes it a sensible pick if you want plants that might overwinter. Tokyo Long White is another long-shanked Japanese bunching onion, often grown for its length, tenderness, and clean, fresh taste. If you want something a little different for salads and garnishes, Red Beard produces attractive reddish-purple bases with the same easy habit. There are many other good options in seed catalogues, and part of the fun is trying one or two each season to see which suits your soil and your cooking best.
As a general guide, green onions started from seed often take somewhere in the region of 60 to 80 days to reach a useful harvesting size, though that range shifts a lot with variety, temperature, and how thick you like your stems. Plants regrown from scraps or started from sets are usually quicker to give you something to snip, sometimes within a few weeks, because they have a head start. Treat those numbers as honest typical ranges rather than promises — a cool spring will slow everything down, while warm soil and steady moisture will hurry things along.
Way One: Starting Green Onions From Seed
Starting from seed is the cheapest way to grow a lot of plants, and it gives you the widest choice of varieties. Seeds are small and dark, and they are best sown shallowly, because they do not have the reserves to push up through a thick layer of soil. A depth of about a quarter of an inch is plenty in most soils. You can sow them directly where they are to grow, or start them in trays and transplant them later, and both approaches work well when they are done with a little care.
For direct sowing outdoors, timing depends on where you live, so think in terms of soil and season rather than a single fixed date. In many cooler and temperate areas, roughly USDA Zones 5 to 7, gardeners often sow in early spring as soon as the soil can be worked, and again in late summer for an autumn crop. In warmer areas, roughly Zones 8 and above, an autumn or late-winter sowing can work better, because green onions prefer cooler growing weather and can struggle or bolt in intense summer heat. Wherever you are, check the advice on your seed packet for your variety, since that guidance is written for the type you are holding.
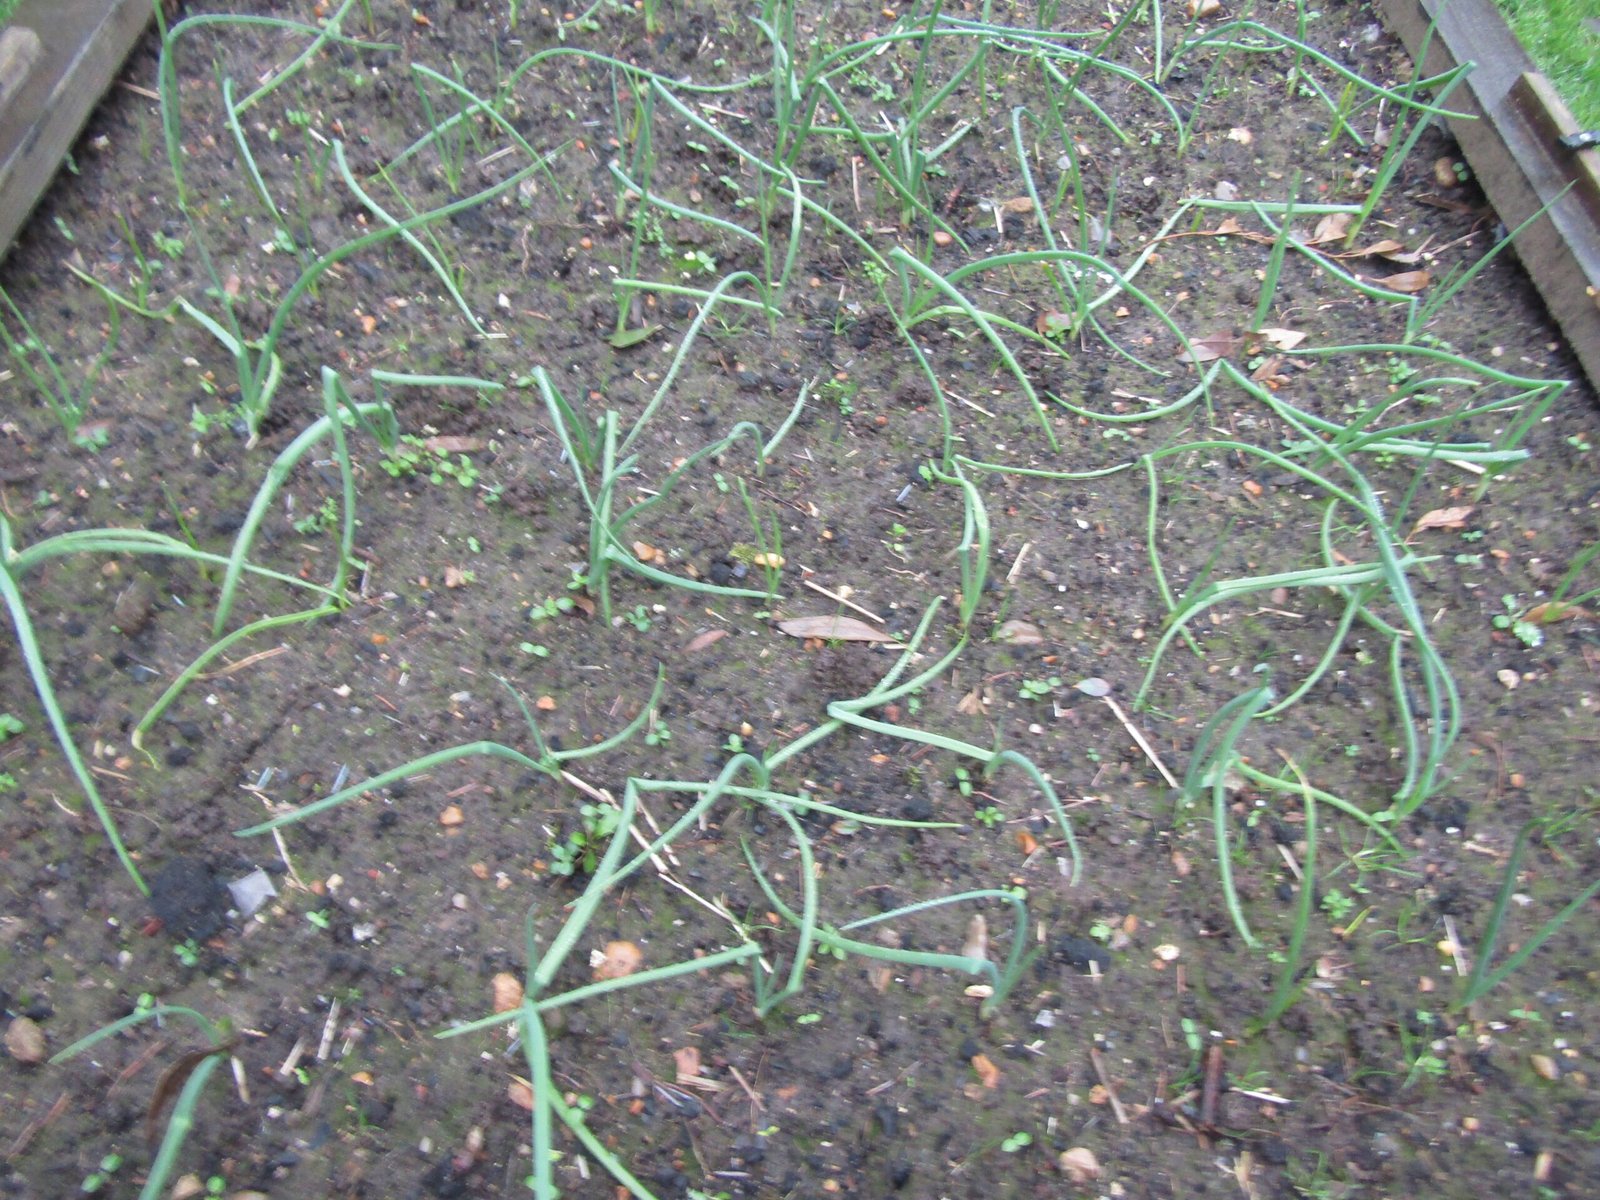
Sow seeds fairly thickly in a shallow drill or scattered in a small block, then thin or transplant the seedlings once they are a few inches tall. Because the seeds are small, germination can look patchy at first, so do not panic if the row seems uneven in the first week or two — in suitable conditions, seed often emerges in about 7 to 14 days, though cold soil can stretch that. Keep the seed bed evenly moist while you wait, since a crust of dry soil on the surface is one of the most common reasons for disappointing results. If you start seeds indoors in trays, use a fine, free-draining seed mix, keep it moist but not soggy, and move the tray to your brightest spot as soon as the first green loops appear, or the seedlings will stretch and flop.
Way Two: Planting Sets and Young Bulbs
If seed feels a bit slow or fiddly, sets and young plants offer a shortcut. Onion sets are small, immature bulbs sold for planting, and while they are more commonly grown on to form full bulbs, they can also be planted close together and harvested young as green onions. You may also find bundles of young onion transplants — thin, grass-like seedlings — at garden centres in spring, and those transplant very happily into beds or pots.
Plant sets so the pointed tip sits just at or slightly below the soil surface, with the base down in firm contact with the soil. Space them much closer than you would for bulbing onions if your goal is green onions — a couple of inches apart is often enough, because you will be pulling or cutting them before they need room to swell. Water them in well after planting to settle the soil around the base. Transplants go in at a similar depth to how they were growing in their tray or bundle, and they benefit from a day or two of gentle watering while their roots settle.
The trade-off with sets is choice and cost. You will usually pay more per plant than you would for seed, and you may have fewer named bunching varieties to choose from. On the other hand, you skip the slowest, most delicate stage, which is a worthwhile swap if you are starting late in the season or gardening with children who want to see results quickly.
Way Three: Regrowing Green Onions From Kitchen Scraps
This is the method that wins over almost everyone, because it feels like getting a second crop for free. Next time you cook with green onions, save the bottom inch or so of each stalk — the white end with the little roots still attached. That base, called the root end, is still alive, and given water and light it will usually push up fresh green shoots surprisingly fast.
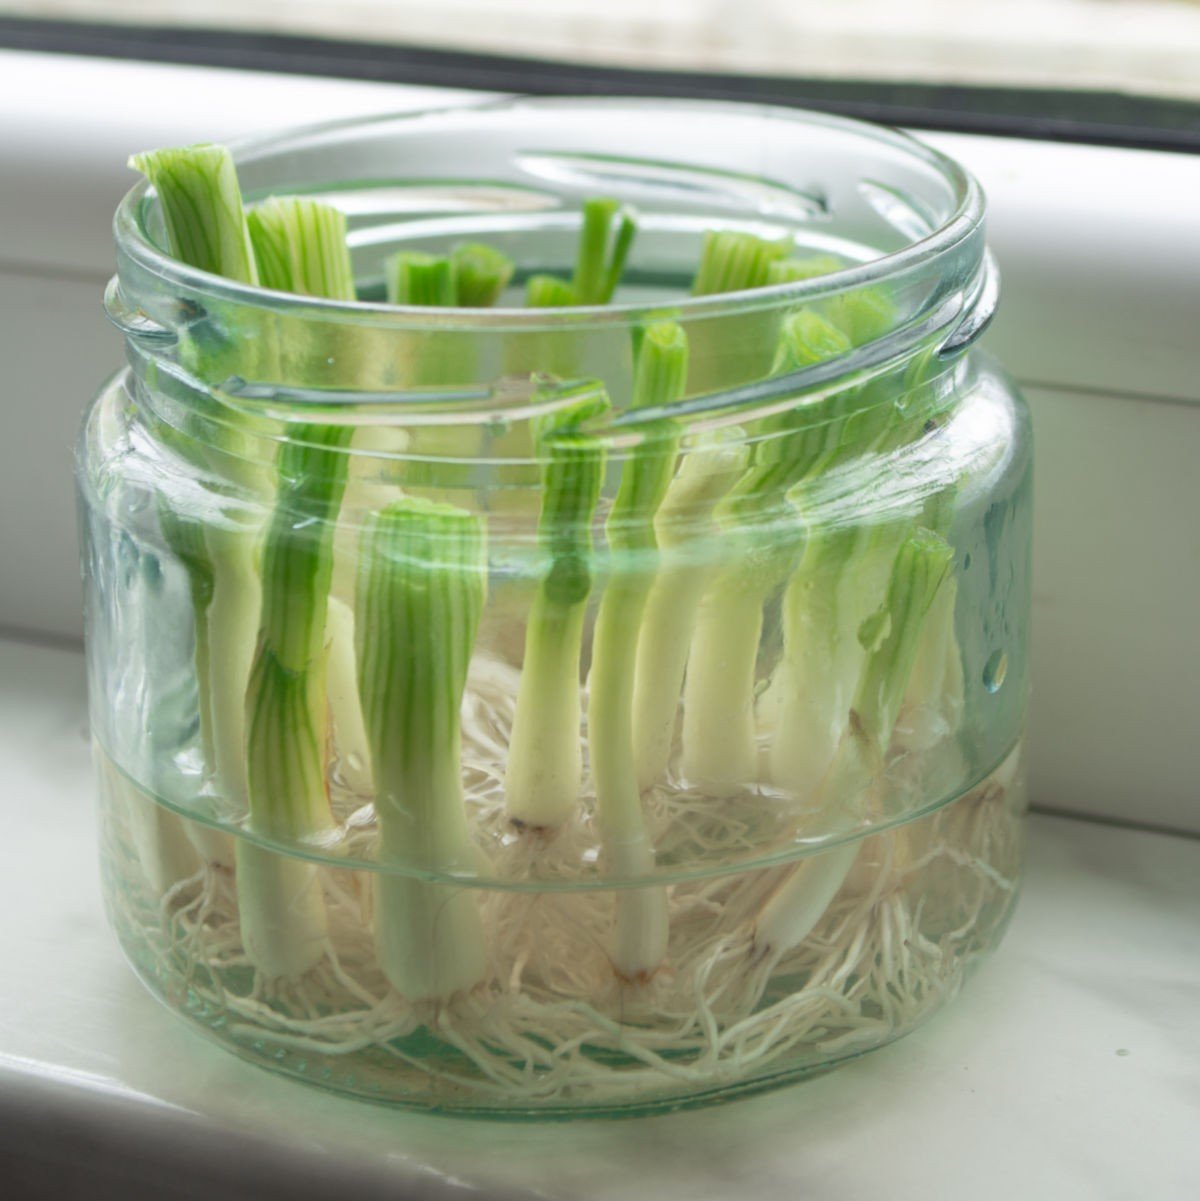
The water method is the simplest place to begin. Stand the bases, roots down, in a small glass or jar with just enough water to cover the roots and the very bottom of the white part. Place the glass on a bright windowsill and change the water every day or two so it stays fresh and does not turn cloudy or smelly. Within a few days you should see new green growth rising from the centre of each base, and within a week or two you can often snip your first regrowth for a garnish or salad.
For longer-lasting plants, move your scraps into soil once the new shoots are a few inches tall, or plant the bases straight into soil from the start. Push each base into moist potting mix or garden soil so the roots and white part are buried and the cut top sits just above the surface, then water gently. Soil-grown scraps tend to produce thicker, stronger growth over time than bases left in water indefinitely, because they can actually feed. Be realistic about expectations, though: a scrap will regrow enthusiastically at first, but after several cuts the base gradually weakens. Treat scrap growing as a brilliant rolling bonus alongside your seed or set plantings, rather than your only supply, and replace tired bases with fresh ones as you cook.
Choosing Between Containers and a Garden Bed
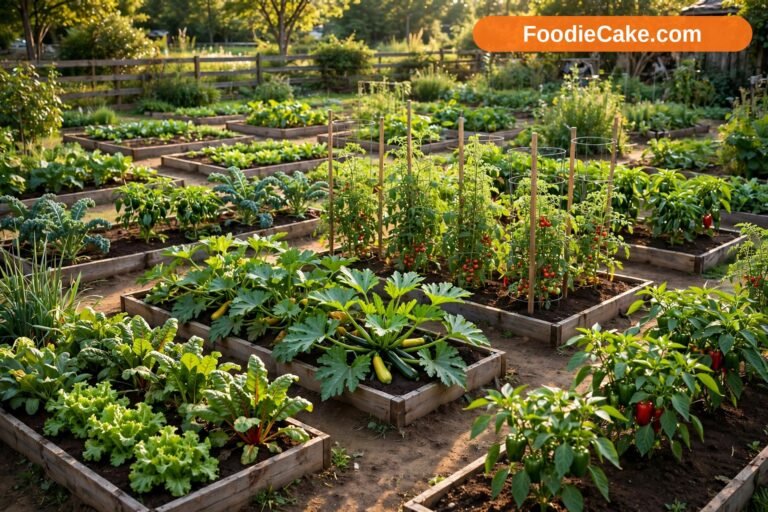
One of the nicest things about green onions is that they genuinely do not mind either home. In a garden bed, they slot neatly along edges, between slower crops, or in a dedicated row, and their upright growth casts very little shade on neighbours. If you are planning your first plot, the guidance in this overview of how to start a vegetable garden will help you decide where a quick, space-saving crop like this fits into the layout.
Containers are just as good, and for many people they are better, because a pot by the kitchen door is a pot you will actually harvest from. Choose a container at least six to eight inches deep so the roots have room to run downwards, and make sure it has drainage holes — green onions like moisture, but they do not like sitting in stagnant water. Window boxes, wide shallow troughs, and even large recycled tubs all work, provided the drainage is sorted. Pots dry out faster than beds, especially on a hot, windy balcony, so container plants will need a closer eye on watering. In return, you can move them to follow the sun, bring them under cover during a harsh cold snap, and keep them going on a bright windowsill through winter in many homes.
Soil, Spacing, and Planting Depth
Green onions are not demanding, but they do best in soil that is loose, reasonably fertile, and free-draining. Heavy, compacted soil that stays waterlogged will slow them down and can rot the bases, while very poor, sandy soil dries out too quickly and produces thin, hungry plants. Working in some well-rotted compost before planting is the single most helpful thing you can do for either type of soil: it improves drainage in heavy ground, holds moisture in light ground, and feeds the plants gently as they grow. A soil that is roughly neutral to slightly acidic or slightly alkaline suits most onions, so unless you know your soil is extreme in either direction, you do not need to fuss over precise numbers.
Spacing depends on how you plan to harvest. For plump, individual stems to pull whole, give plants roughly two to three inches between them in rows about six inches apart, adjusting a little for vigorous varieties. For cut-and-come-again clumps of bunching onions, you can plant in small clusters and let them thicken naturally. Sow seed shallowly, as mentioned earlier, plant sets with their tips near the surface, and set transplants and scraps so their white bases are firmly buried. After planting, firm the soil gently and water it in — good contact between roots and soil matters more than perfect measurements.
How Much Sunlight Do Green Onions Need?
Green onions grow best with plenty of light. Outdoors, aim for a spot that receives full sun, which in practice means around six or more hours of direct light a day during the main growing season. With that level of light, stems stay sturdy, green, and upright. They will still grow in partial shade, especially in hot climates where a little afternoon shade can actually be helpful, but growth will usually be slower and the tops may be thinner and paler.
Indoors, light is the limiting factor for most people. A bright south- or west-facing windowsill, depending on your hemisphere and home, can be enough to keep a small pot ticking over, but if your plants stretch, lean hard towards the glass, and produce weak, floppy tops, they are telling you they want more light. Rotating the pot every few days helps them grow straighter, and a simple grow light placed a few inches above the tops for part of the day can transform indoor results in a dull winter. Do not be discouraged if windowsill plants are slimmer than garden plants — they are still perfectly good to eat.
Watering Green Onions the Right Way
Onions have relatively shallow roots, so they feel dry spells quickly, and steady moisture is the secret to tender, fast growth. The goal is soil that stays evenly moist, like a well-wrung sponge, rather than swinging between bone dry and soaked. In beds, that often means a thorough watering once or twice a week in mild weather, and more often during hot, dry spells, but your own soil and rainfall should guide you — check with a finger pushed an inch or two into the soil, and water when that layer feels dry.
Water at the base of the plants where you can, ideally in the morning, so the foliage dries during the day. Wet leaves are not a disaster, but keeping them drier helps reduce the chance of fungal problems in crowded plantings. A layer of mulch, such as straw, shredded leaves, or fine compost, spread around — but not smothering — the plants helps beds hold moisture and keeps soil from splashing onto the stems. In pots, water until it just begins to run from the drainage holes, empty any saucer that stays full, and expect to water small pots on a sunny windowsill much more frequently than a large trough outdoors. Dry, stressed plants produce tough, overly pungent tops and may bolt sooner, so if you improve only one habit, make it consistent watering.
Feeding for Strong, Steady Growth
Because you are harvesting green growth, green onions appreciate a steady supply of nutrients, particularly nitrogen, which supports leafy growth. That said, they are not heavy, greedy feeders like some vegetables, and more fertiliser is not automatically better. If you prepared the bed or pot with compost, many plantings will grow perfectly well with little or no extra feeding, especially quick crops pulled young.
For longer-lived clumps, succession sowings in the same bed, or container plants that have been growing for several weeks, a light feed every few weeks during active growth can keep them vigorous. A balanced liquid feed used at the strength suggested on its label, or a gentle organic option such as diluted liquid seaweed or compost tea, is usually enough — always follow the product instructions rather than guessing stronger doses. Avoid heavy applications of fresh manure right before planting, which can be too strong and may attract problems, and stop pushing growth late in the season for plants you hope to overwinter, so they harden off naturally as the weather cools.
How and When to Harvest Green Onions
Knowing when to harvest is pleasingly flexible. You can start snipping green tops when plants are only a few inches tall for a mild garnish, or wait until stems are pencil-thick or a little thicker — often somewhere around eight to twelve inches tall — for a more substantial harvest. There is no single correct day; it depends on the variety, the growing conditions, and how you plan to use them. Younger growth tends to be more tender and milder, while older stems have a stronger onion flavour and a bit more bite.
There are two main ways to harvest, and most gardeners use both. The first is snipping the tops: use clean scissors or a sharp knife to cut the green leaves a couple of inches above the base, leaving the white shank and roots in place. Done this way, a healthy plant will usually regrow, and you can cut from the same plant several times. This is the best method for kitchen scraps in pots, perennial clumps, and any planting you want to keep productive for as long as possible. Try not to strip every leaf from a plant at once; leaving some green growth helps it recover faster.
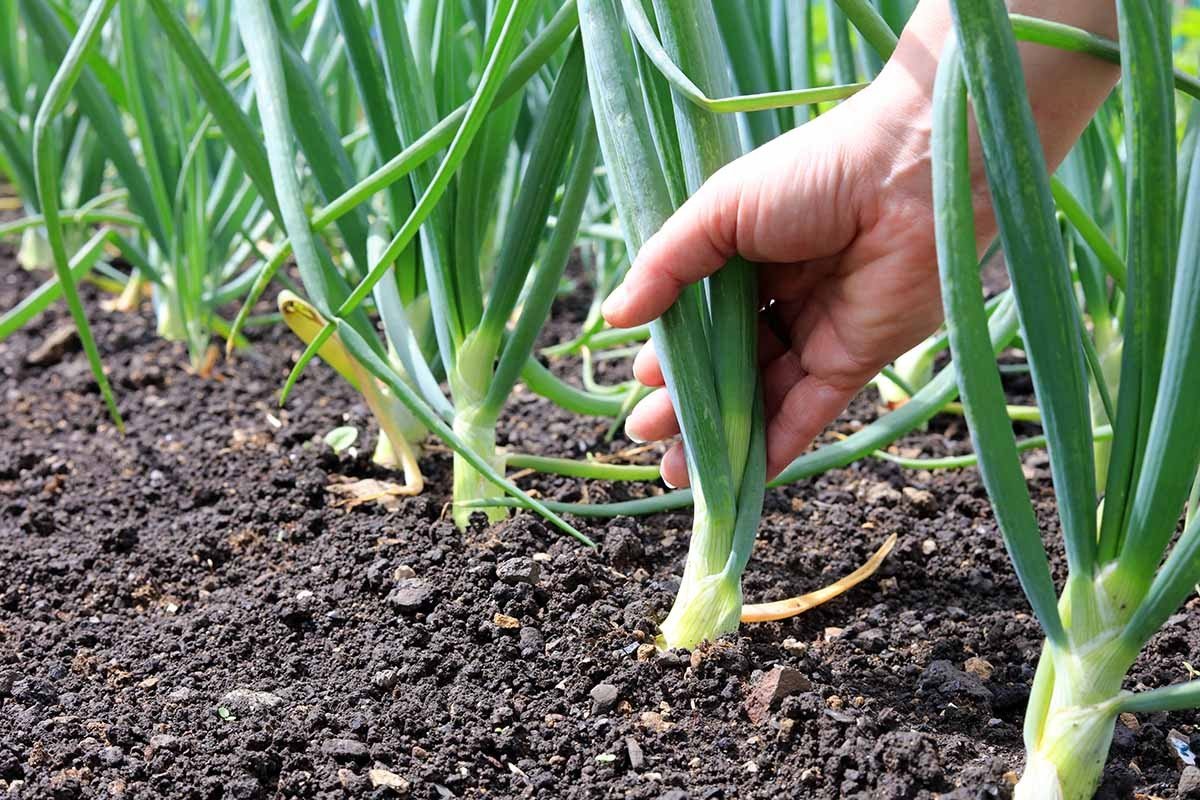
The second way is pulling whole plants. Grip the base low down, loosen the soil with a fork if the ground is firm, and pull the entire plant — roots, white base, and all — for recipes where the whole scallion is wanted. Pulling gives you the prized white and pale-green portion in full, but that plant is finished, so it suits succession sowings where the next batch is already coming along. A handy approach is to thin a crowded row by pulling every other plant whole, leaving the rest more room to thicken up.
Succession Planting for a Continuous Supply
The difference between a gardener who has green onions for two weeks and one who has them for months is almost always succession planting. Instead of sowing everything at once, sow a small amount every couple of weeks during your main sowing season. A short row, a small patch, or one fresh pot at a time is plenty for most households. Each little batch matures in turn, so as one group is being pulled, the next is sizing up and a third is just emerging.
Keep the rhythm simple so you actually stick to it. Many people tie sowing to a regular moment — the first weekend of the month and the middle of the month, for example — and keep the seed packet in a visible place as a reminder. Note, in very hot midsummer weather and in the depths of winter, germination and growth may pause or slow considerably depending on your climate, so it is normal for the succession calendar to have a seasonal gap. In hot areas, late-summer sowings often restart the supply for autumn; in cold areas, spring sowings pick up where overwintered clumps leave off. If you are deciding what else deserves space alongside them, this guide to the best vegetables to grow in a home garden is a useful companion for planning a bed that produces steadily rather than all at once.
Keeping a Continuous Supply All Season Long
Succession planting is the engine, but a few supporting habits keep the supply truly continuous. Keep at least three stages on the go when you can: one batch being harvested, one batch growing on, and one batch just sown or just planted. That simple pipeline means a disappointing germination or a week of neglect never empties the kitchen supply completely. It also helps to grow in more than one place — a bed row plus a windowsill pot of regrown scraps, for instance — so a problem in one spot, like a pest nibbling or a pot drying out while you are away, does not wipe out everything.
Harvest little and often rather than waiting for a single big moment. Regular snipping encourages fresh growth, keeps plants at a tender stage, and spreads the crop across many meals. If a glut does arrive, green onions are easy to use up: chopped tops freeze reasonably well in a small container or ice-cube tray for cooked dishes, and whole trimmed onions will keep for several days in the fridge, wrapped loosely so they do not dry out. They will not store for months like bulb onions, so the real storage trick is keeping them alive in the soil until you need them.
Overwintering and Perennial Bunching Onions
If you enjoy the idea of a clump that looks after itself, perennial bunching onions deserve a place in a corner of your garden. Types such as Evergreen Hardy White are often grown for this purpose, because established clumps can survive winter in many temperate gardens and resprout in spring, dividing slowly into thicker clumps over time. Some gardeners also grow true perennial types sometimes sold as Welsh onions, which are handled in much the same way: plant once, harvest by snipping or by dividing, and let the clump persist.
How much protection they need depends heavily on your winters, so hedge your plans by zone and by local experience. In milder areas, roughly USDA Zones 7 and above, hardy bunching onions often sail through winter with nothing more than a mulch layer. In colder areas, roughly Zones 5 and 6, a thick mulch of straw or leaves applied after the ground cools can make the difference, and a clump in a sheltered spot near a wall will usually fare better than one in an exposed, waterlogged corner. In very cold climates or where winters are wet as well as freezing, results are less certain; keeping a backup pot indoors or resowing in spring is a sensible insurance policy. In spring, tidy away dead foliage, divide overcrowded clumps by gently teasing them apart and replanting the divisions with space to grow, and give the clump a light feed as new growth starts.
Practical Tips for Growing Green Onions at Home
Start small and close to the kitchen. A single pot or a short row you walk past every day will teach you more in one season than a huge planting you visit once a week, and you will harvest more from it, too, simply because it is convenient.
Label your sowings with the date and variety, even if it is just a stick with pencil writing. When you are succession planting every couple of weeks, the batches blur together surprisingly fast, and a date label tells you which row should be ready next and whether a slow patch is actually just a young patch.
Sow a little more seed than you think you need. Green onion seed does not stay vigorous forever, and germination is rarely perfect, so a slightly thick sowing that you thin is far less frustrating than a sparse row with gaps. Use the thinnings — even tiny ones are flavourful scattered over eggs, noodles, or salads, so nothing is wasted.
Keep weeds down while plants are young. Slender onion seedlings are poor competitors, and a mat of weeds will steal their light and water before you notice. A few minutes of gentle hand-weeding around the row each week is easier than rescuing a swamped planting later, and mulch applied once the plants are a few inches tall will cut the job down further.
Rotate where you grow them each year if you can. Growing onions and their close relatives in the exact same soil season after season can allow soil-borne problems to build up, so in a bed, move your main onion patch to a different spot each year and bring it back after a break. In pots, simply use fresh or refreshed potting mix for new batches.
Taste as you go and adjust your harvest age. Some households love the mild sweetness of very young stems, while others want a stronger bite for cooking. There is no rule that says a green onion must be a certain thickness, so experiment — your own kitchen preference is the best harvest guide there is.
Common Mistakes and Problems When Growing Green Onions
The most common mistake is sowing seed too deeply. Small seeds buried under a thick blanket of soil often fail to emerge at all, and the gardener concludes the seed was bad. Keep sowings shallow, keep the surface moist, and give them a little patience before digging around to investigate.
The second classic problem is letting plants dry out, then soaking them in a panic, over and over. That cycle produces thin, tough, overly hot-flavoured growth and stressed plants that are more likely to bolt — that is, rush to flower and set seed instead of producing tender leaves. Bolting is also more likely when plants are hit by a cold snap followed by hot weather, or when a variety unsuited to your season is grown. A bolted plant is not poisonous and the flowers are pretty and attractive to pollinators, but the stems become tougher, so most people pull those plants for immediate use and rely on the next succession batch.
Crowding causes more trouble than many people expect. Seedlings left unthinned in a dense tuft compete with each other and stay spindly. Thin bravely, transplant the spares if you have room, and eat what you cannot replant. Similarly, a pot that is far too small or old, exhausted potting mix will quietly limit growth no matter how well you water, so refresh the mix and feed lightly when plants stall.
Yellowing tops can point to a few different causes, including overwatering in soggy soil, underfeeding in a tired pot, or simply old outer leaves dying back naturally. Check the soil first: if it is wet and sour-smelling, ease off the watering and improve drainage; if it is dry and the plant has been growing for weeks without food, a light feed may be the answer. Slimy, rotting bases usually mean the soil is staying too wet, and affected plants are best removed so the problem does not spread to neighbours. Slugs and snails may nibble young growth in damp weather, and birds occasionally tug at seedlings, so a light cover or a tidy-up of hiding places near the row can help. In most home gardens, though, green onions are pleasingly trouble-free compared with many vegetables, and a small setback in one batch is exactly why the succession habit matters.
Frequently Asked Questions
Can I grow green onions indoors all year round?
Yes, in most homes you can keep a small supply going indoors through the year, especially using the kitchen-scrap method in pots on a bright windowsill. Growth will usually be slower and slimmer in winter when light levels are low, so manage your expectations, rotate the pot for even growth, and consider a small grow light if your windows are dull — the harvest will be modest, but fresh snippings for garnishes are very achievable.
How long do green onions take to grow from seed?
As a typical range, many bunching varieties take roughly 60 to 80 days from sowing to a good pulling size, though you can start snipping small green tops earlier than that. Temperature makes a big difference: seed sown into warm spring soil grows noticeably faster than seed sown into cold ground, and the estimate on your seed packet for your specific variety is the best guide to plan by.
Do green onions grow back after you cut them?
Usually, yes — if you snip the green tops and leave the white base and roots intact and healthy, the plant will normally push up new growth, and you can often cut the same plant several times. Growth tends to get a little weaker with each cut, particularly for scraps regrown in water, so for a long-lasting supply, soil-grown bunching onions and regular fresh sowings are the more reliable foundation.
How deep and how far apart should I plant green onions?
Sow seed about a quarter of an inch deep, plant sets with their tips just at the soil surface, and bury the white bases of scraps and transplants firmly. For spacing, roughly two to three inches between plants is a good working guide for stems you plan to pull whole, while cut-and-come-again clumps can grow a little closer together — when in doubt, slightly generous spacing gives you thicker, healthier stems.
Can I grow green onions in water forever?
You can regrow them in water for a while, and it is a wonderful way to get a few extra harvests from shop-bought onions, but they rarely thrive in water indefinitely because water alone provides almost no nutrition. After a few cuts the growth usually becomes thinner and weaker, so for anything beyond a short-term windowsill project, transfer the bases into soil, where they can feed and last much longer.
Why are my green onions falling over?
Floppy, falling tops are most often a sign of too little light, especially indoors, though very dry soil, overcrowding, and weak, hungry growth can all contribute. Move the plants to a brighter spot or add a grow light, check your watering, and thin crowded seedlings — new growth that emerges after the fix should stand noticeably straighter and stronger than the old leaves.
Final Thoughts
Green onions may not be the most dramatic crop in the garden, but they might be the one you use most often. A pot by the door or a short row in the bed quietly turns eggs, soups, salads, stir-fries, and sandwiches into something fresher, and it does so with very little space, money, or fuss. Start with whichever method suits you today — a packet of seed, a handful of sets, or the saved bases from tonight’s dinner — and you will have something green to snip sooner than you think.
Keep the habit simple: sow a little every couple of weeks, water steadily, harvest often, and let a hardy clump or two carry on in a corner if your winters allow it. Before long, buying green onions will start to feel like the strange option, and stepping outside with a pair of scissors will just be part of how you cook. Happy growing, and enjoy that first crisp, homegrown bunch.