
How to Start a Vegetable Garden
If you are learning how to start a vegetable garden for the first time, the best approach is refreshingly simple: start smaller than you think you should, pick a sunny spot, build decent soil, and grow a handful of crops you actually enjoy eating. That sounds almost too plain, but most failed first gardens do not fail because the gardener lacked talent. They fail because the plot was too big, the site was too shady, the soil was worked while it was soaked, or twelve different crops all needed attention in the same hot week in July.
A good first garden teaches you how your yard behaves. You will notice where water sits after rain, which corner gets afternoon shade from a fence, and how quickly weeds move in after a warm weekend. Those lessons are worth more than a perfect layout drawn in winter. By the end of one honest season, you will know what to expand, what to move, and what you never want to grow again because nobody in the house liked it anyway.
Keep your expectations kind and practical. You will probably lose a few seedlings to slugs, plant something too close together, and harvest courgettes that hid under the leaves until they were the size of a forearm. Everyone does. The aim in year one is not perfection. The aim is fresh food, steady learning, and a garden you still want to visit in August.
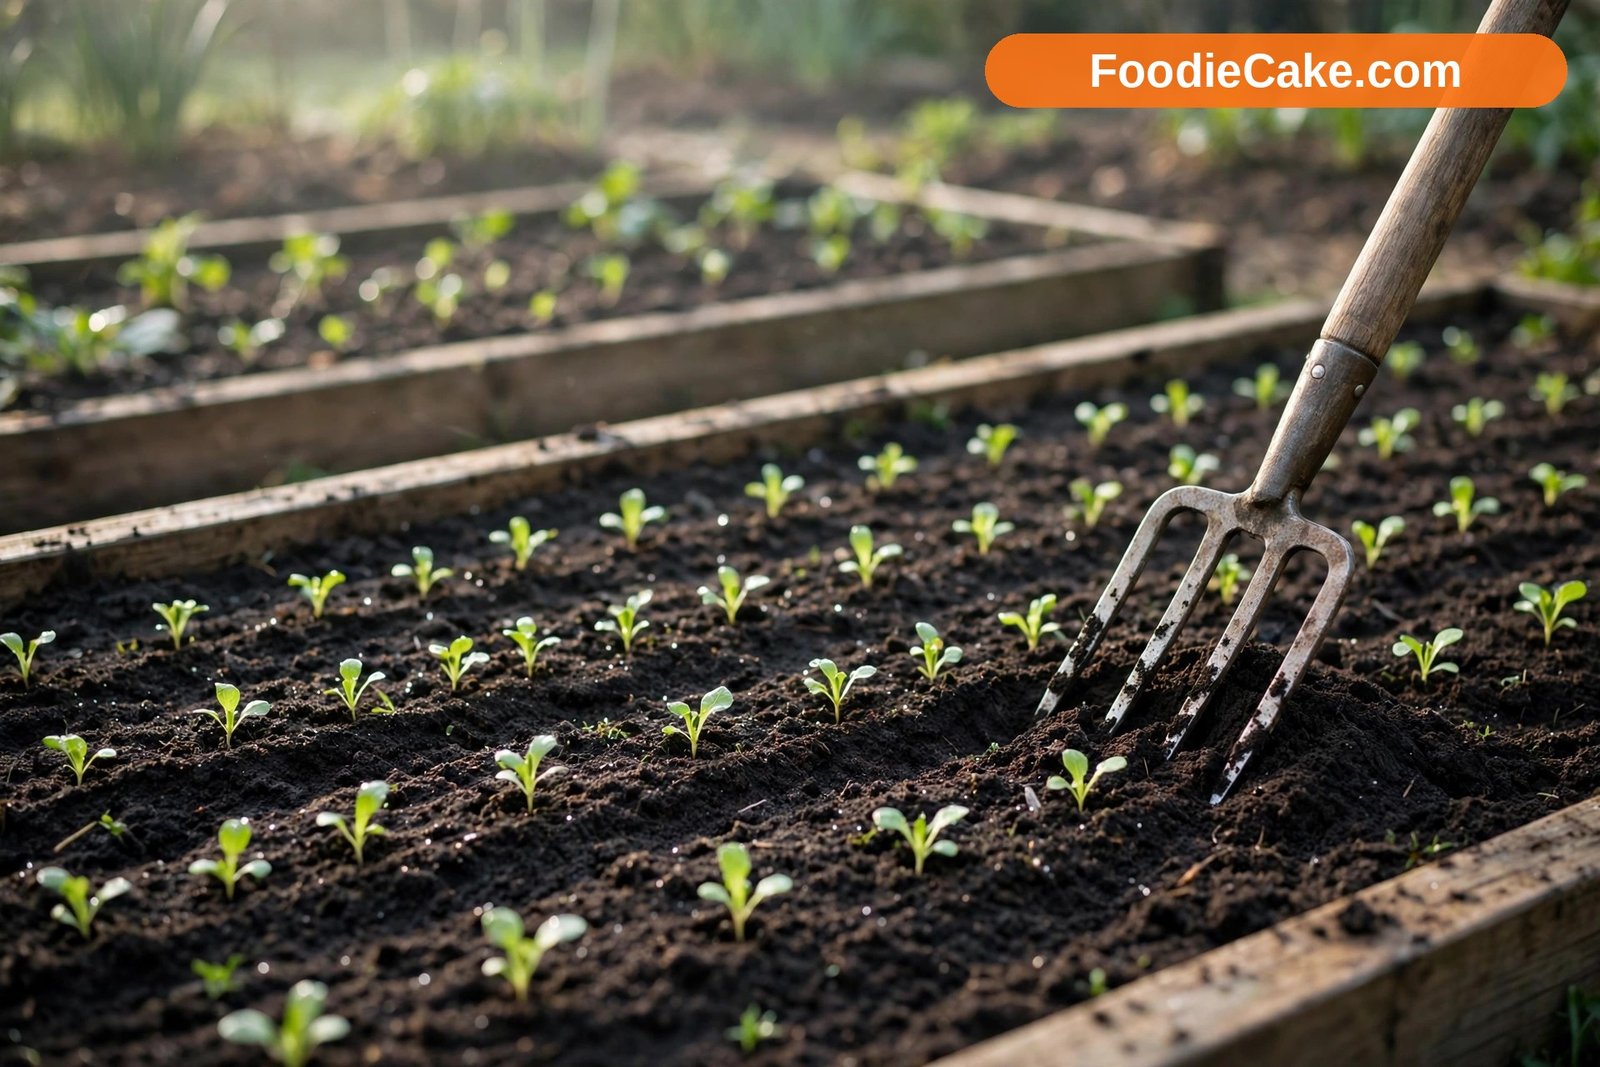
Step 1: Choose a Sunny, Sensible Spot
Sunlight comes first, before soil, before seeds, before anything you buy. Most vegetables need at least six hours of direct sun a day, and fruiting crops such as tomatoes, peppers, cucumbers, and squash are happiest with six to eight hours or more. Leafy greens are more forgiving. Lettuce, spinach, Swiss chard, and kale will manage with around four to five hours, especially in hot climates where a little afternoon shade can stop them bolting quite so fast.
Spend a day watching your yard if you can. Note where the sun falls at breakfast, at midday, and in the late afternoon. A bed that looks bright at 9 a.m. may be in the shadow of a house or tree by 2 p.m. Trees are a double problem: they cast shade and their roots compete for water and nutrients. If your only sunny ground is a lawn, that is fine. Lawns make excellent first gardens once the turf is removed.
Convenience matters more than garden magazines admit. Put the garden where you will see it every day, ideally within easy reach of a tap or hose. A plot at the far end of the yard, hidden behind a shed, is a plot that gets watered late and weeded later. If it is near the kitchen door, you will pop out for herbs, spot a cucumber that is ready, and notice mildew before it takes over.
Check drainage, too. After heavy rain, avoid any place where puddles sit for a day or more. Most vegetables dislike wet feet, and roots in waterlogged soil are prone to rot. A gentle slope is fine, but avoid steep ground where water runs off and takes your soil with it. If low, soggy ground is all you have, raised beds are usually the honest answer.
Finally, think about wind and access. A very exposed site batters tall plants and dries soil quickly, so a fence or hedge nearby helps. Leave room to walk around the beds with a wheelbarrow or a watering can. You will thank yourself in harvest season when you are carrying out armfuls of beans instead of squeezing sideways between rows.
Step 2: Decide on a Size and Layout You Can Manage
For a first garden, a plot around 10 by 10 feet, or three raised beds of about 4 by 8 feet each, is plenty. That gives you room for a real harvest without turning watering and weeding into a second job. You can always add a bed next year. Expanding a garden you love is fun. Abandoning half of an oversized one feels miserable.
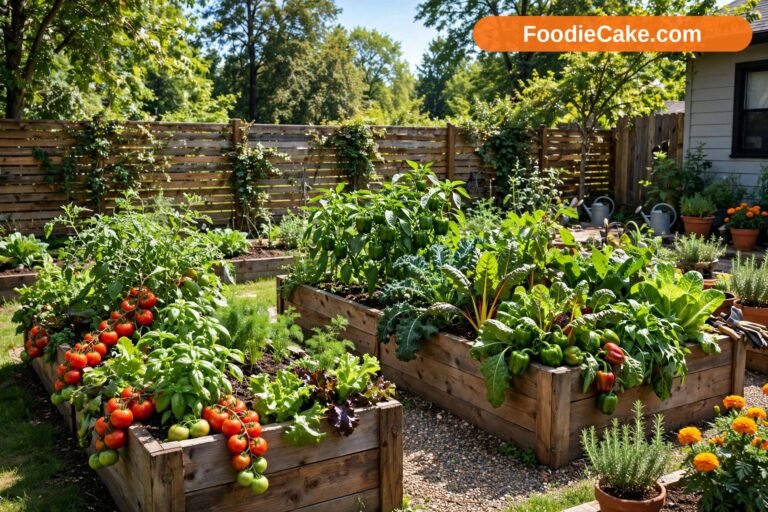
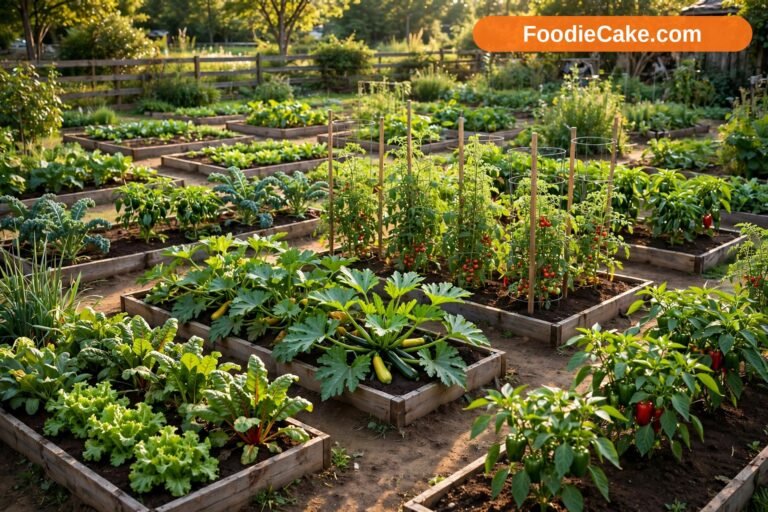
Design around beds and paths rather than one big open patch you walk all over. Stepping on growing soil compacts it, squeezing out the air pockets roots need. Beds about 4 feet wide work well because most people can reach the middle from either side without treading on the soil. Make paths at least 18 to 24 inches wide, wider if a wheelbarrow needs to pass. Cover paths with wood chips, straw, or cardboard to keep mud and weeds down.
Plan the layout with plant height in mind. Put tall crops such as sweet corn, pole beans, and staked tomatoes on the north side of the garden in the Northern Hemisphere, so they do not shade shorter plants. Medium-height crops like peppers and bush beans go in the middle, and low growers such as lettuce, carrots, and radishes sit at the sunny front edge.
Leave honest spacing, even when seedlings look tiny. A courgette plant can spread 3 feet across. A tomato that starts as a hand-sized transplant will want a cage and room for air to move between its leaves. Crowded plants compete for light and water, and still, damp air around tight foliage encourages fungal diseases. The spacing on the seed packet is not a suggestion written for other people. It is the cheapest disease prevention you will ever get.
Sketch it on paper before you dig. It does not need to be neat. A rough drawing helps you count how many tomato plants fit, stops you buying nine packets of cucumber seed, and gives you a record to learn from when you plan next year.
Step 3: Choose Between In-Ground Beds and Raised Beds
In-ground gardening is the simplest and cheapest way to begin. You clear the ground, improve the soil, and plant straight into it. It suits larger plots, holds moisture well once the soil is in good shape, and needs no building materials. If your soil drains reasonably and is not full of rubble or persistent weeds, starting in the ground is perfectly respectable.
Raised beds shine where the native soil is heavy clay, very sandy, rocky, or poorly drained. Because you fill them yourself, you control the mix from day one. They also warm up a little earlier in spring, are kinder on your back, and keep the garden looking tidy, which matters in small yards. A bed 8 to 12 inches deep suits most vegetables. Root crops such as carrots and parsnips prefer 12 inches or more of loose soil.
The trade-offs are cost and watering. Timber, soil, and compost for several beds add up quickly, and raised beds dry out faster than the ground, particularly in hot, windy weather and in zones 8–10 where summer heat arrives early and stays late. In cooler zones 5–7, that faster drainage and warming can be an advantage in a short season.
Containers are a third option if you have no ground at all, and they work well for herbs, peppers, bush tomatoes, and salad leaves. Just remember that pots need frequent watering and a good-quality potting mix, not garden soil scooped into a bucket.
Whichever route you pick, avoid building beds from old railway sleepers or treated timber of unknown origin near food crops, and line nothing with plastic that will trap water. Simple, untreated or food-safe materials and good soil will carry you a long way.
Step 4: Prepare and Test Your Soil
Good soil is the whole secret, and it is less mysterious than it sounds. Vegetables want soil that is loose, drains freely, holds some moisture, and is full of organic matter. Start by clearing the site. Lift turf with a spade, or smother it under cardboard weighted down for several weeks if you are preparing ahead in autumn. Pull out perennial weeds such as bindweed, couch grass, and dandelions by the root, because chopped-up roots left behind will resprout.
If you are digging, do it when the soil is moist but not wet. Squeeze a handful: it should hold together lightly and then crumble, not form a sticky sausage or drip water. Working wet clay ruins its structure for the season. Loosen the top 8 to 12 inches with a fork, break up big clods, and remove stones as you go. You do not need to turn the soil into dust. A crumbly texture is enough.
Testing is worth the small effort. A basic soil test, through a local extension service or a home kit, tells you the pH and whether phosphorus, potassium, or other nutrients are low. Most vegetables prefer a slightly acidic to neutral pH, around 6.0 to 7.0. Very acidic soil can be raised gradually with garden lime applied according to the test results, and very alkaline soil is harder to change, which is another situation where raised beds with imported soil make life easier. Do not add lime or fertiliser blindly. Too much of a good thing locks up other nutrients and wastes money.
Then feed the soil itself. Spread 2 to 3 inches of compost or well-rotted manure over the bed and work it lightly into the top few inches. This one habit improves clay and sand alike, feeds soil life, and helps moisture behave. For a deeper look at textures, amendments, and what to add when, read our guide to the best soil for vegetable gardening before you start buying bags at random.
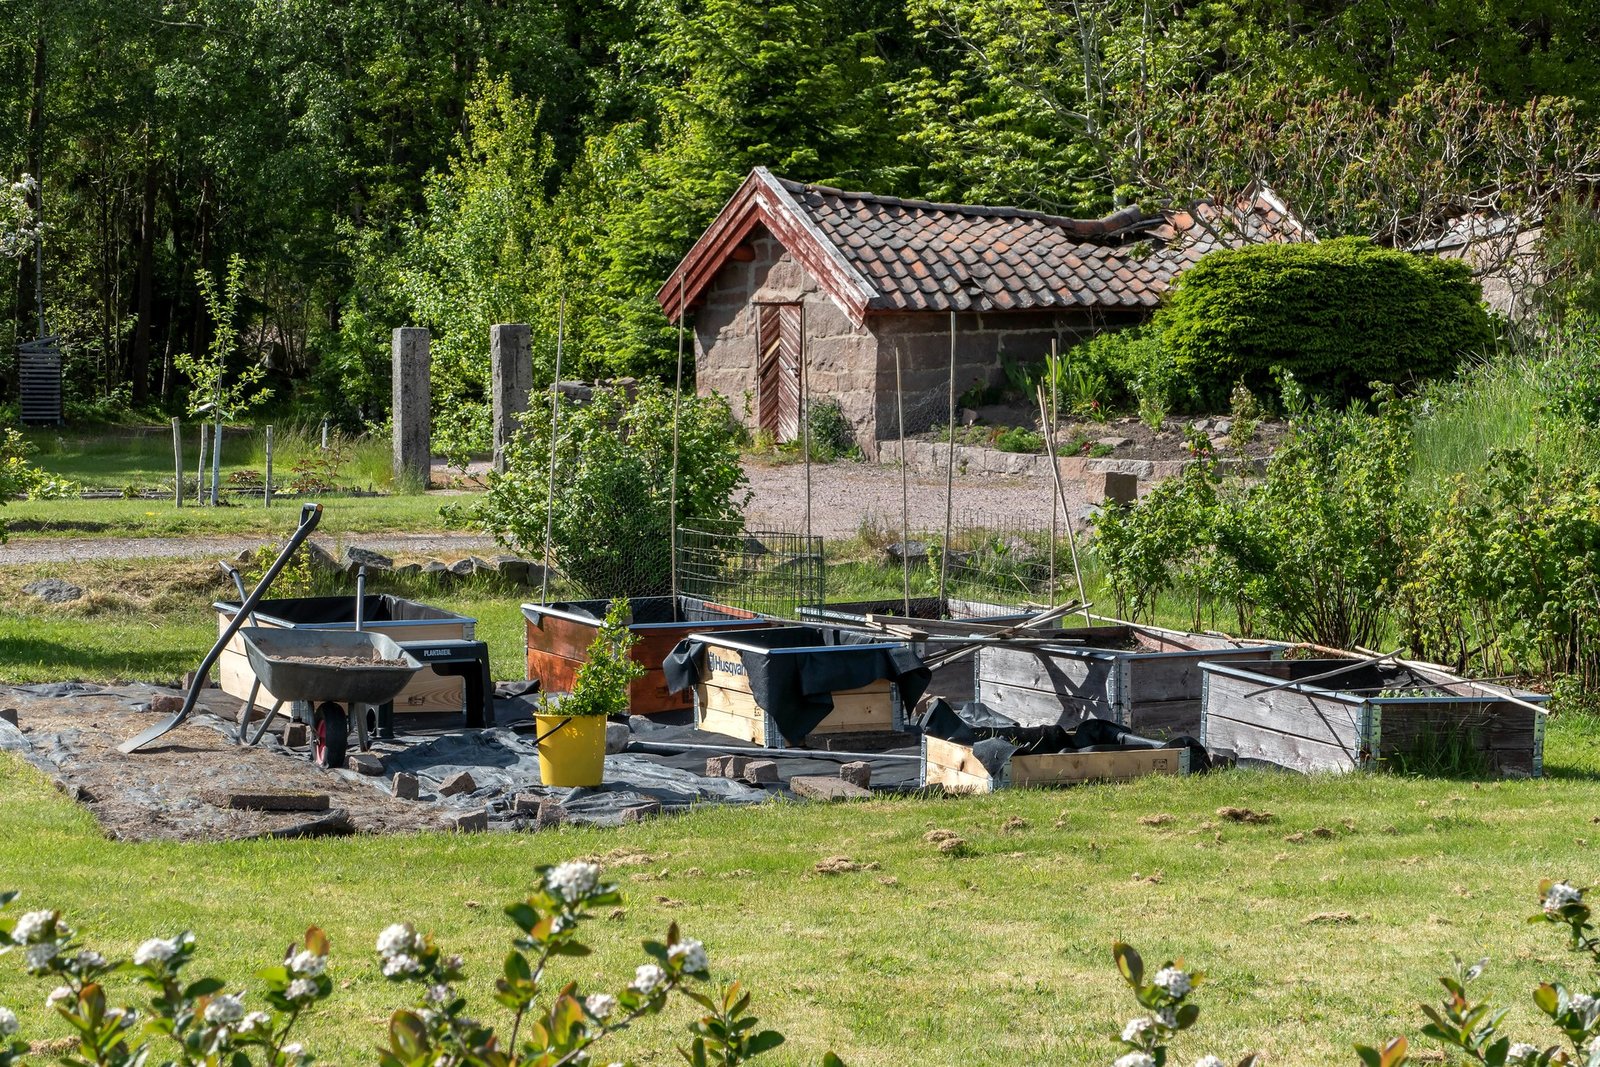
Step 5: Pick First Crops That Forgive Beginners
Choose crops with three filters: your household eats them, they suit your season length, and they are known to be straightforward. A short list grown well beats a long list grown thinly. For most beginners, these are reliable starting points.
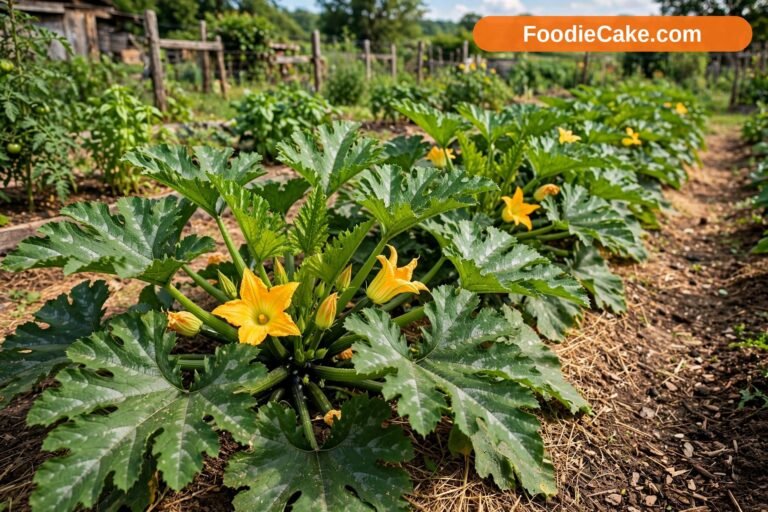
Bush beans are fast, productive, and fix some of their own nitrogen in the soil through their roots. Courgettes and summer squash give generous harvests from few plants; one or two plants are enough for most families. Lettuce and other salad leaves can be cut a little at a time and regrow. Radishes are ready in as little as 25 to 30 days for many varieties, which is encouraging when everything else still looks small. Swiss chard tolerates heat and light frost and keeps producing for months. Tomatoes are the crop most people dream about, and a sturdy variety such as Roma for cooking or a cherry type like Sungold or Sweet Million gives sweet fruit over a long stretch. Cucumbers do well given support and steady water. Carrots take patience but varieties such as Nantes 2 or Danvers suit many soils, and shorter types like Parisian Market cope better with heavy ground.
Peppers are worth growing if you have a warm, sunny site, but they are slow and sulk in cold soil, so in zones 5–6 they usually need to be started indoors or bought as transplants and planted out only after nights stay reliably warm. Herbs such as basil, parsley, and chives slot into edges and pots and make the whole garden feel useful from the first month.
Be honest about space-hungry crops in year one. Pumpkins, sprawling winter squash, sweet corn, and melons are fun, but they eat ground and, in corn’s case, need to be planted in a block rather than a single row to pollinate well. Grow one adventure crop if you like, and let the rest of the garden be dependable.
Step 6: Decide Between Seeds and Transplants
Some crops are best sown straight where they will grow. Beans, peas, carrots, radishes, lettuce, courgettes, and cucumbers all dislike or simply do not need transplanting, and direct sowing is cheaper and easier. Carrot roots fork if disturbed, and beans grow so fast that starting them in pots gains little except in cold soil.
Other crops have a long road to harvest and benefit from a head start. Tomatoes, peppers, aubergines, onions from seed, and brassicas such as cabbage and broccoli are usually started indoors or bought as young plants. Buying transplants costs more per plant, but for a beginner who wants six tomato plants, a tray from a garden centre is sensible, not cheating. Choose stocky, deep-green plants with no flowers or fruit already forming, and avoid anything leggy, yellowing, or with spots on the leaves.
If you start seeds indoors, they need strong light right from germination, ideally a bright south-facing window supplemented with a simple grow light kept a few inches above the seedlings. Weak light makes tall, floppy stems that never quite recover. Sow according to the packet for your last frost date, and resist starting everything in February because you are keen. A tomato sown too early becomes a houseplant problem by April.
Whatever you plant, harden off indoor-grown plants before they go outside for good. Set them outdoors in shade for a few hours the first day, then add sun and time over seven to ten days. Skipping this step scorches leaves and checks growth, and it is one of the easiest beginner losses to prevent.
When you sow or plant, water the drill or hole, set seed at roughly the depth on the packet, usually about two to three times the seed’s width, and label everything. You will not remember which row was which. Nobody does.
Step 7: Follow a Simple First-Season Planting Calendar
Timing depends on your last spring frost and first autumn frost, so treat the calendar below as a pattern to adjust, not a law. In zones 5–6, last frosts often fall in late April to May. In zones 7–8, planting can begin several weeks earlier. In zones 9–10, the challenge flips: spring crops go in early, and many gardeners plan a second main season for autumn when heat eases. Your seed packets and local extension calendar are the final word for your exact area.
In early spring, as soon as the soil can be worked, sow peas, broad beans, spinach, and onion sets outside. These tolerate cool soil and light frost. Lettuce and radish can follow, and sowing a short row of each every two weeks keeps them coming instead of arriving all at once.
In mid to late spring, once frost risk is passing, sow carrots, Swiss chard, beetroot, and bush beans, and plant out hardy transplants such as cabbage. Hold the tender crops back. Beans sown into cold, wet soil rot quietly underground, and no amount of hoping changes that.
After your last frost, when nights are settling above about 50°F, plant out tomatoes, peppers, cucumbers, courgettes, and basil. This is the moment beginners rush. A tomato planted a week late into warm soil will usually overtake one planted early into cold soil that sat and sulked. Warmth is not a detail for these crops. It is the point.
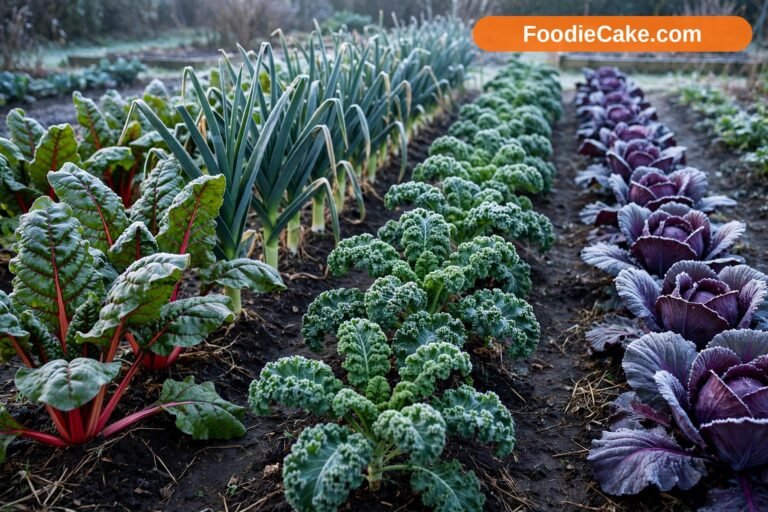
Through summer, keep sowing little and often: beans every few weeks until midsummer, salad leaves in a spot with afternoon shade, and a late sowing of carrots. In zones 6–8, late summer is also the time to sow spinach, kale, and autumn lettuce for harvests that often taste sweeter after the first cool nights.
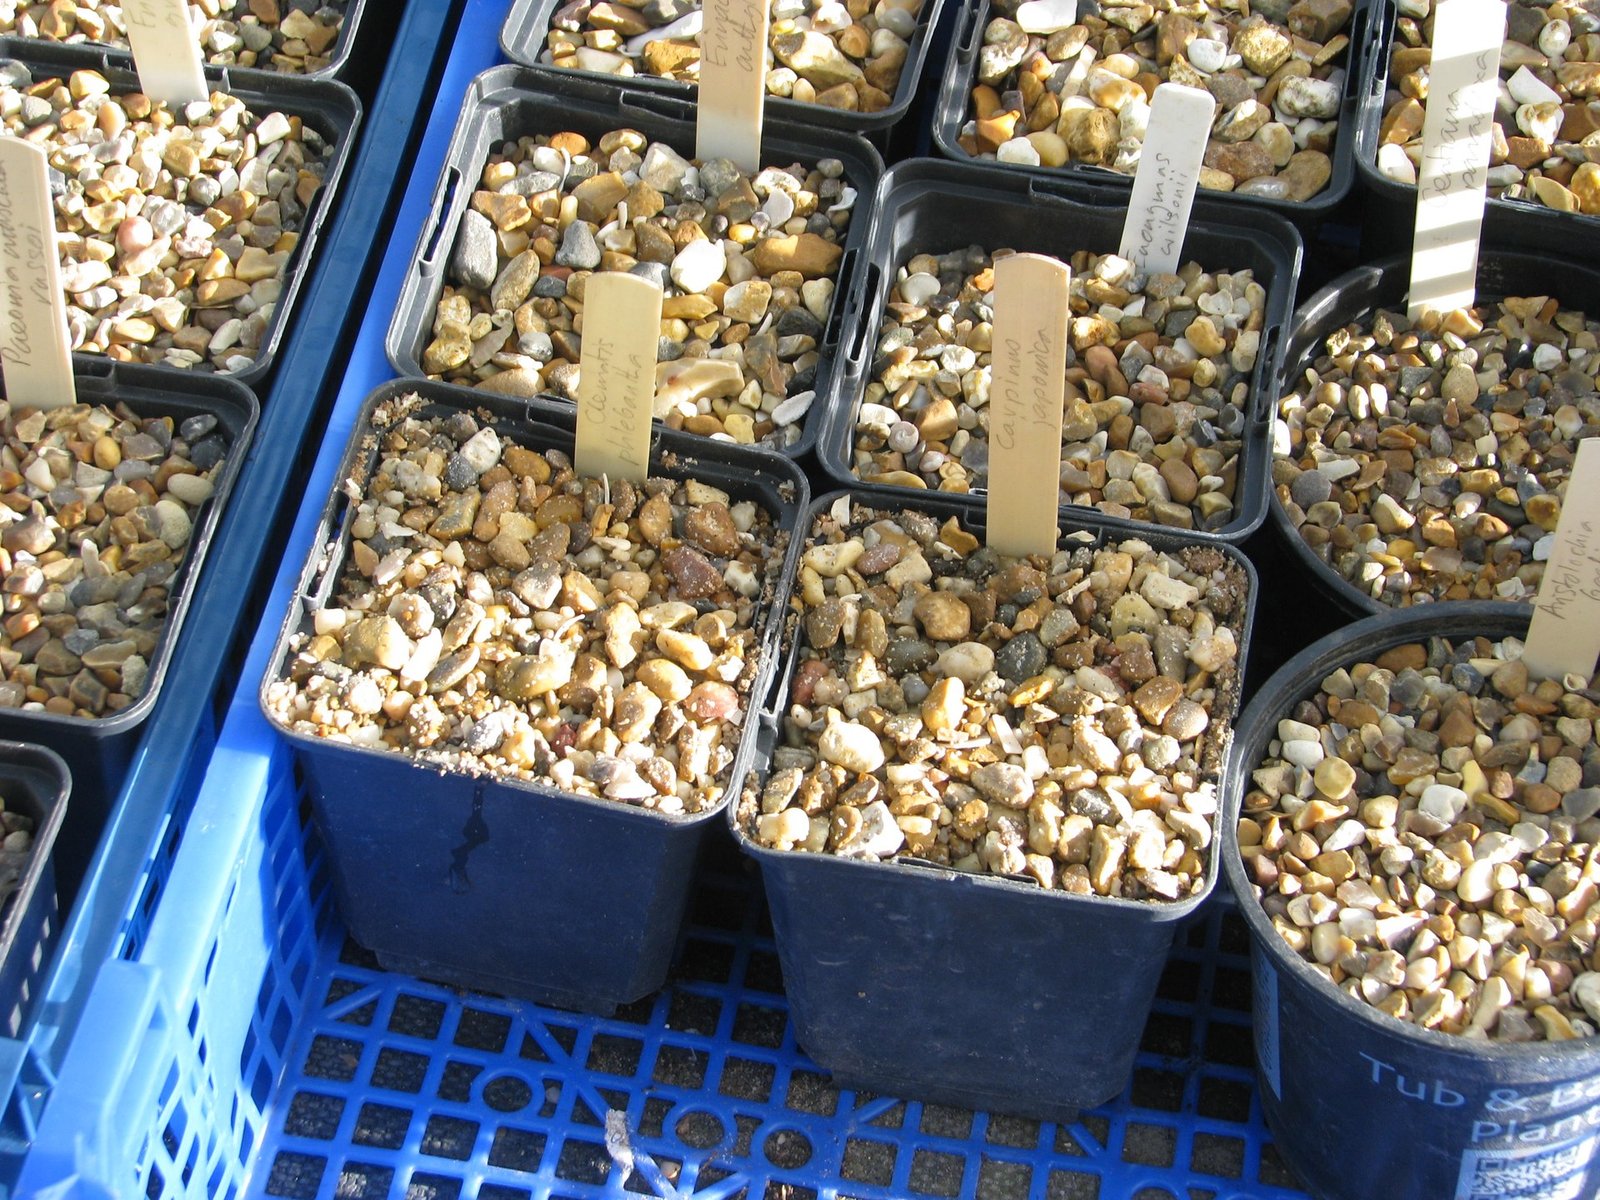
Step 8: Water Deeply, Mulch Well, and Feed Lightly
Most vegetables do best with roughly an inch of water a week, including rain, but the way you give it matters more than the number. Water deeply and less often, so moisture reaches the roots and encourages them downwards, rather than sprinkling a little every day, which keeps roots shallow and vulnerable. Morning is the best time: leaves dry quickly in the sun, which discourages fungal disease, and less water is lost to midday heat.
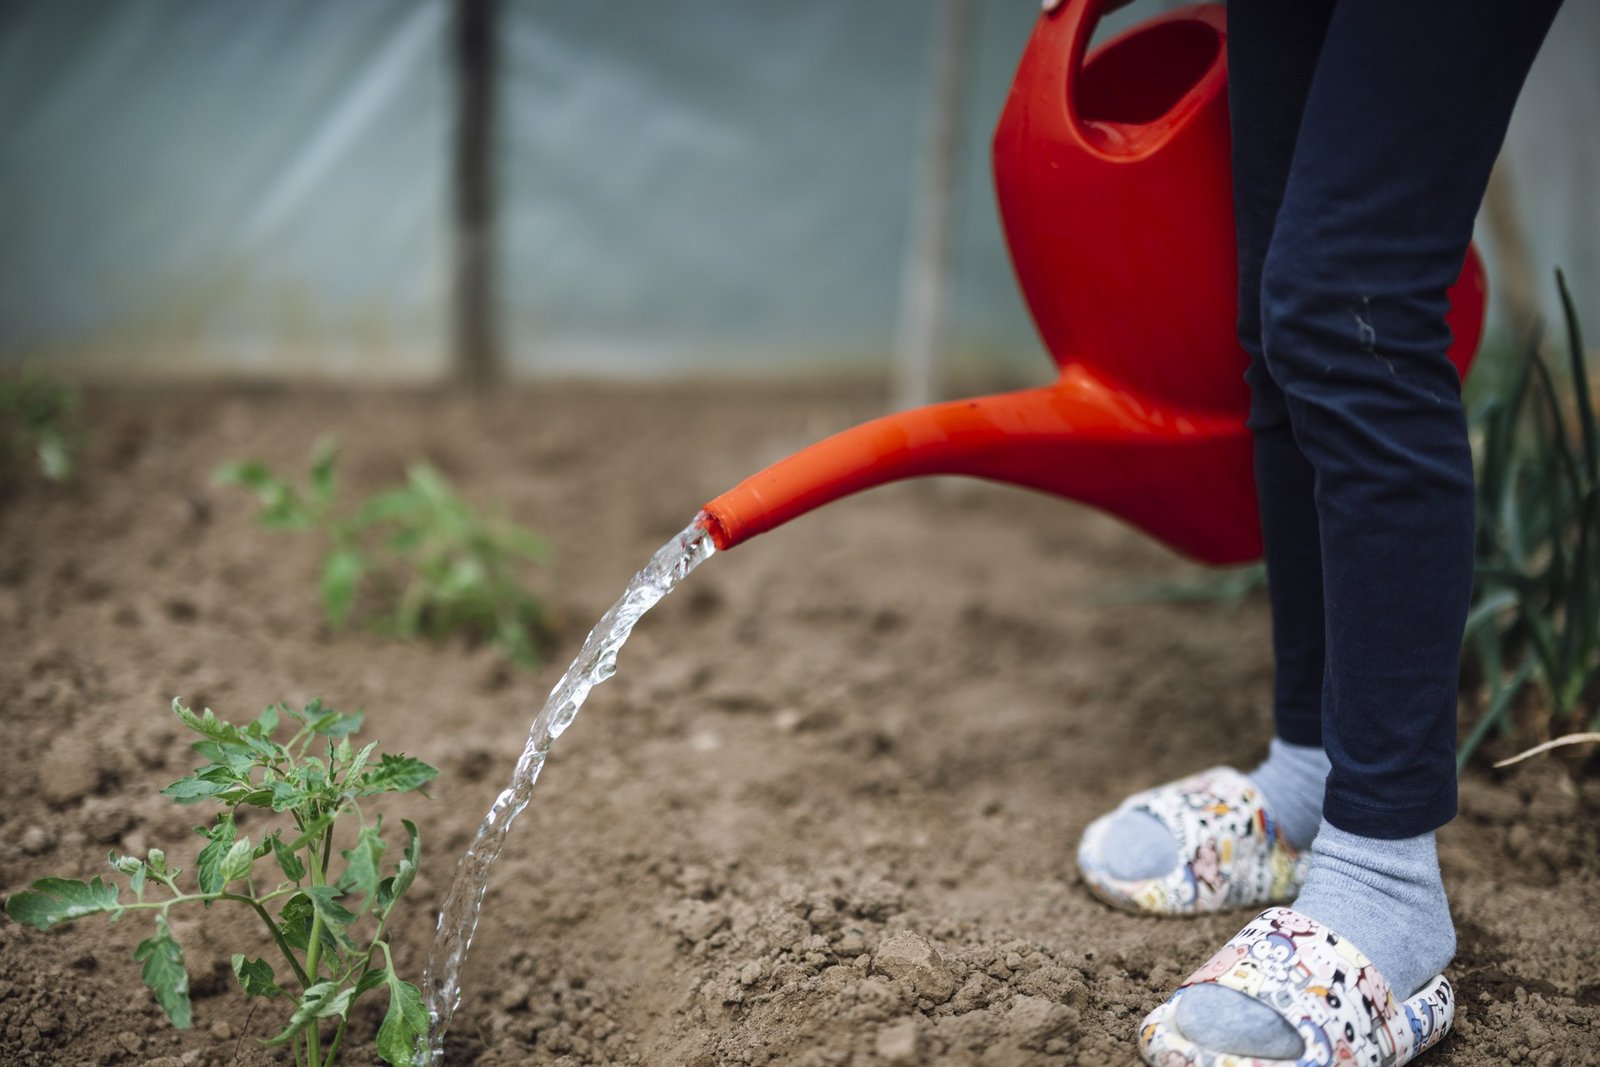
Aim water at the base of plants, not over the foliage. A watering can with a rose removed, a soaker hose, or drip irrigation all do this well. Overhead watering has its place for seedlings, but wet leaves on tomatoes and squash in humid weather invite blight and mildew. Containers and raised beds need checking more often, sometimes daily in a heatwave. Stick a finger an inch into the soil. If it is dry at that depth, water. If it is moist, wait.
Mulch once plants are established and the soil has warmed, usually a few weeks after planting. A 2 to 3 inch layer of straw, shredded leaves, grass clippings from an untreated lawn, or compost around plants holds moisture, cools roots, suppresses weeds, and stops soil splashing onto leaves during rain. Keep mulch a small distance from stems so they do not stay damp and rot. Wait until soil is warm before mulching heat-lovers like peppers and tomatoes, because mulch on cold spring soil keeps it cold.
Feeding can stay simple. The compost you added at the start carries many crops a long way. Heavy feeders such as tomatoes, sweet corn, and squash appreciate a balanced organic fertiliser during the season, applied at the rate on the label, and fruiting plants benefit once flowers appear. Leafy greens like a nitrogen boost if they look pale. Pale leaves can also mean waterlogging or cold, though, so look at the whole plant before reaching for a bottle. More fertiliser than the label says does not make more vegetables. It makes salty soil, soft growth that pests love, and runoff nobody needs.
If you want to keep costs and waste down in future seasons, learning how to make compost at home turns kitchen scraps and garden trimmings into the very material your beds will ask for every spring.
Practical Tips for a Smoother First Season
Walk the garden with a cup of coffee a few times a week and just look. Early is everything in gardening. A cluster of aphids on one bean tip can be squashed by hand today or become a colony next week. One yellowing tomato leaf spotted early is information. A whole plant yellowing is a problem.
Keep a simple notebook or phone note. Write down what you planted, where, and when, what germinated well, and what the family fought over at dinner. Next year’s plan will write itself from those scraps, and you will stop re-buying the variety nobody liked.
Succession is the beginner’s quiet superpower. When a row of radishes finishes, sow lettuce in its place. When peas are done in early summer, that ground can take bush beans. The garden stays productive without getting bigger.
Support plants before they need it. Put tomato cages or stakes in at planting time, give peas netting or twiggy sticks while they are short, and tie cucumbers onto a trellis early. Wrestling a fallen, fruiting tomato upright in July damages roots and stems and usually ends with snapped growth in your hand.
Harvest promptly and often. Beans, courgettes, and cucumbers produce more when picked regularly, and they taste better young and tender anyway. A courgette left for a week is not a bonus. It is a marrow with ambitions, shading the plant and slowing new fruit.
Leave a little room for flowers. Marigolds, calendula, nasturtiums, and sweet alyssum bring in pollinators and beneficial insects, and nasturtiums make a handy sacrificial plant that aphids often choose over your beans. A garden that hums a bit is usually a garden in balance.
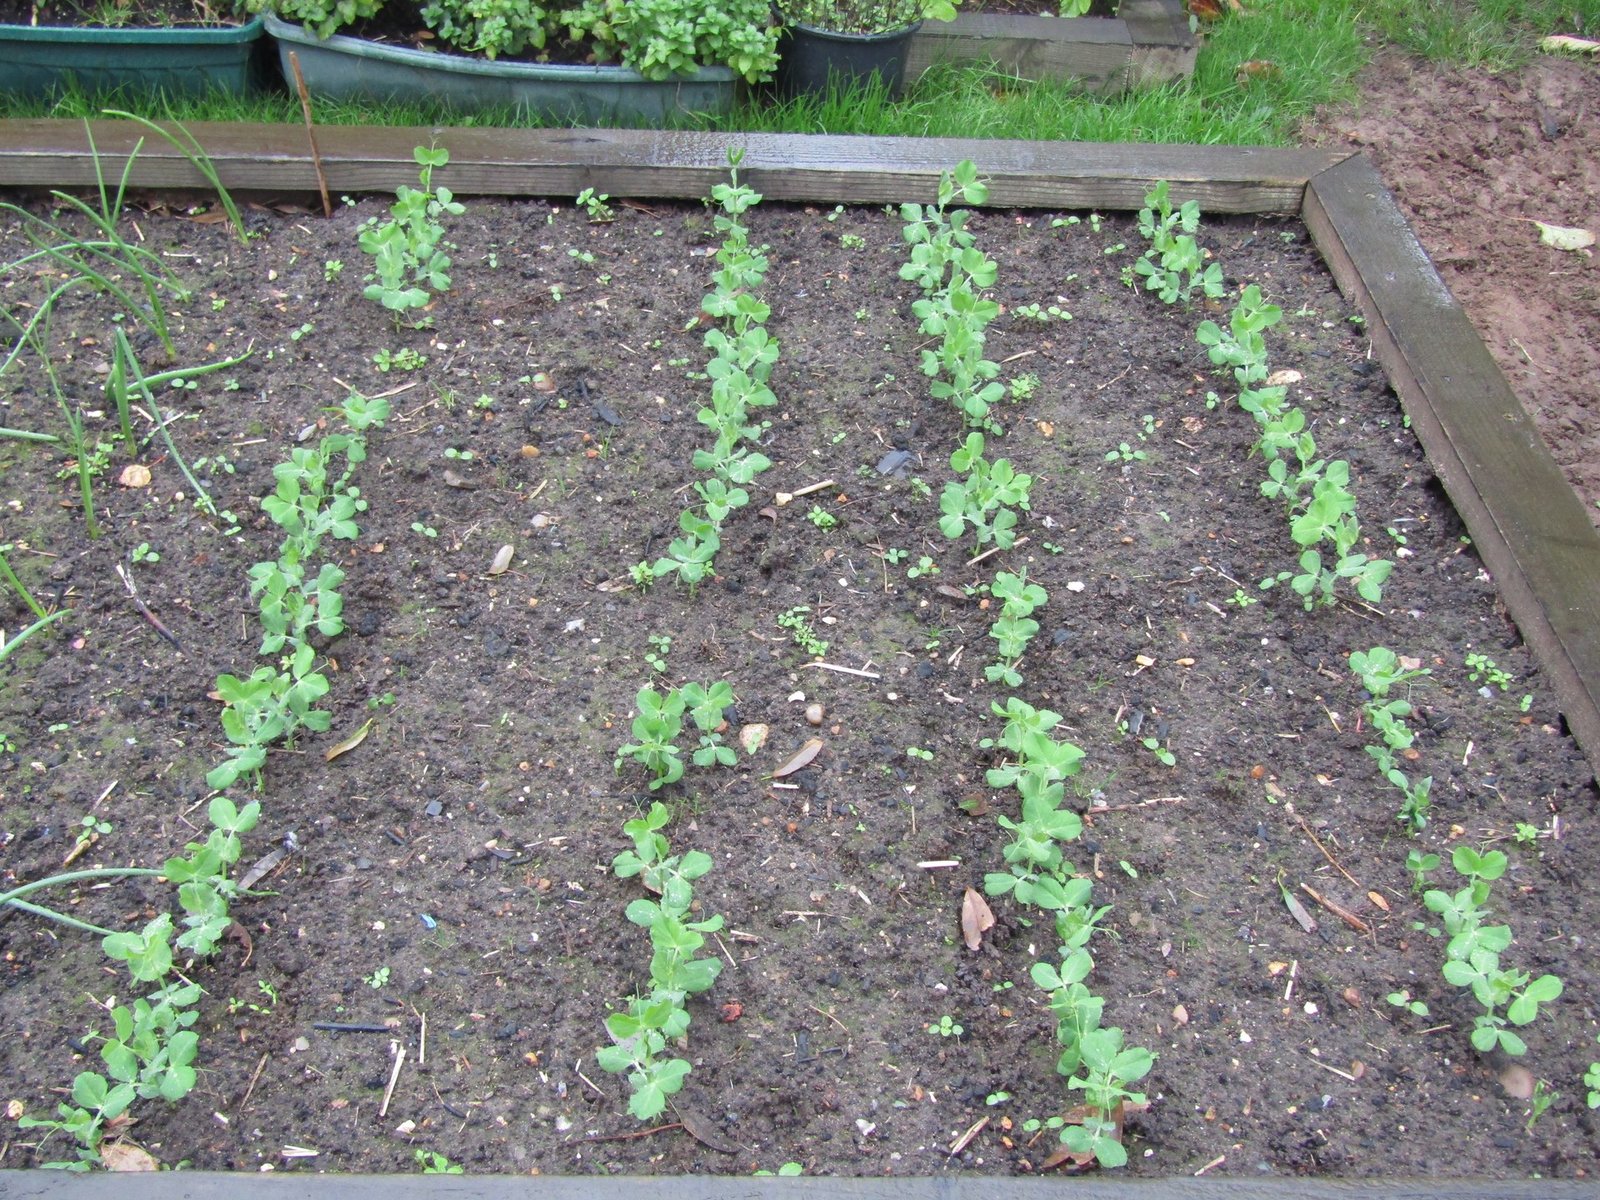
Common Mistakes and Problems to Watch For
Starting too big is the classic first error, and it leads straight to the second: giving up on weeding by midsummer. A small garden kept clean will out-produce a large neglected one every time. If weeds do get ahead of you, tackle the patch nearest harvest first, and mulch bare ground the moment you clear it so you do not fight the same battle twice.
Planting tender crops too early is the next regular heartbreak. Tomatoes, peppers, beans, and cucumbers are not being brave when you put them out before the soil warms. They are stalling, and stalled plants are easy targets for pests. Patience in May is worth weeks in July.
Overcrowding causes a whole family of problems that look like bad luck: powdery mildew on squash, blight spreading between touching tomato leaves, tiny carrots that never sized up because they were never thinned. Thin seedlings even though it feels wasteful. It is not waste. It is how the remaining plants get to eat.
Inconsistent watering shows up as cracked tomatoes, bitter lettuce, and blossom end rot on tomatoes and peppers, where the fruit develops a dark, sunken patch at the base. That disorder is usually about roots being unable to take up calcium steadily in soil that swings between dry and soaked, rather than a simple lack of calcium in the ground. Even moisture and mulch fix it more reliably than any spray.
Expect some pests, and respond in proportion. Hand-pick cabbage white caterpillars, cover brassicas with fine mesh from planting day if cabbage whites are a problem in your area, and use barriers or beer traps for slugs where they are severe. Flea beetles pepper tiny holes in brassica and potato leaves and mostly trouble young plants; fleece cover and steady growth get plants through it. Spraying at the first hole kills the ladybirds and lacewings that would have helped you for free, so look, identify, and use the gentlest fix that works.
Finally, do not compare your June garden to a photograph of someone’s August garden in a warmer zone. Compare it to your own garden last month. That is the only fair measure, and it is usually encouraging.
Frequently Asked Questions
How big should a first vegetable garden be?
A plot around 10 by 10 feet, or two to three raised beds of 4 by 8 feet, is a sensible start for most households. It is enough space for tomatoes, beans, salad, courgettes, and herbs without overwhelming your watering and weeding time. You can add one bed each year as your confidence grows.
When should I start planting in spring?
It depends on your zone and last frost date. Hardy crops such as peas, spinach, and onion sets can go out several weeks before the last frost in zones 5–8, while tomatoes, peppers, beans, and cucumbers should wait until after the last frost and until nights are reliably mild. Check seed packets, and hedge by a week if your spring weather is unsettled.
Do I really need to test my soil?
A basic test in the first year is strongly worth it. It tells you your pH and whether any major nutrient is very low, which stops you guessing with lime and fertiliser. Most vegetables do well around pH 6.0 to 7.0. After the first test, repeating every two to three years is plenty for a home garden.
How often should I water vegetables?
Water deeply when the top inch of soil is dry, aiming for about an inch of water a week including rain, and more during heatwaves, for fruiting plants, and for anything in containers or raised beds. Water at the base of plants in the morning where you can. Shallow daily sprinkling does more harm than good.
What are the easiest vegetables for a complete beginner?
Bush beans, courgettes, lettuce, radishes, Swiss chard, and cherry tomatoes are a forgiving starter set. They germinate or establish reliably, produce over a long period, and show you quickly whether your watering and spacing are working. Herbs such as chives and parsley are also patient plants for new gardeners.
Can I grow vegetables if my garden is partly shaded?
Yes, with the right crops. Lettuce, spinach, kale, Swiss chard, herbs such as parsley and mint, and root crops like beetroot will cope with four to five hours of sun, and leafy greens often appreciate shade in hot summers. Save your sunniest ground for tomatoes, peppers, and squash, which genuinely need the light to crop well.
Final Thoughts
Starting a vegetable garden is mostly a series of small, ordinary decisions done in the right order: sun first, a size you can manage, soil you have fed, crops your household loves, water given deeply, and a little attention most days. None of it requires expensive kit or years of experience. It requires starting, watching, and adjusting, which is exactly what a first season is for.
So pick your spot this week, mark out one bed, and get something in the ground in its proper season, even if that something is just a row of radishes and a few lettuce plants. The first salad you cut from your own soil will teach you more, and taste better, than any amount of planning. Next season you will start with notes, compost on the go, and a garden that already feels like yours.

3 Comments