Best Gardening Tools for Beginners
Walking into a garden centre for the first time can feel a bit like walking into a hardware store when you have only ever hung one picture. There are walls of shiny tools, long handles, short handles, and names you have never heard before. Choosing the best gardening tools for beginners is much simpler than that display suggests, because most new gardeners only need a small, sensible set to plant, water, weed, and tidy a garden well. A good trowel, a reliable pair of shears, something to water with, and a few helpers for digging and carrying will cover almost everything you do in your first seasons.
The real goal is not to own the most tools. It is to own tools that feel comfortable in your hand, suit the size of your garden, and are sturdy enough that you are not replacing them by midsummer. A cheap tool that bends the first time it meets firm soil is no bargain, and a heavy, professional tool can be just as unhelpful if it leaves your wrists aching after ten minutes. Comfort, balance, and simple, solid construction matter far more than fancy features when you are starting out.
This guide walks through the essential tools one by one, explaining what each one is actually for, what to look for when you buy it, and one common beginner mistake to avoid with it. After the tools themselves, you will find advice on building a starter kit on a budget, understanding basic materials, and keeping everything clean and stored properly. By the end, you should be able to shop with confidence, spend your money in the right order, and get straight out into the garden.
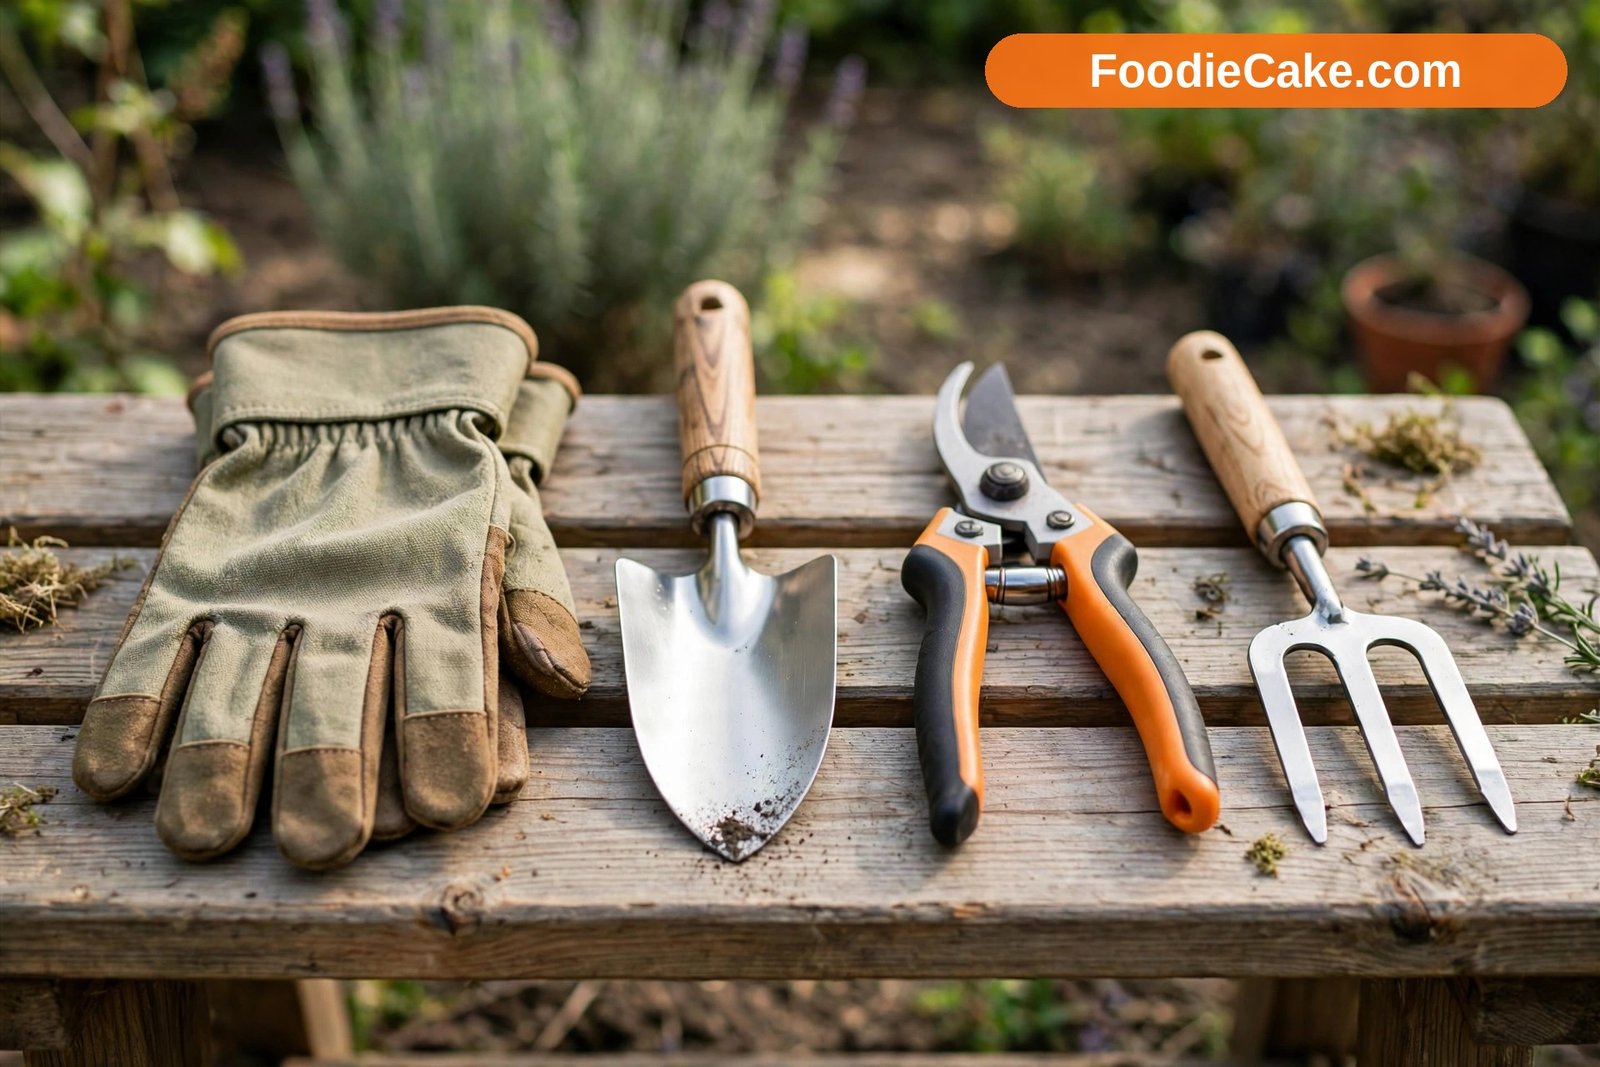
1. Hand Trowel: Your Most-Used Tool
If you buy only one tool to begin with, make it a hand trowel. This small, handheld digging tool is what you will reach for when planting seedlings, bedding plants, and bulbs, digging small holes for transplants, scooping compost or potting mix, and easing out weeds with short roots. It works at the scale most beginner gardening happens at: one plant, one hole, one pot at a time. You will probably use it more in a single weekend than some larger tools get used in a whole season.
When buying one, look for a blade that feels solid rather than thin and bendy, with a comfortable handle that fills your hand without forcing your fingers into an awkward grip. A one-piece design, or a blade that runs well into the handle, tends to feel sturdier than a blade loosely attached to a separate handle. A slightly pointed tip helps it slip into soil, and depth markings on the blade, while not essential, are handy when planting bulbs at a consistent depth.
A beginner mistake to avoid is using the trowel as a lever to pry out stones or stubborn roots. That sideways pressure is exactly how thin blades bend and handles snap. Dig around the obstacle first, loosen the soil, and let a fork do the heavy prying. Treat your trowel as a digging and scooping tool, and a decent one should serve you for years.
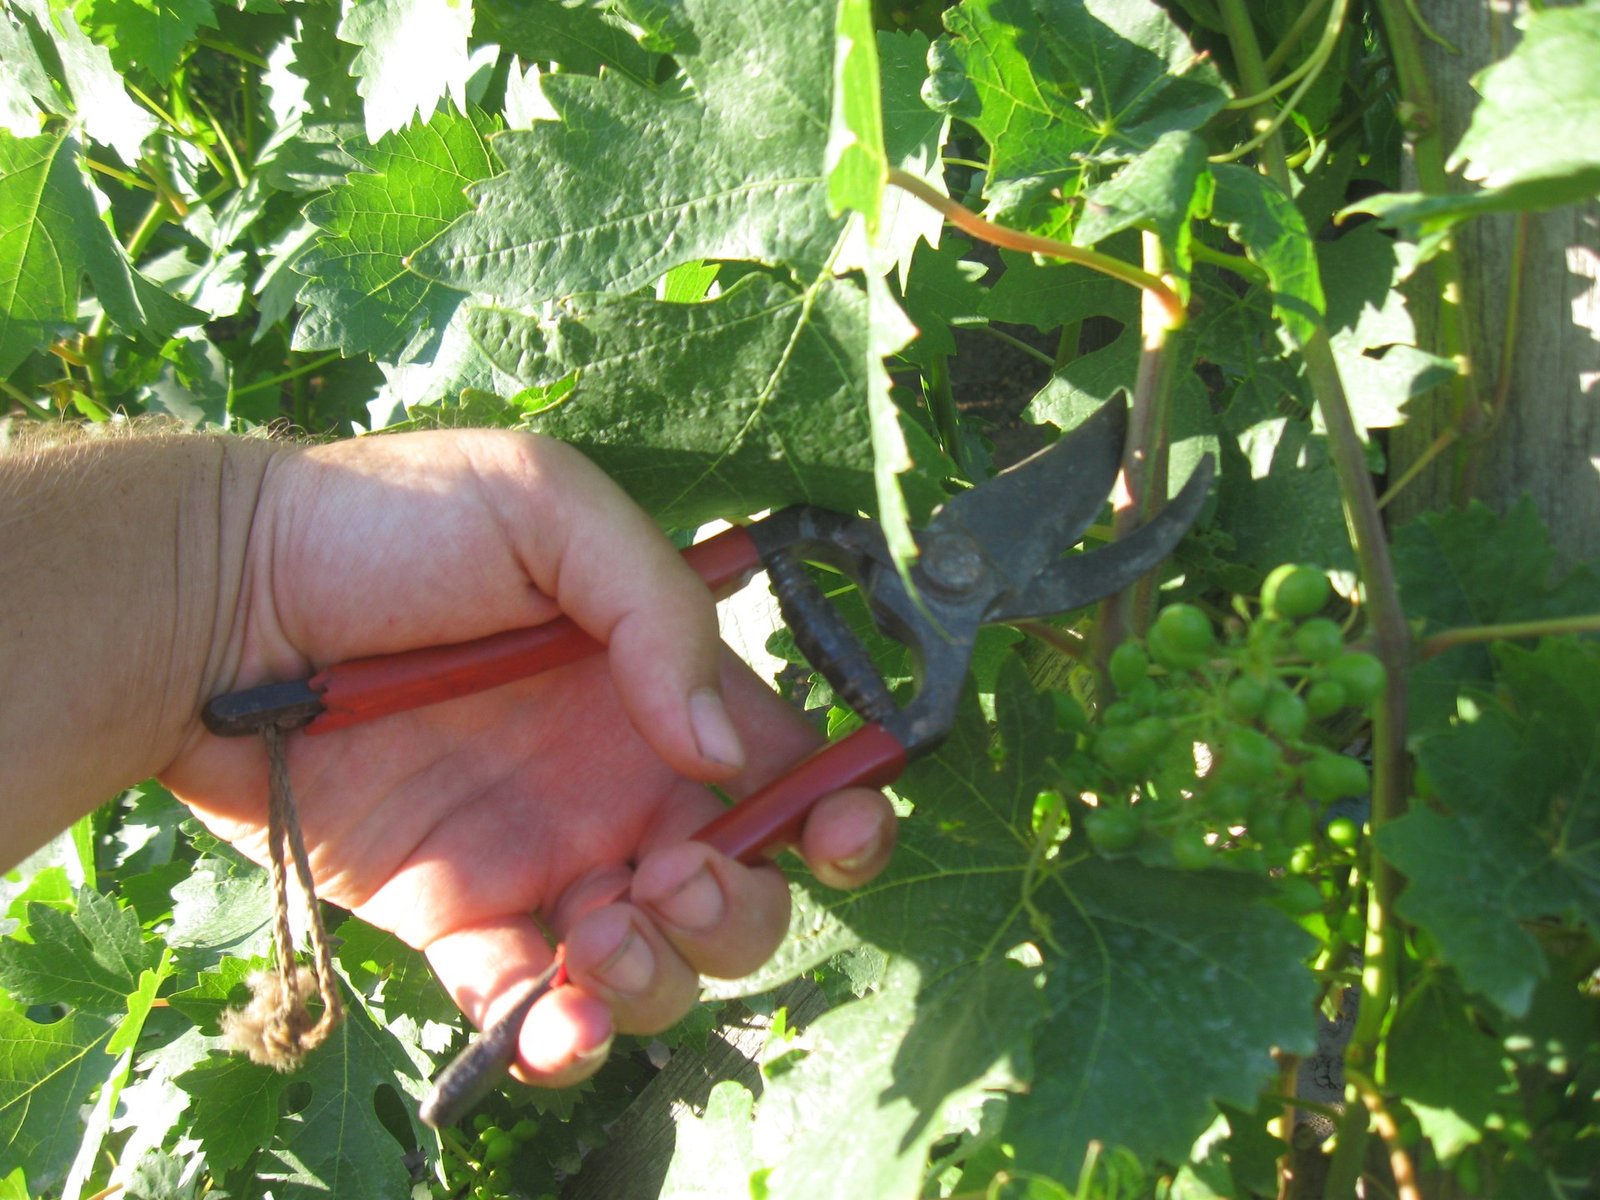
2. Bypass Pruning Shears: For Clean, Healthy Cuts
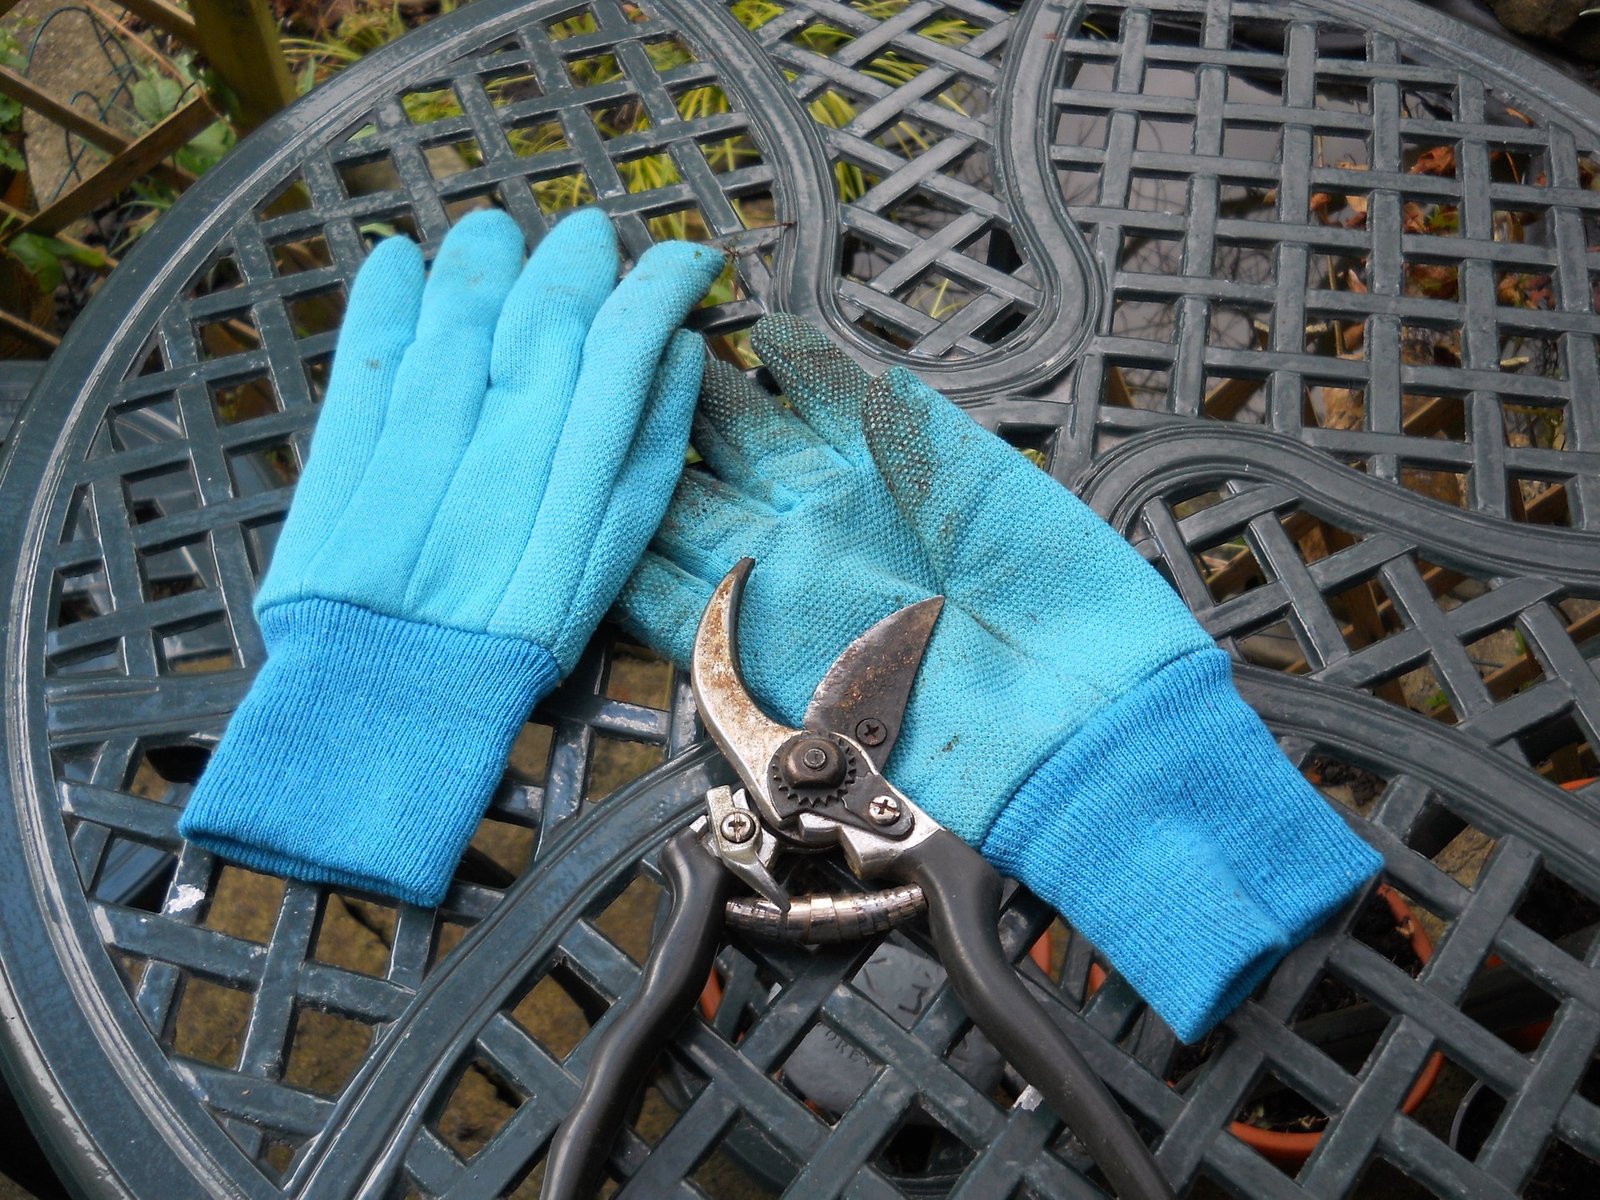
Pruning shears, often called secateurs, are your tool for cutting live stems cleanly. You will use them for trimming soft growth, deadheading flowers, harvesting herbs and cut-and-come-again crops, shaping small shrubs, and snipping out dead or damaged stems. Bypass shears work like scissors, with two curved blades passing each other, and that action gives a clean cut on living wood, which is why they are the right first pair for most beginners.
Look for shears that open and close smoothly, fit your hand size, and have a simple locking catch you can operate easily. A replaceable blade or a model that can be sharpened is a plus, as is a brightly coloured handle that is easier to spot when you set the tool down among green plants. Try the grip if you can. Shears that are too large will tire a smaller hand quickly, and tired hands make sloppy cuts.
A beginner mistake to avoid is reaching for your shears to cut everything, including thick, woody branches they were never designed for. Forcing them through wood that is too thick twists the blades and leaves a crushed, ragged cut on the plant. If a stem makes you squeeze with all your strength, it is too big for the tool. Step up to a larger cutting tool later if your garden needs one, and keep your shears for the work they do best.
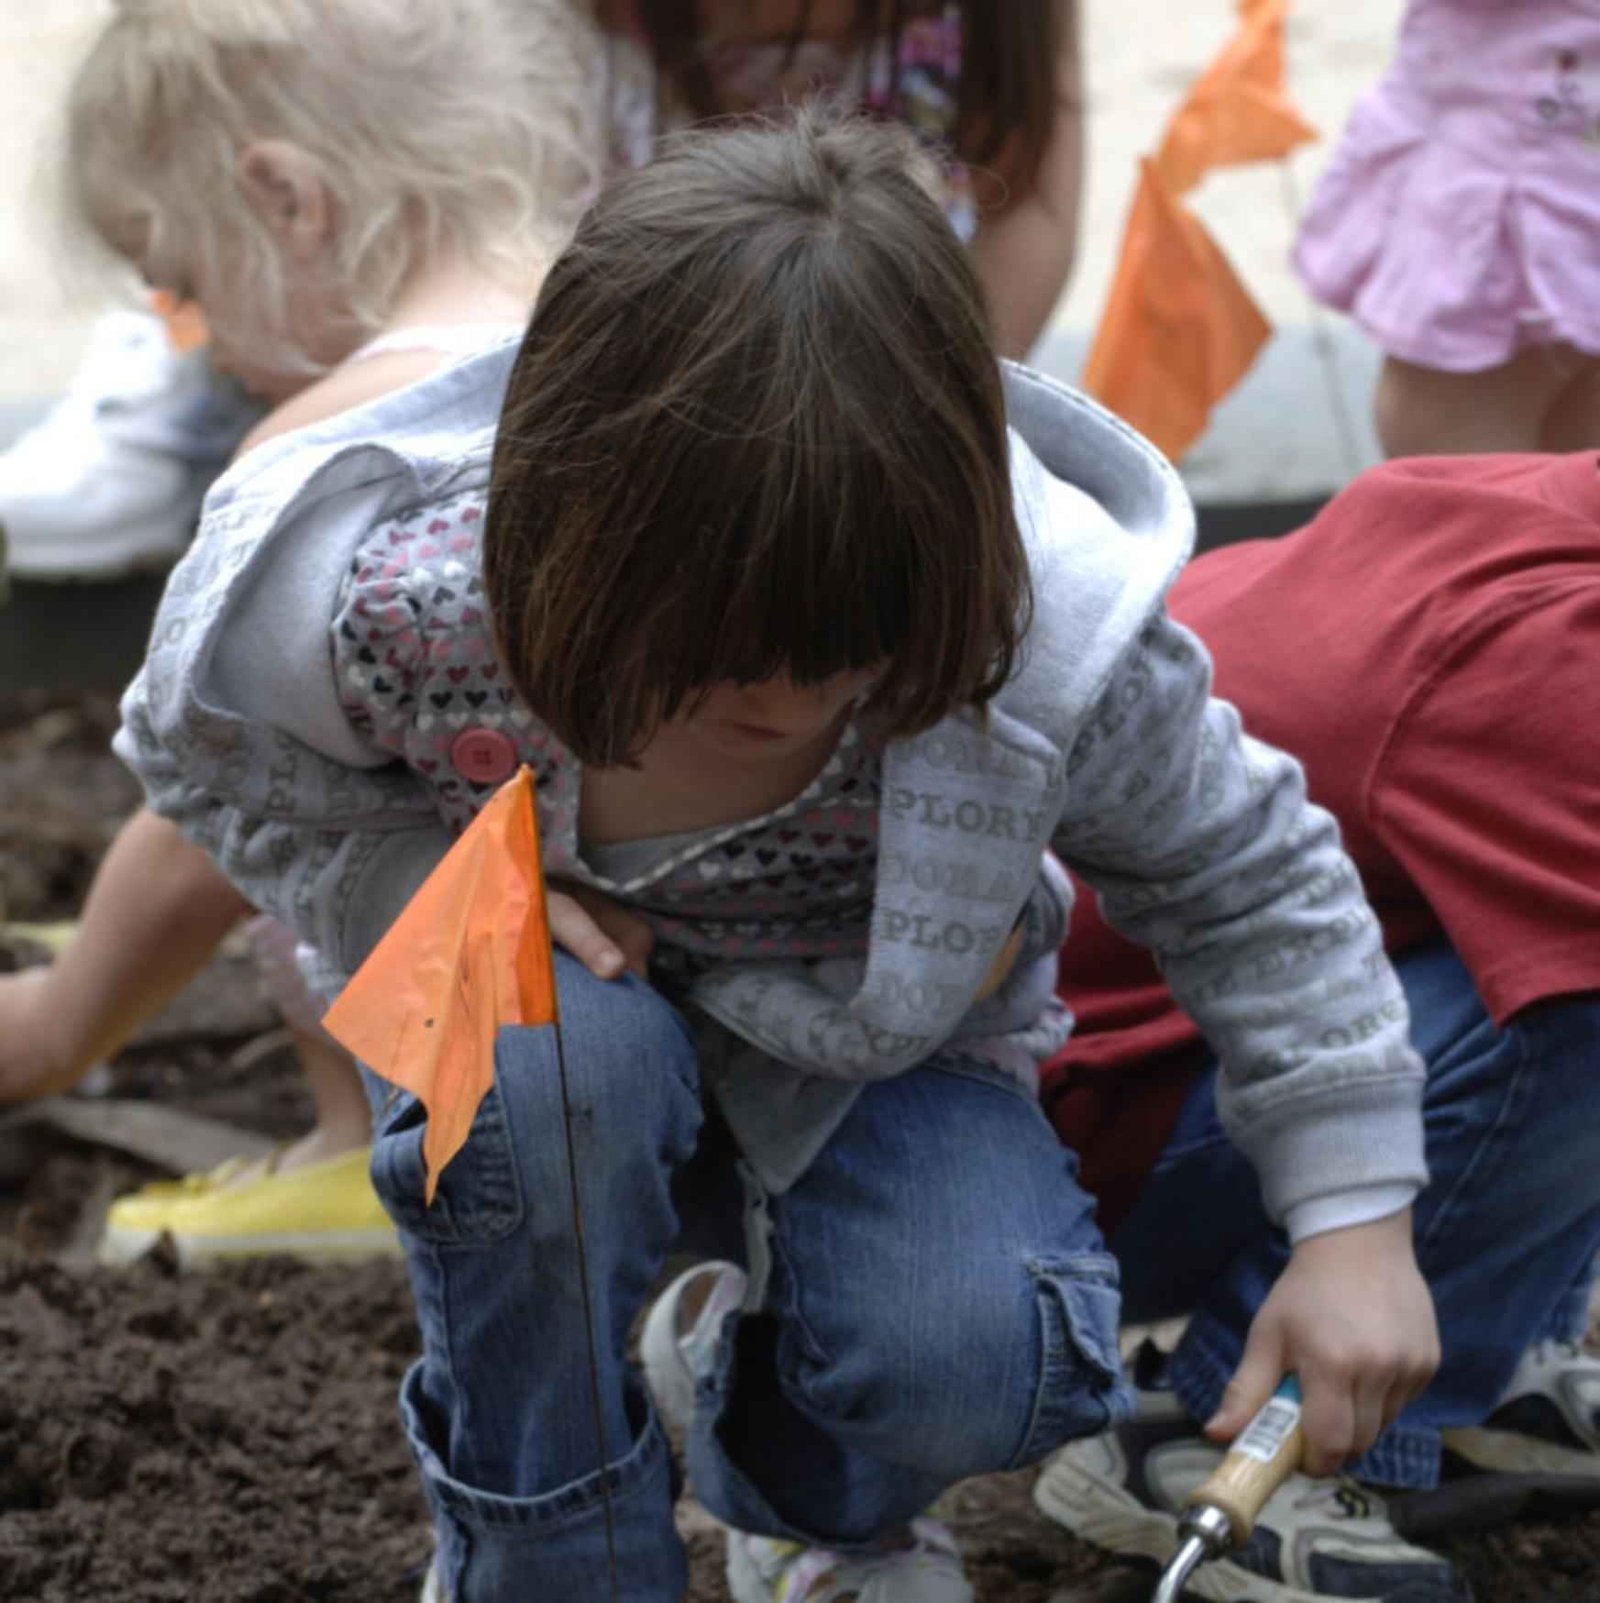
3. Garden Fork: For Loosening and Lifting Soil
A garden fork looks like a large dinner fork with strong, flat or square tines, and it is one of the hardest-working tools in a vegetable or flower bed. Use it to loosen compacted soil before planting, turn compost, lift root vegetables, and ease out deep-rooted weeds or clumps of plants you want to divide or move. Where a spade slices through soil, a fork pushes in and loosens it, which disturbs the soil structure less and makes it easier to shake soil from roots.
When choosing a fork, pay attention to the handle length and the overall weight. It should feel balanced when you push it in with your foot and lever it back. A sturdy shaft and a comfortable D-shaped or T-shaped grip make that repeated motion much easier. The tines should feel thick and unyielding when you press on them, because thin tines bend in heavy or stony ground.
A beginner mistake to avoid is leaving soil preparation until the soil is either bone dry or soaking wet, then fighting it with the fork. Dry, baked soil barely lets the tines in, and wet soil sticks in heavy clods that are miserable to work. Wait for that in-between stage, when the soil is moist and crumbly, and the fork will do the work with far less effort from you.
4. Spade and Shovel: Know the Difference
People often use the words spade and shovel as if they mean the same thing, but they have different strengths. A spade usually has a flatter, straighter blade and is made for digging holes, cutting edges along beds and lawns, and slicing into soil. A shovel tends to have a more curved, scoop-shaped blade and is better for moving loose material such as compost, soil, mulch, or gravel from a pile into a barrow or bed. Many beginners manage happily with a good digging spade first, then add a shovel when they start moving material in quantity.
Look for a blade that feels firm underfoot, because you will often press on its top edge with your boot to drive it into the ground. The shaft should suit your height: too short and you will stoop, too long and it will feel clumsy in a small bed. A smooth handle with a comfortable grip matters, especially for the spade, which you may use for long stretches when preparing a new bed.
A beginner mistake to avoid is trying to dig a whole new bed in one heroic afternoon. Spade work is genuinely physical, and most people new to it do better in shorter sessions, resting and stretching as they go. Dig a section, plant it or cover it, and come back to the next section another day. Your back will thank you, and the quality of the digging will be better too.
5. Rake: For Levelling, Tidying, and Fine Finishing
A rake brings order to a bed. A standard garden rake, with a straight head and short, sturdy teeth, is used to level soil after digging, break down remaining clods, create a fine, even surface for sowing seeds, and pull stones and debris off a bed. A lighter, fan-shaped leaf rake is a different tool, made for gathering leaves and grass clippings without tearing at the ground, and it earns its place later if you have lawns or trees.
When buying a garden rake, check that the head is firmly attached and does not wobble, and that the handle is long enough for you to stand fairly upright while pulling it towards you. A very heavy rake is tiring for fine levelling, while a very flimsy one bounces over clods instead of breaking them. As with most tools, the middle ground of solid but manageable is what you want.
A beginner mistake to avoid is raking a seedbed until it looks perfect, then walking all over it to sow. Every footstep re-compacts the soil you just loosened. Work backwards as you rake so you are standing on ground you have already finished, or lay a plank to spread your weight when you need to reach into the middle of a bed.
6. Hoe: Your Weeding Shortcut Between Rows
A hoe is a long-handled tool with a blade set at an angle, designed to cut weeds off just below the soil surface as you walk along a row. Used little and often, it is the fastest way to keep vegetable beds and paths between plants clear, because it deals with weeds while they are tiny seedlings rather than established plants. There are several styles, but a simple draw hoe or a stirrup-style hoe will suit most beginners.
Look for a handle long enough that you can work standing upright, with a slight push-and-pull or drawing motion rather than chopping from height. The blade should feel sharp enough to slice rather than drag, because a blunt hoe just pushes seedlings around and leaves them to re-root. Weight matters here too: a hoe you swing and shuffle for twenty minutes should feel light and easy to steer between plants.
A beginner mistake to avoid is waiting until weeds are large, then trying to hoe them. By that stage their roots are established, the hoe struggles, and you risk disturbing the roots of the plants you actually want. Hoe on a dry, bright day when the weeds are small, and the severed seedlings will simply wither on the surface.
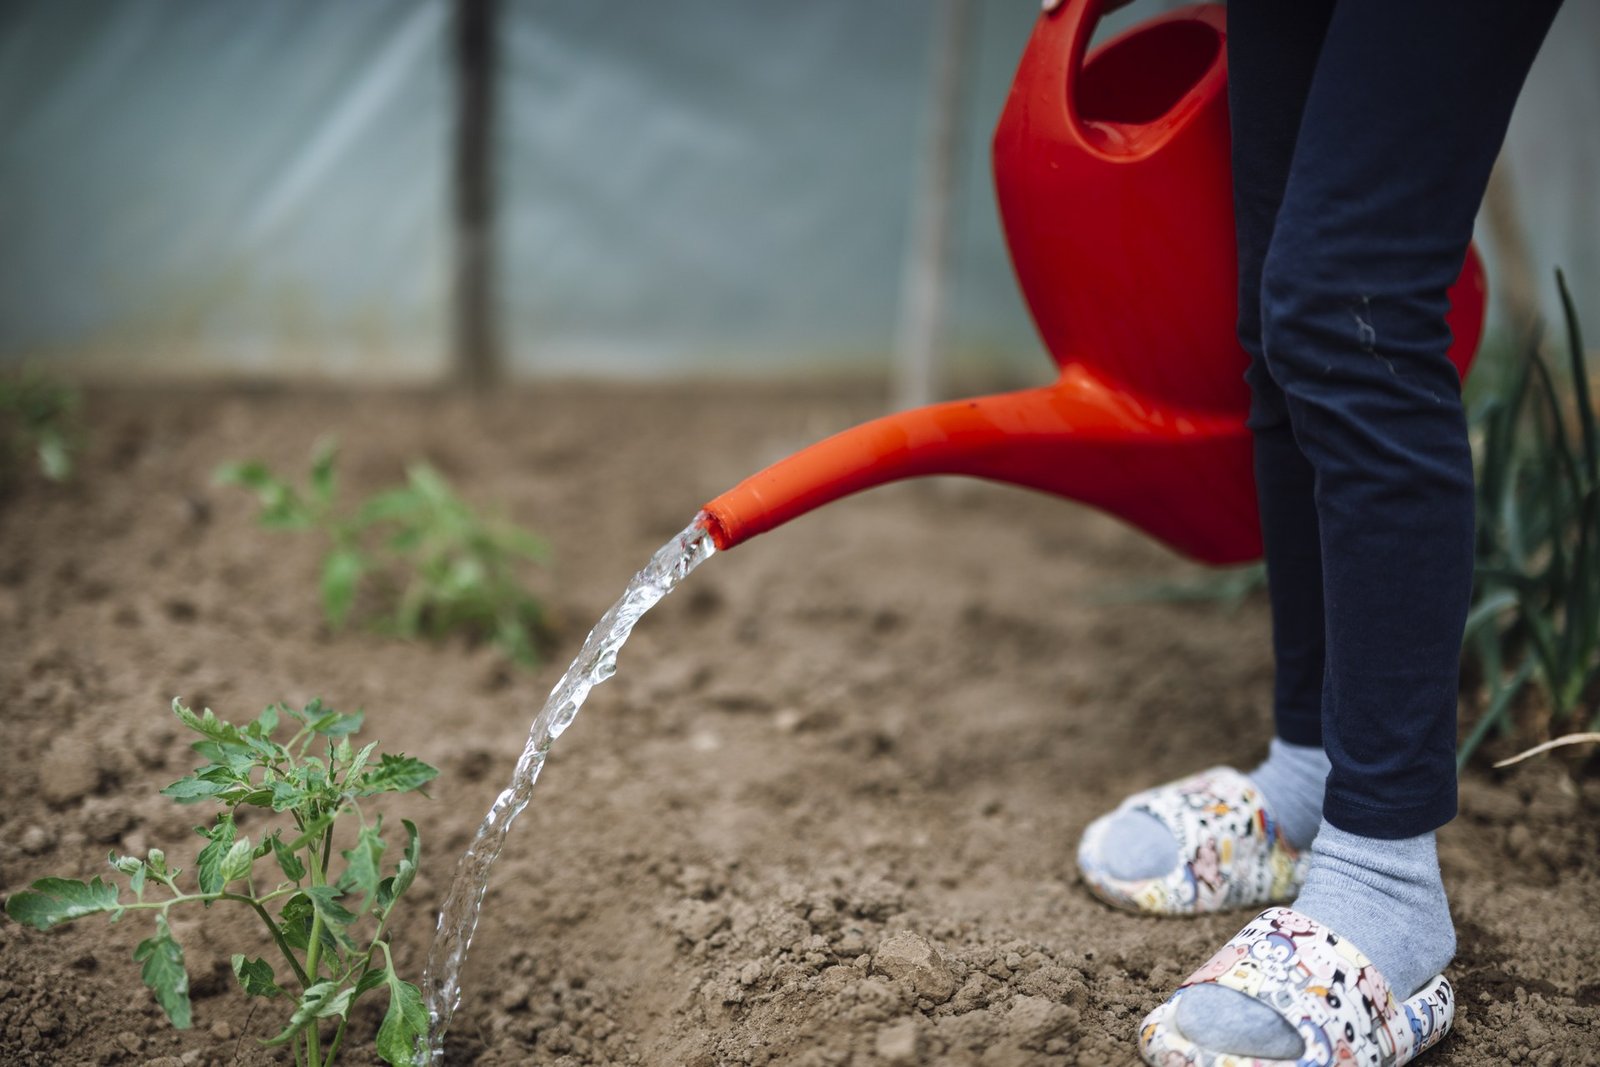
7. Watering Can or Hose With a Gentle Nozzle
Watering is the job you will do most often in dry weather, so your setup deserves thought. A watering can suits small gardens, balconies, greenhouses, and newly sown beds, because it delivers water slowly and precisely where you aim it. A hose with an adjustable, gentle spray nozzle suits larger gardens, saving endless trips back and forth to the tap. Many beginners end up with both, but start with whichever matches the size of your space.
For a can, look for a size you can carry comfortably when full, because water is heavier than people expect. A removable rose, the sprinkler-like head, gives a soft shower that will not wash seeds out of the soil or batter young seedlings. For a hose, look for a nozzle that offers a true gentle shower setting, not just a jet and a mist, and check that the hose itself feels flexible rather than stiff and determined to kink.
A beginner mistake to avoid is watering everything with a hard jet. A fierce stream erodes soil, exposes roots, splashes soil onto leaves, and runs off the surface before soaking in. Gentle and slow always wins: it gives water time to sink down to the roots, which is where your plants actually need it.
8. Garden Gloves: Simple Protection You Will Actually Wear
Gloves protect your hands from blisters, thorns, rough stems, splinters from handles, and the general grime that works its way under fingernails. They also give you a better grip on tools and make handling prickly plants, from roses to courgette stems, far more pleasant. Because you will wear them constantly, comfort is not a luxury here. It is the whole point.
Look for a pair that fits snugly without pinching, with enough flexibility that you can still feel what you are holding and manage fiddly jobs like tying in a stem. Breathable backs help in warm weather, while slightly tougher palms handle rougher work. Many gardeners keep two pairs: a light pair for everyday planting and weeding, and a sturdier pair for thorny or heavy jobs. If you are starting with one, choose the light, flexible pair, because it will get used the most.
A beginner mistake to avoid is buying gloves so thick and stiff that you take them off for every delicate task and then forget to put them back on. Protection only works when it is on your hands. A well-fitting pair you barely notice will protect you far better than an armoured pair sitting on the bench.
9. Kneeling Pad: Small, Cheap, and Kind to Your Knees
A kneeling pad is easy to overlook when shopping, and easy to appreciate the first time you spend half an hour weeding a border at ground level. It is simply a thick pad of foam or similar material that cushions your knees on hard, damp, or gritty ground. Some gardeners prefer wearable knee pads, and some use a kneeler that flips over into a low seat, but a plain pad is inexpensive, light, and perfectly effective for most beginners.
Look for a pad that is thick enough that you cannot feel small stones through it, with a surface that wipes clean and does not soak up water like a sponge. A handle cut into one end makes it easy to carry around the garden with your tools. Size is personal, but a slightly larger pad lets you shift position without constantly moving it.
A beginner mistake to avoid is kneeling directly on wet soil for long sessions and assuming a bit of discomfort is just part of gardening. Repeated strain and cold, damp knees add up, and they can put you off the hobby altogether. Use the pad from day one, and also change position regularly, standing and stretching between beds rather than staying folded up for an hour.
10. Wheelbarrow or Garden Trug: For Carrying Without the Struggle
Every garden generates things that need moving: compost in, weeds out, soil, mulch, pots, plants, and harvests. A wheelbarrow handles big, heavy loads and is the better choice if you have a larger garden, plan to move soil or build raised beds, or regularly shift heavy bags. A garden trug or sturdy bucket handles smaller loads beautifully: carrying tools to a bed, collecting weeds as you go, soaking a plant before planting, or bringing in vegetables. For a small garden, a trug may honestly be all you need at first.
For a barrow, look for one that feels stable when loaded, with a wheel that rolls freely and a frame that does not flex alarmingly when you lift the handles. Garden size matters: a huge barrow is awkward on narrow paths. For a trug, look for strong, flexible material and handles that feel secure when the trug is full of damp weeds or soil.
A beginner mistake to avoid is overloading. Whether it is a barrow piled high or a bucket filled to the brim, an overloaded carrier is hard to lift, easy to tip, and rough on your back. Two comfortable trips almost always beat one miserable one, and they are usually quicker in the end because nothing gets spilled halfway down the path.
11. Hand Cultivator and Weeder: The Detail Tools
Hand cultivators and hand weeders handle the close-up work that bigger tools are too clumsy for. A hand cultivator usually has three short prongs and is used to loosen and aerate the surface of soil around plants, mix in a little feed, and break up a crust that forms on beds and pots after watering. A hand weeder, often with a narrow, forked tip, is designed to get under individual weeds and lever them out roots and all, which is very satisfying around seedlings and in crowded borders.
Look for the same qualities you wanted in your trowel: a solid feel, a comfortable handle, and no wobble where blade meets handle. Narrow tools take a surprising amount of pressure when levering out a dandelion, so flimsy construction shows up quickly. Bright handles help here too, because small tools are the ones most often left behind in a bed.
A beginner mistake to avoid is buying a bundle of five tiny specialist tools before you know which ones you will use. Start with one good weeder, since hand-weeding is the job every beginner definitely has, and add a cultivator when you find yourself regularly loosening soil around plants. Tools you chose because you needed them get used; tools that arrived in a bargain bundle often just rattle around a drawer.
A Sensible Starter Kit on a Budget
You do not need to buy everything in this guide at once, and honestly, you should not. A sensible order of purchase starts with the tools tied to the jobs you are about to do. For most beginners that means a hand trowel, bypass shears, gloves, and a way to water, plus a trug or bucket for carrying. That small kit lets you plant, trim, water, and weed at a basic level, and it is enough to begin learning how to start a vegetable garden or settle in your first bedding plants without feeling held back.
Add the bigger tools as your projects demand them. A fork and spade become essential when you prepare a new bed from scratch. A rake and hoe earn their keep once you are sowing rows and maintaining them. A kneeling pad can join the kit the first time your knees complain, which may be sooner than you expect. Buying in this order spreads the cost, and it also means every tool you own was bought for a real job, so nothing sits unused.
As a very general guide, individual hand tools often cost roughly the price of a modest takeaway meal, while larger tools and a wheelbarrow cost noticeably more, though prices vary widely by material and build quality. Spend a little more on the tools you use daily, especially the trowel and shears, and be more relaxed about the occasional-use items. One well-made tool bought once is better value than a flimsy one bought three times.
Tool Materials: Stainless Steel, Carbon Steel, and Wooden Handles
You will see two main metals mentioned for blades and heads. Stainless steel resists rust well, slides through soil easily, and needs very little care, which makes it a friendly choice for beginners who know their tools may occasionally be left out in the rain. Carbon steel is often a little tougher and can hold a sharper edge, which matters on cutting tools, but it will rust if it is stored damp, so it rewards gardeners who wipe tools dry after use. Neither is simply better. It is a trade-off between easy care and edge performance, and plenty of good tools are made from both.
Handles come in several materials too. Traditional ash wood handles are popular for larger tools because ash is strong, slightly springy, and absorbs some of the shock that travels up the shaft when a spade hits a stone. Wood feels warm in the hand and can be sanded smooth again if it roughens. Fibreglass and metal handles can be very durable and need little upkeep, though they may feel colder and transmit more vibration. Plastic grips are fine on small tools as long as they are shaped comfortably and do not feel brittle.
The practical takeaway is simple. For your first kit, choose materials that match how you will realistically treat them. If you are diligent about cleaning and indoor storage, carbon steel and wood will reward you. If your tools will live in a corner of a shed and sometimes get forgotten outside overnight, stainless steel and low-maintenance handles are the kinder choice.
Cleaning, Sharpening, and Storage Basics
Tools last far longer with a few minutes of basic care, and none of it is complicated. After each session, knock or brush the soil off blades and tines, because caked soil holds moisture against metal and encourages rust. If a tool is muddy, a quick rinse and a proper dry with an old cloth is enough. Sap on shears can be wiped away so the blades keep closing smoothly, and a very occasional drop of oil on a moving joint keeps shears and loppers working freely.
Sharpening sounds intimidating but is mostly about little and often. Cutting tools like shears and hoes work dramatically better with a keen edge, and a simple sharpening stone or file, used gently at the angle of the existing edge, is enough for routine upkeep. If that feels like a step too far at first, many garden centres and repair shops will sharpen tools for a modest fee. Digging tools do not need to be razor sharp, but removing burrs and keeping a reasonable edge helps them slice into soil instead of bouncing off it.
For storage, dry and under cover beats tidy and damp every time. Hang long-handled tools on hooks or rest them head-up in a rack so edges are off the floor, and keep small hand tools together in a trug, bucket, or toolbox so they travel to the bed as a set. A bucket part-filled with dry sand is a traditional way some gardeners store hand tools between uses, pushing the blades in to keep them clean and dry. Whatever system you choose, the habit that matters is putting tools away dry, in the same place, every time.
Practical Tips for Getting the Most From Your Tools
Try before you buy whenever you can. Pick the tool up, hold it as you would use it, and notice the weight, the balance, and whether the grip forces your wrist into an odd angle. A tool that feels right in the shop usually feels right in the garden, and one that feels awkward rarely improves with use. If you are shopping online, check the overall length and weight honestly against your height and strength rather than choosing the biggest option on the page.
Match the tool to your garden, not to someone else’s. Container gardeners and balcony growers may never need a full-size spade, while someone taking on an allotment will find hand tools alone painfully slow. Think about your soil too. Heavy clay rewards strong, well-made digging tools, while light, sandy soil is forgiving of almost anything. And think about storage before the tools arrive: a long-handled fork needs somewhere dry to live.
Look after your body as well as your tools. Swap hands occasionally on repetitive jobs, take short breaks, and let sharp, well-kept tools do the work instead of forcing dull ones. Work at a comfortable height where you can, using raised beds, pots on staging, or a kneeler seat for low jobs. Gardening should leave you pleasantly tired, not nursing sore wrists for two days. Finally, mark your tools in some small way, with a dab of bright paint or tape on the handle. It helps you spot them in the border and makes it clear which trowel is yours when gardening with friends.
Common Mistakes and Problems Beginners Run Into
The most common mistake of all is buying a large, cheap set in one box. These sets look like brilliant value, but the tools are often made from soft metal that bends, with handles that work loose within weeks. You end up replacing the trowel and shears almost immediately, having paid for a dozen gadgets you never touch. Buying fewer, better tools one or two at a time almost always works out cheaper and far less frustrating, and it sits alongside the other common gardening mistakes to avoid when you are learning the ropes.
Using the wrong tool for the job is the next frequent problem. Shears forced through thick wood, trowels used as crowbars, and spades used as mixers all end the same way: a damaged tool and a job half done. When a tool starts to strain, stop and think about whether another tool, or a bit more patience, is the real answer. Related to this is neglecting maintenance, then blaming the tool. Shears that are never cleaned or sharpened will tear stems instead of cutting them, and a fork left outside all winter will greet spring with rust and a rough, splintery handle.
Storage problems cause more losses than breakages do. Small tools get left in beds, buried under prunings, or dropped behind pots, and long-handled tools left flat on damp floors quietly deteriorate. Build the tidy-up into the end of every session: count your hand tools back into the trug, hang the long handles, and do a quick lap of the beds you worked in. It takes two minutes, and it saves real money over a season.
Frequently Asked Questions
What are the first three tools a beginner should buy?
Start with a hand trowel, a pair of bypass pruning shears, and a watering can or a hose with a gentle nozzle. Between them they cover planting, trimming, and watering, which are the three jobs every new gardener does in the very first week. Add gloves and a trug or bucket soon after, and you have a genuinely workable starter kit while you learn what your particular garden asks of you.
Is it better to buy a ready-made tool set or individual tools?
For most beginners, individual tools are the better buy. Ready-made sets can be convenient and occasionally good, but they often include filler items you will never use while skimping on the quality of the trowel and shears you will use daily. Buying individually lets you spend more where it matters, choose handles that fit your hands, and build your kit gradually as real jobs appear.
How much should a beginner expect to spend on tools?
It varies a lot, but as a very general picture, a basic starter kit of four or five decent hand tools and a way to water usually costs roughly the same as a few bags of compost and some plants from a garden centre, rather than a major purchase. You can spend less by buying carefully and second-hand for some items, or more by choosing premium materials. The sensible approach is to set a modest budget for the essentials, buy the best quality you can manage for the trowel and shears, and add larger tools later.
Stainless steel or carbon steel: which is better for beginners?
Stainless steel is usually the easier choice when you are starting out, because it shrugs off damp soil and the occasional night left outdoors without rusting quickly. Carbon steel can be tougher and take a finer edge, which is lovely on cutting tools, but it asks you to dry and store tools carefully. If you know you are not yet in the habit of cleaning tools after every session, choose stainless steel and enjoy the lower maintenance.
How do I stop my tools from rusting?
The habits are simple: get the soil off, dry the metal, and store tools under cover. Wipe blades with an old cloth after use, and if a blade is already showing light surface rust, a gentle rub with a scouring pad or fine wire wool, followed by a wipe with a lightly oiled cloth, usually restores it. The biggest single change is never putting tools away wet or leaving them lying in the garden overnight.
Can I buy second-hand gardening tools?
Yes, and for larger tools it can be a very sensible move. Forged spades, forks, and rakes from decades ago are often excellent quality, and they turn up at car boot sales, auctions, and second-hand shops. Check that handles are sound with no cracks or wobble, that blades are not bent or deeply pitted with rust, and that cutting tools open and close smoothly. Replace a tired wooden handle if needed, give everything a clean and an oil, and you may end up with tools that outlast new budget ones.
Final Thoughts
A beginner’s tool kit is not a test you pass by owning everything on a list. It is a small collection of helpers that grows with your garden and your confidence. Start with the trowel, shears, and watering covered, choose tools that feel good in your hands and are solidly made, and add each new piece when a real job calls for it. That approach keeps spending sensible, storage simple, and every tool in your shed genuinely earning its place.
Most importantly, do not let the shopping delay the gardening. Plants are forgiving, soil is patient, and the lessons you learn in your first season with a basic kit will teach you more about the tools you truly need than any amount of browsing. Clean your tools, store them dry, work gently and often, and enjoy the quiet pleasure of a job made easier by the right tool in your hand. Happy gardening.